The Process
So often people ask us, "How long does it take to make a piece of pottery?" In an attempt to answer this question we always tell people about the various steps of pottery making. We feel that pictures may be clearer than words. Illustrated here is the process of making an Acoma pot. We are indebted to Franklin Peters of Acoma pueblo who shared with us his time, material, skill, and good humor. His pottery can be seen here.
Click on any photo to enlarge!
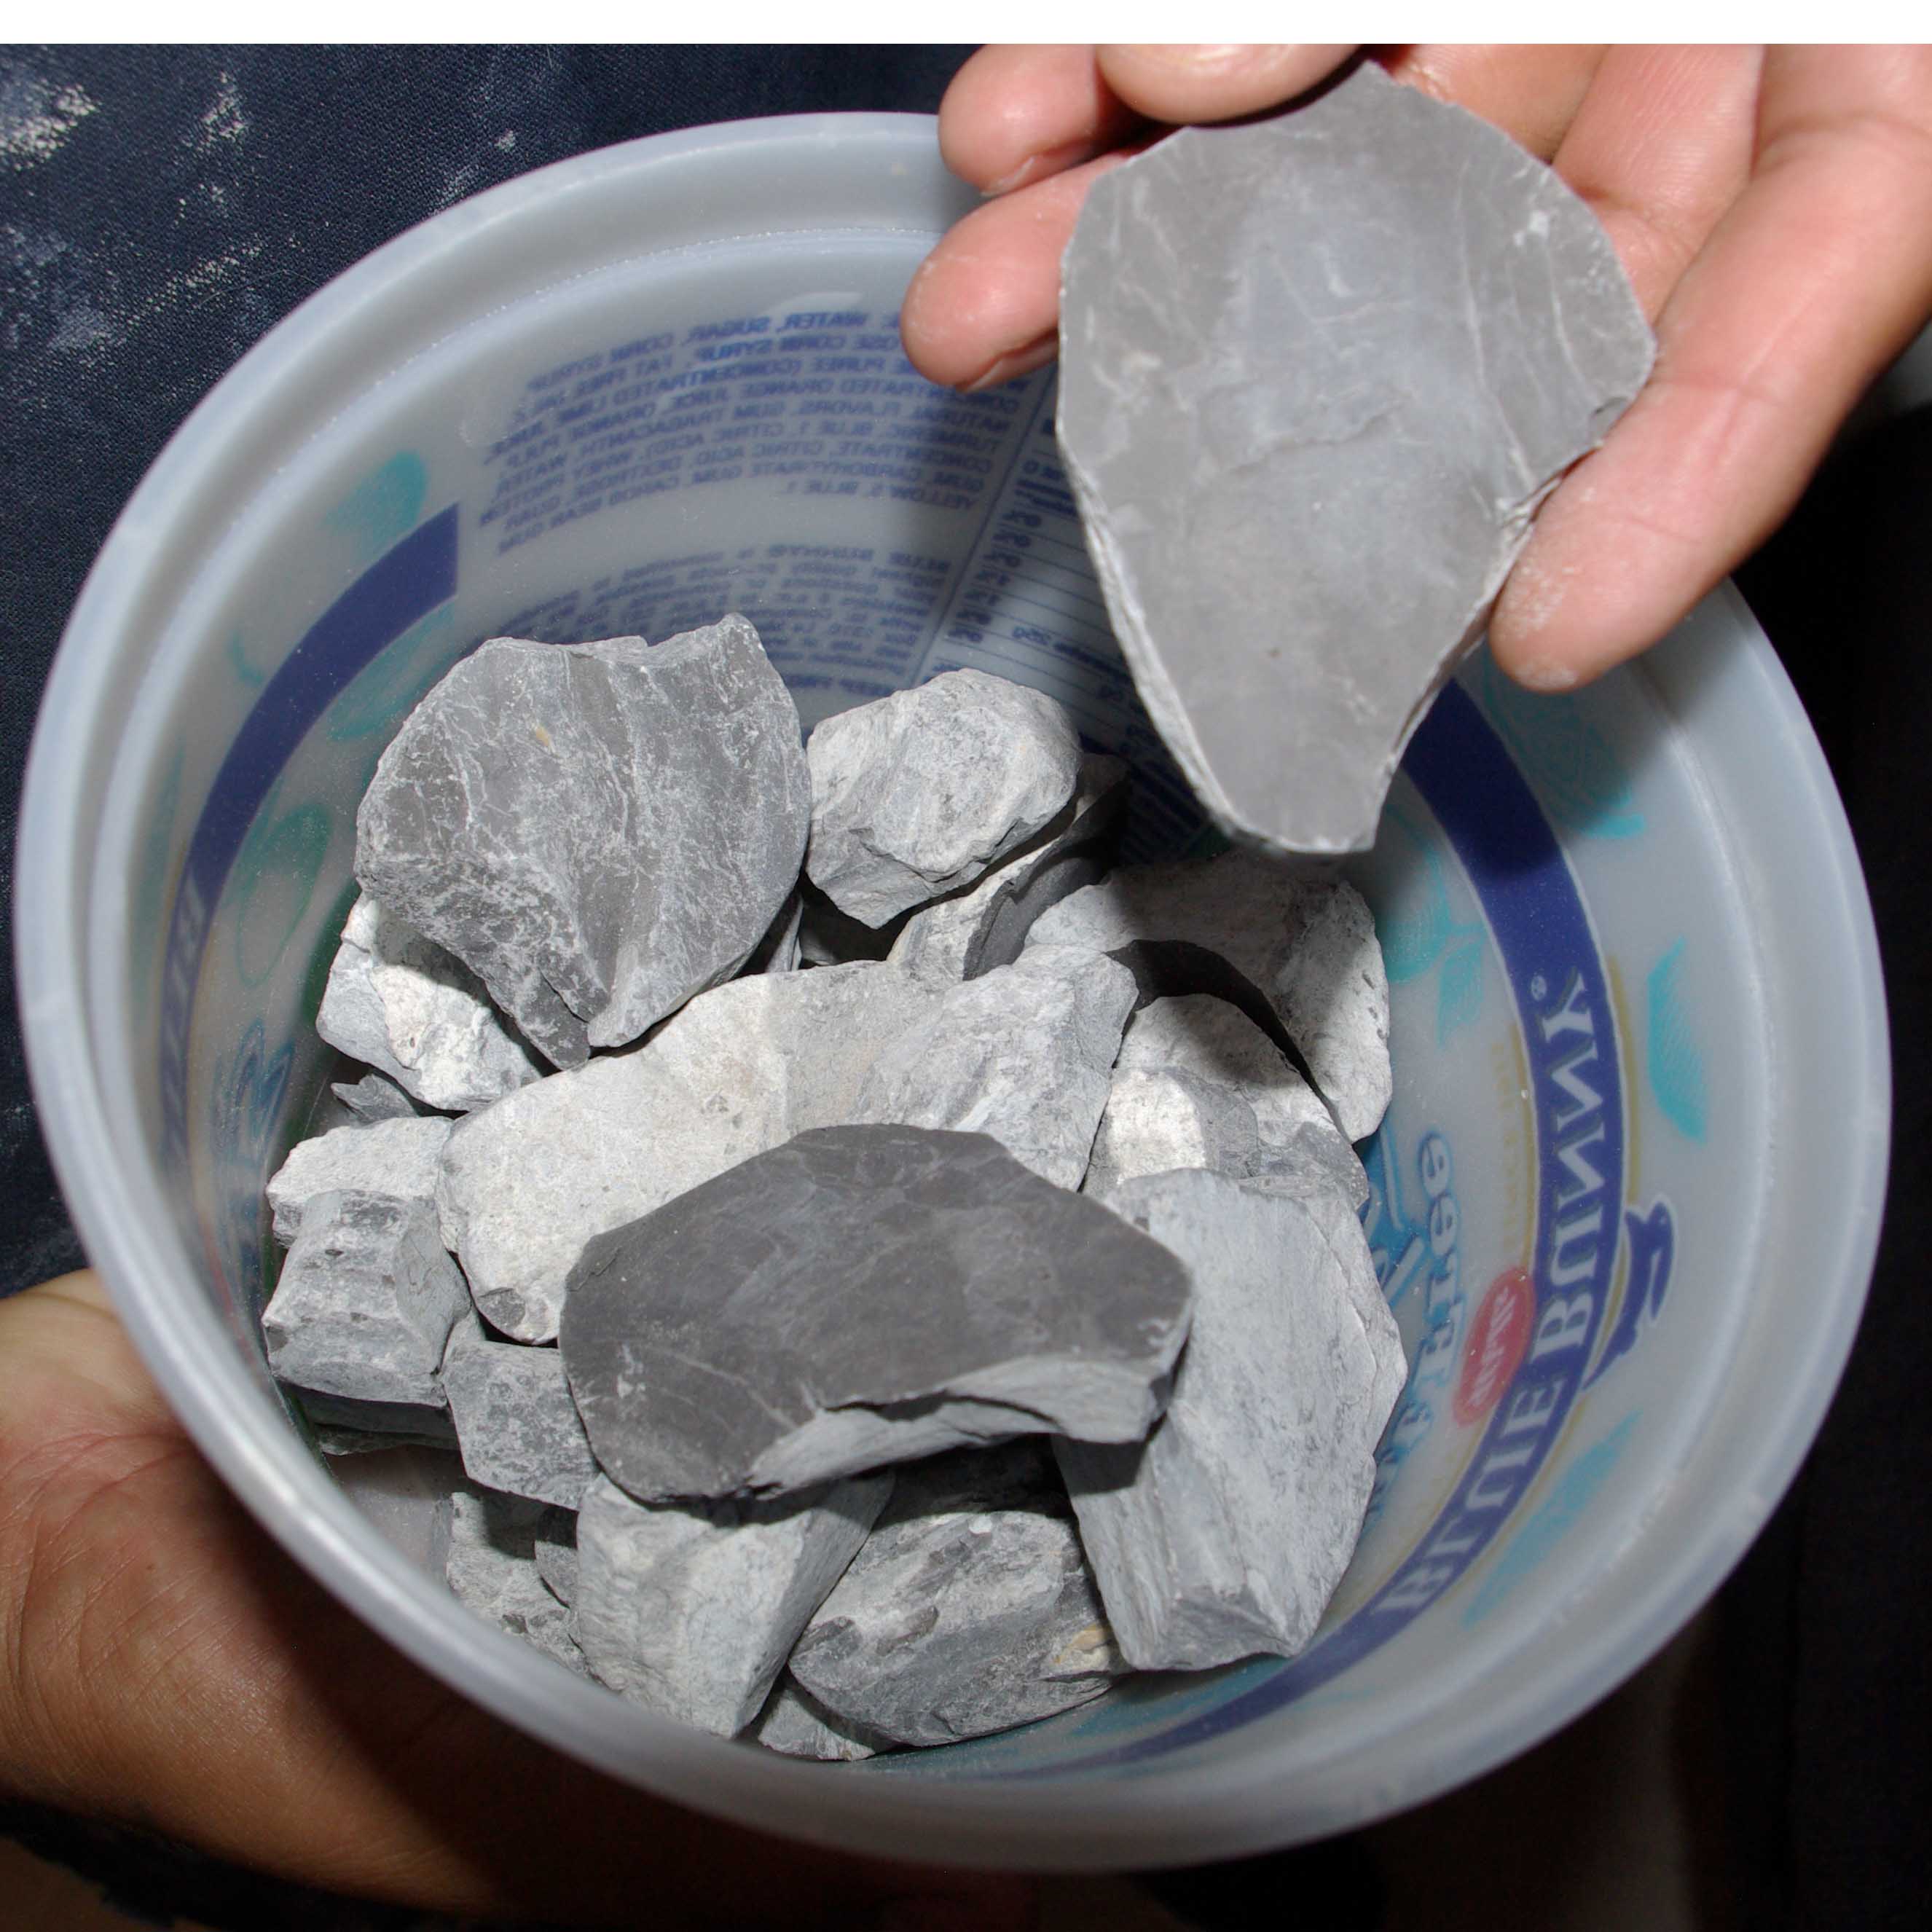
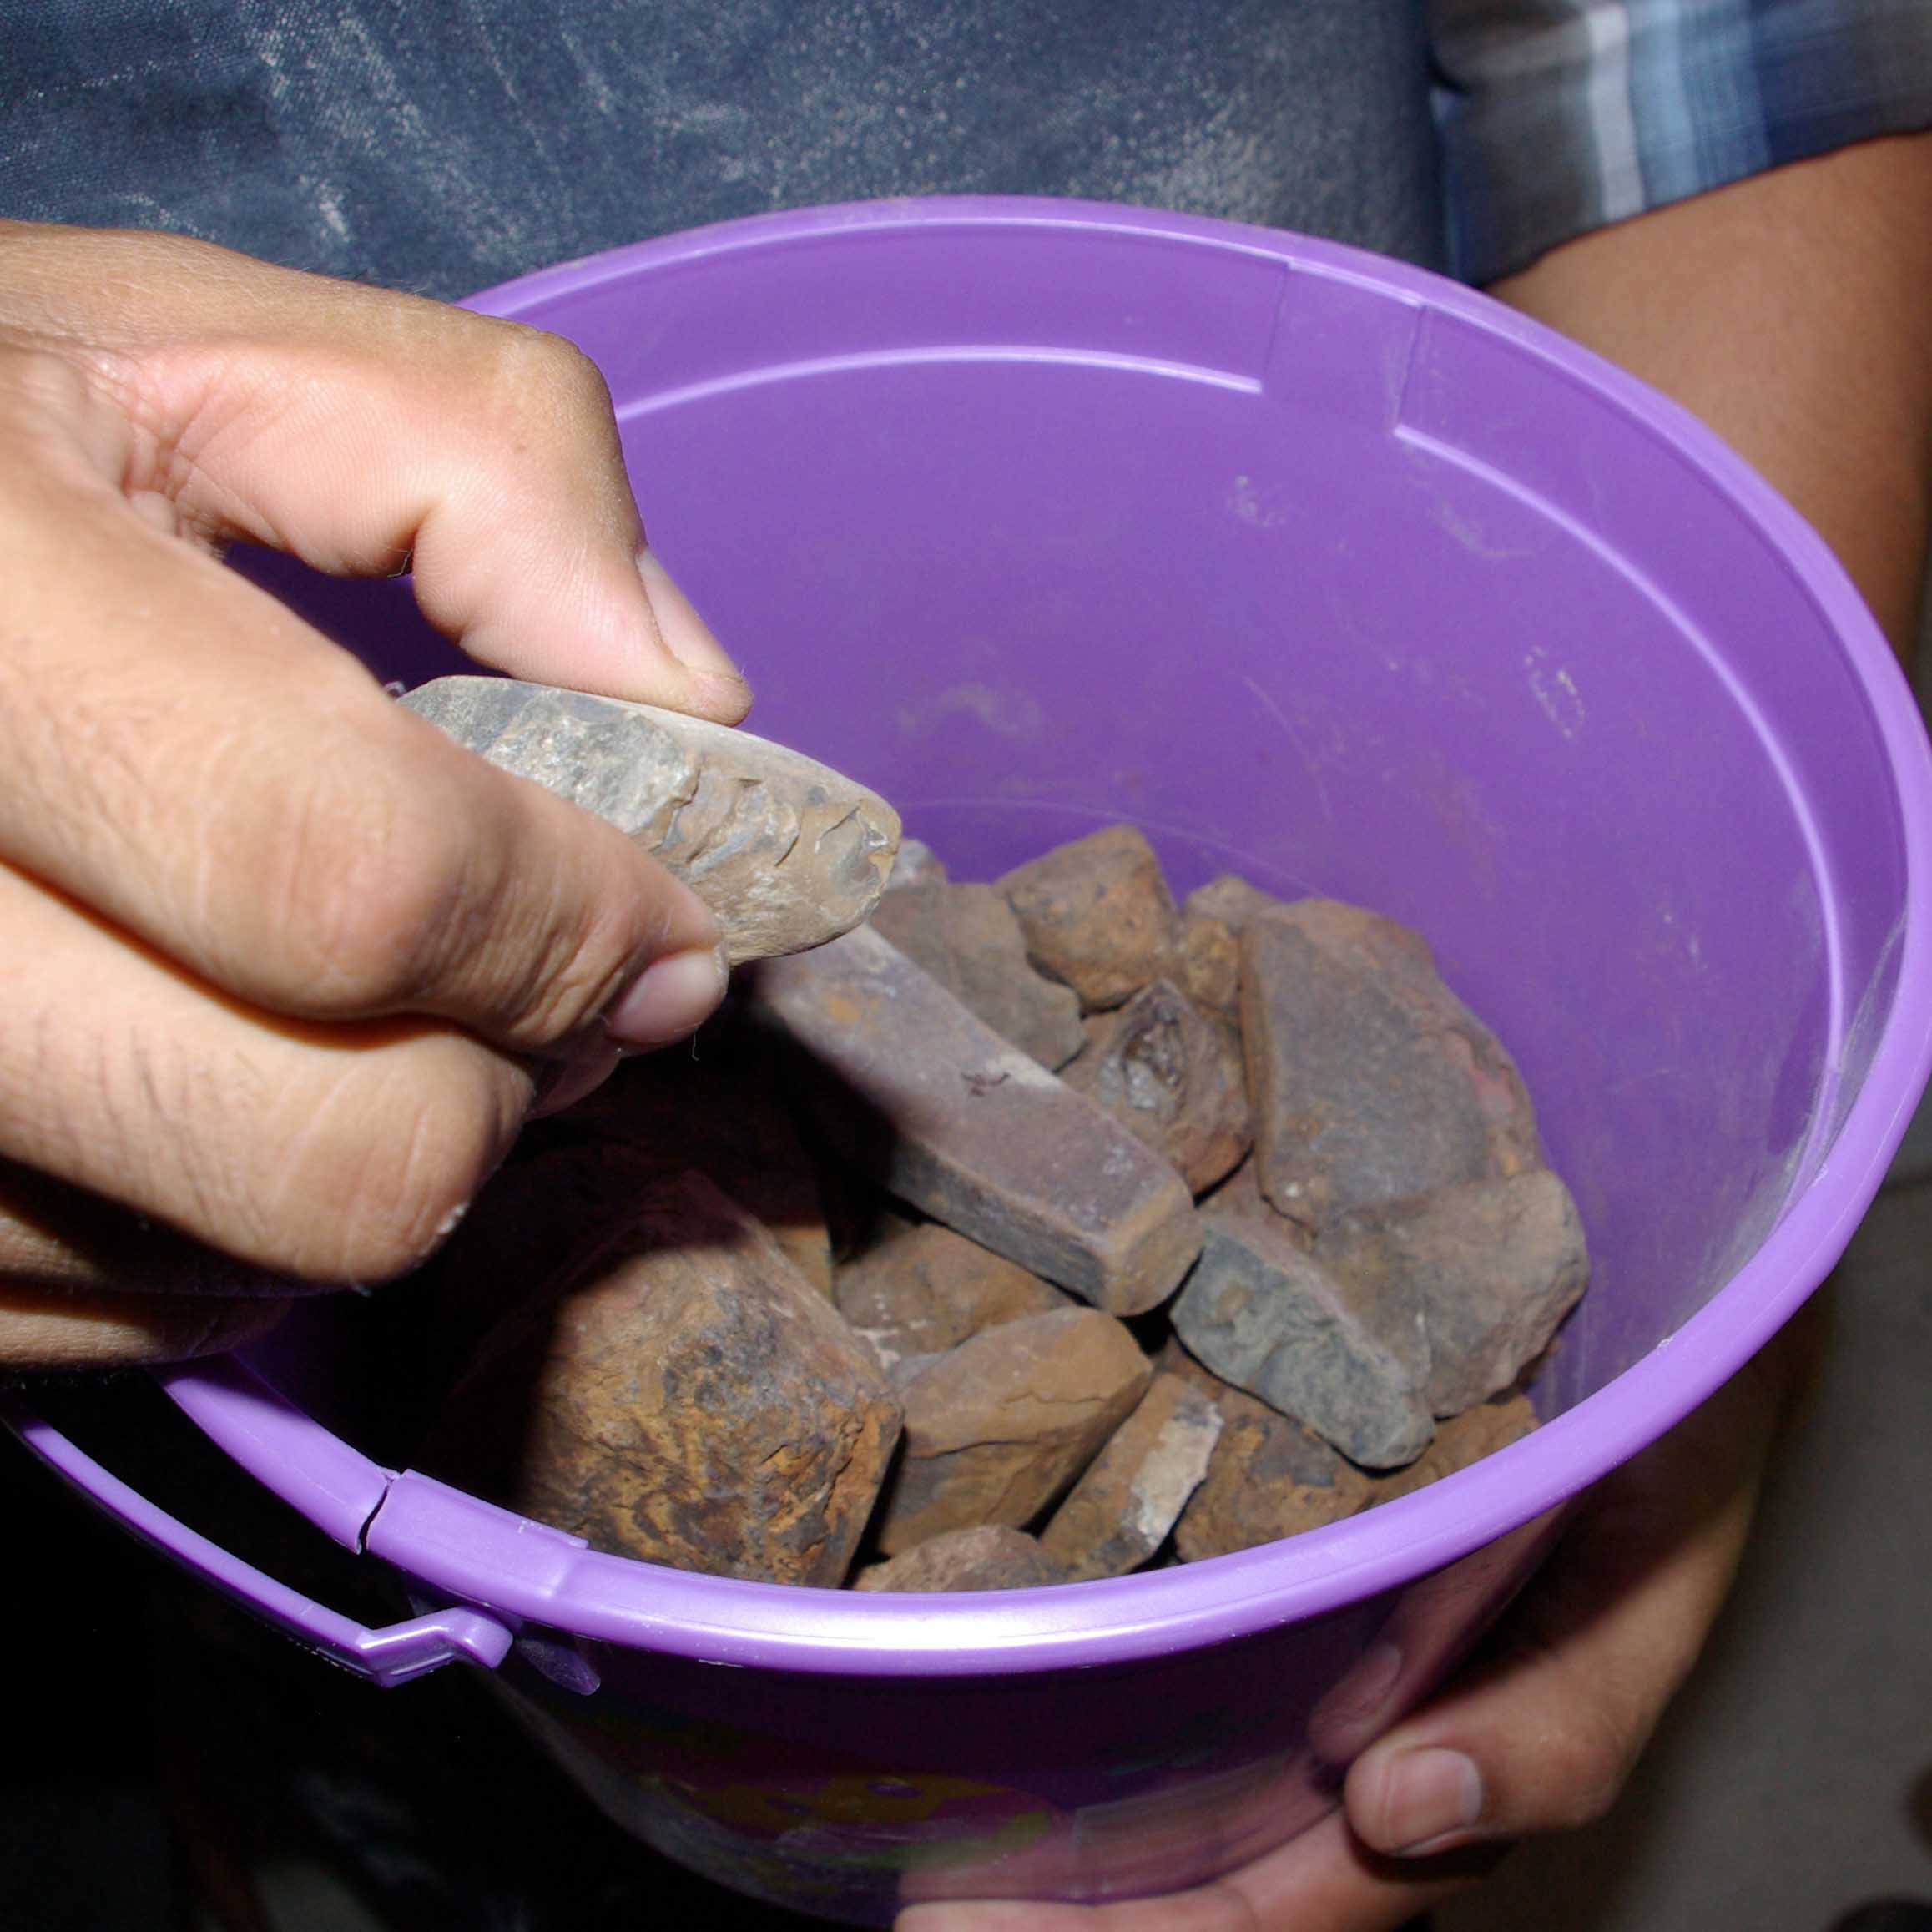
The clay in raw rock form
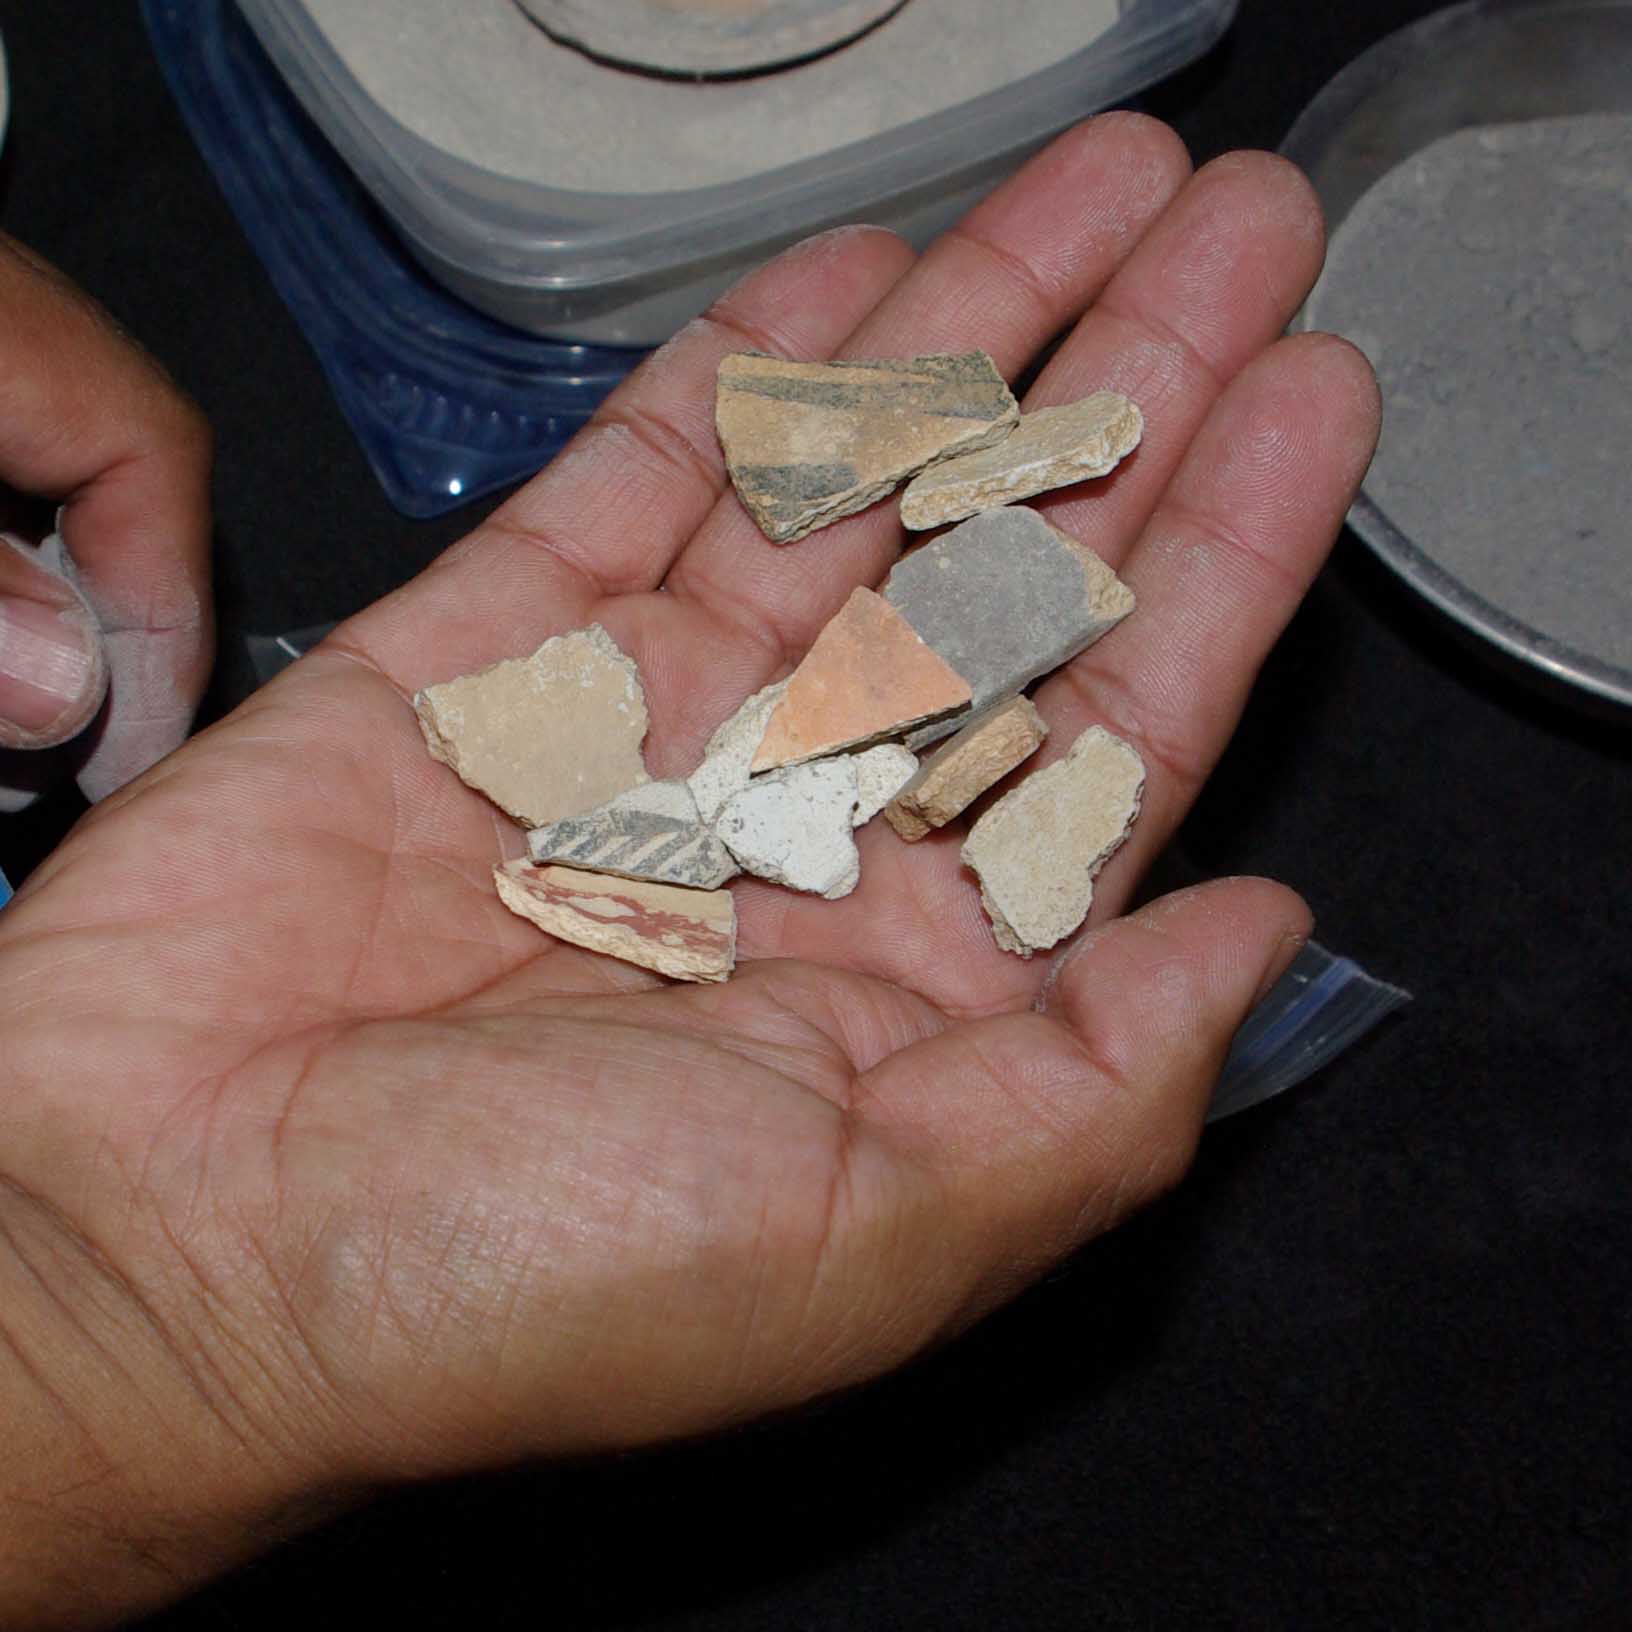
Old pottery shards for tempering the clay
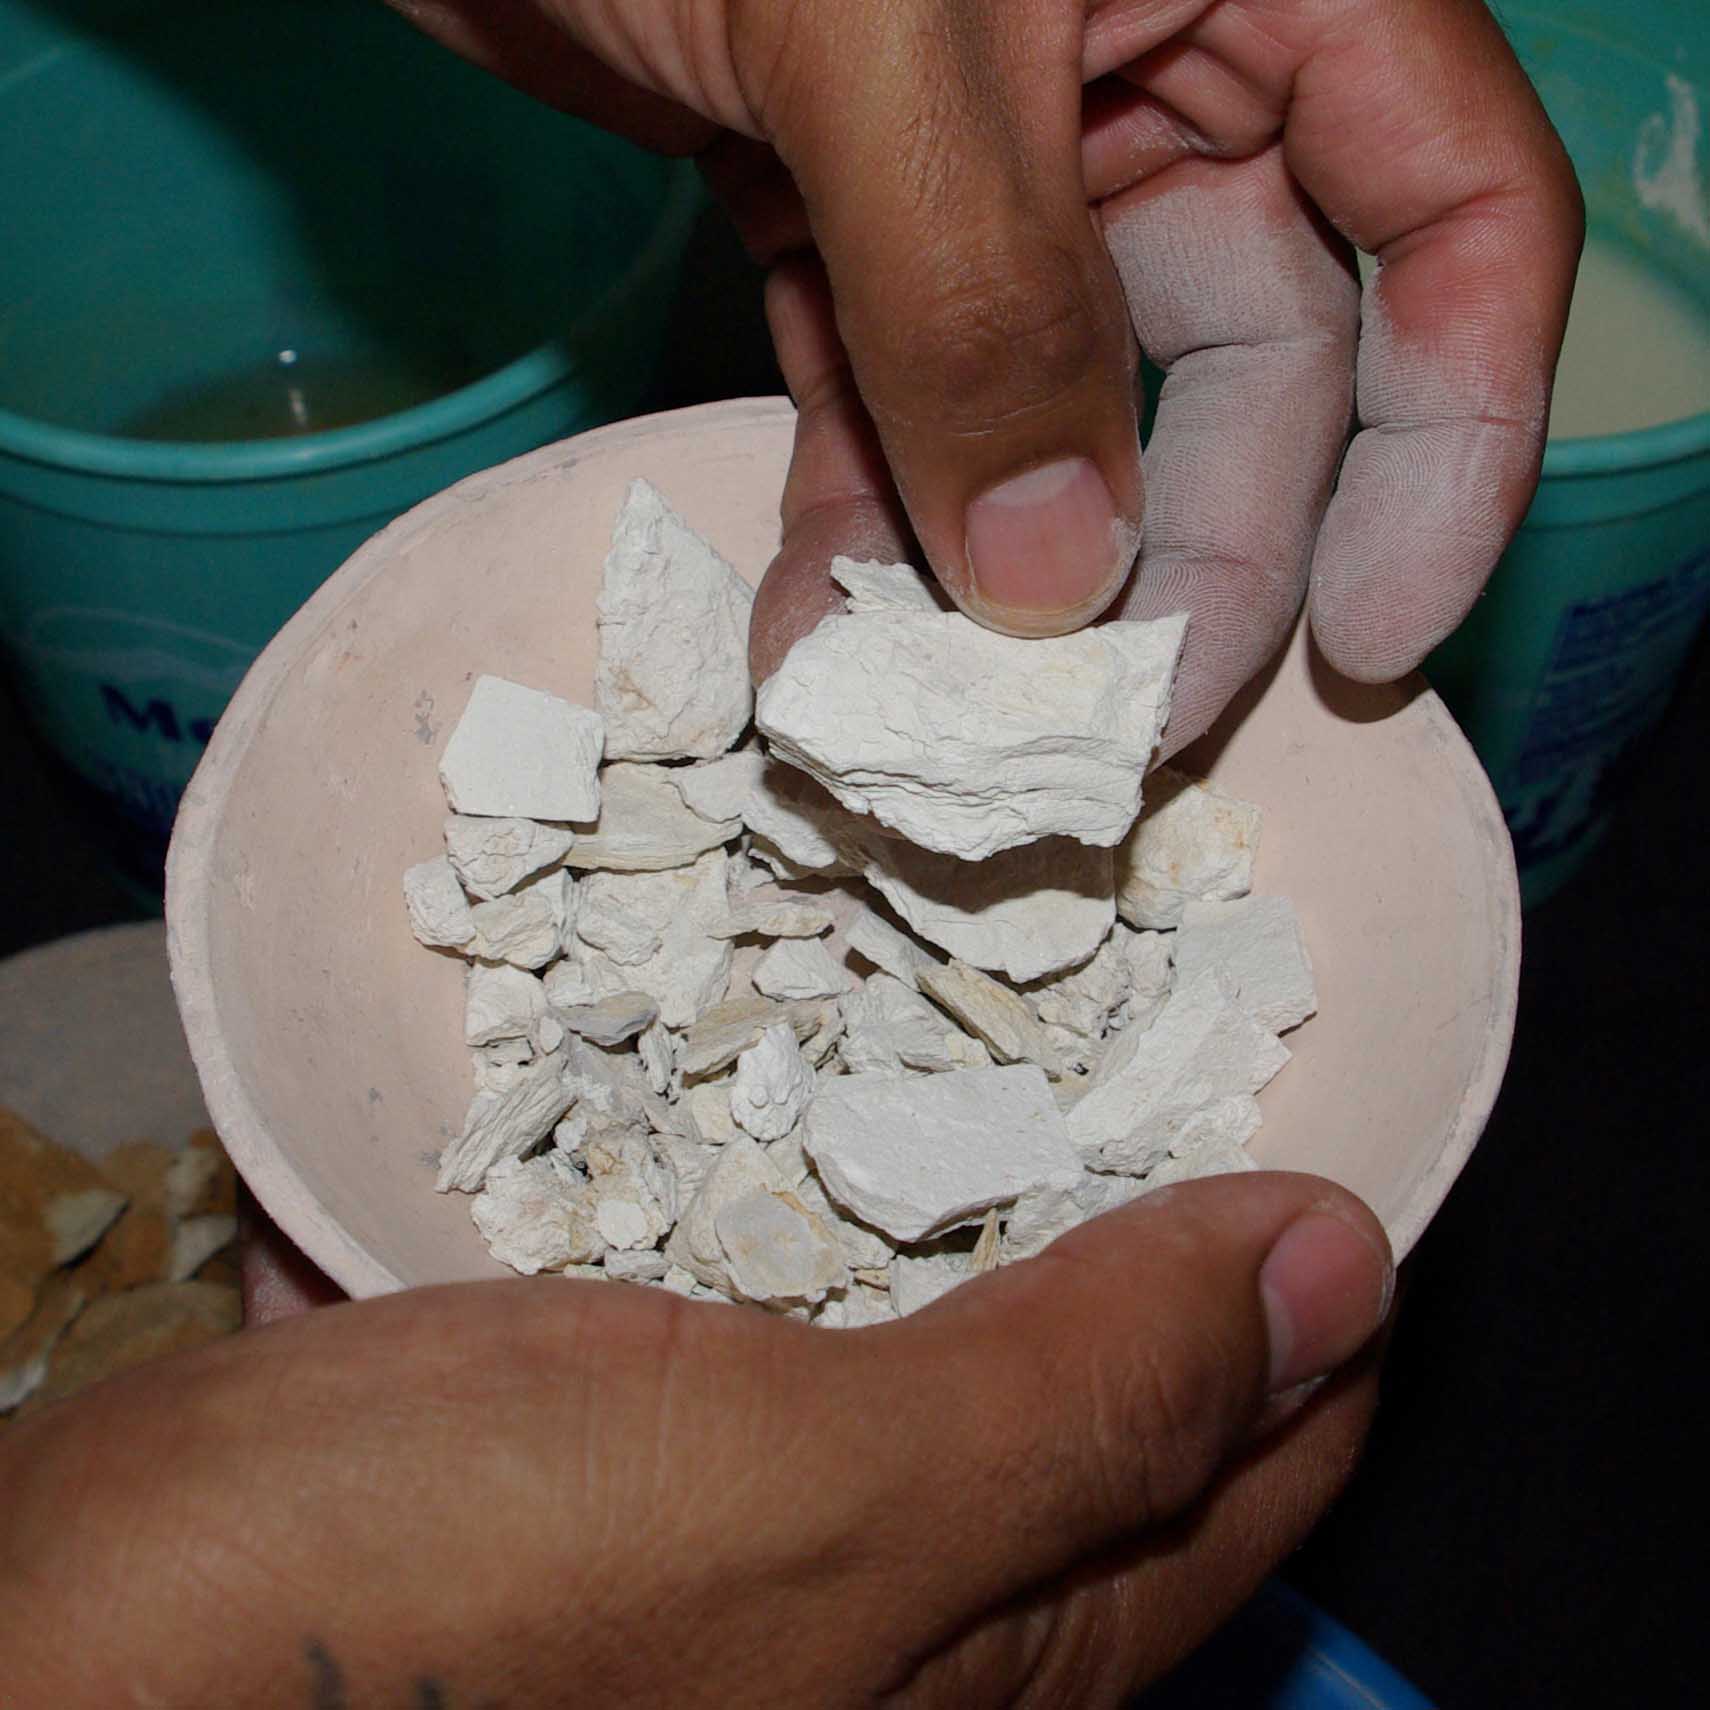
The white slip in raw rock form
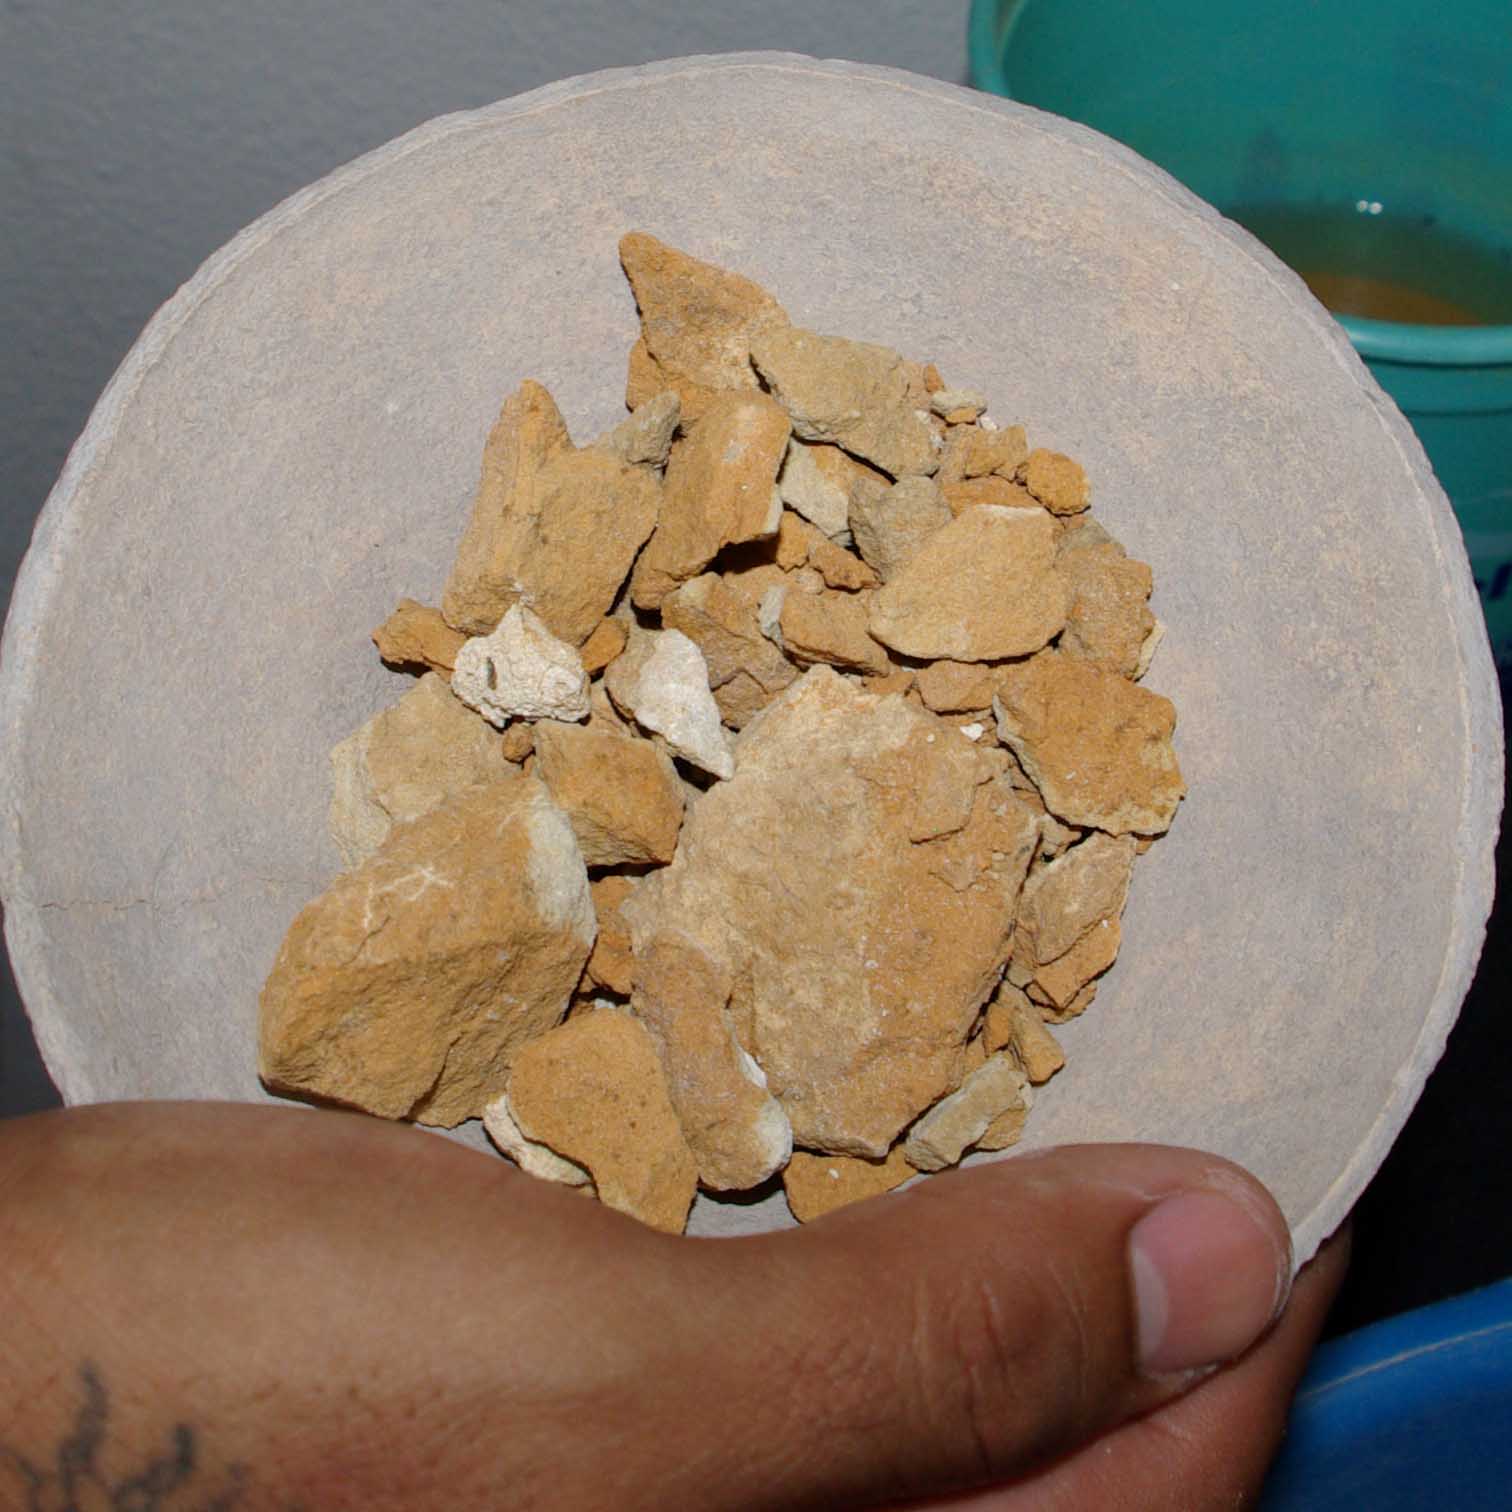
The yellow slip in raw rock form
The brown paint in raw rock form

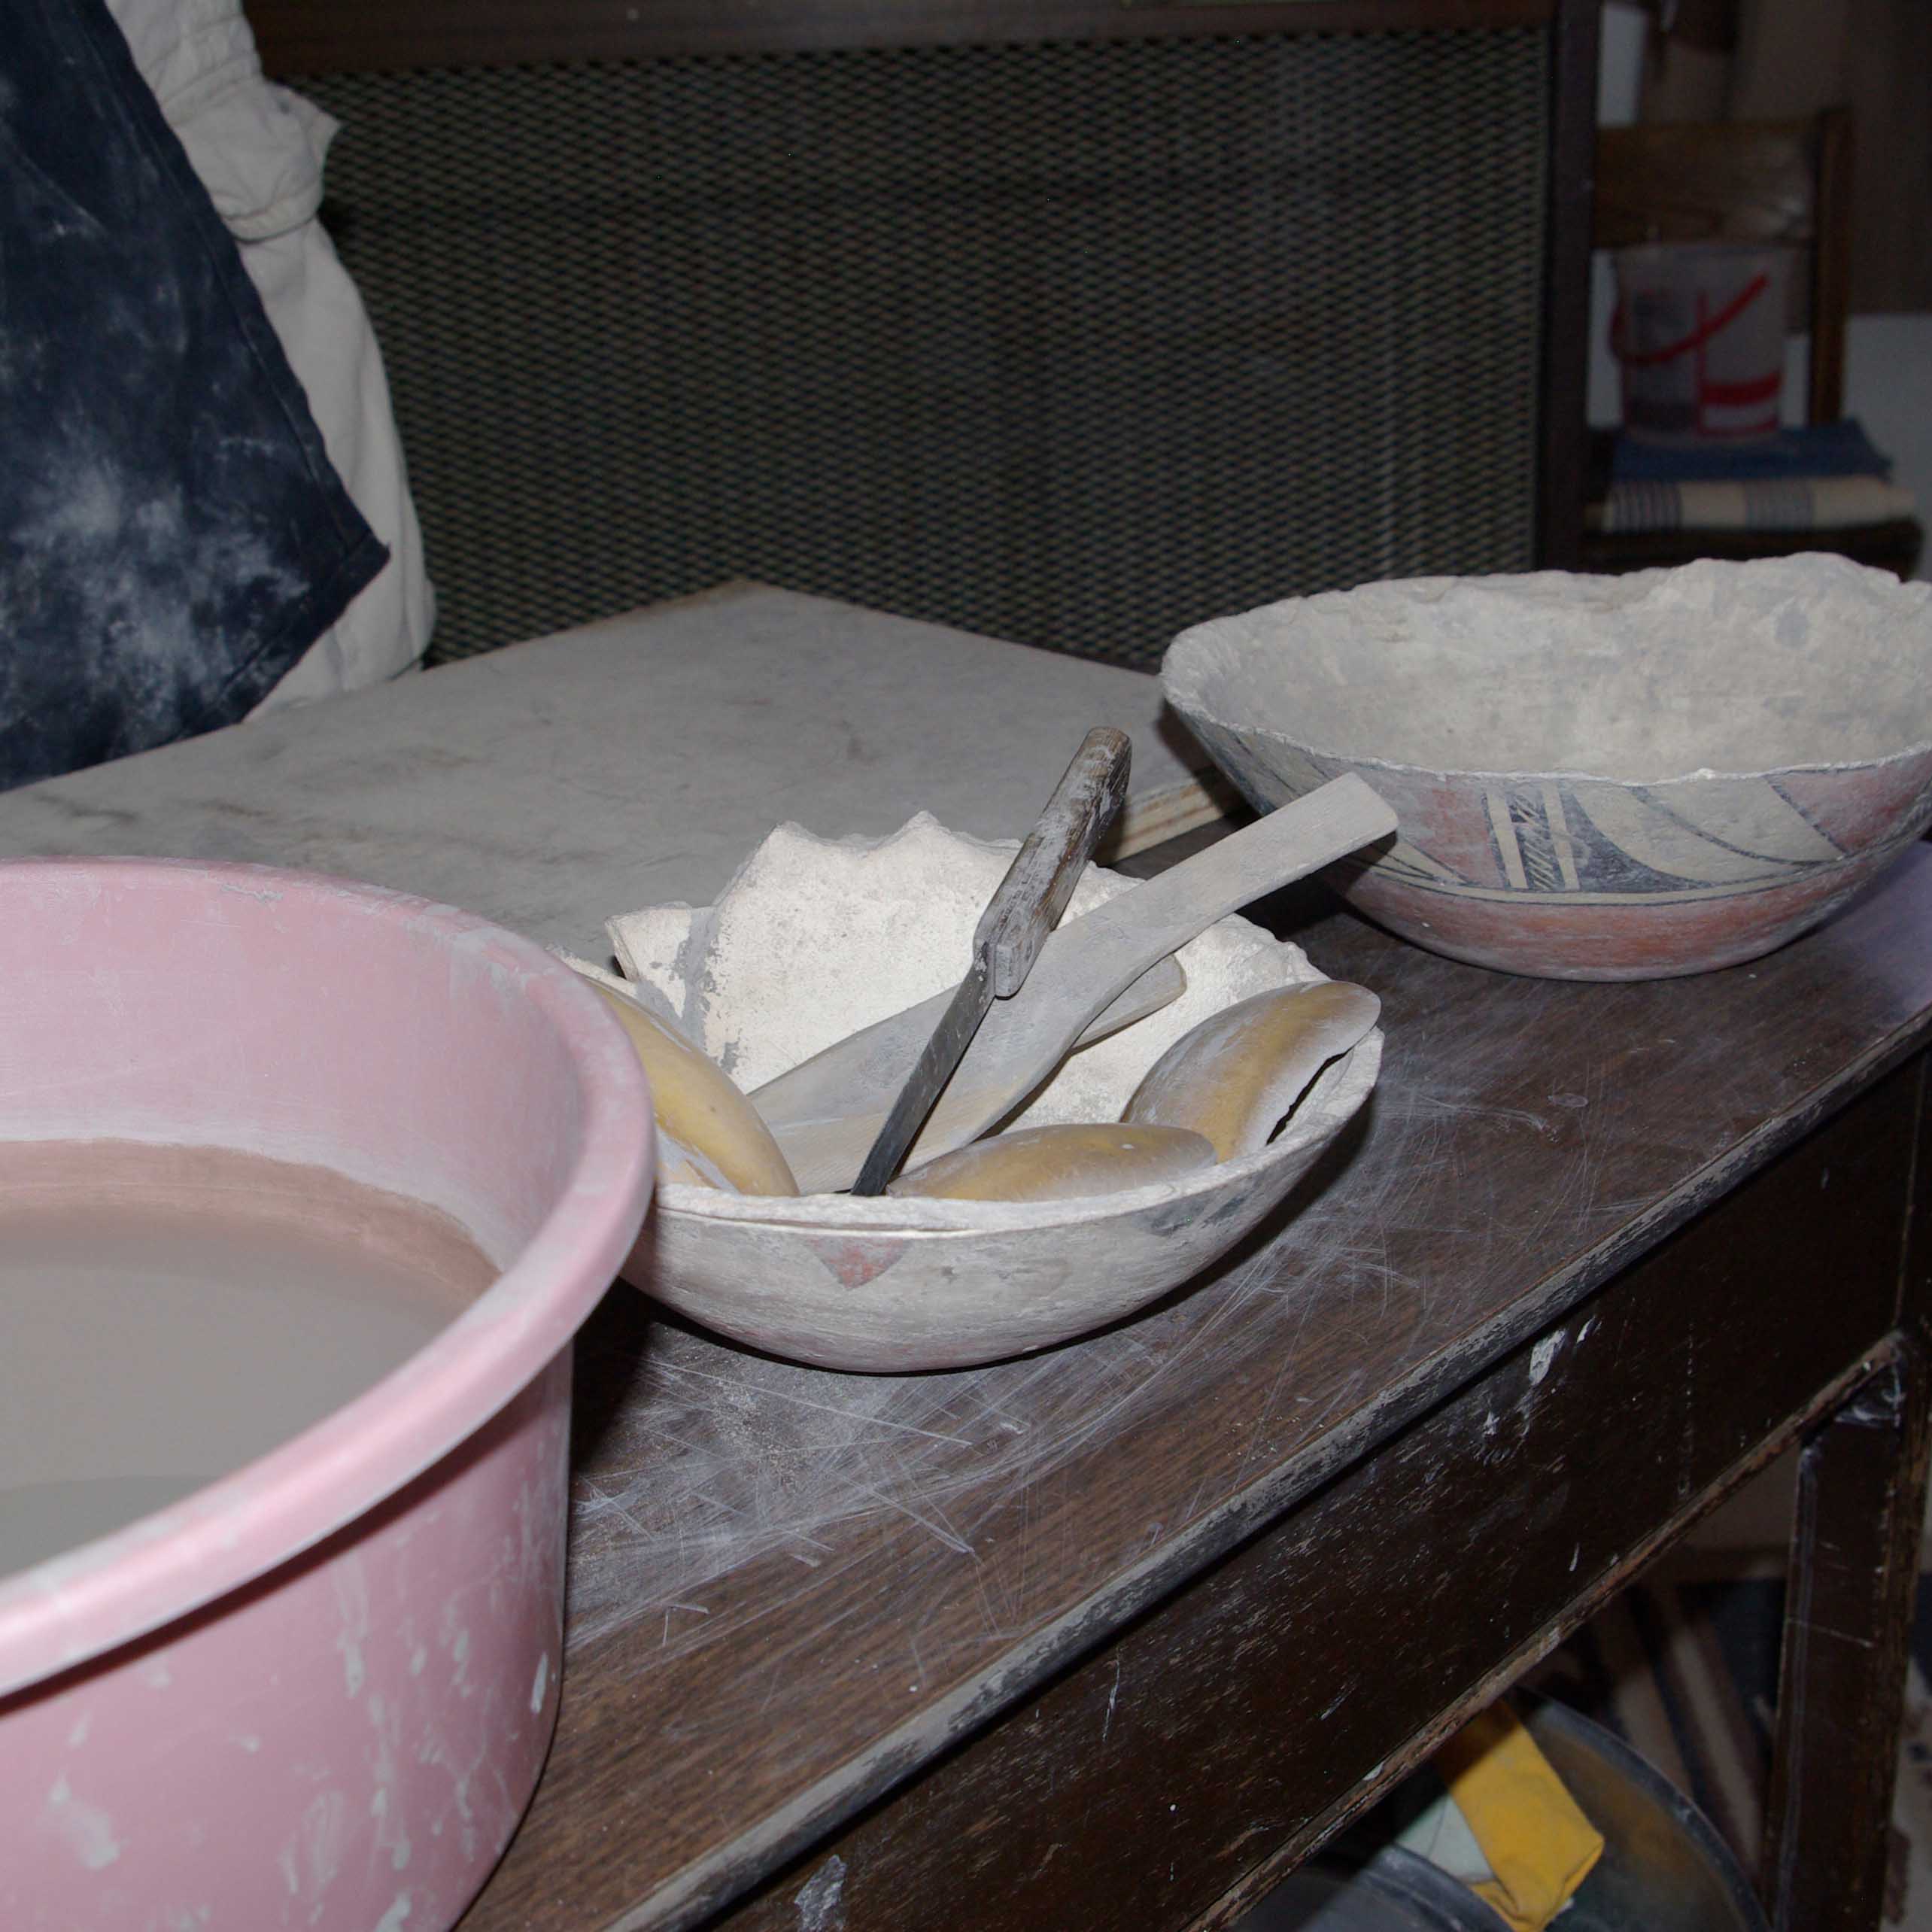
Building tools consisting of gourds, knife, and wooden spatula
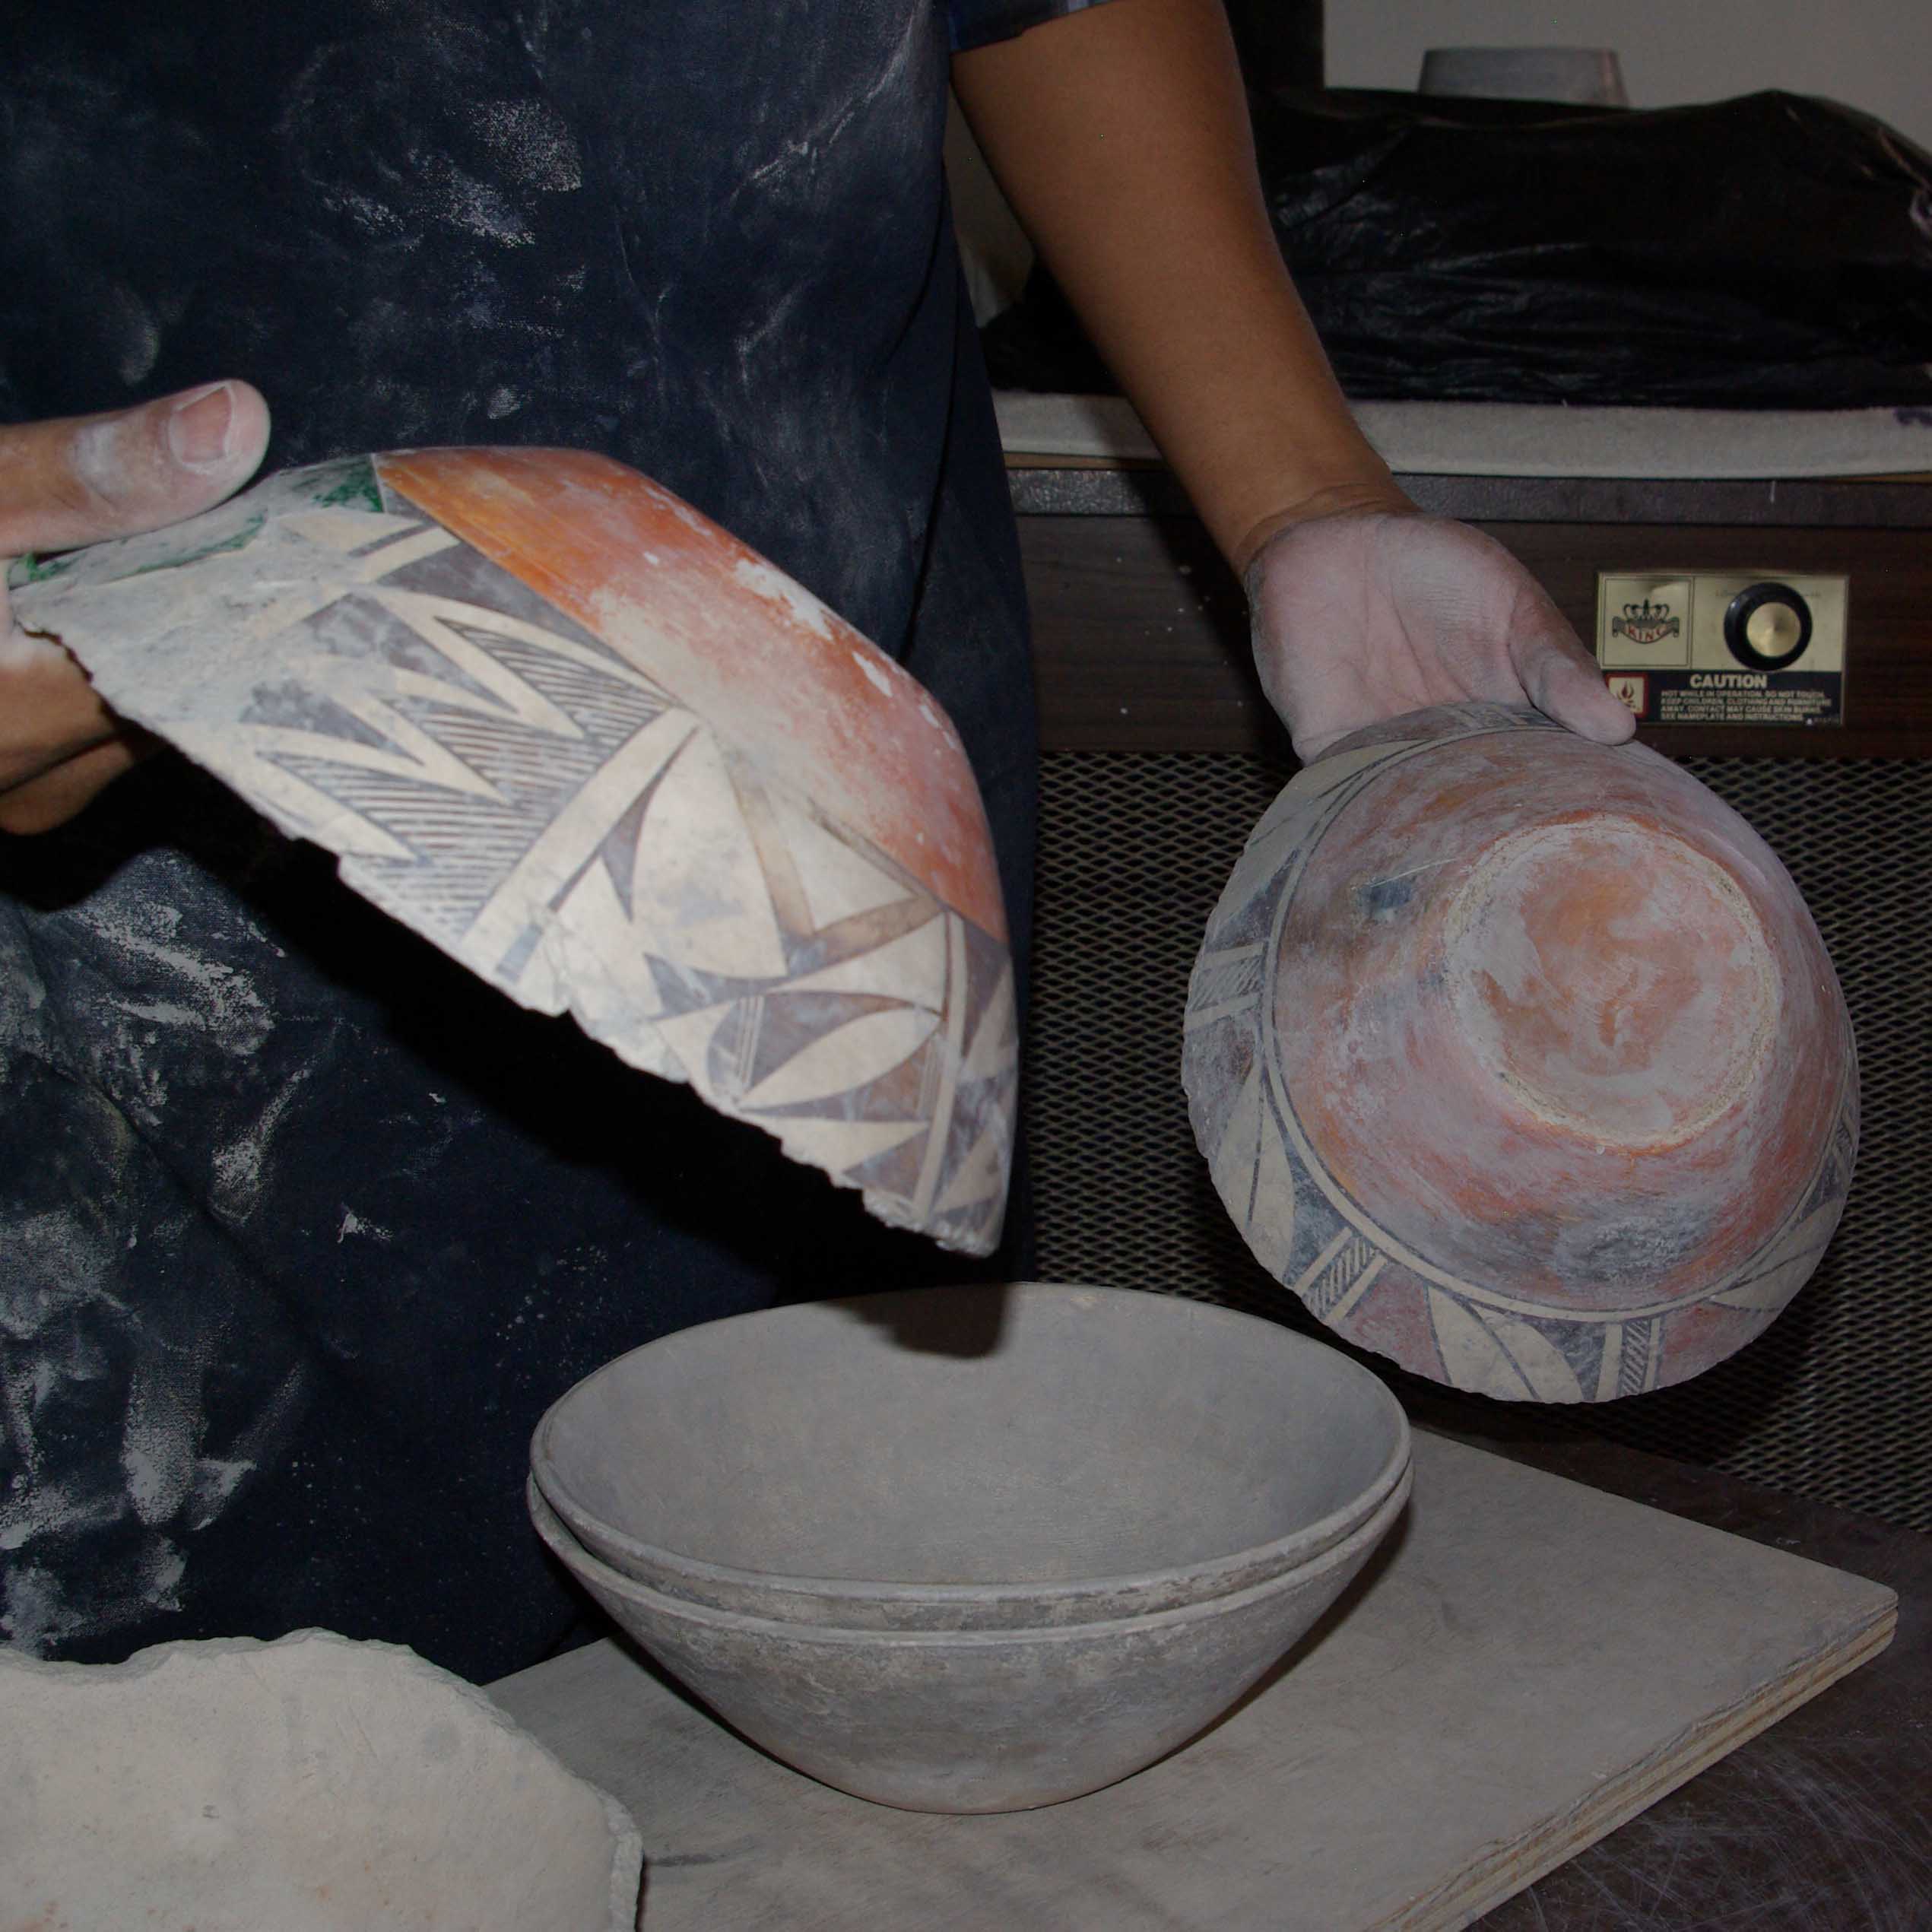
Old pieces of pottery used as a form to start the pot also called "Base Bowls"

From right to left, the yucca soaking to soften, the yucca chewed to reveal fibers, the yucca trimmed and ready to use for painting
Clay in rock form

Clay soaking to break up the hard bits and to make it malleable in preparation for sun drying and coarse grinding
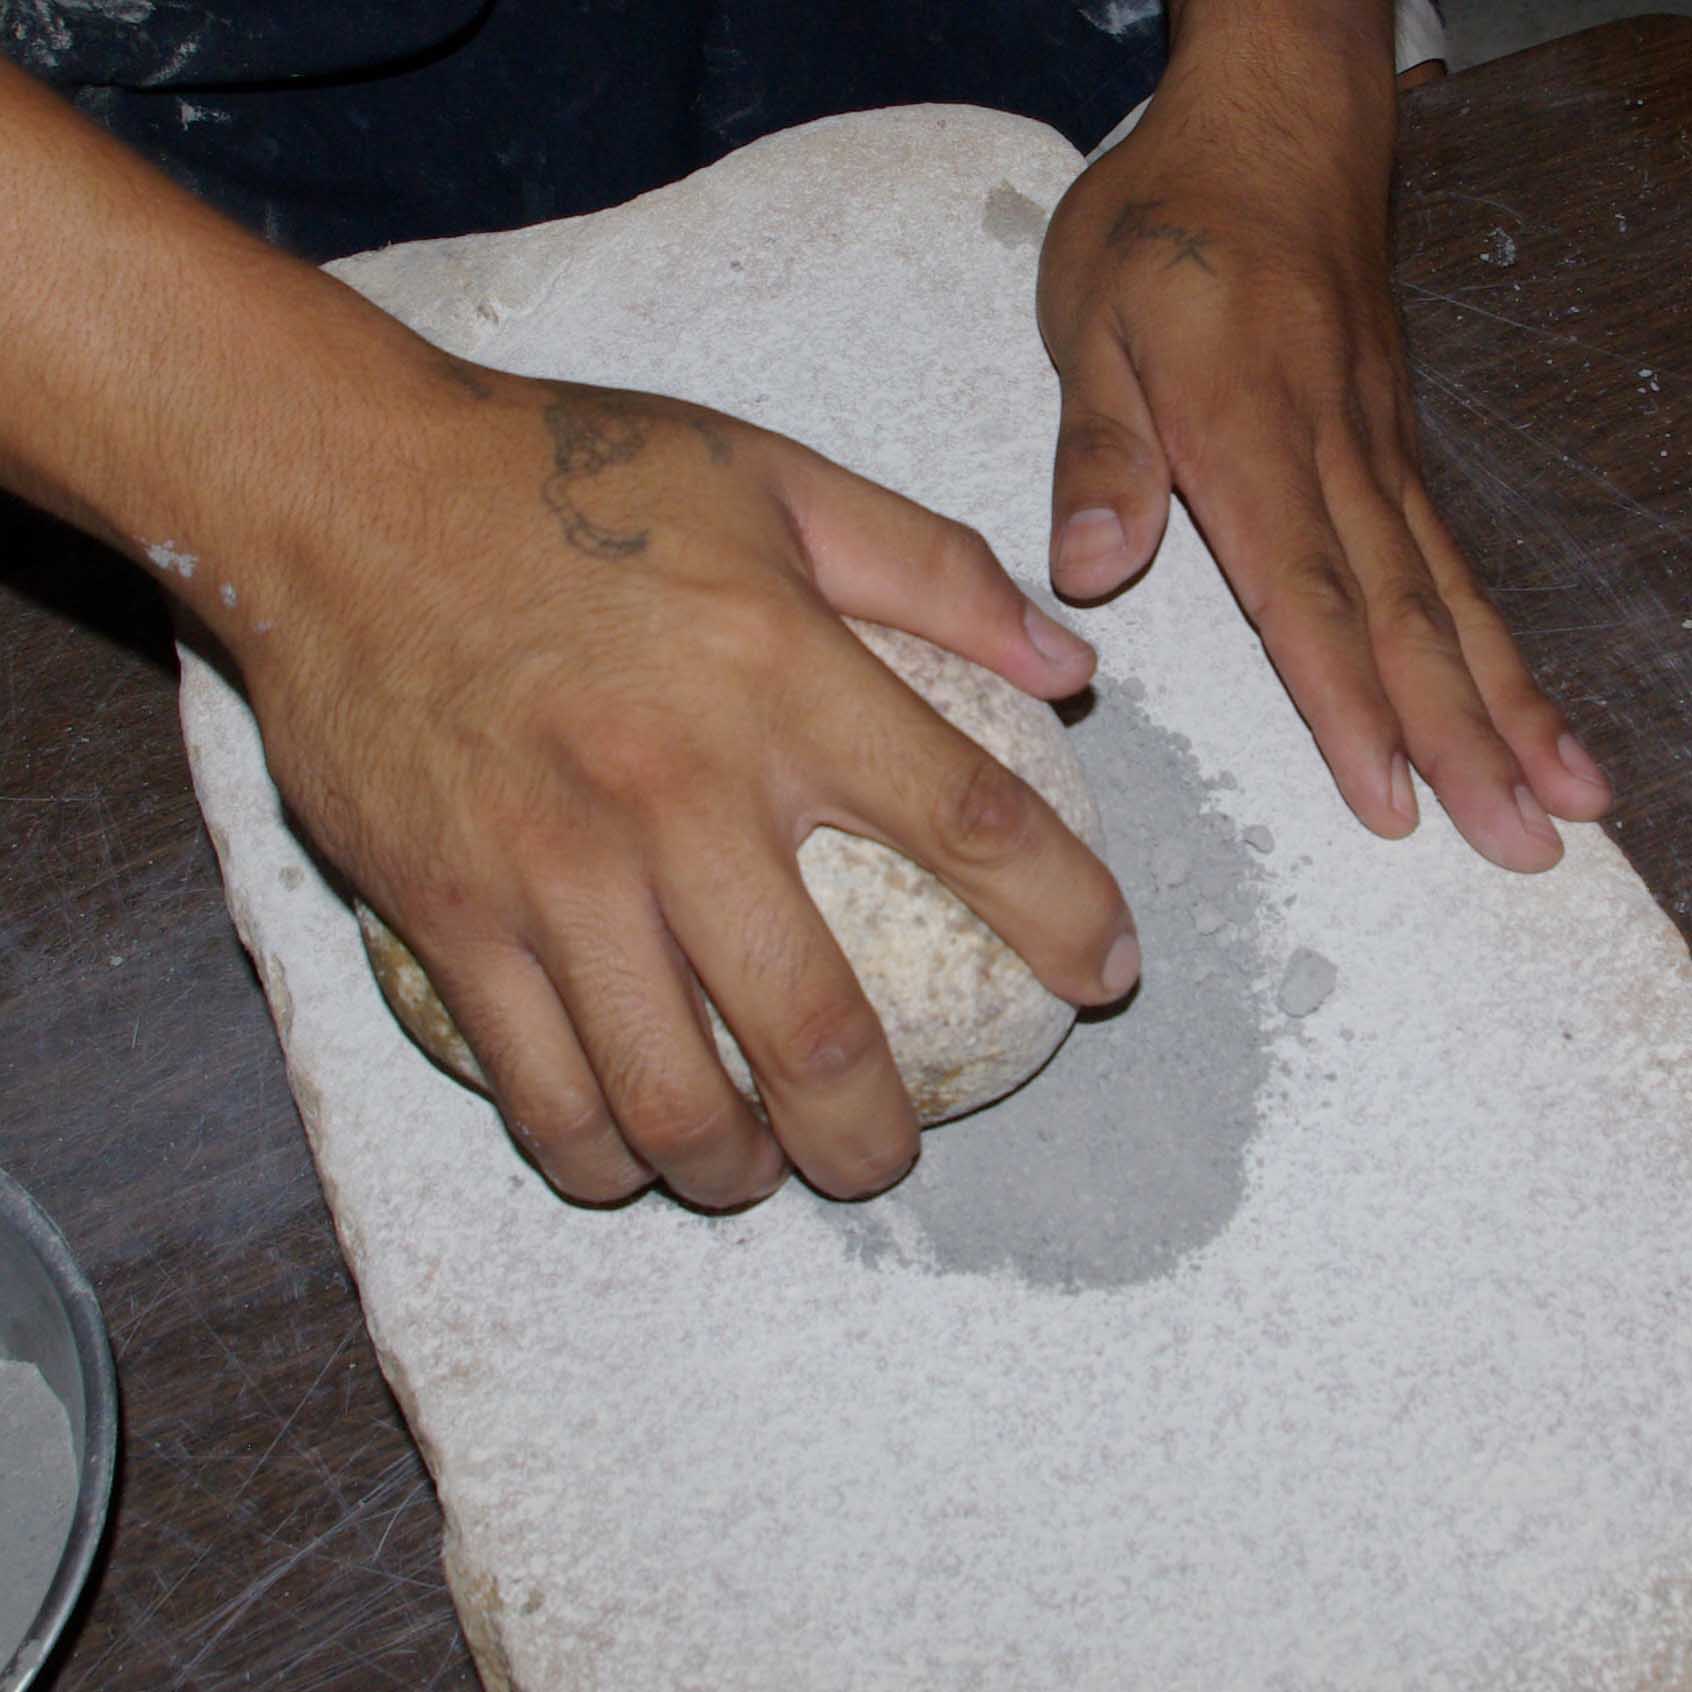
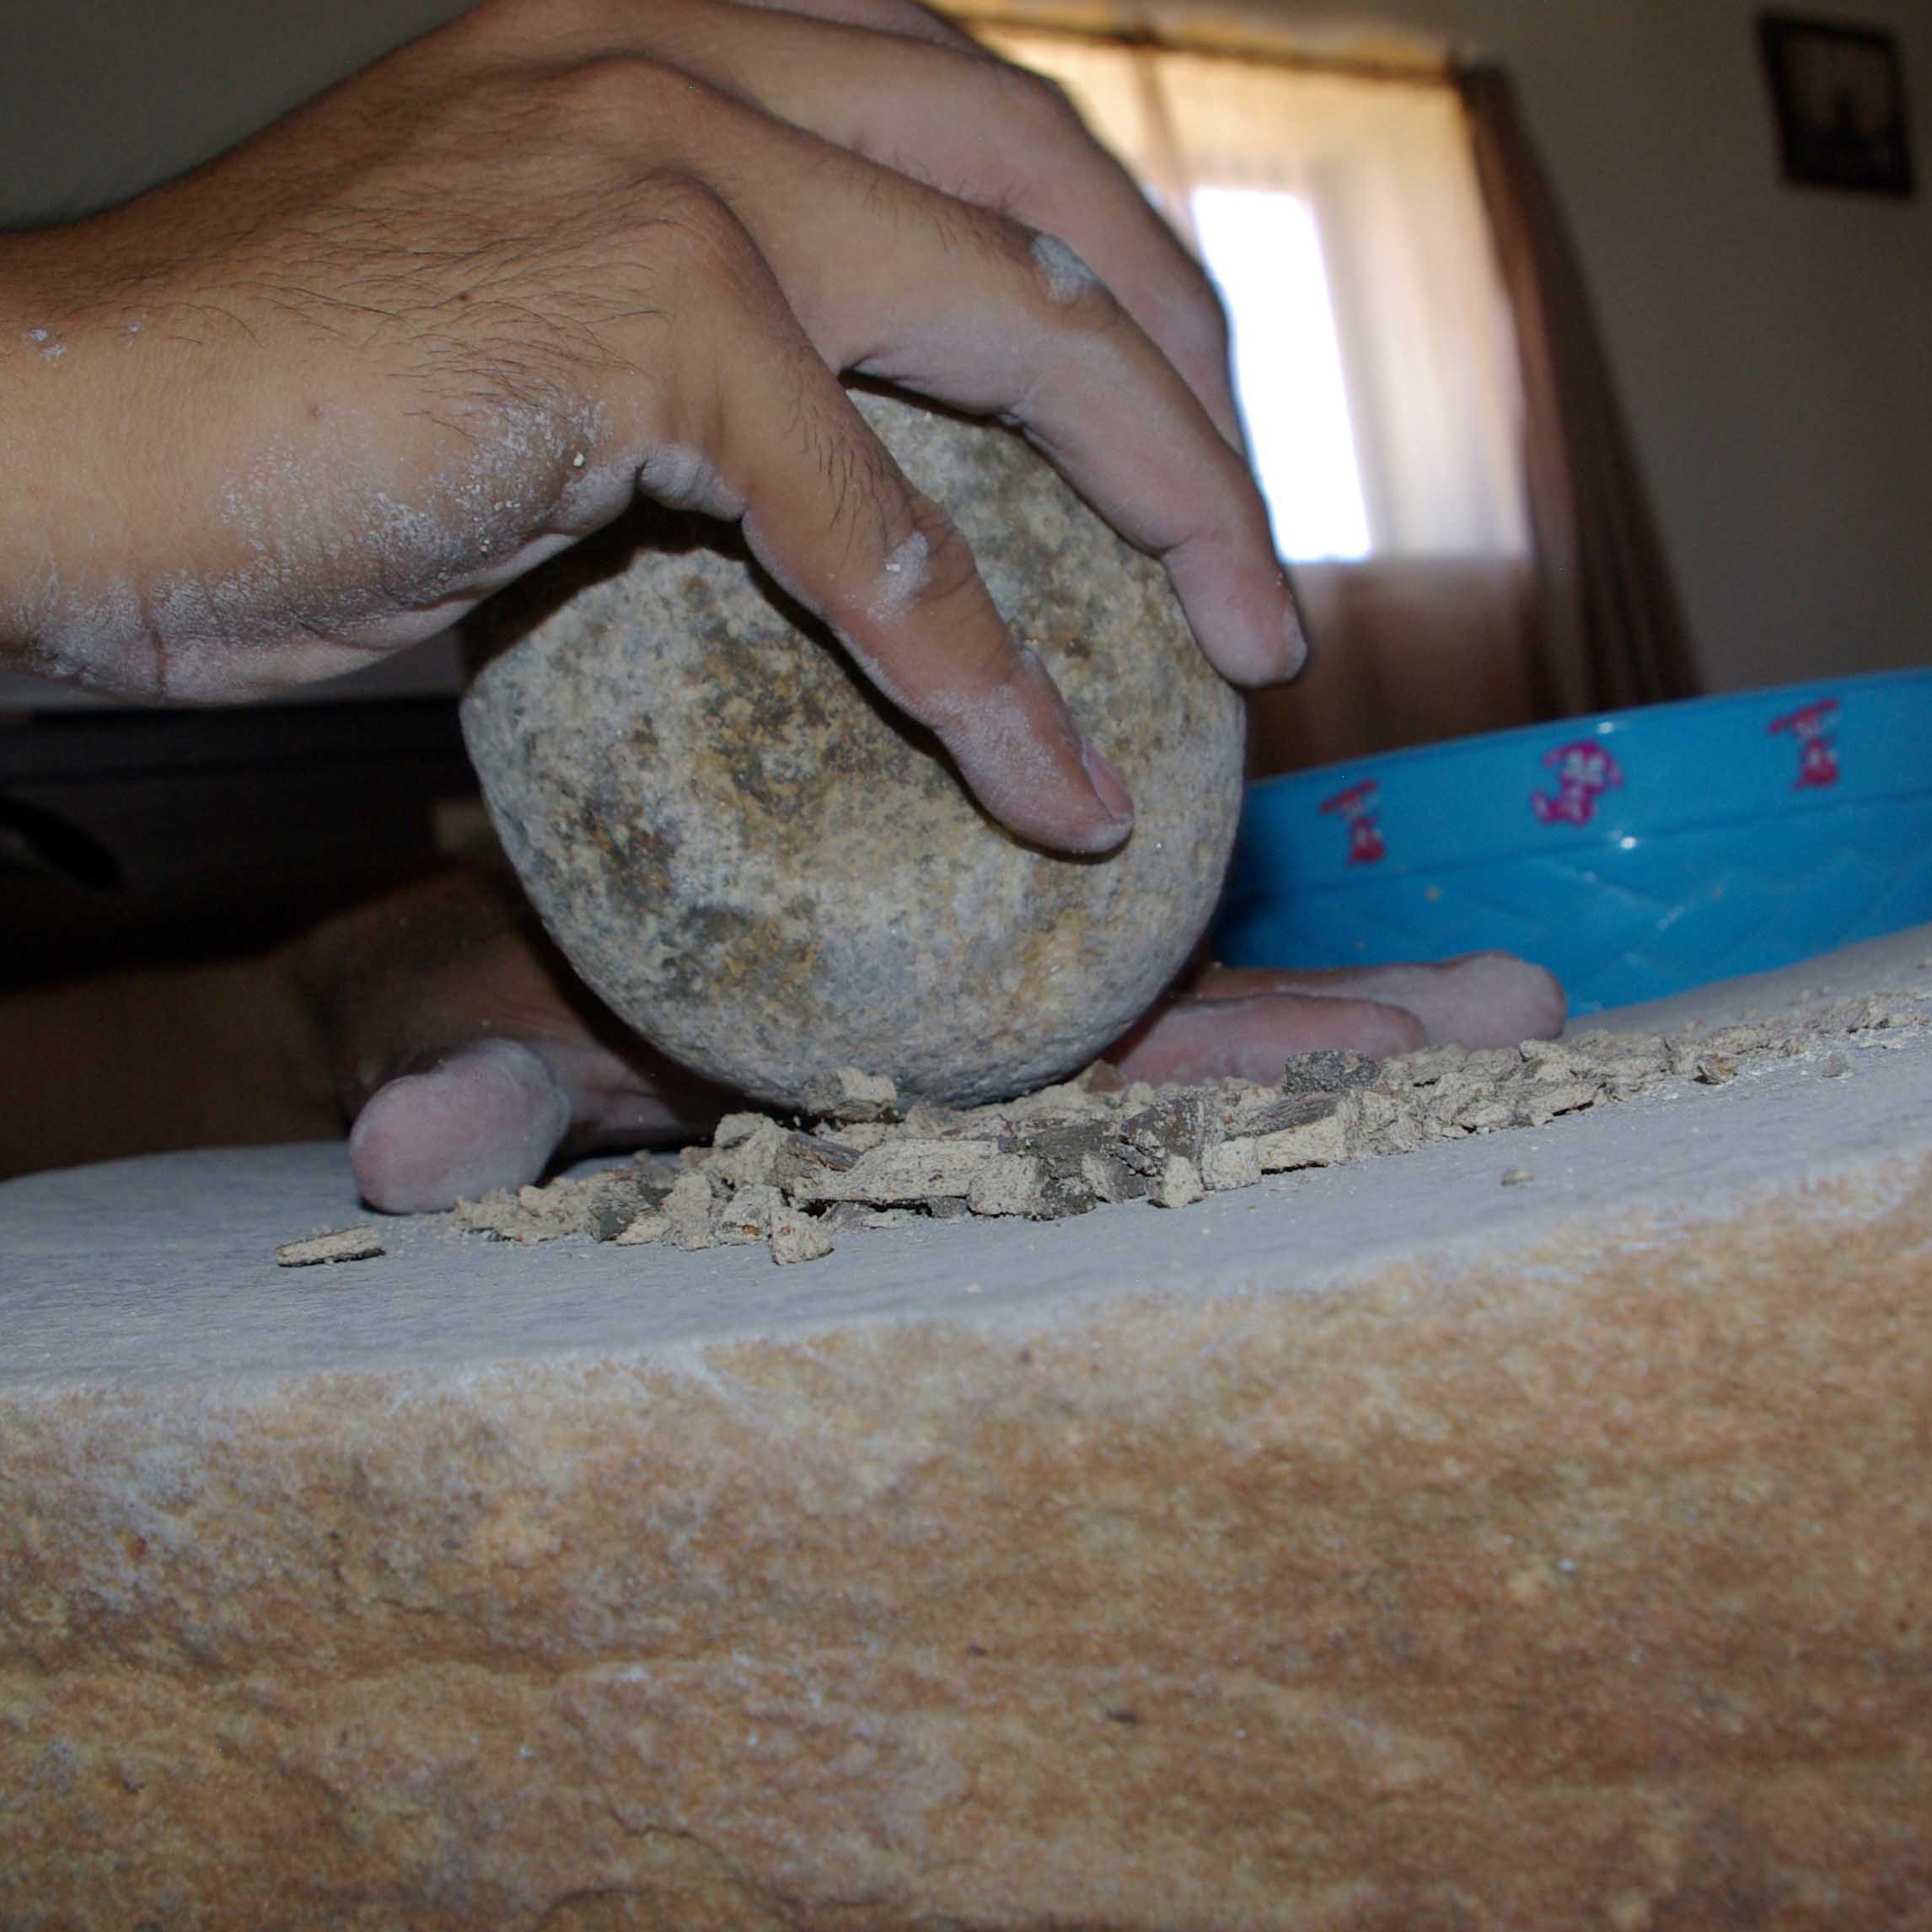
Grinding the dry clay chunks into powder
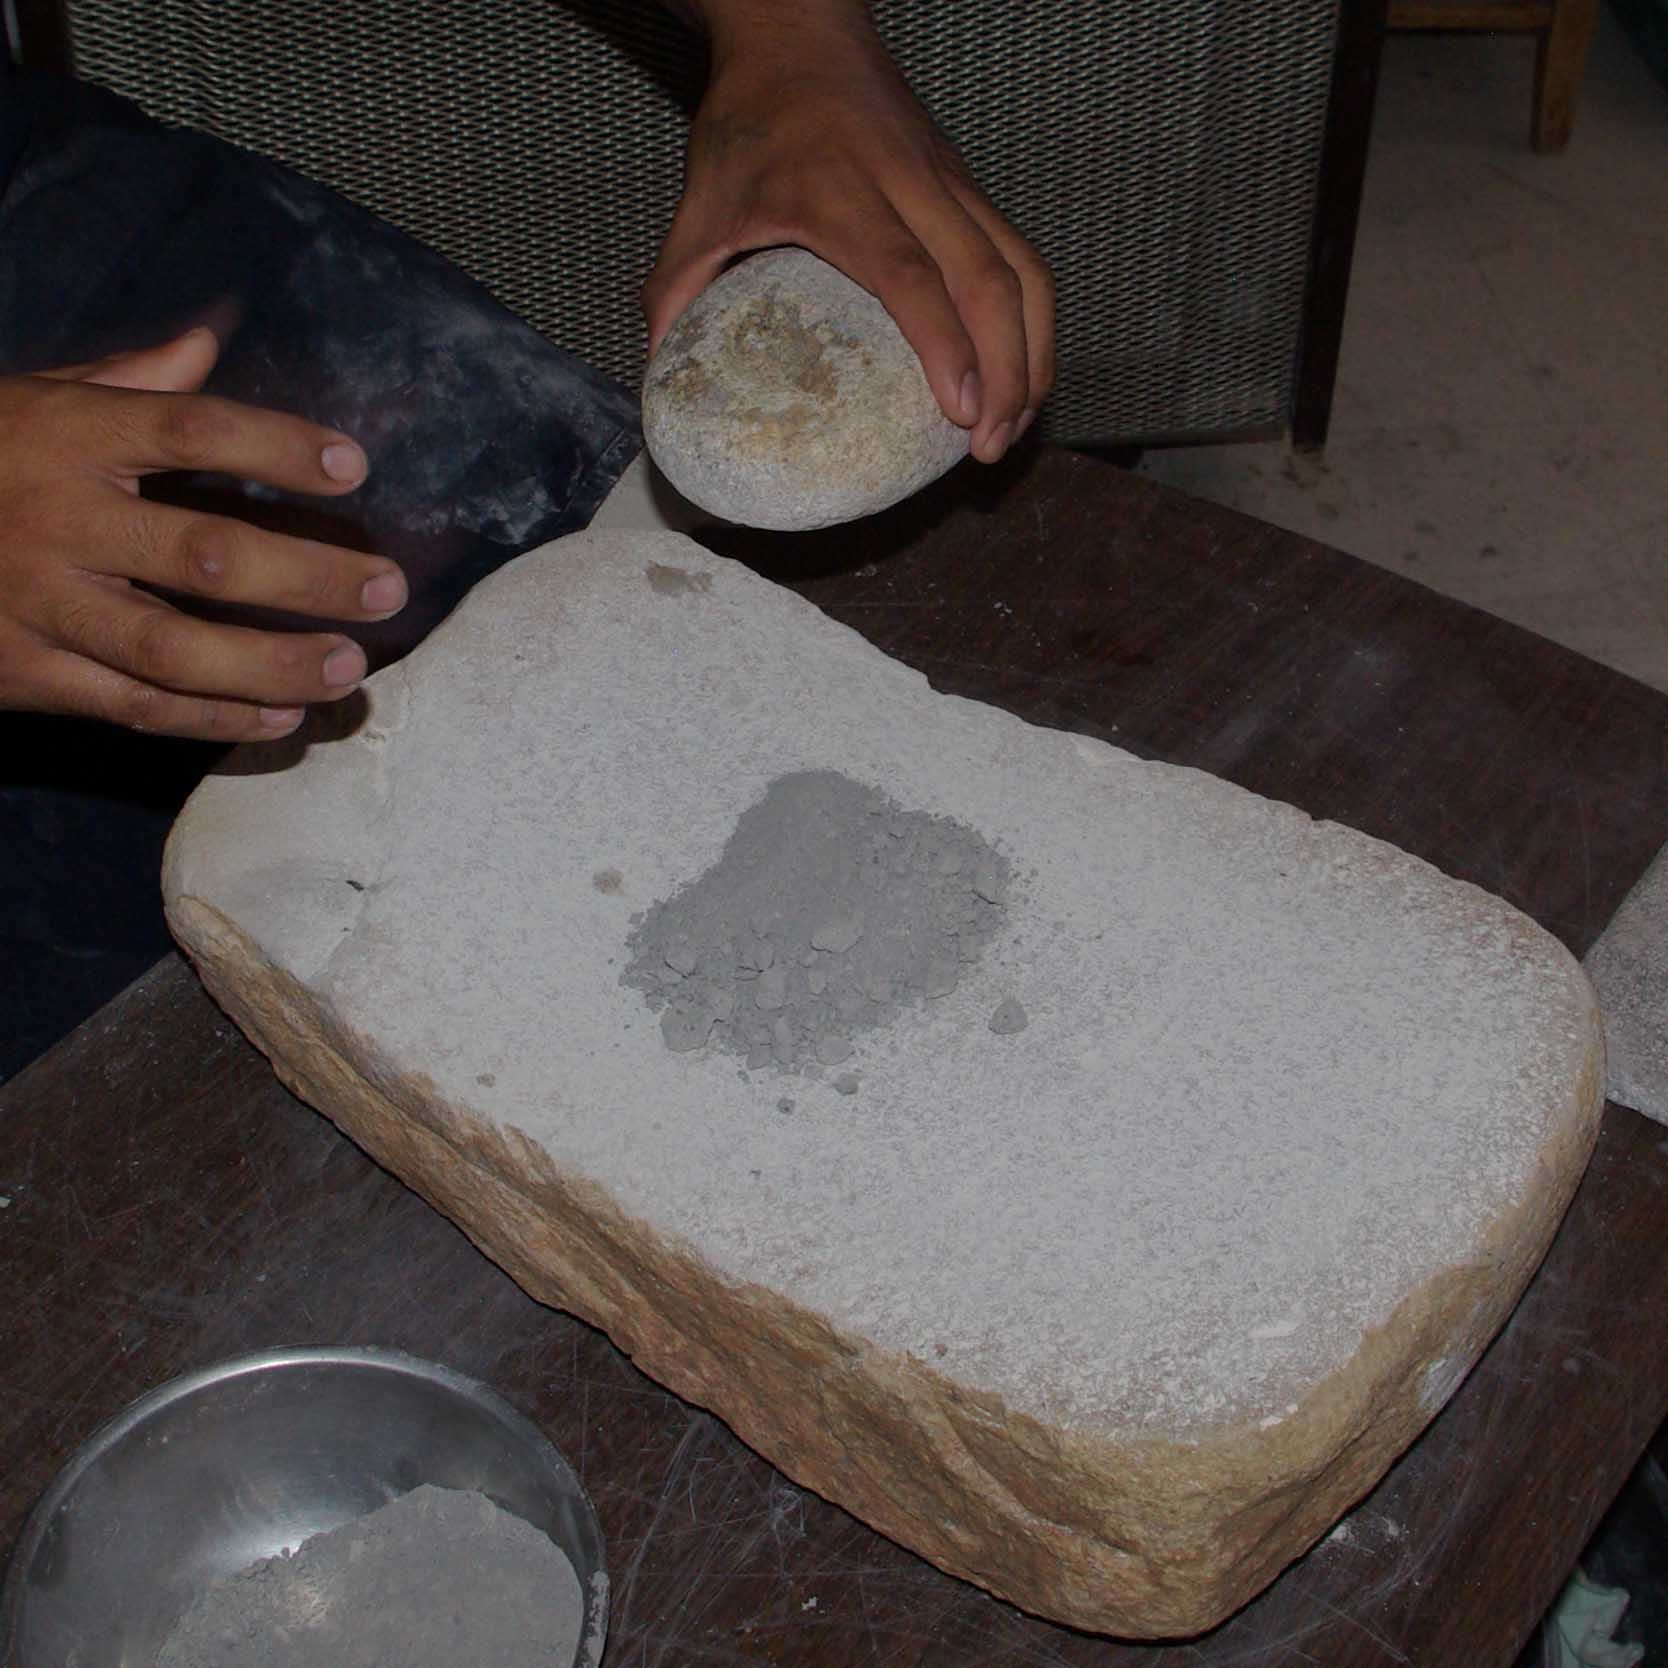
Grinding the dry clay chunks to powder
Grinding the dry clay chunks to powder

Grinding the dry clay chunks to powder
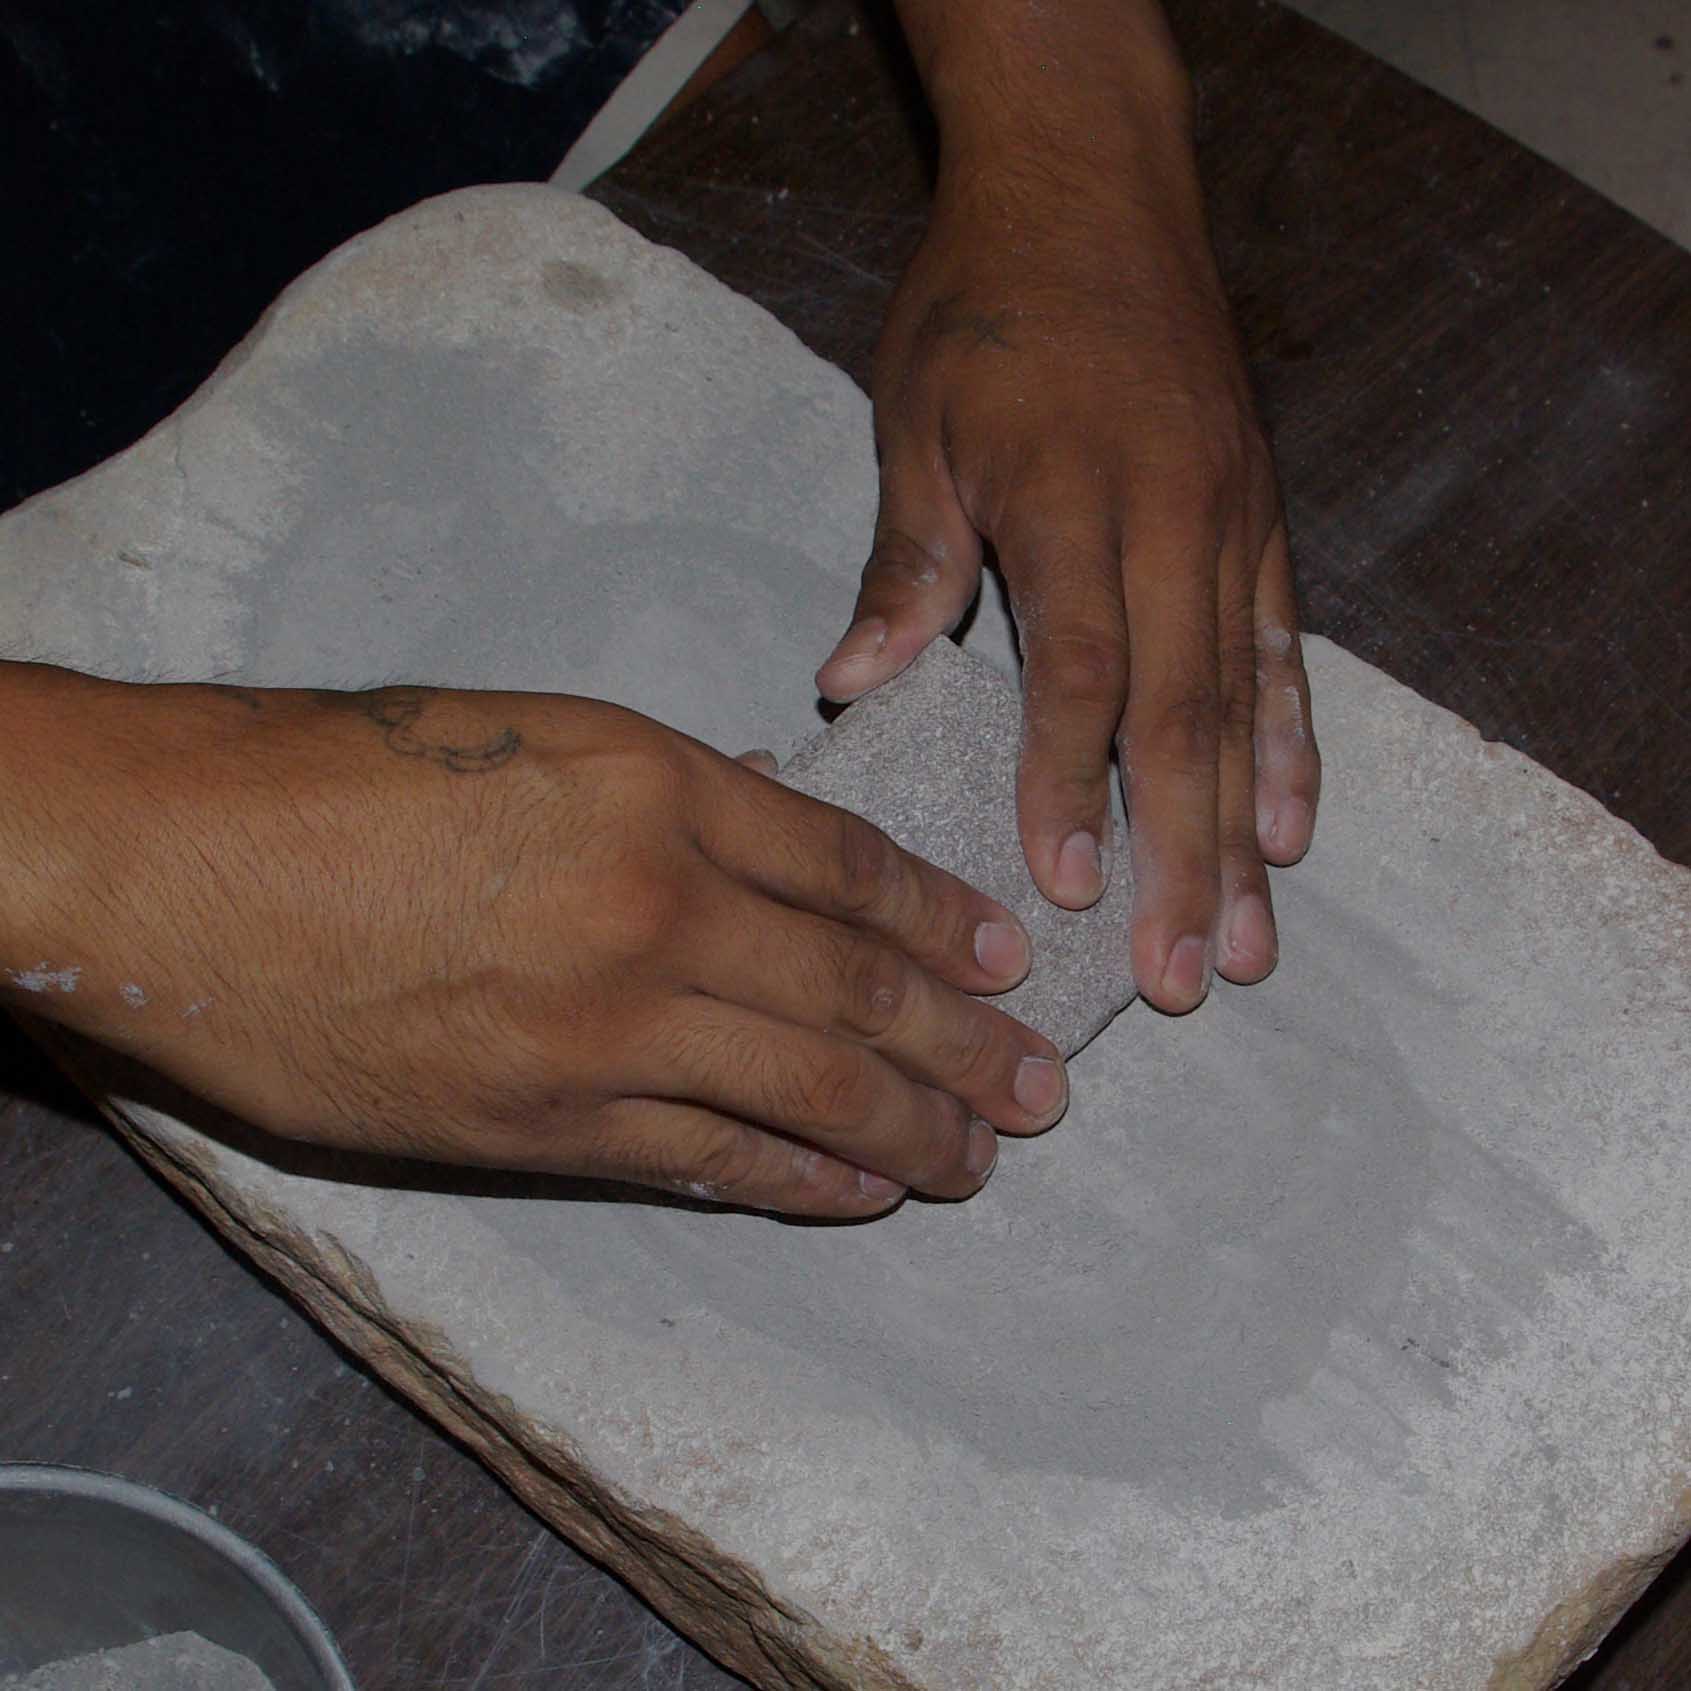
Grinding the dry clay chunks to powder
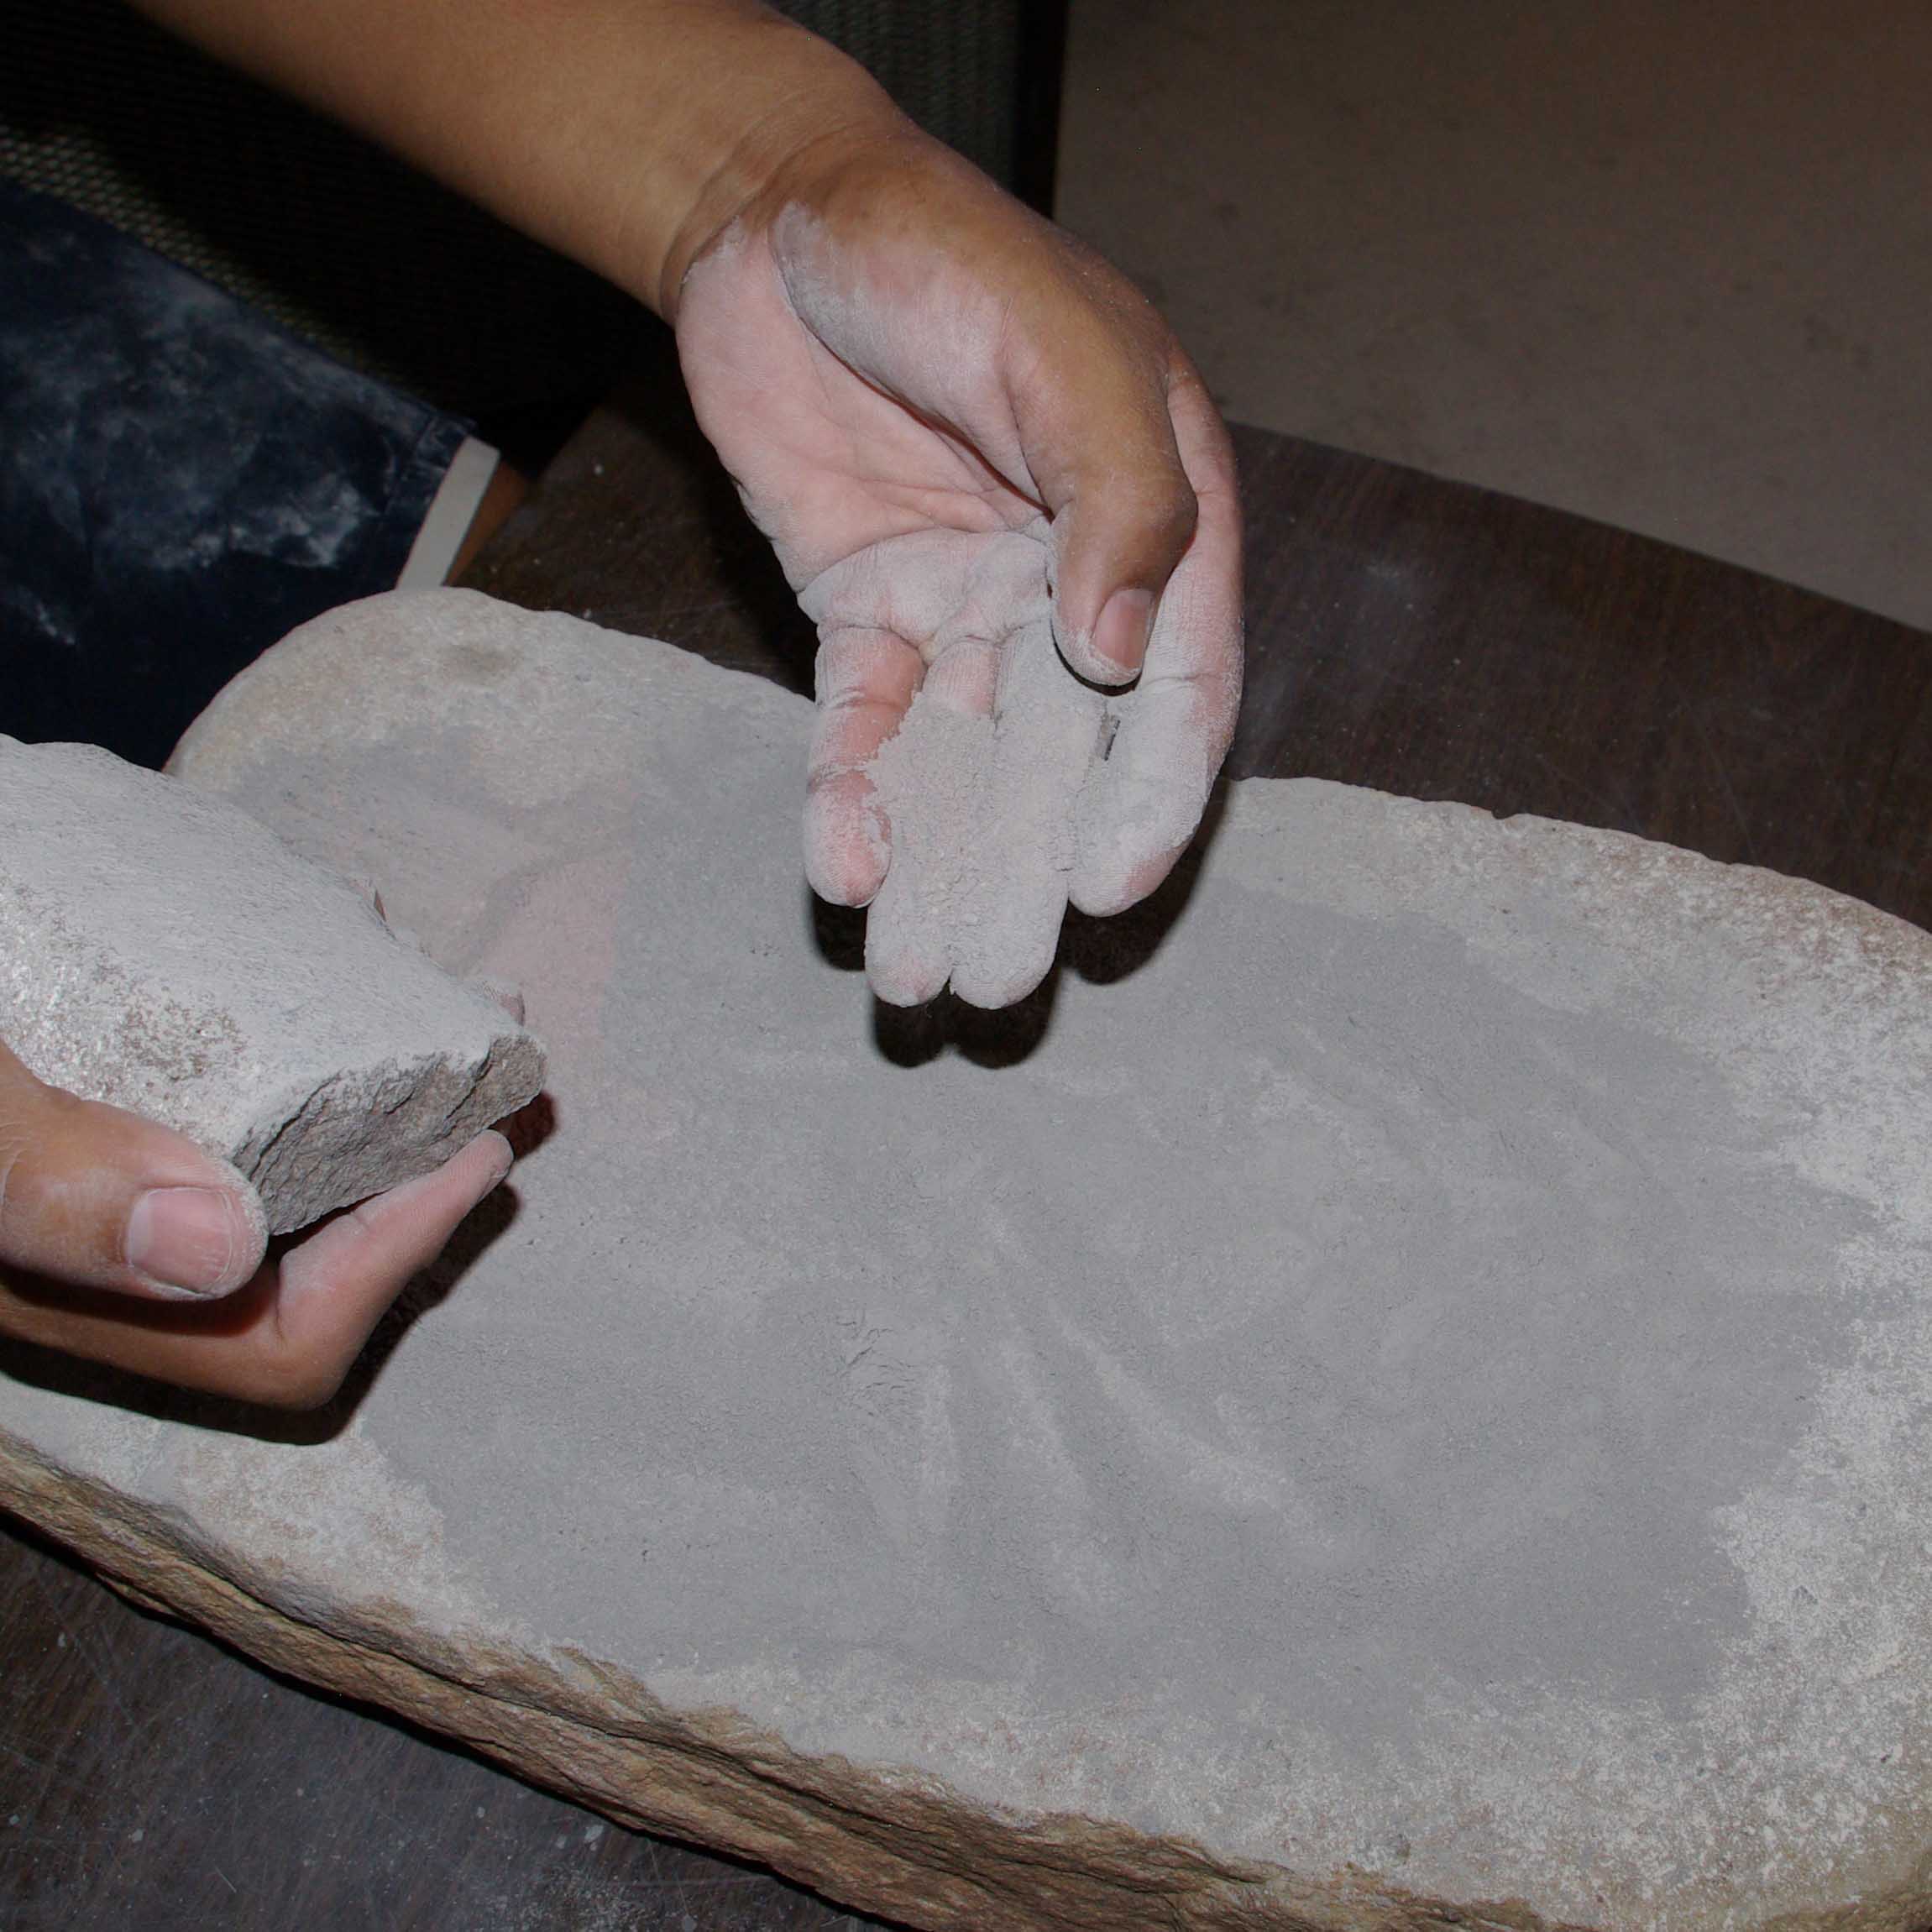
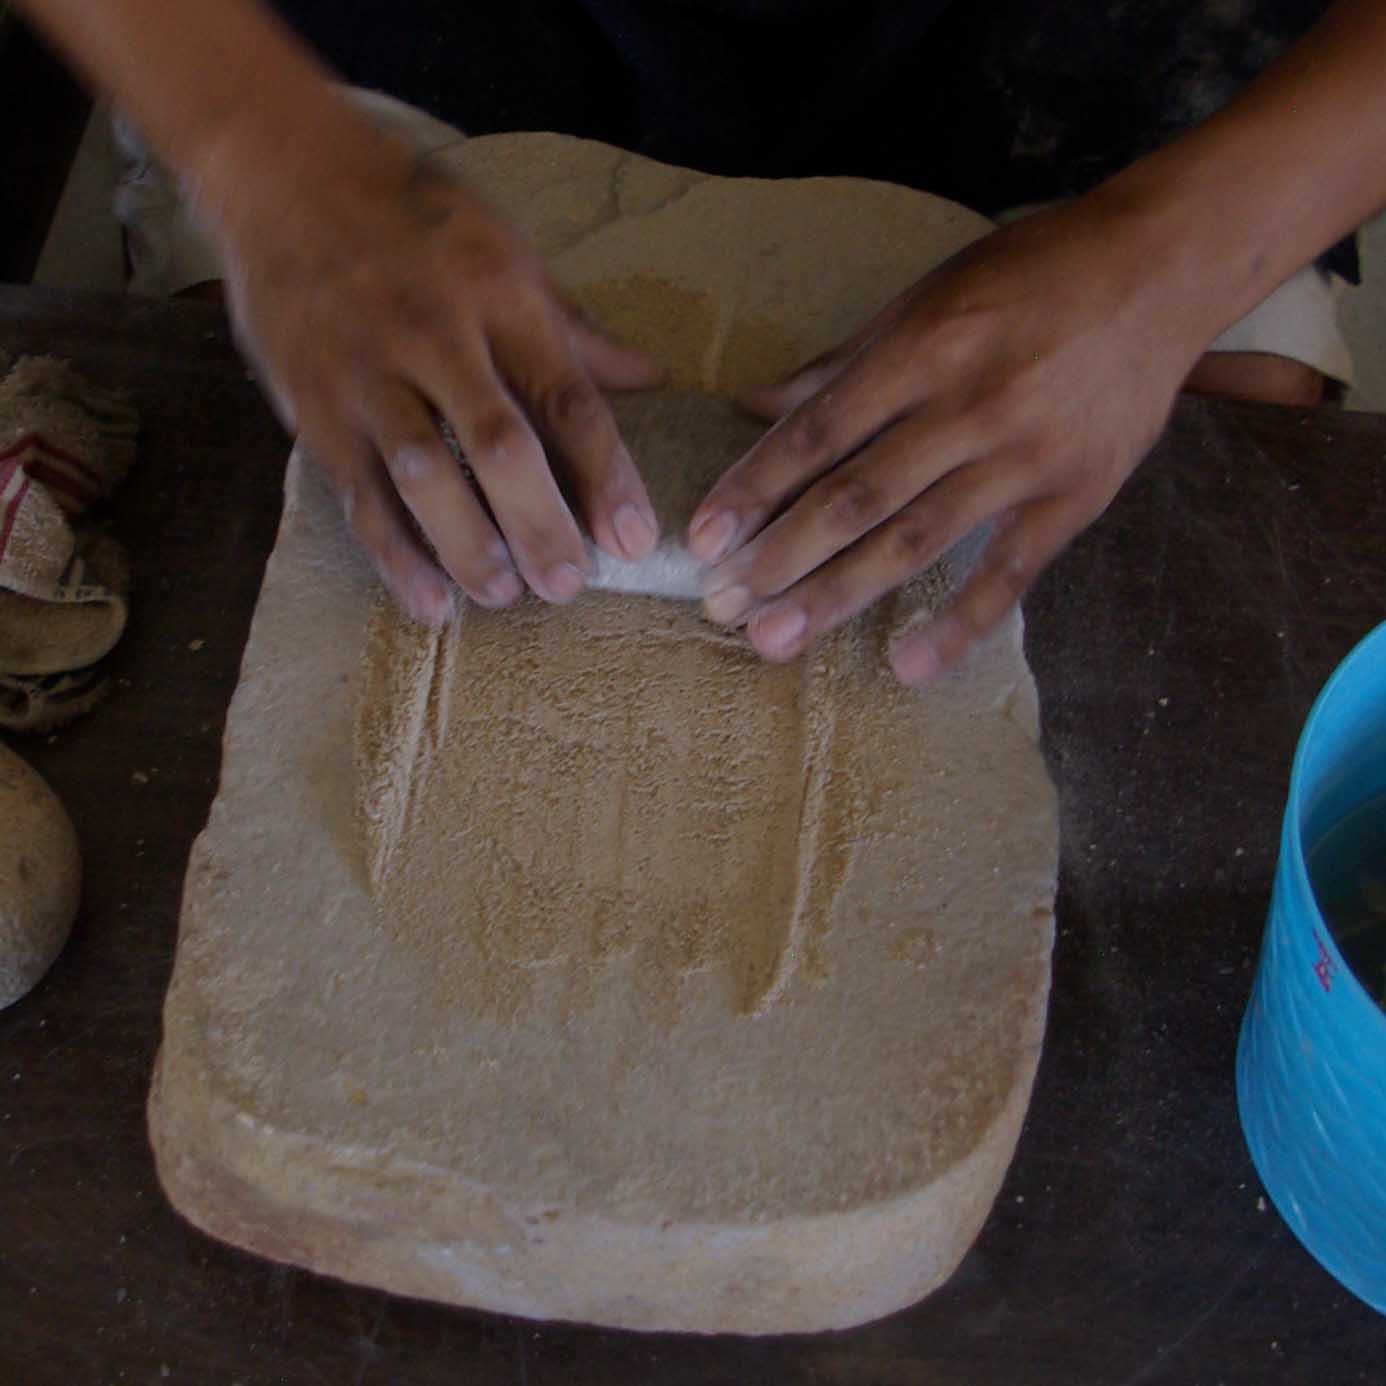
Clay ground to the correct fine consistency
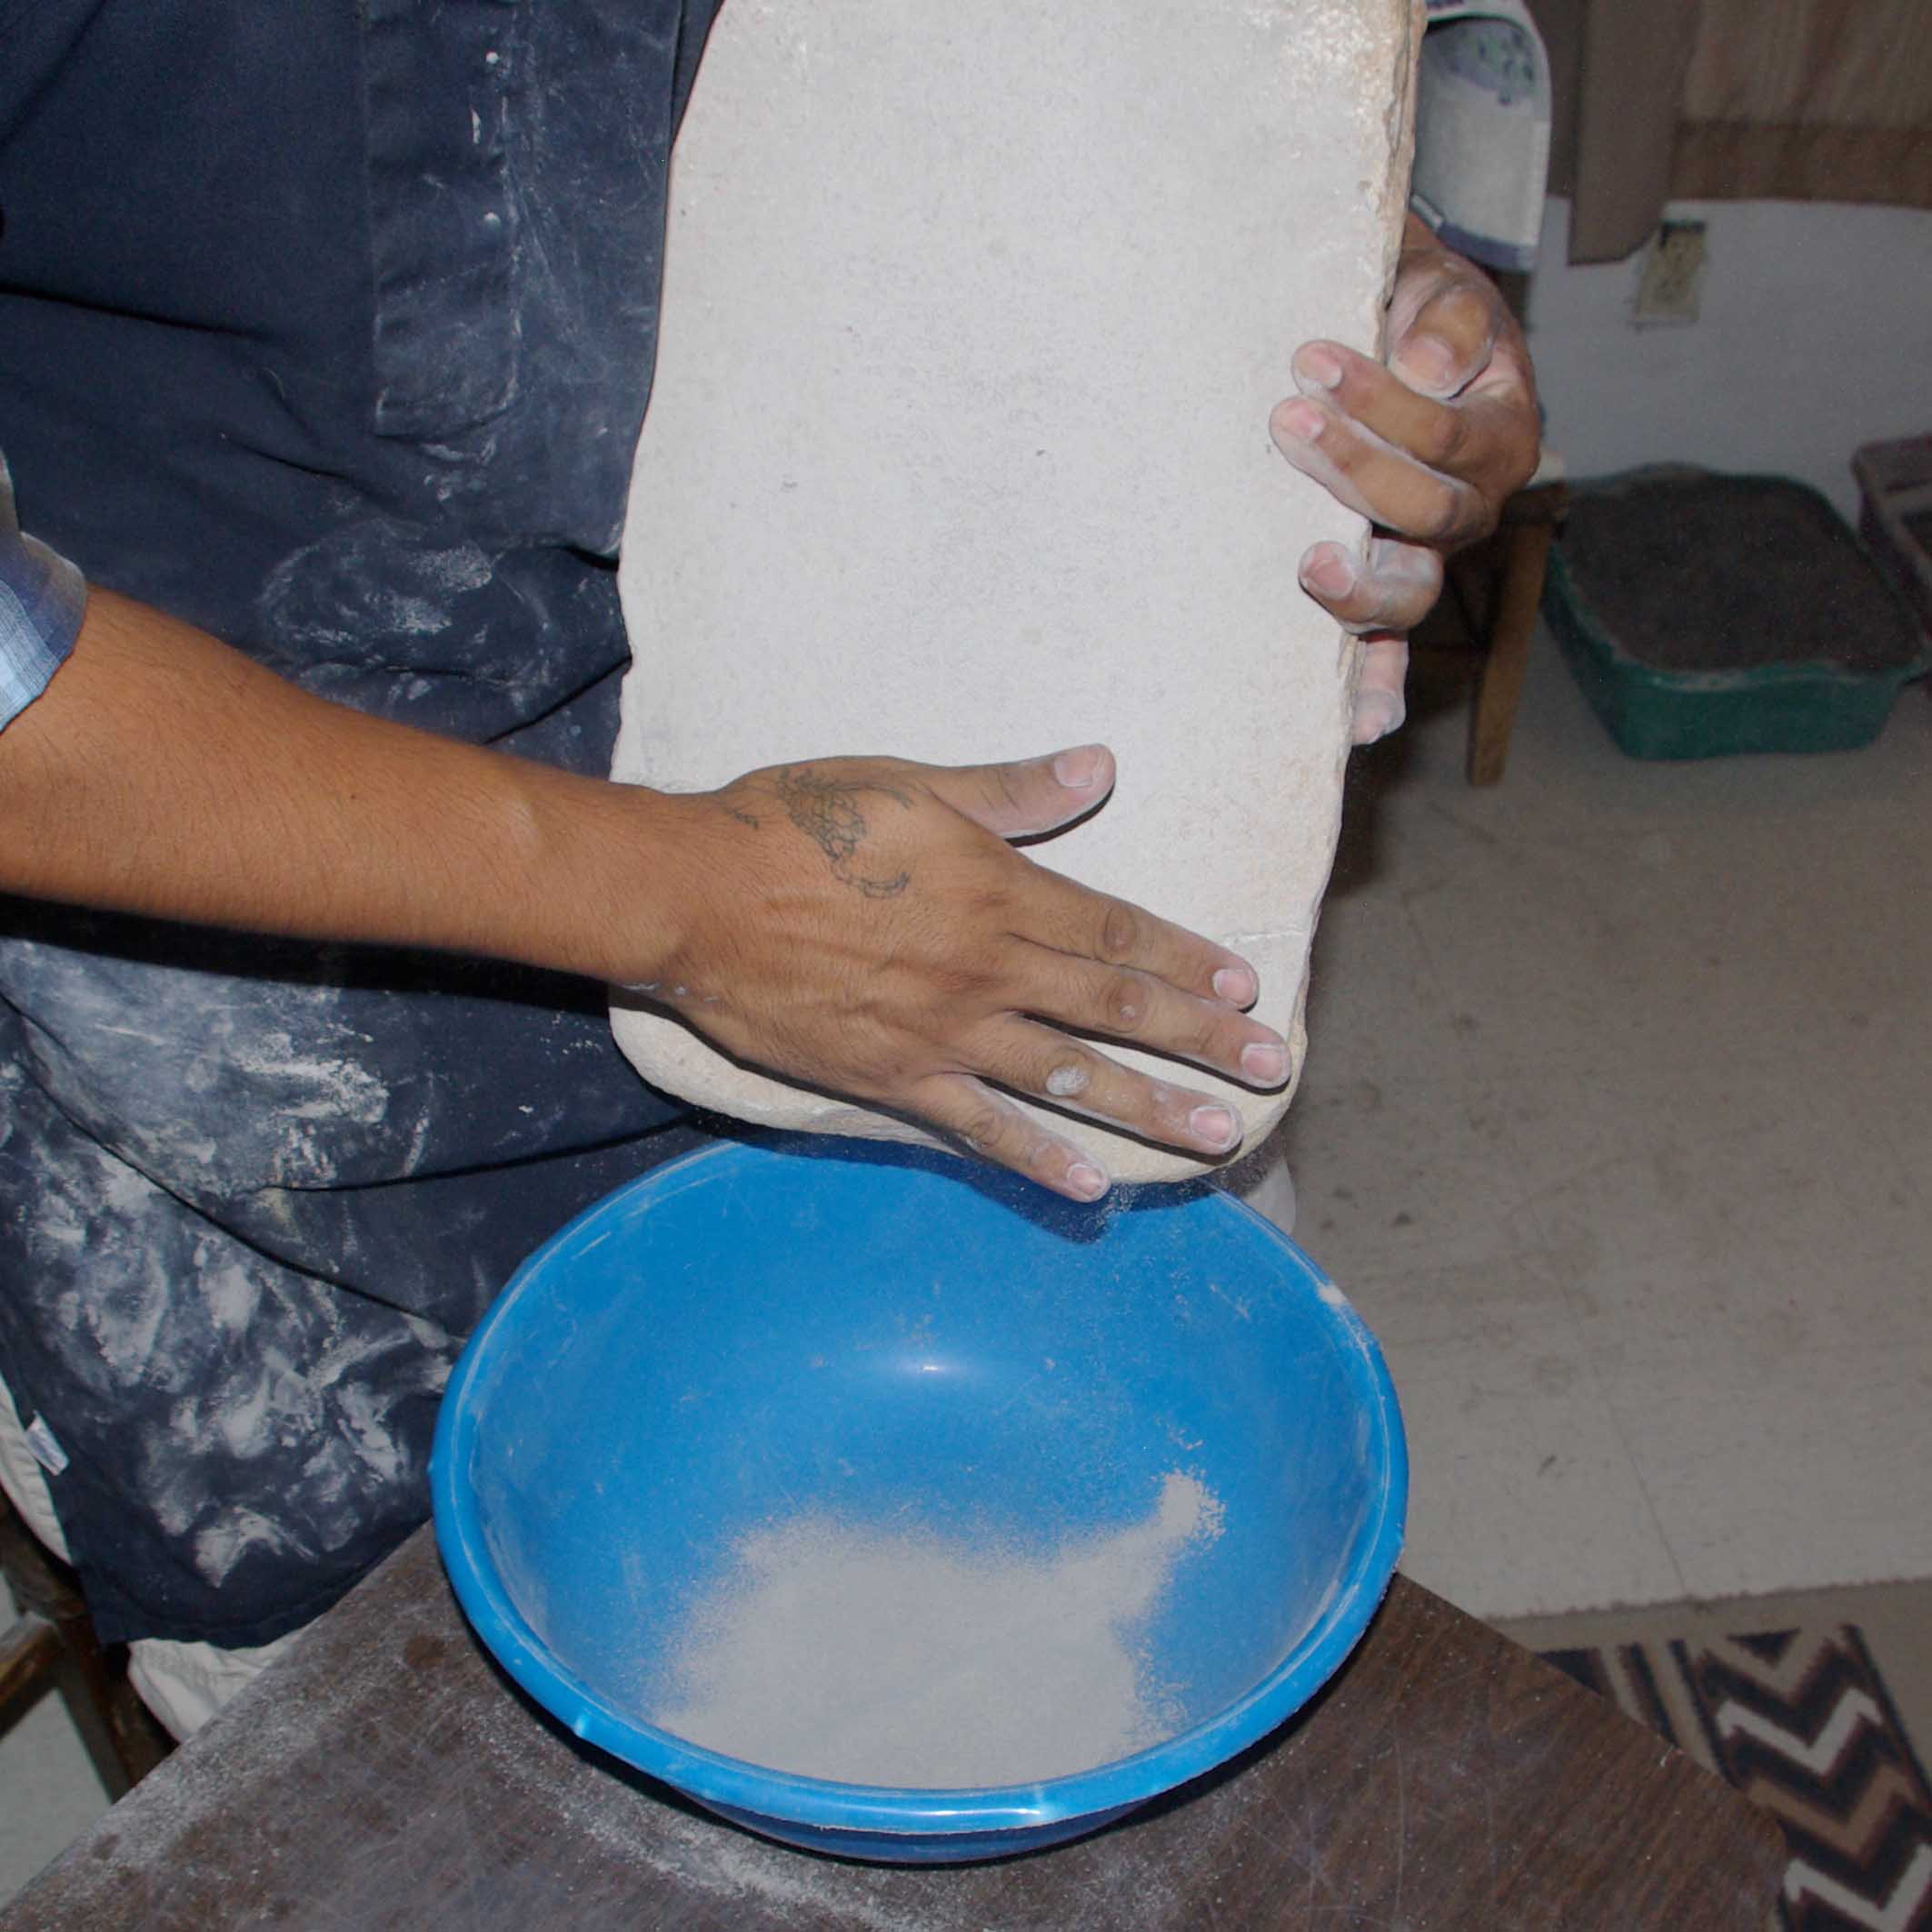
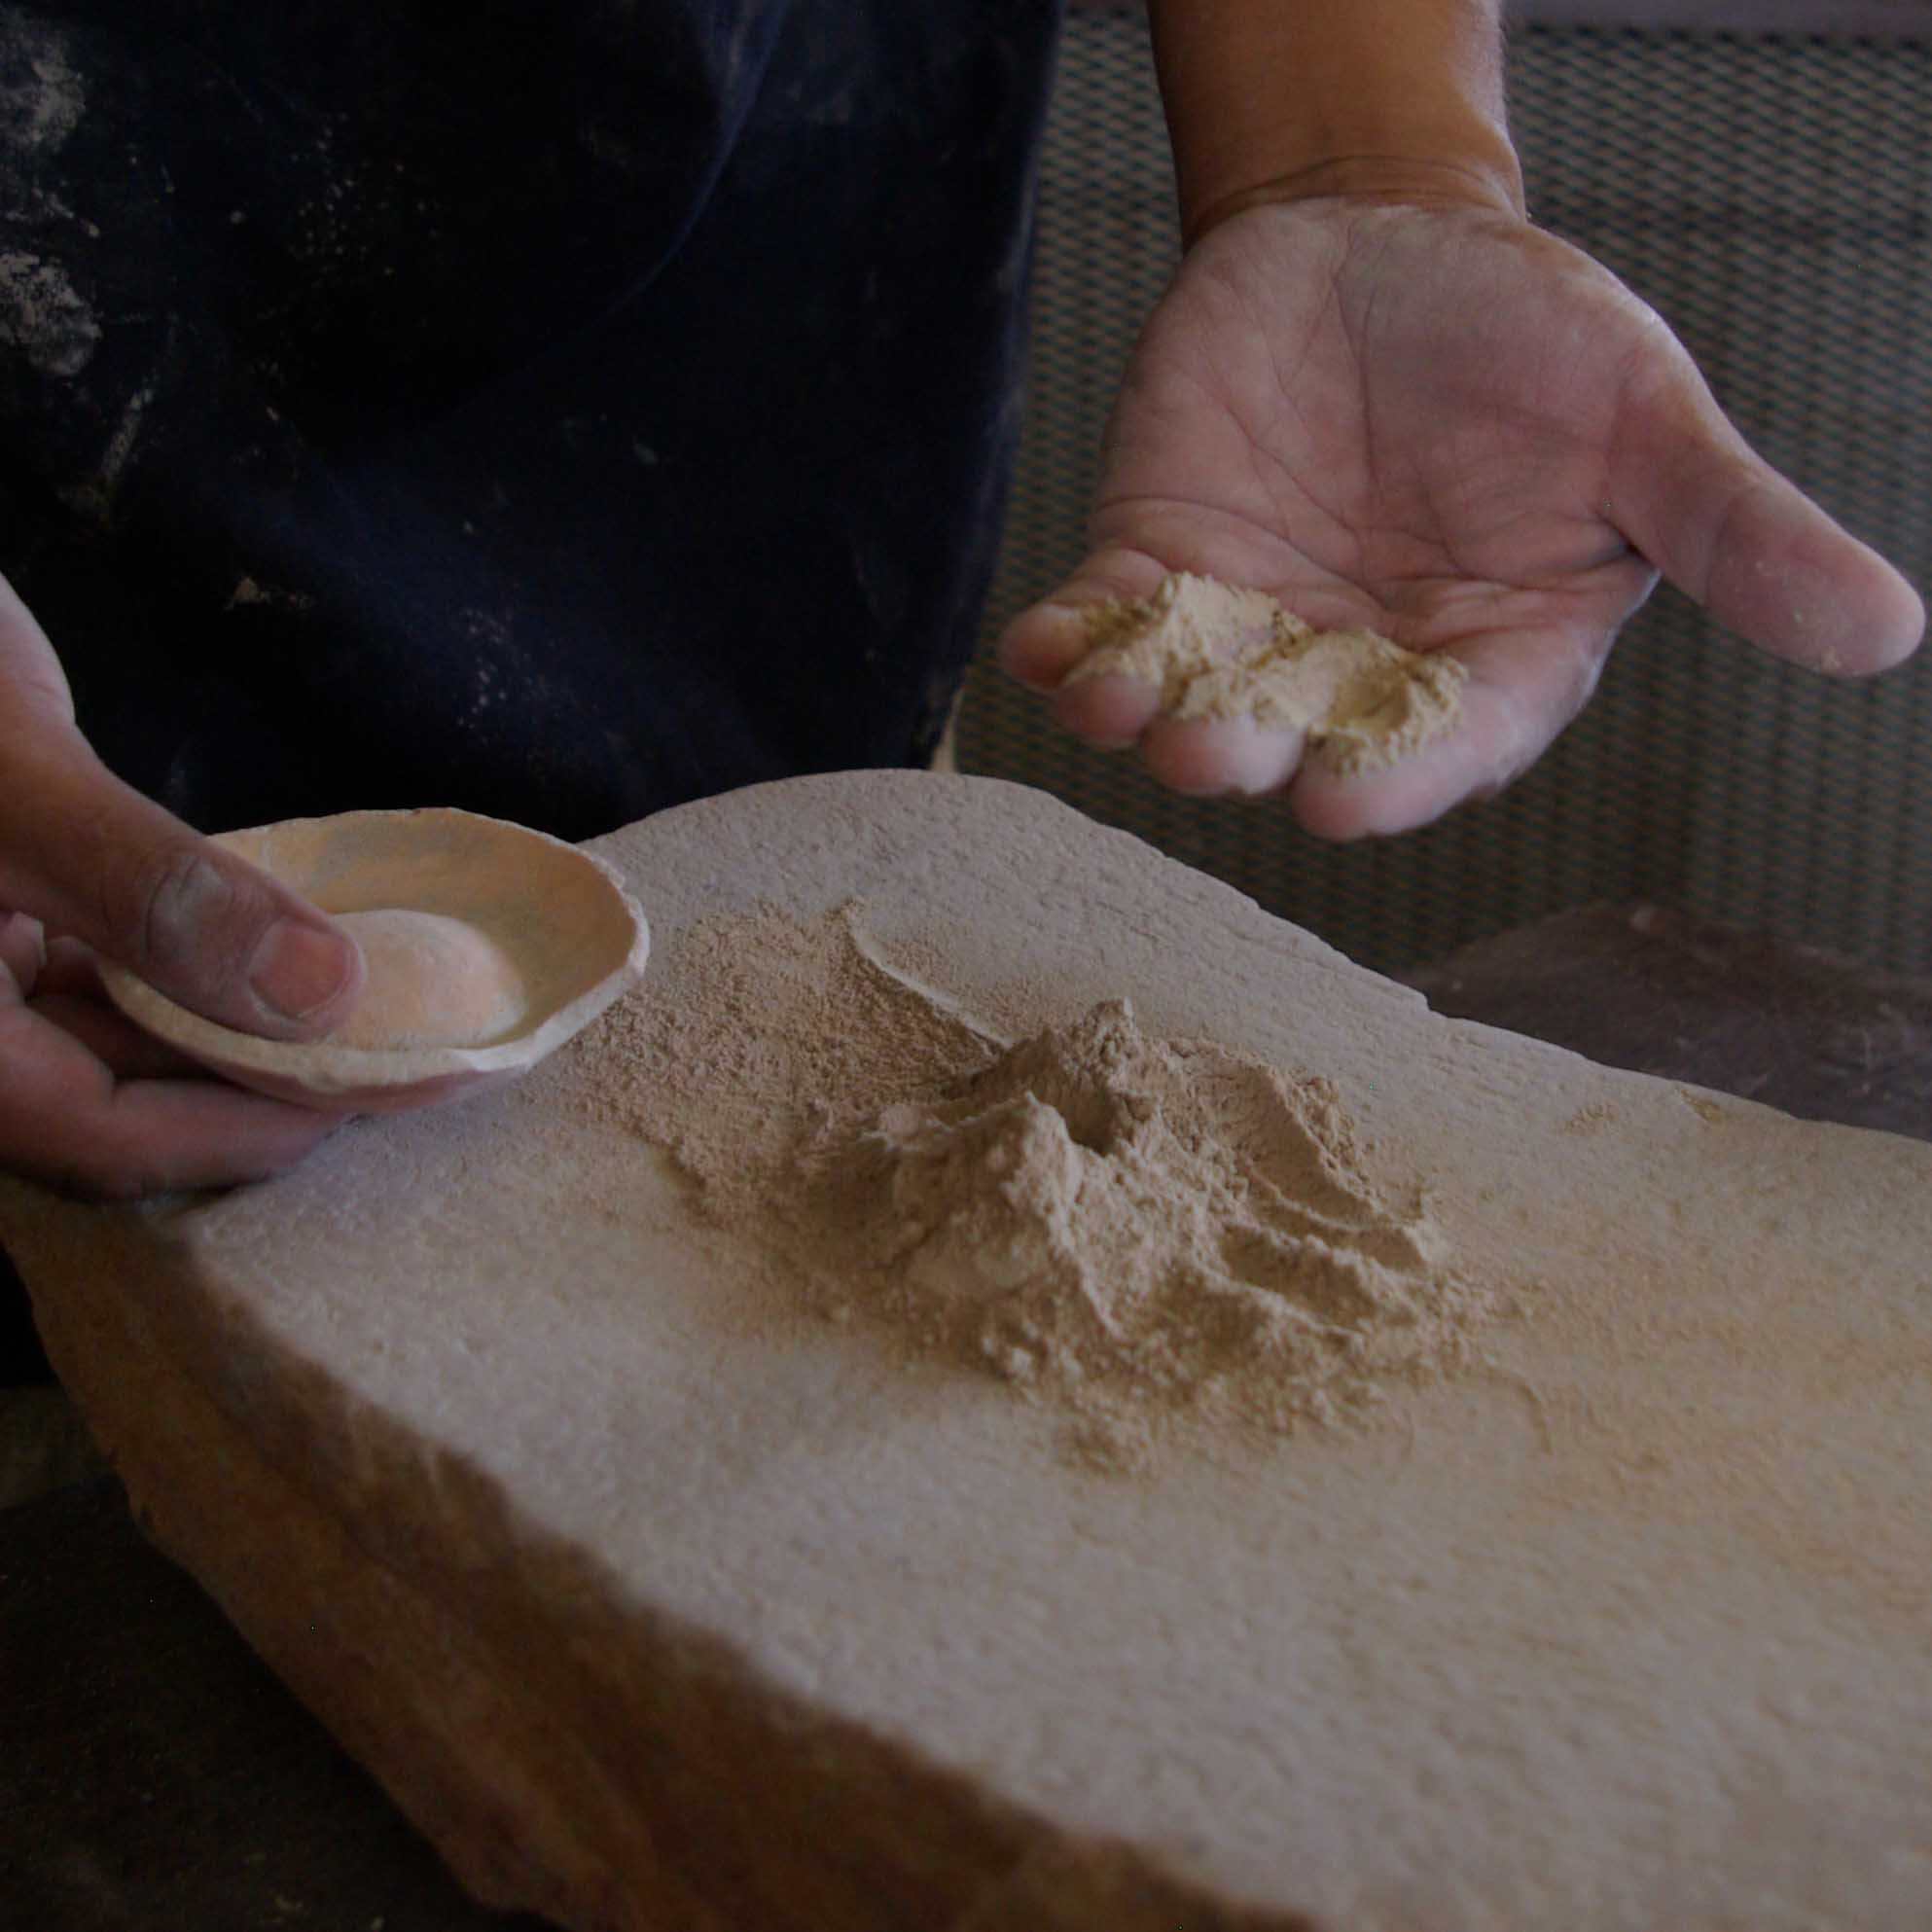
Ground clay powder being put into bowl
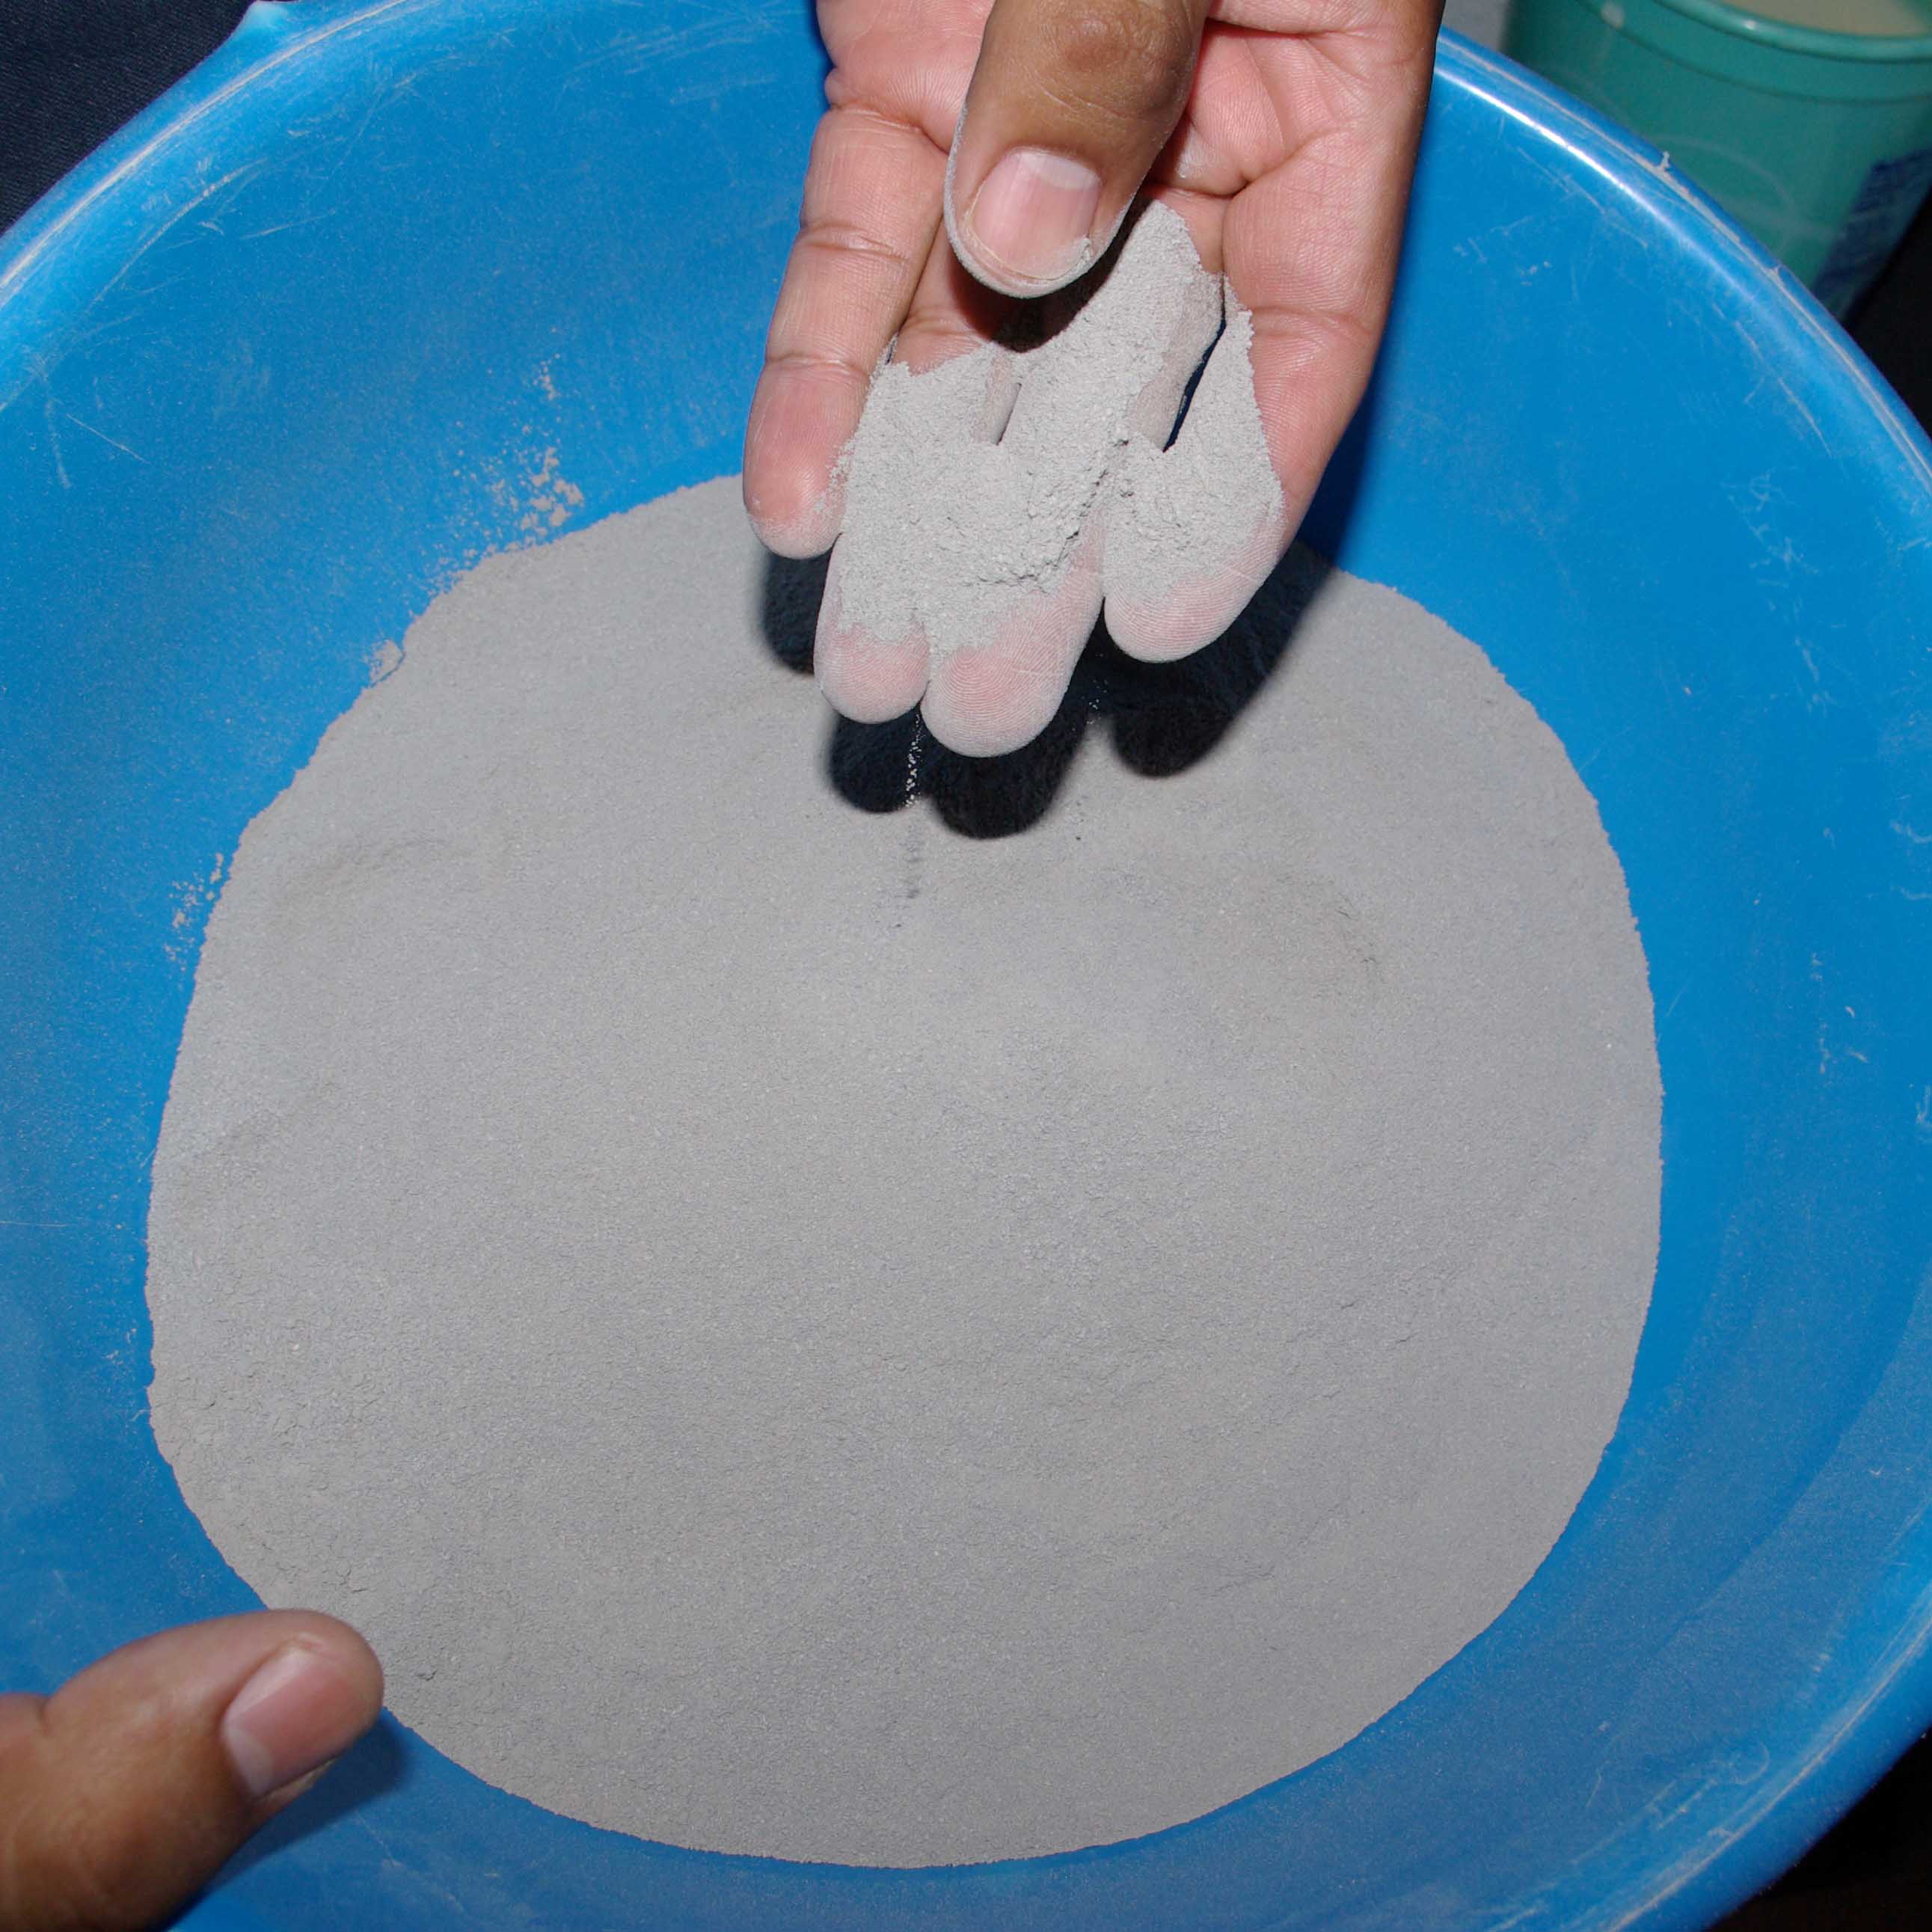
Finished dry ground clay
Pottery shards used for tempering (adding additional structural support) the clay
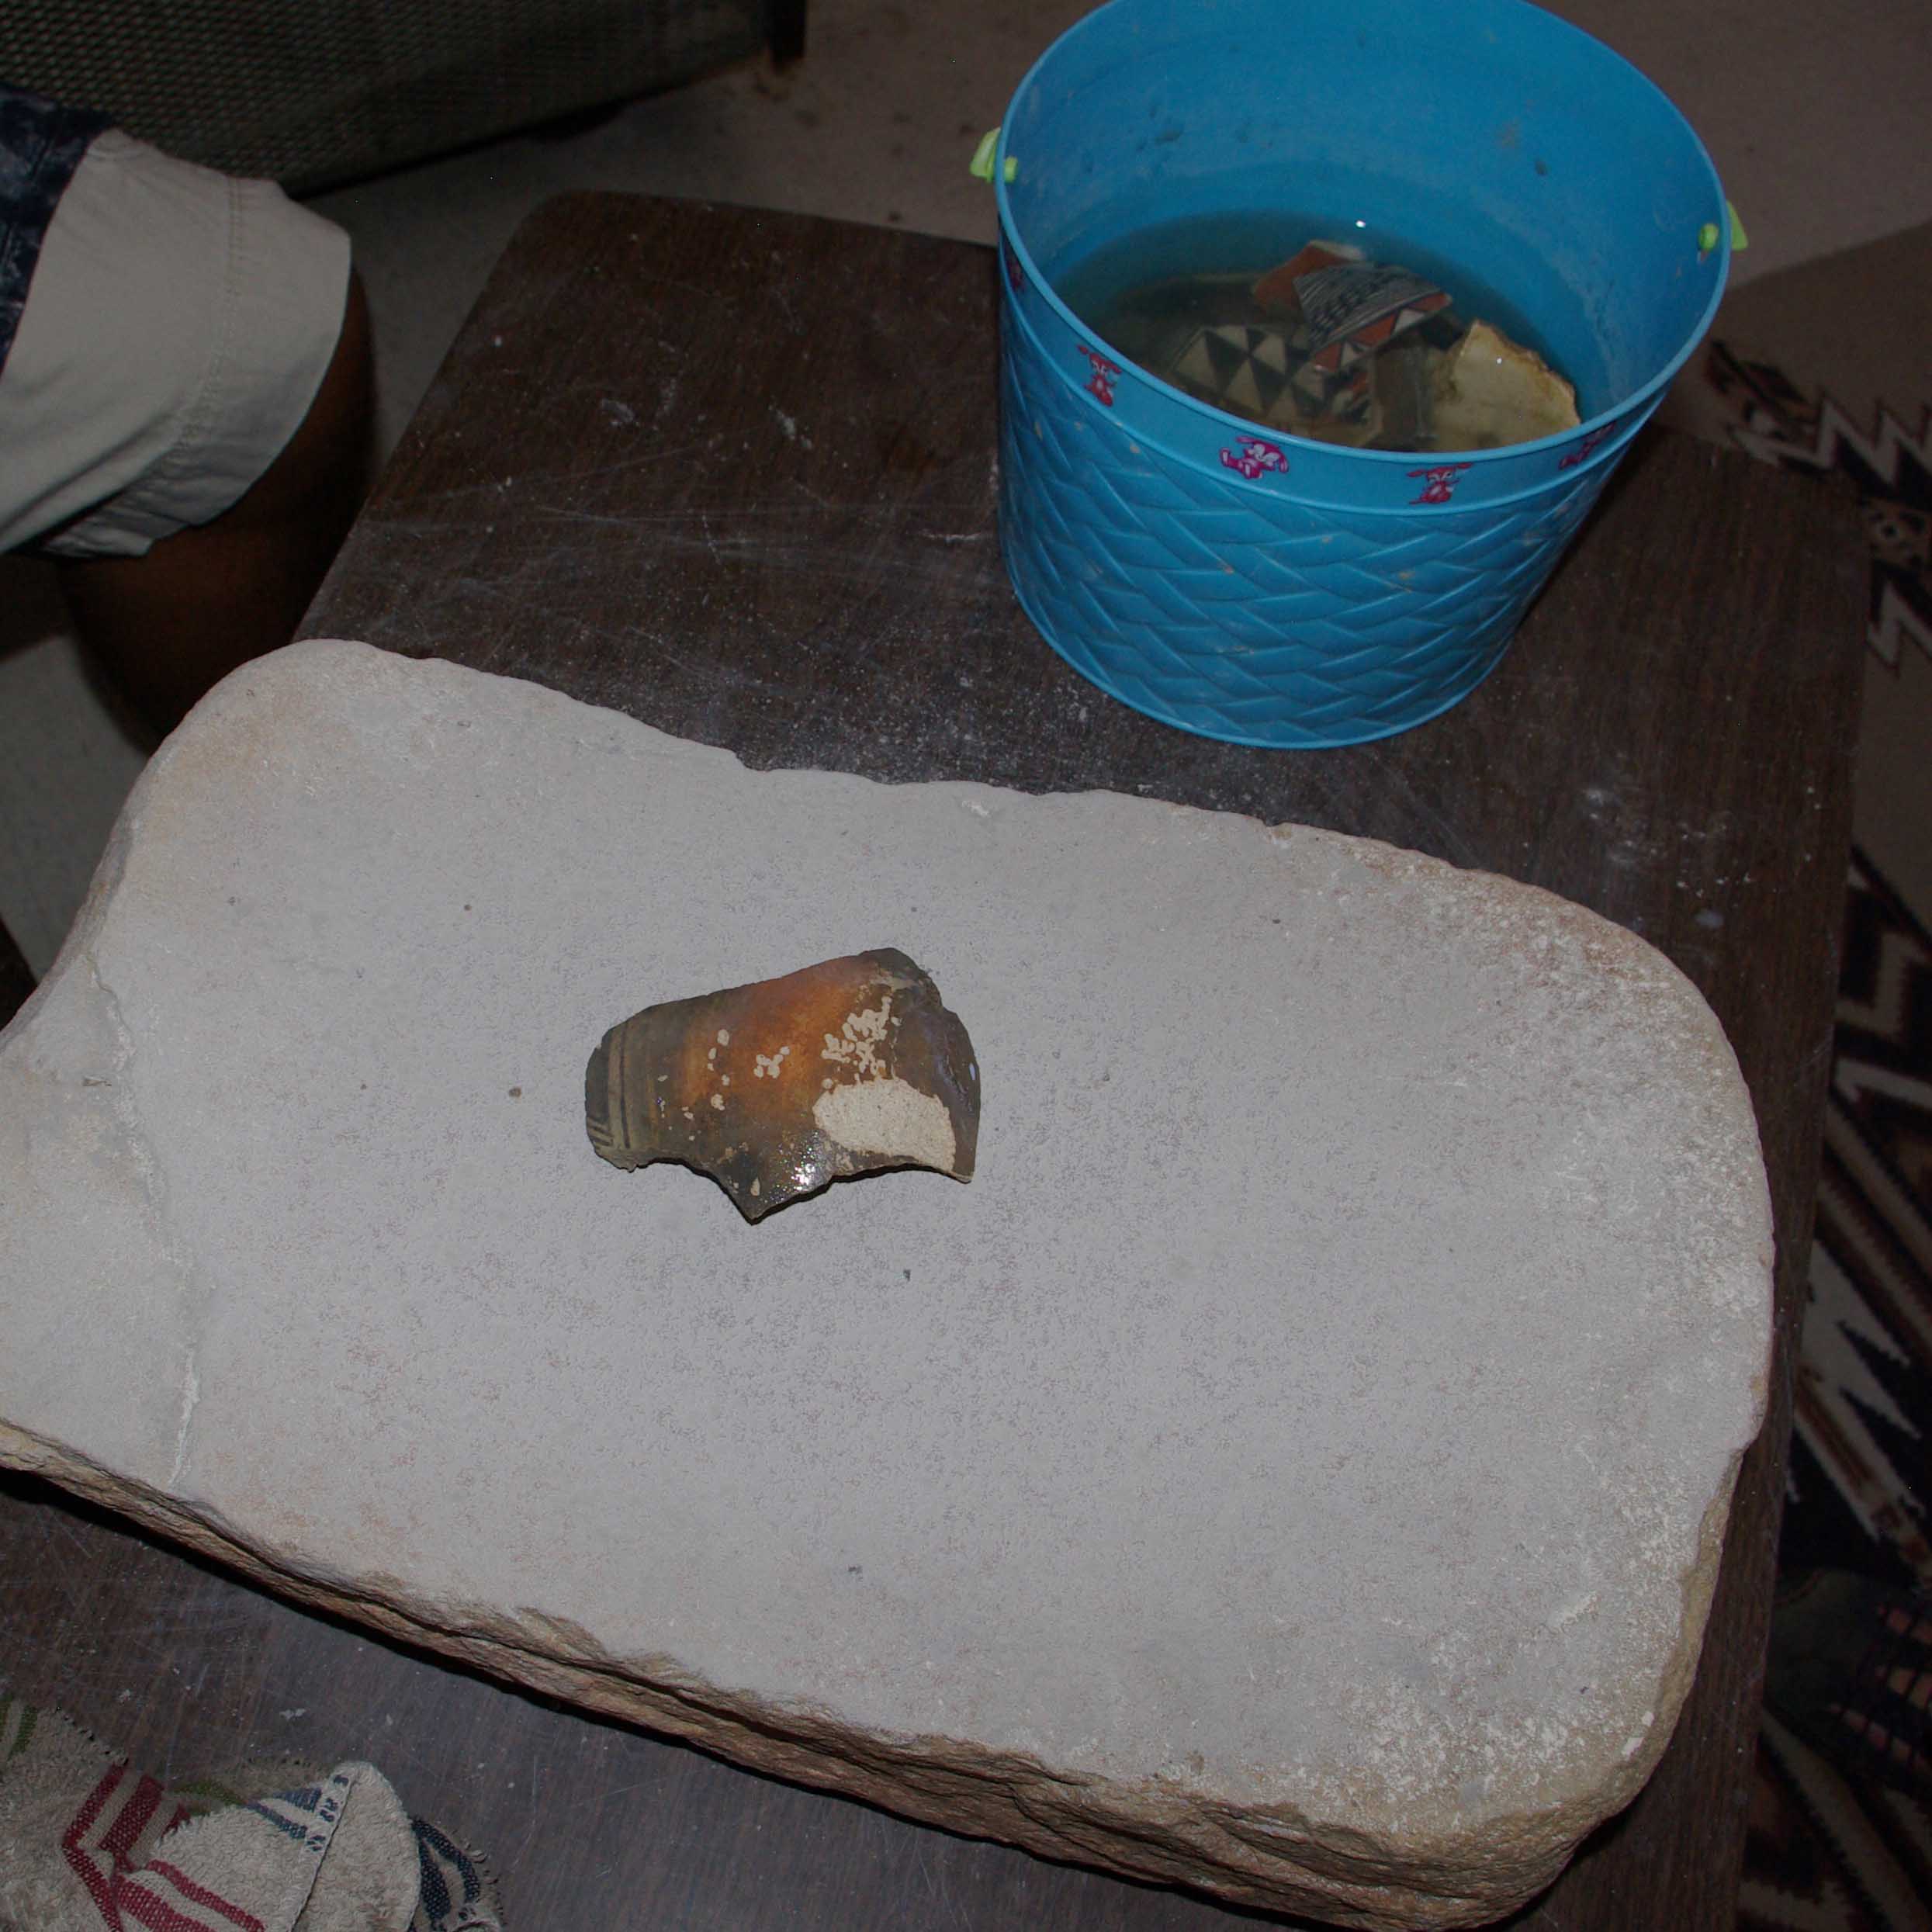
Pottery shards to be ground
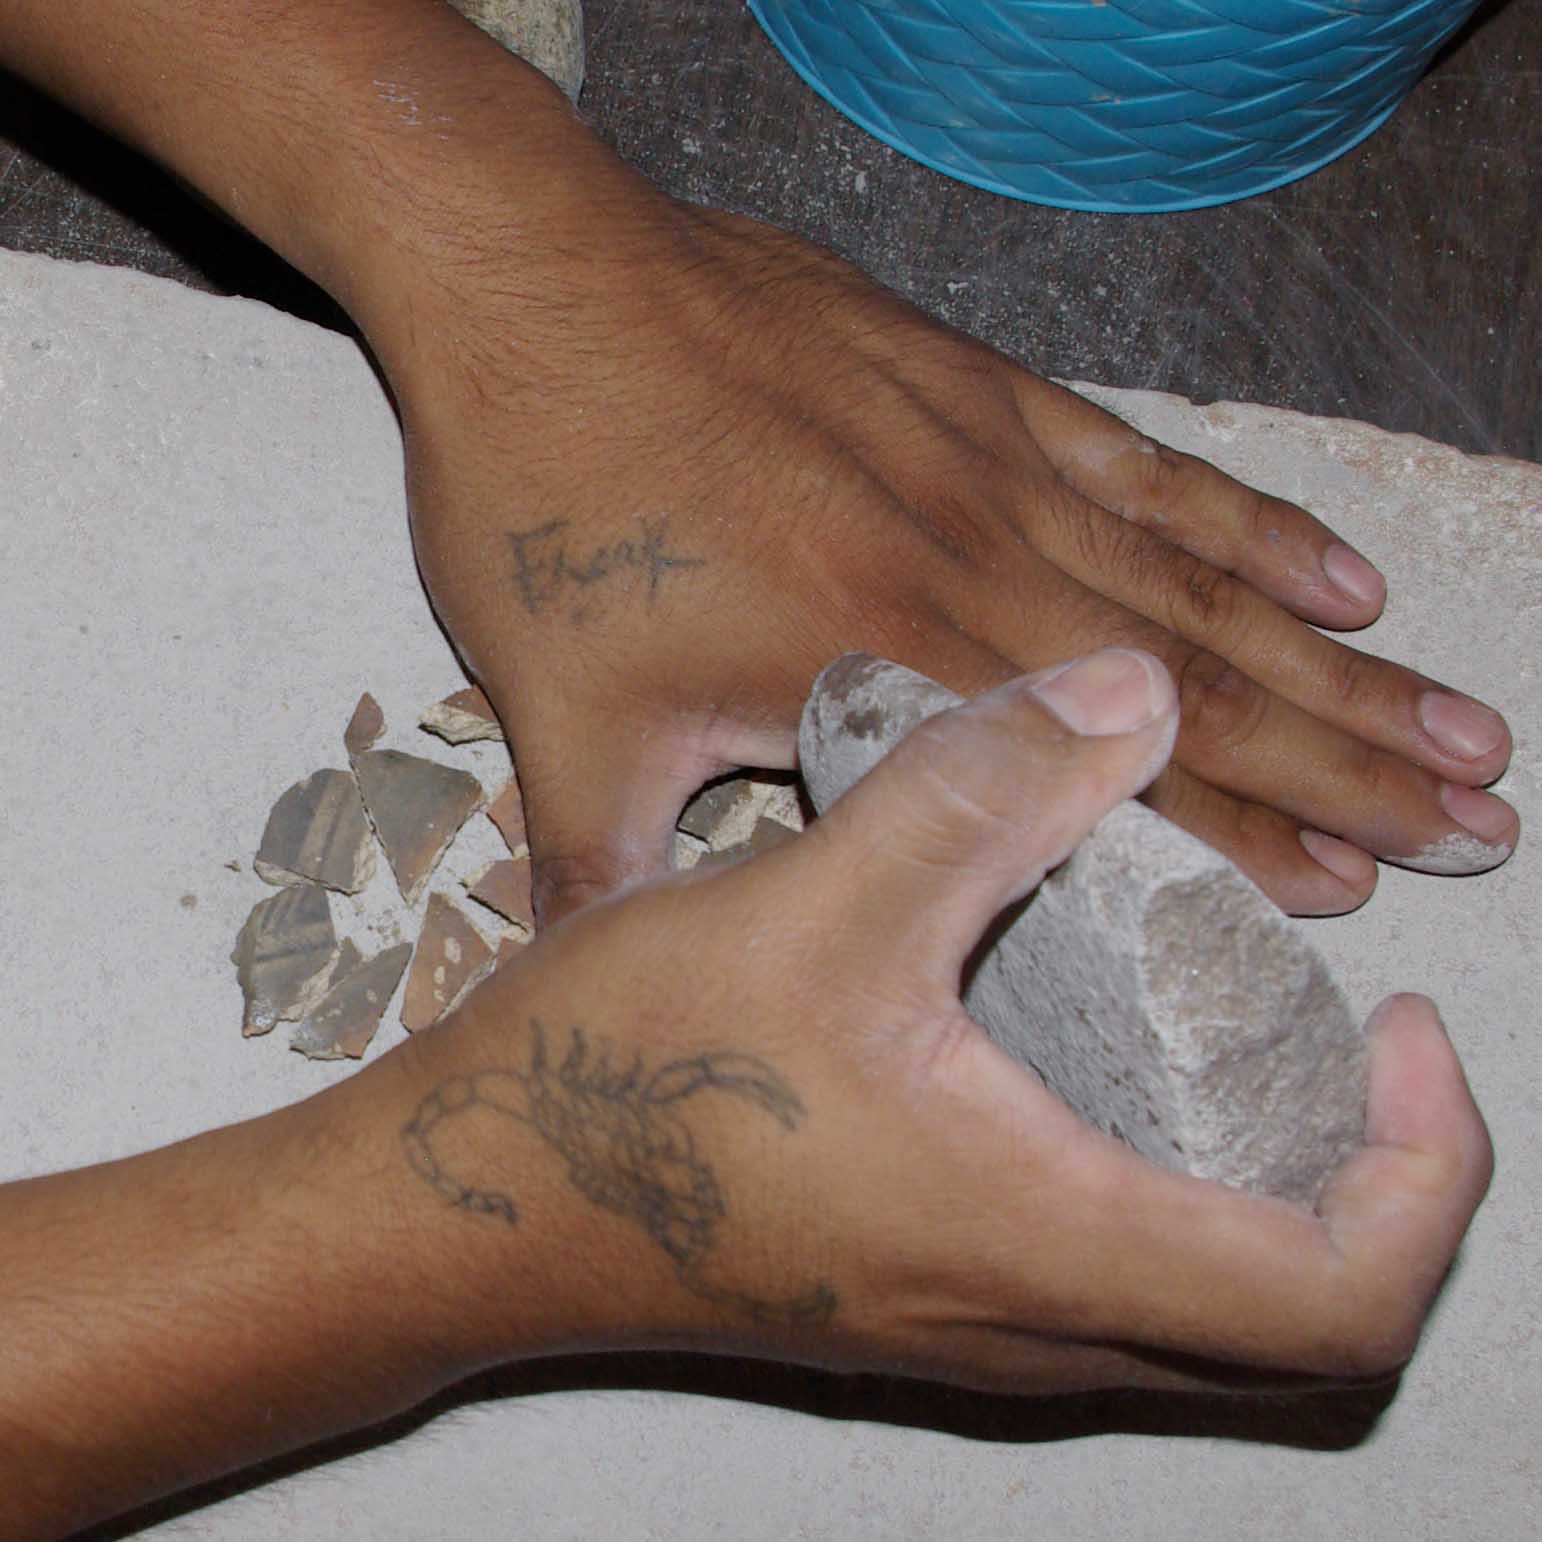
Pounding shards with a stone
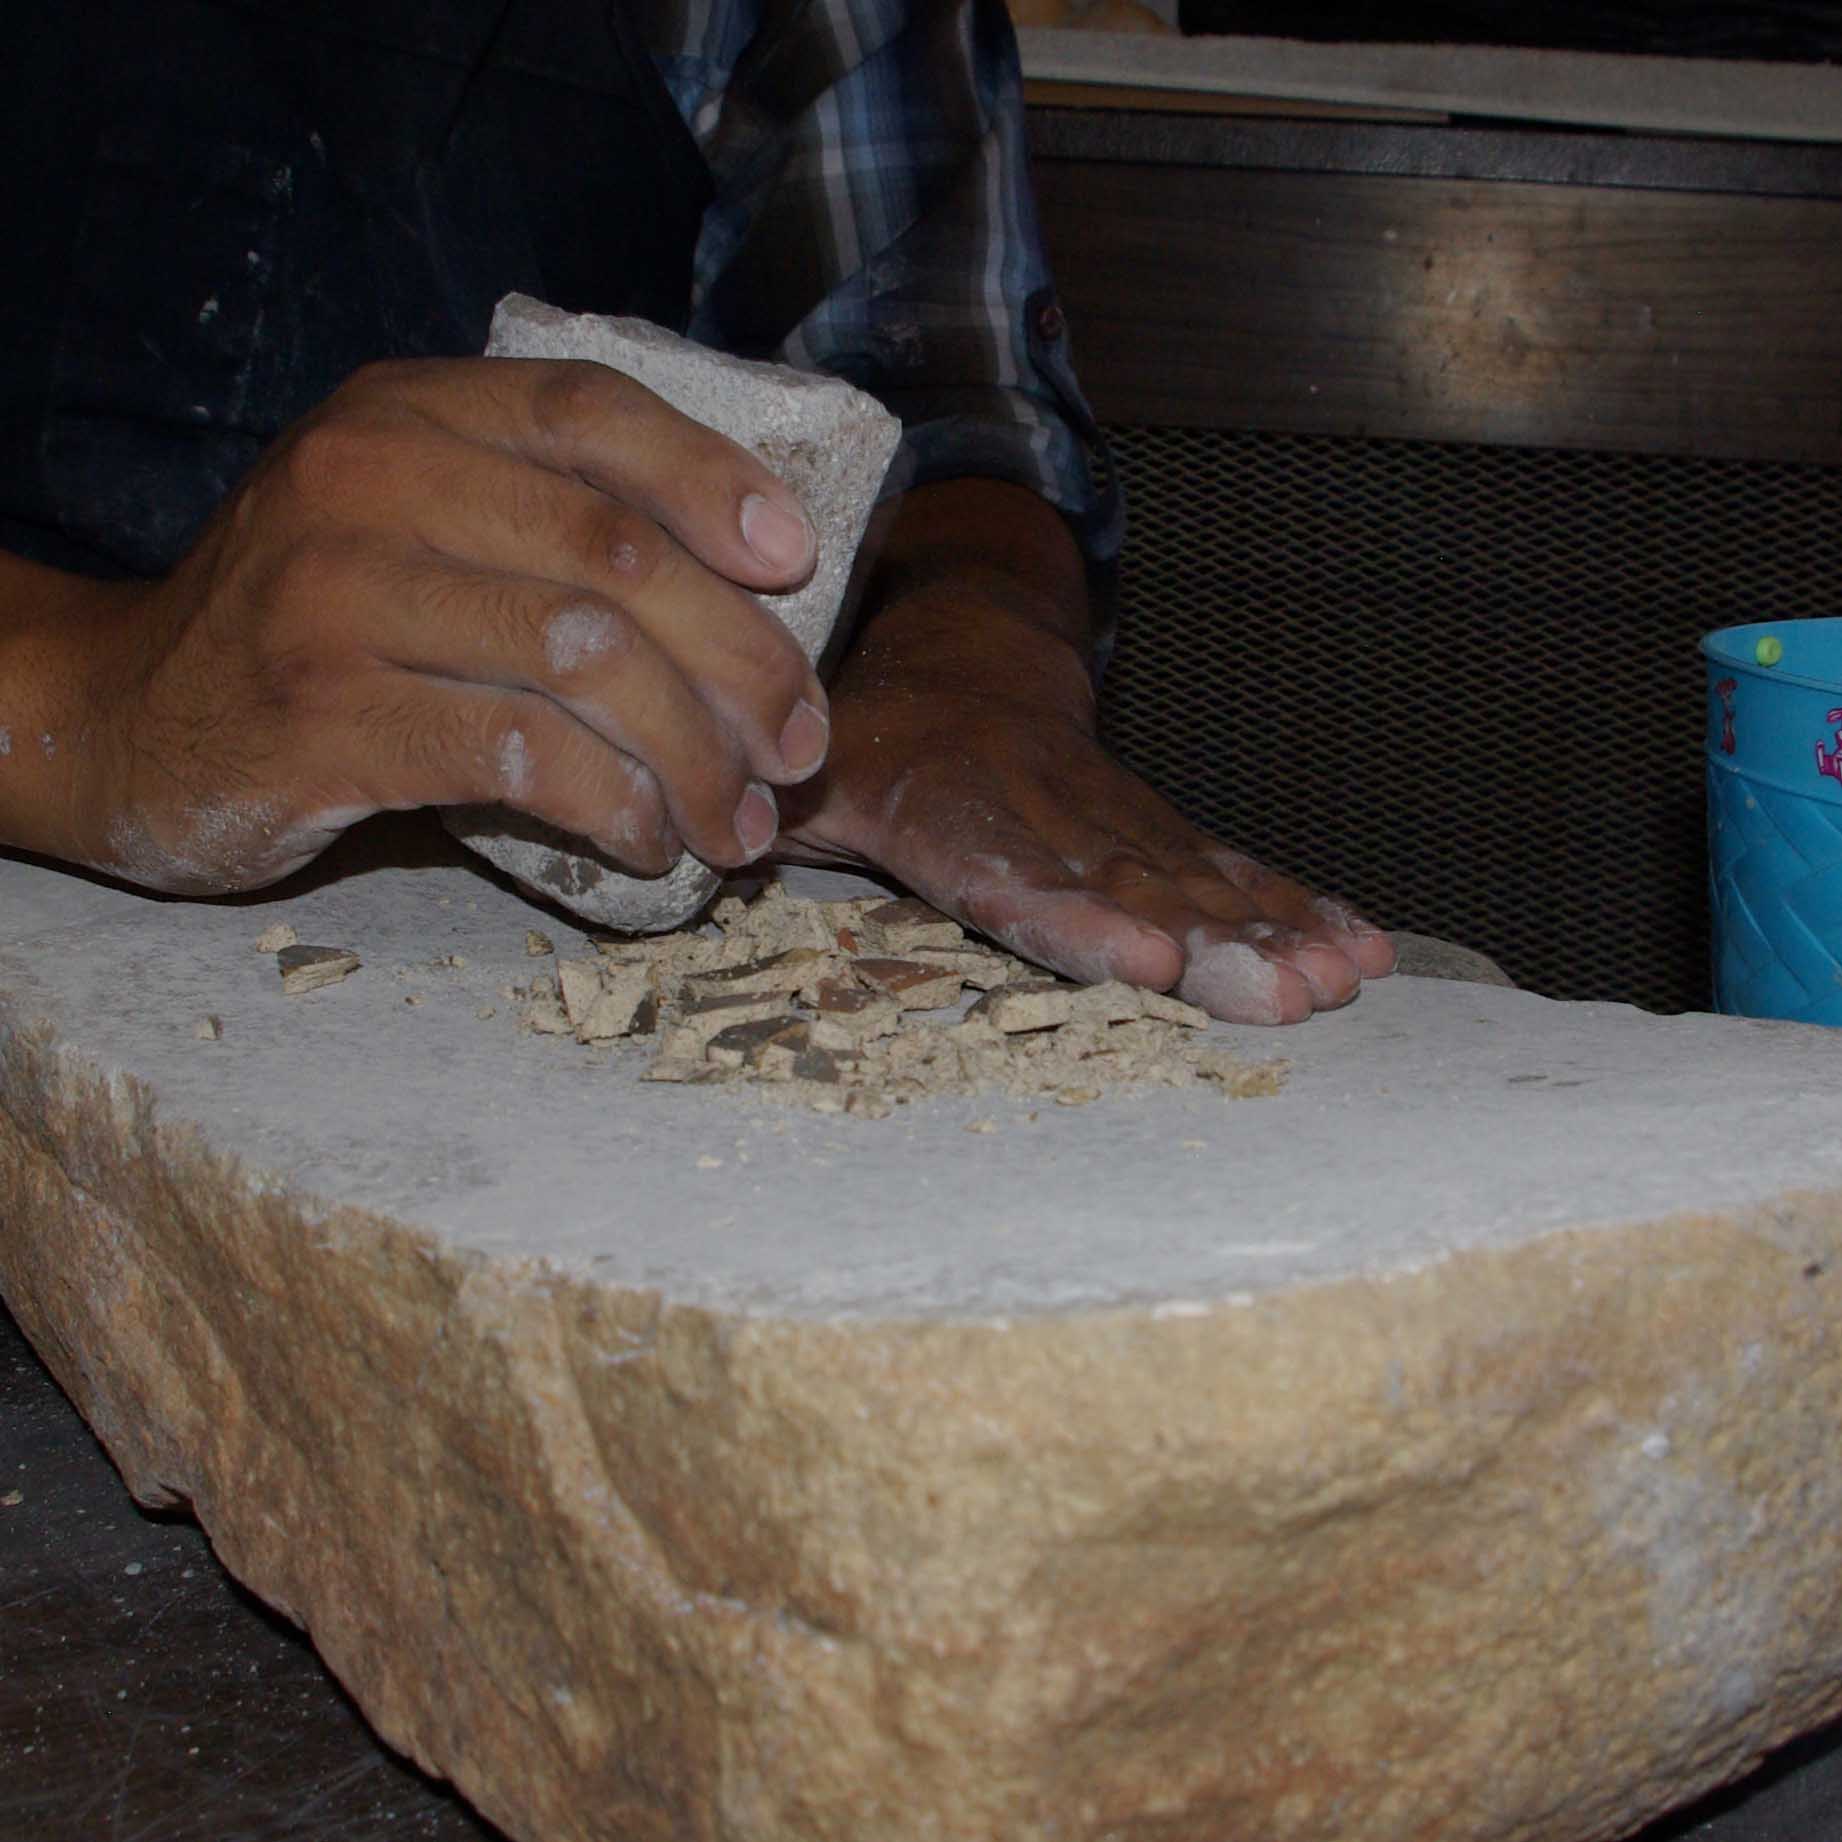
Pounding shards finer with a stone
Pounding shards finer with a stone
Grinding shards
Finished grinding shards to powder
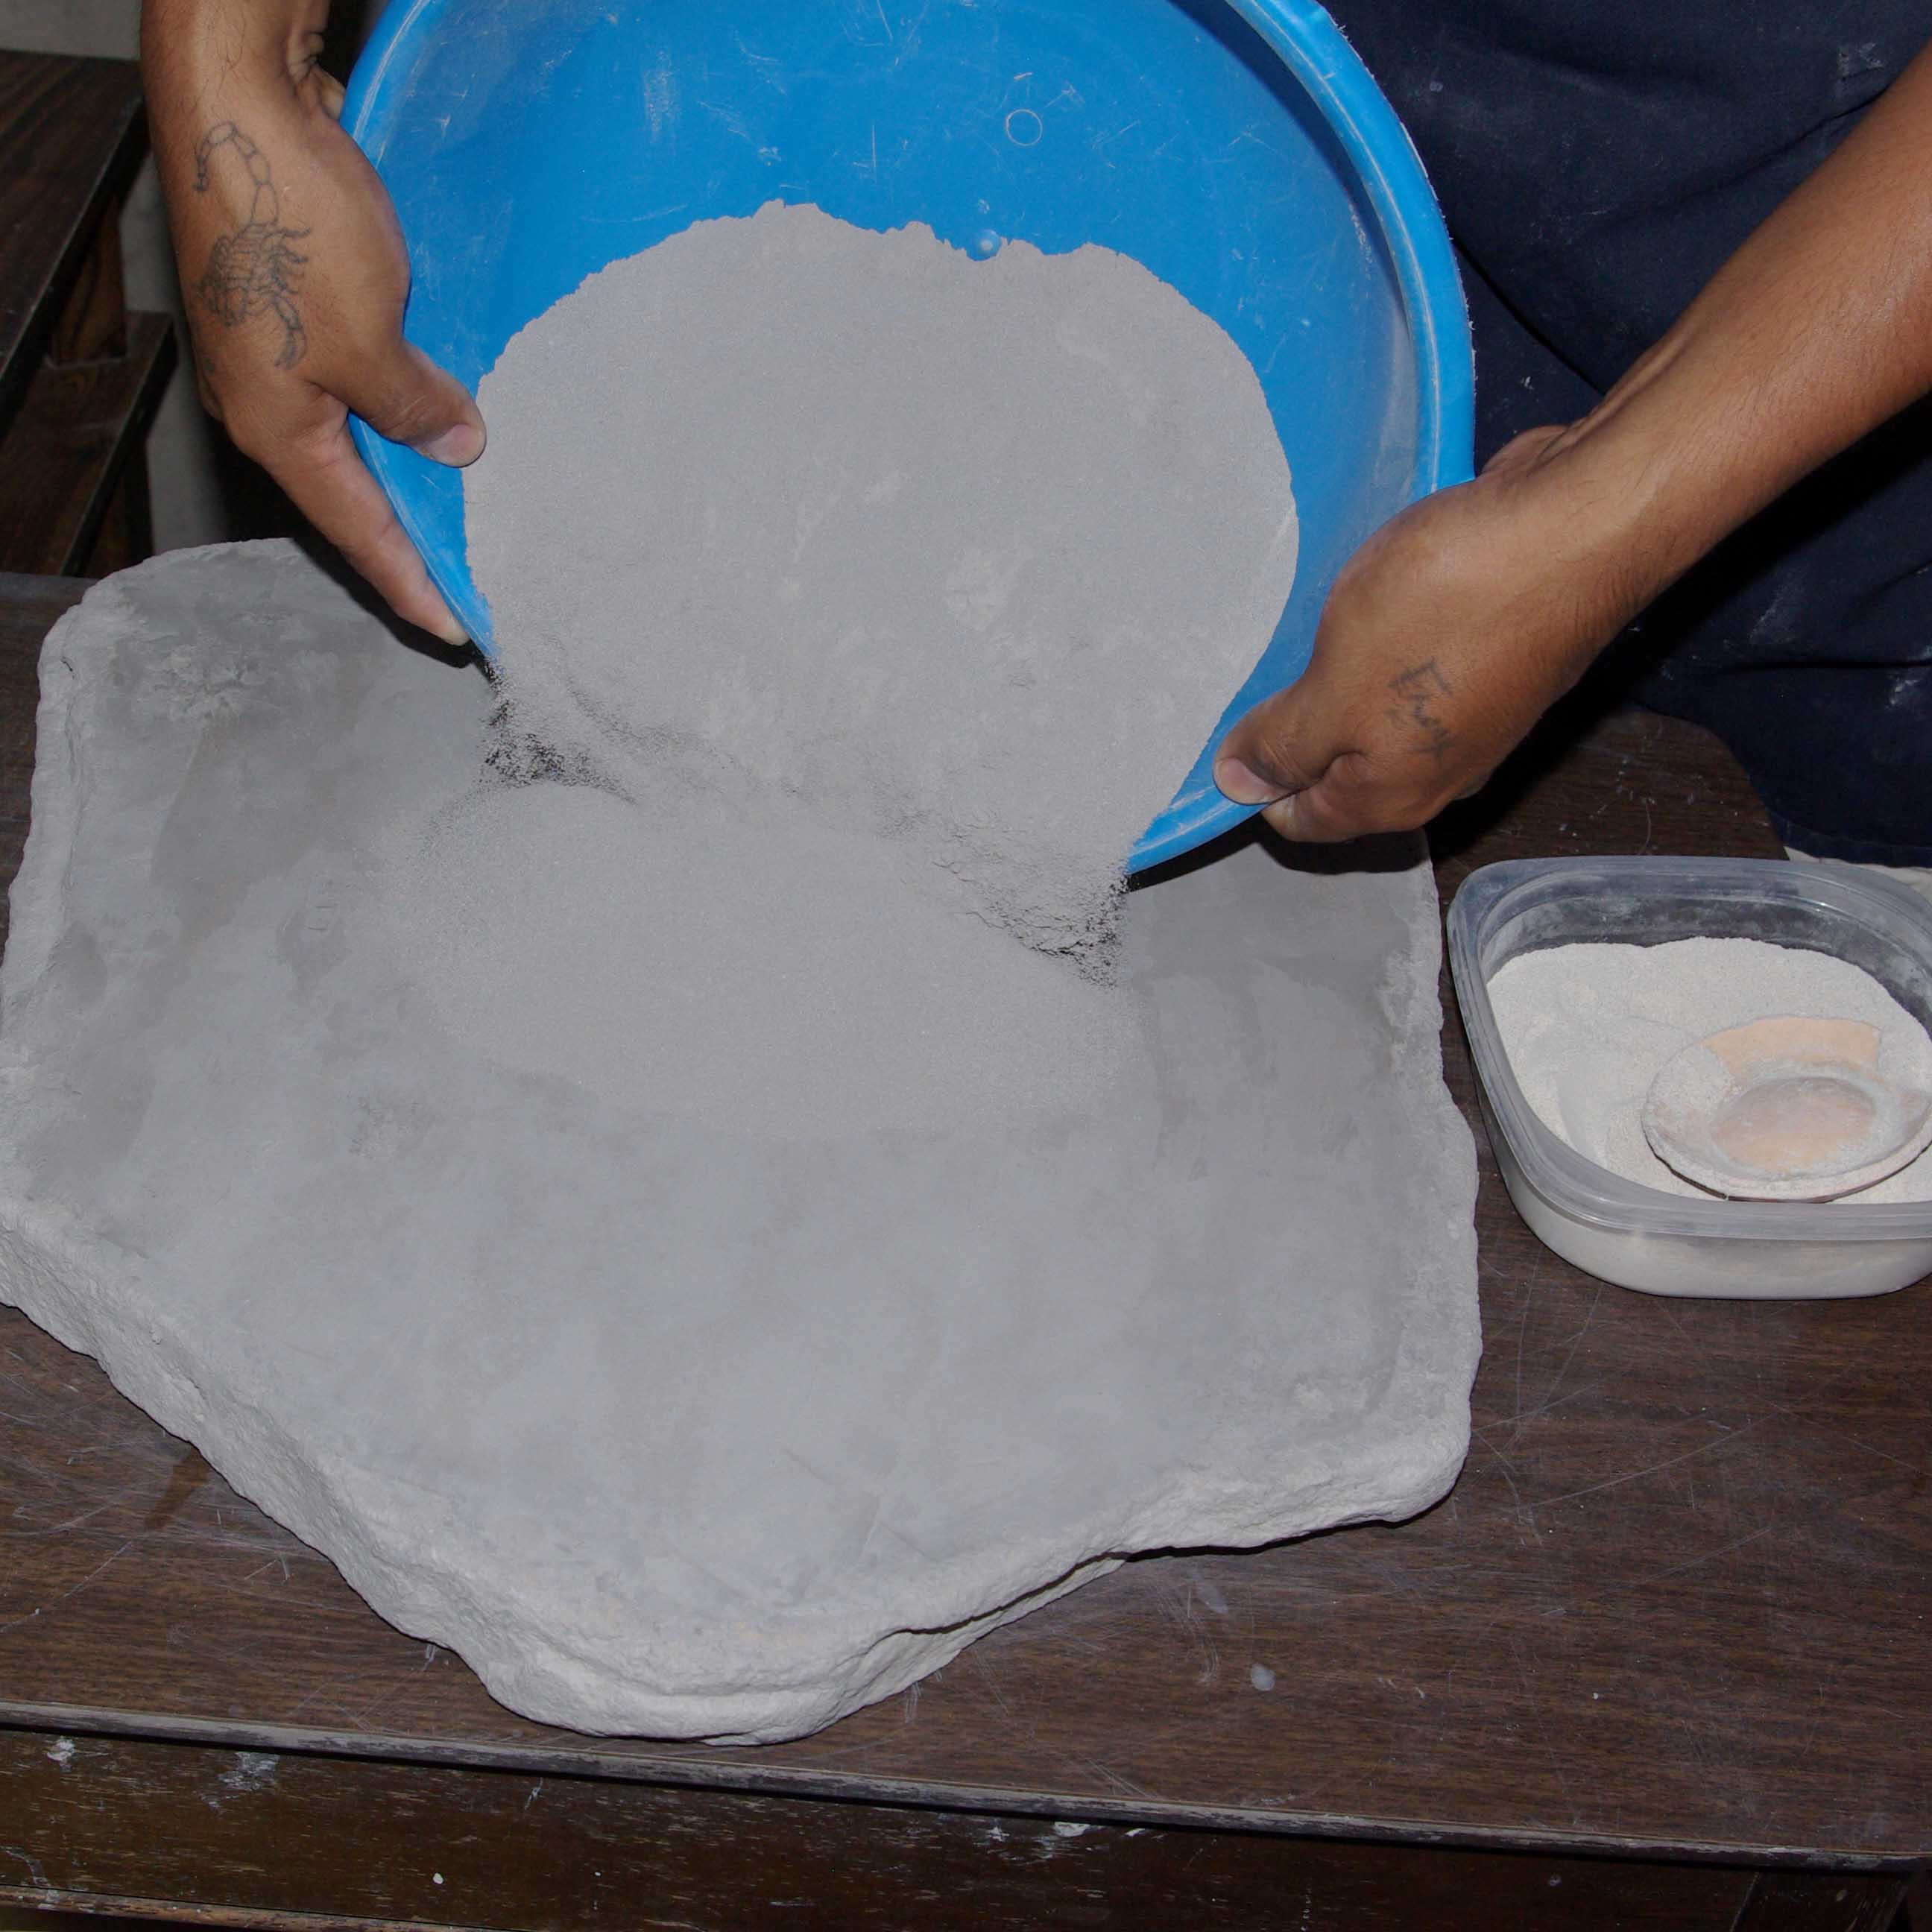
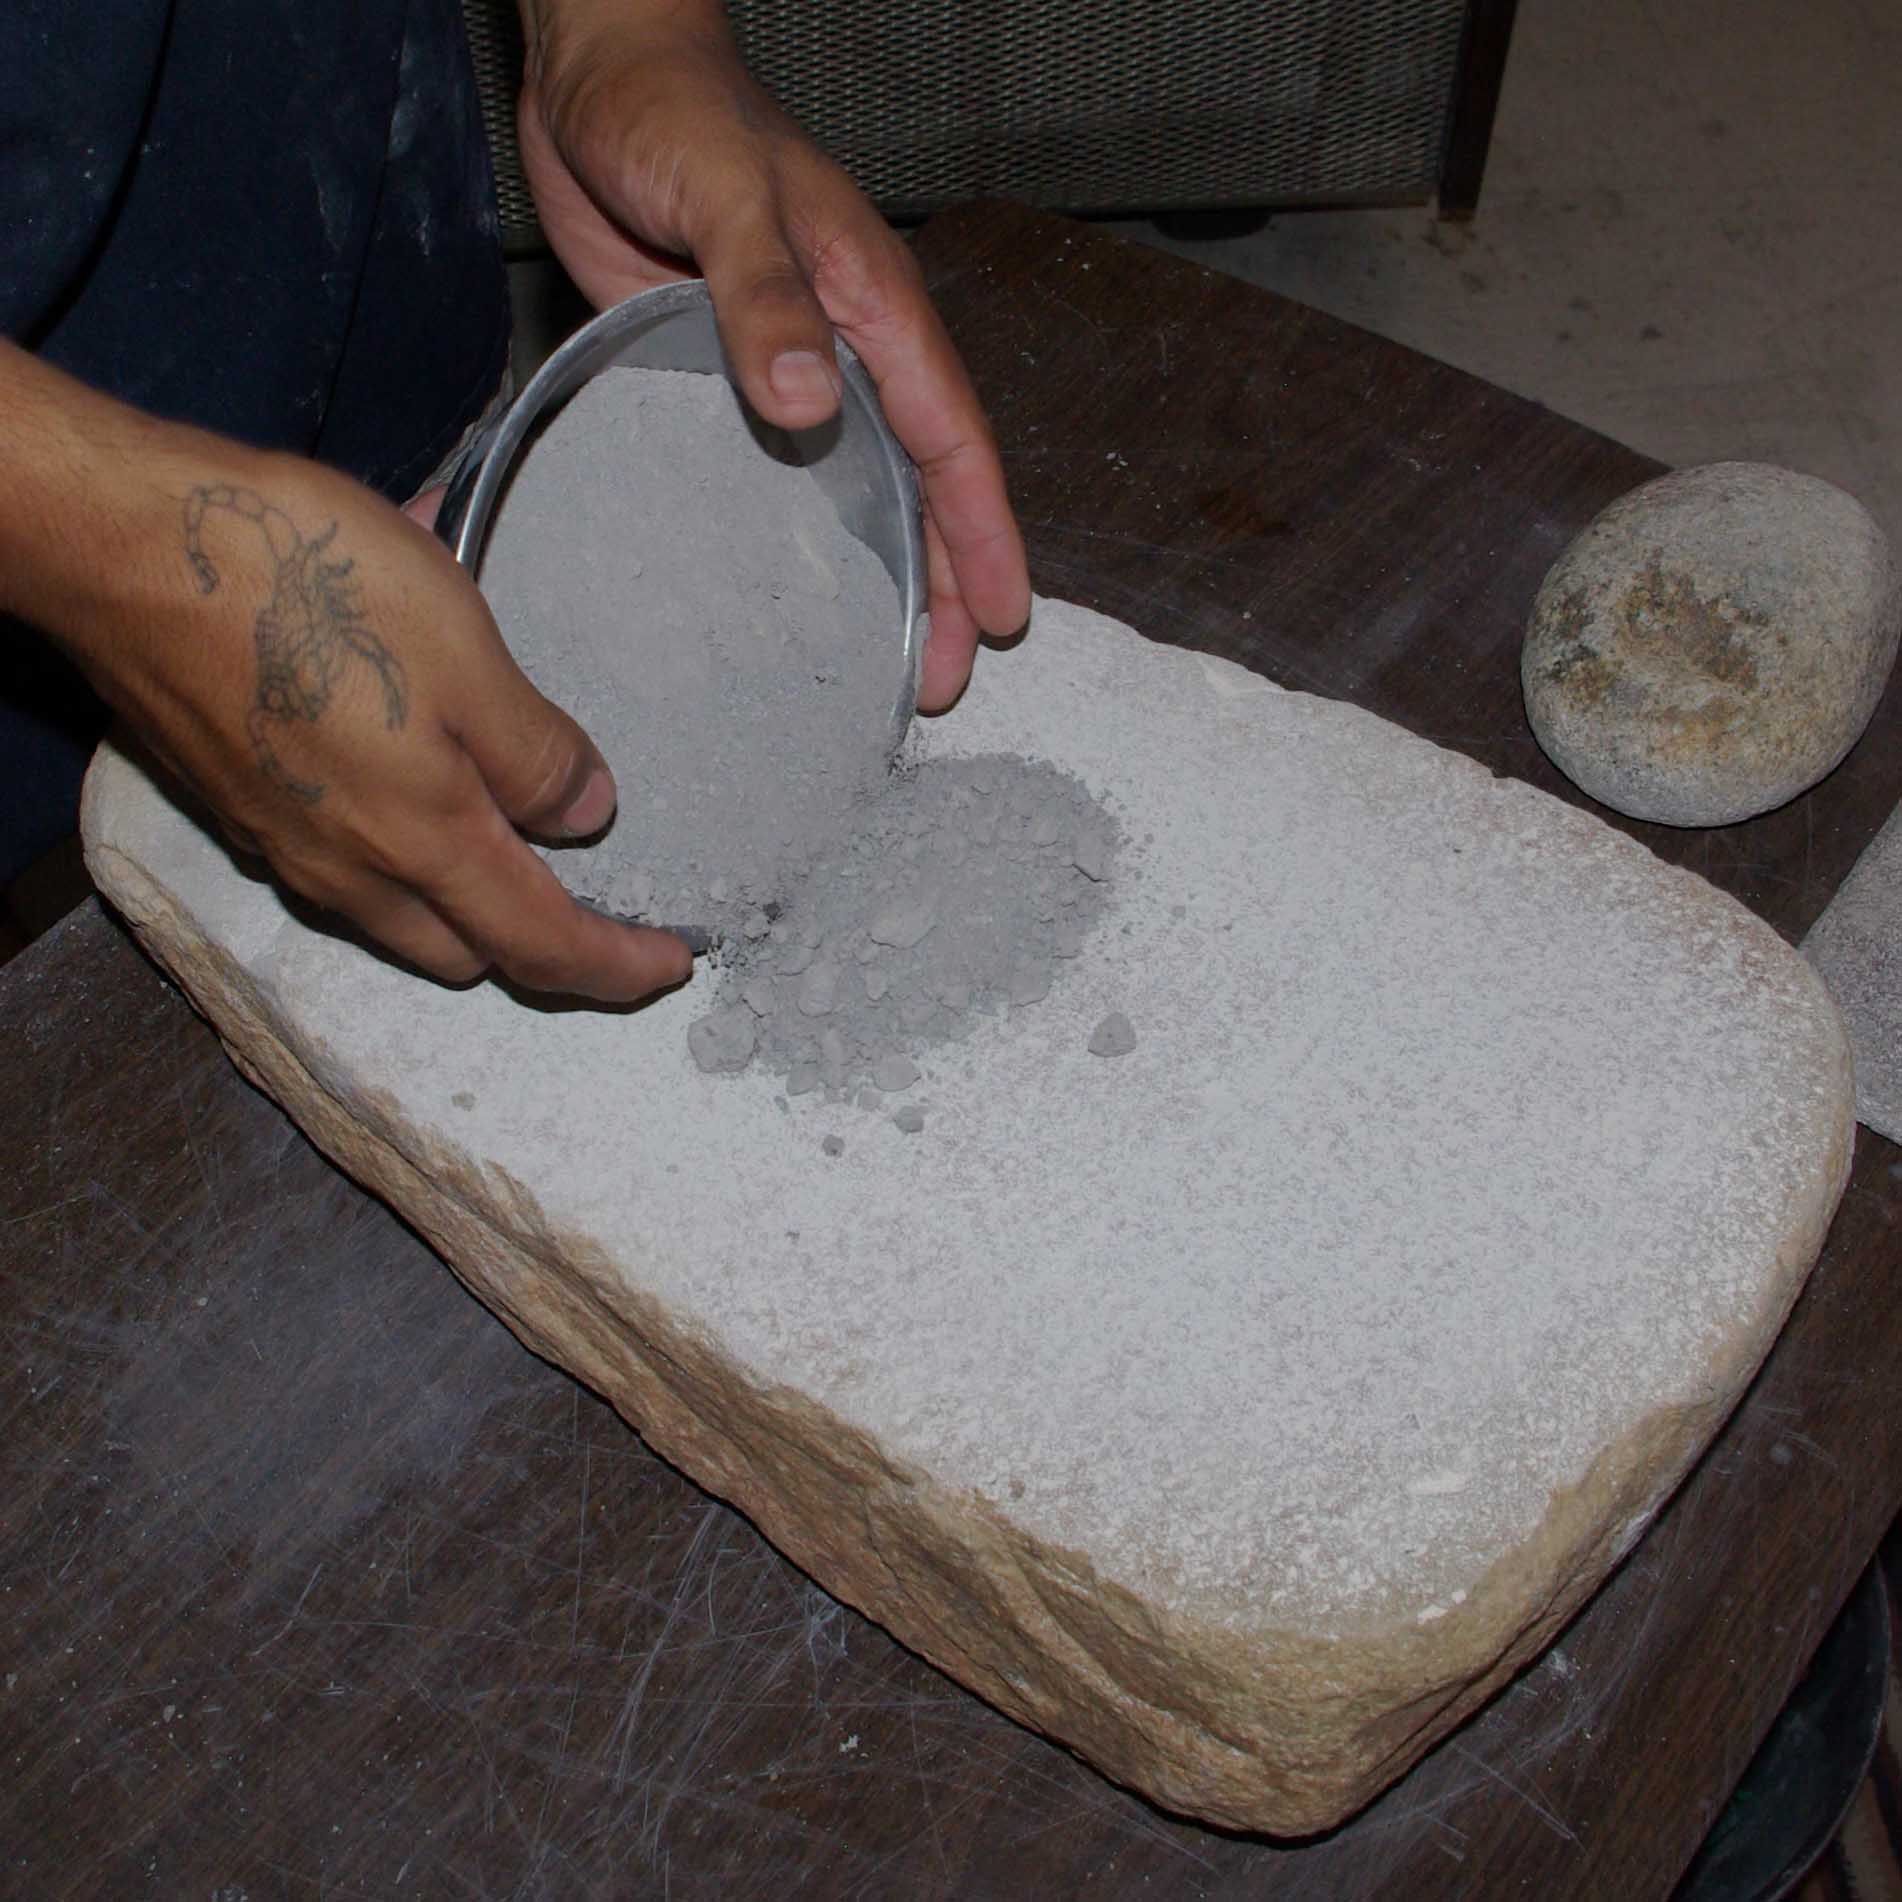
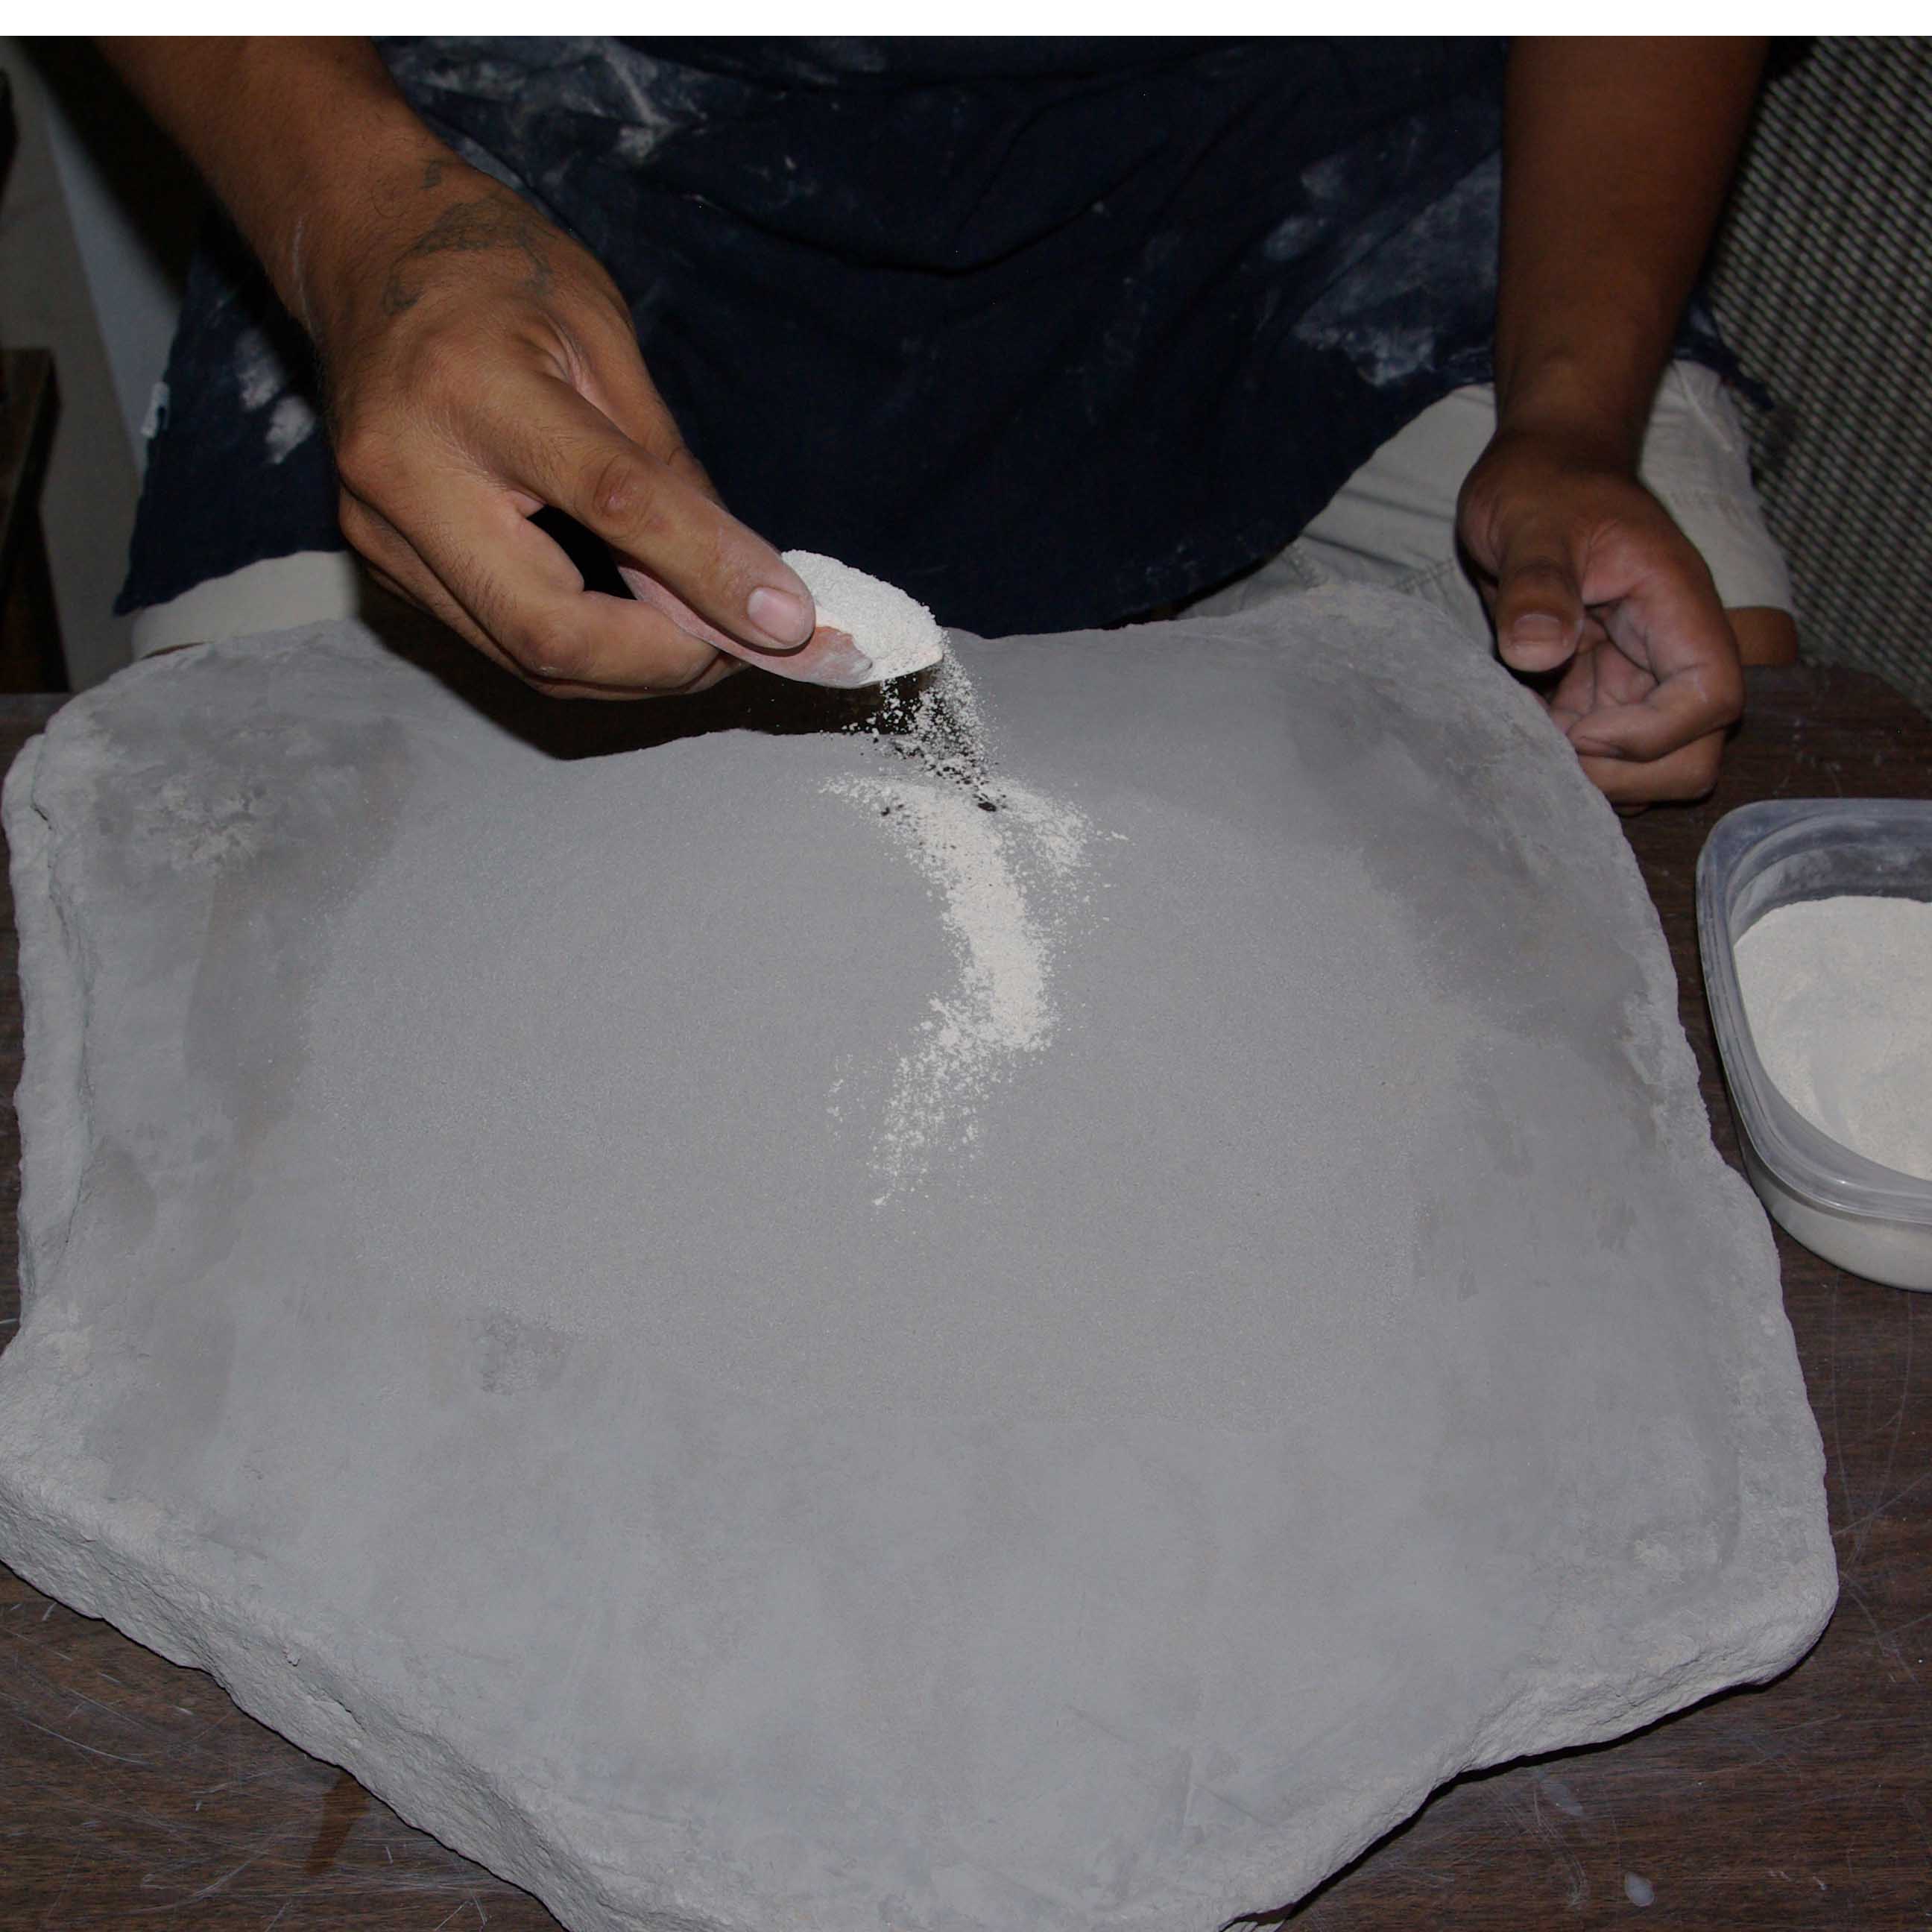
Pouring powdered clay on mixing stone which was handed down from his grandmother
Adding ground pottery shards
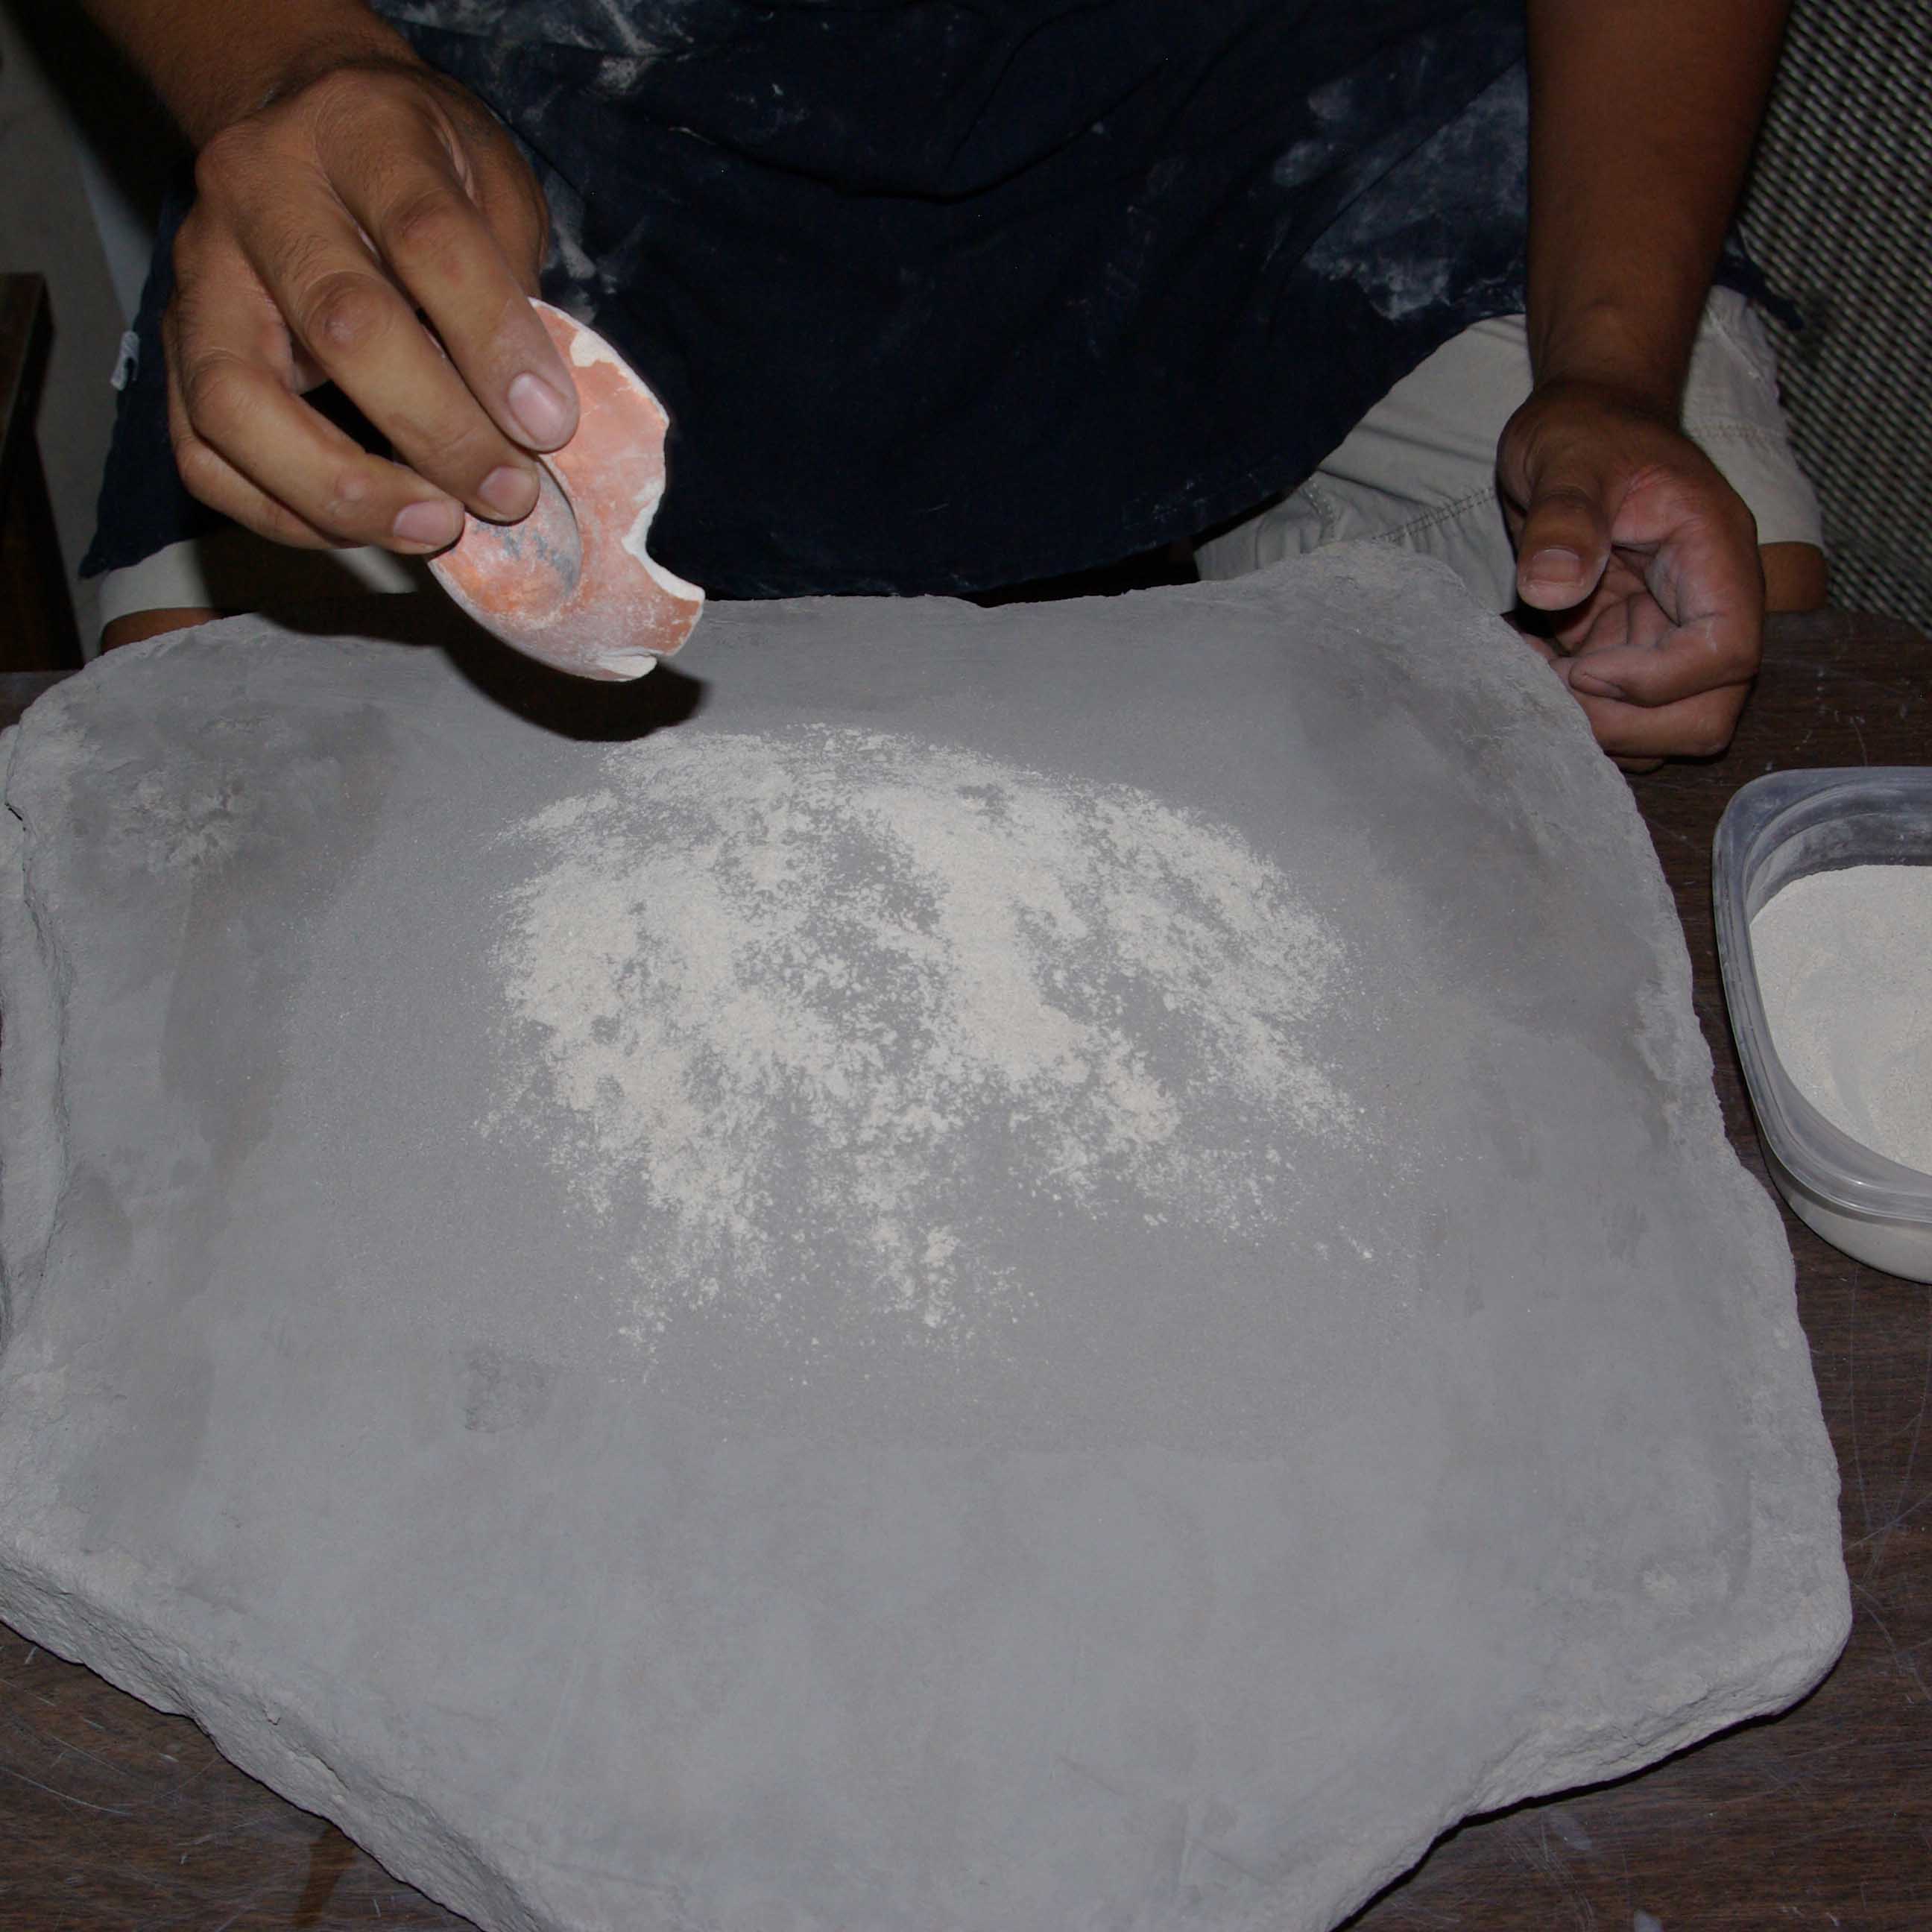
Adding ground pottery shards
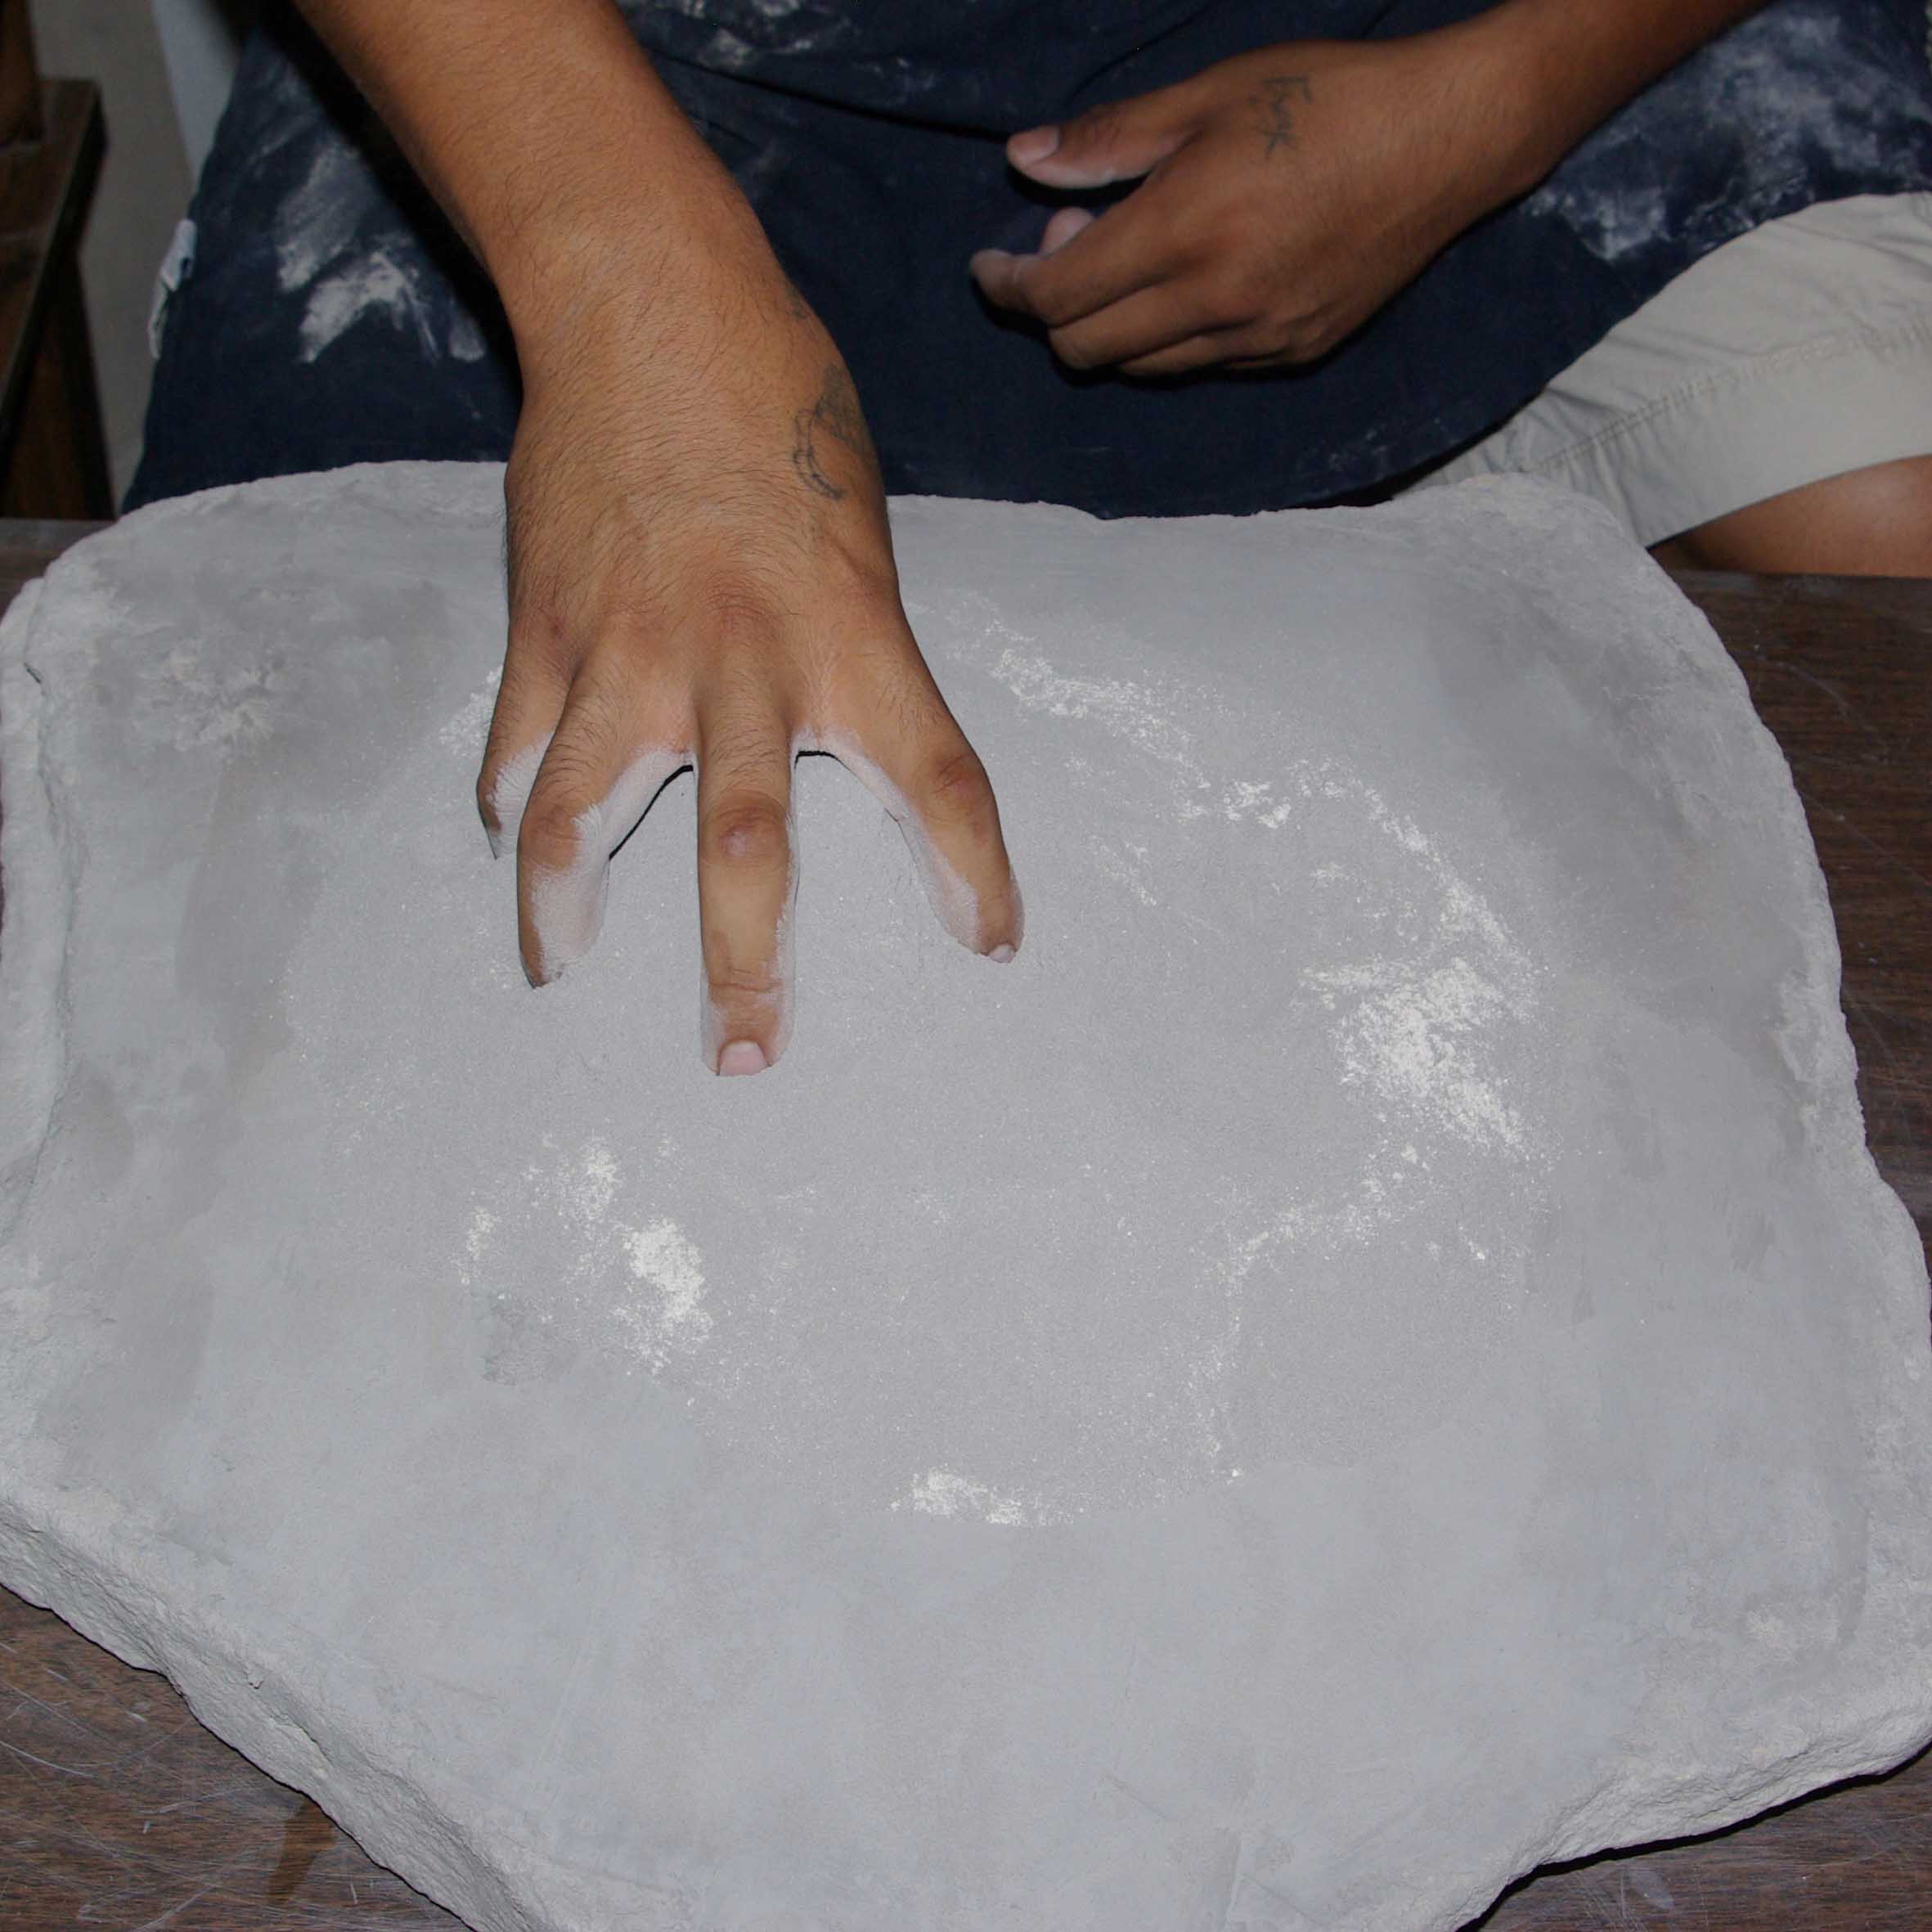
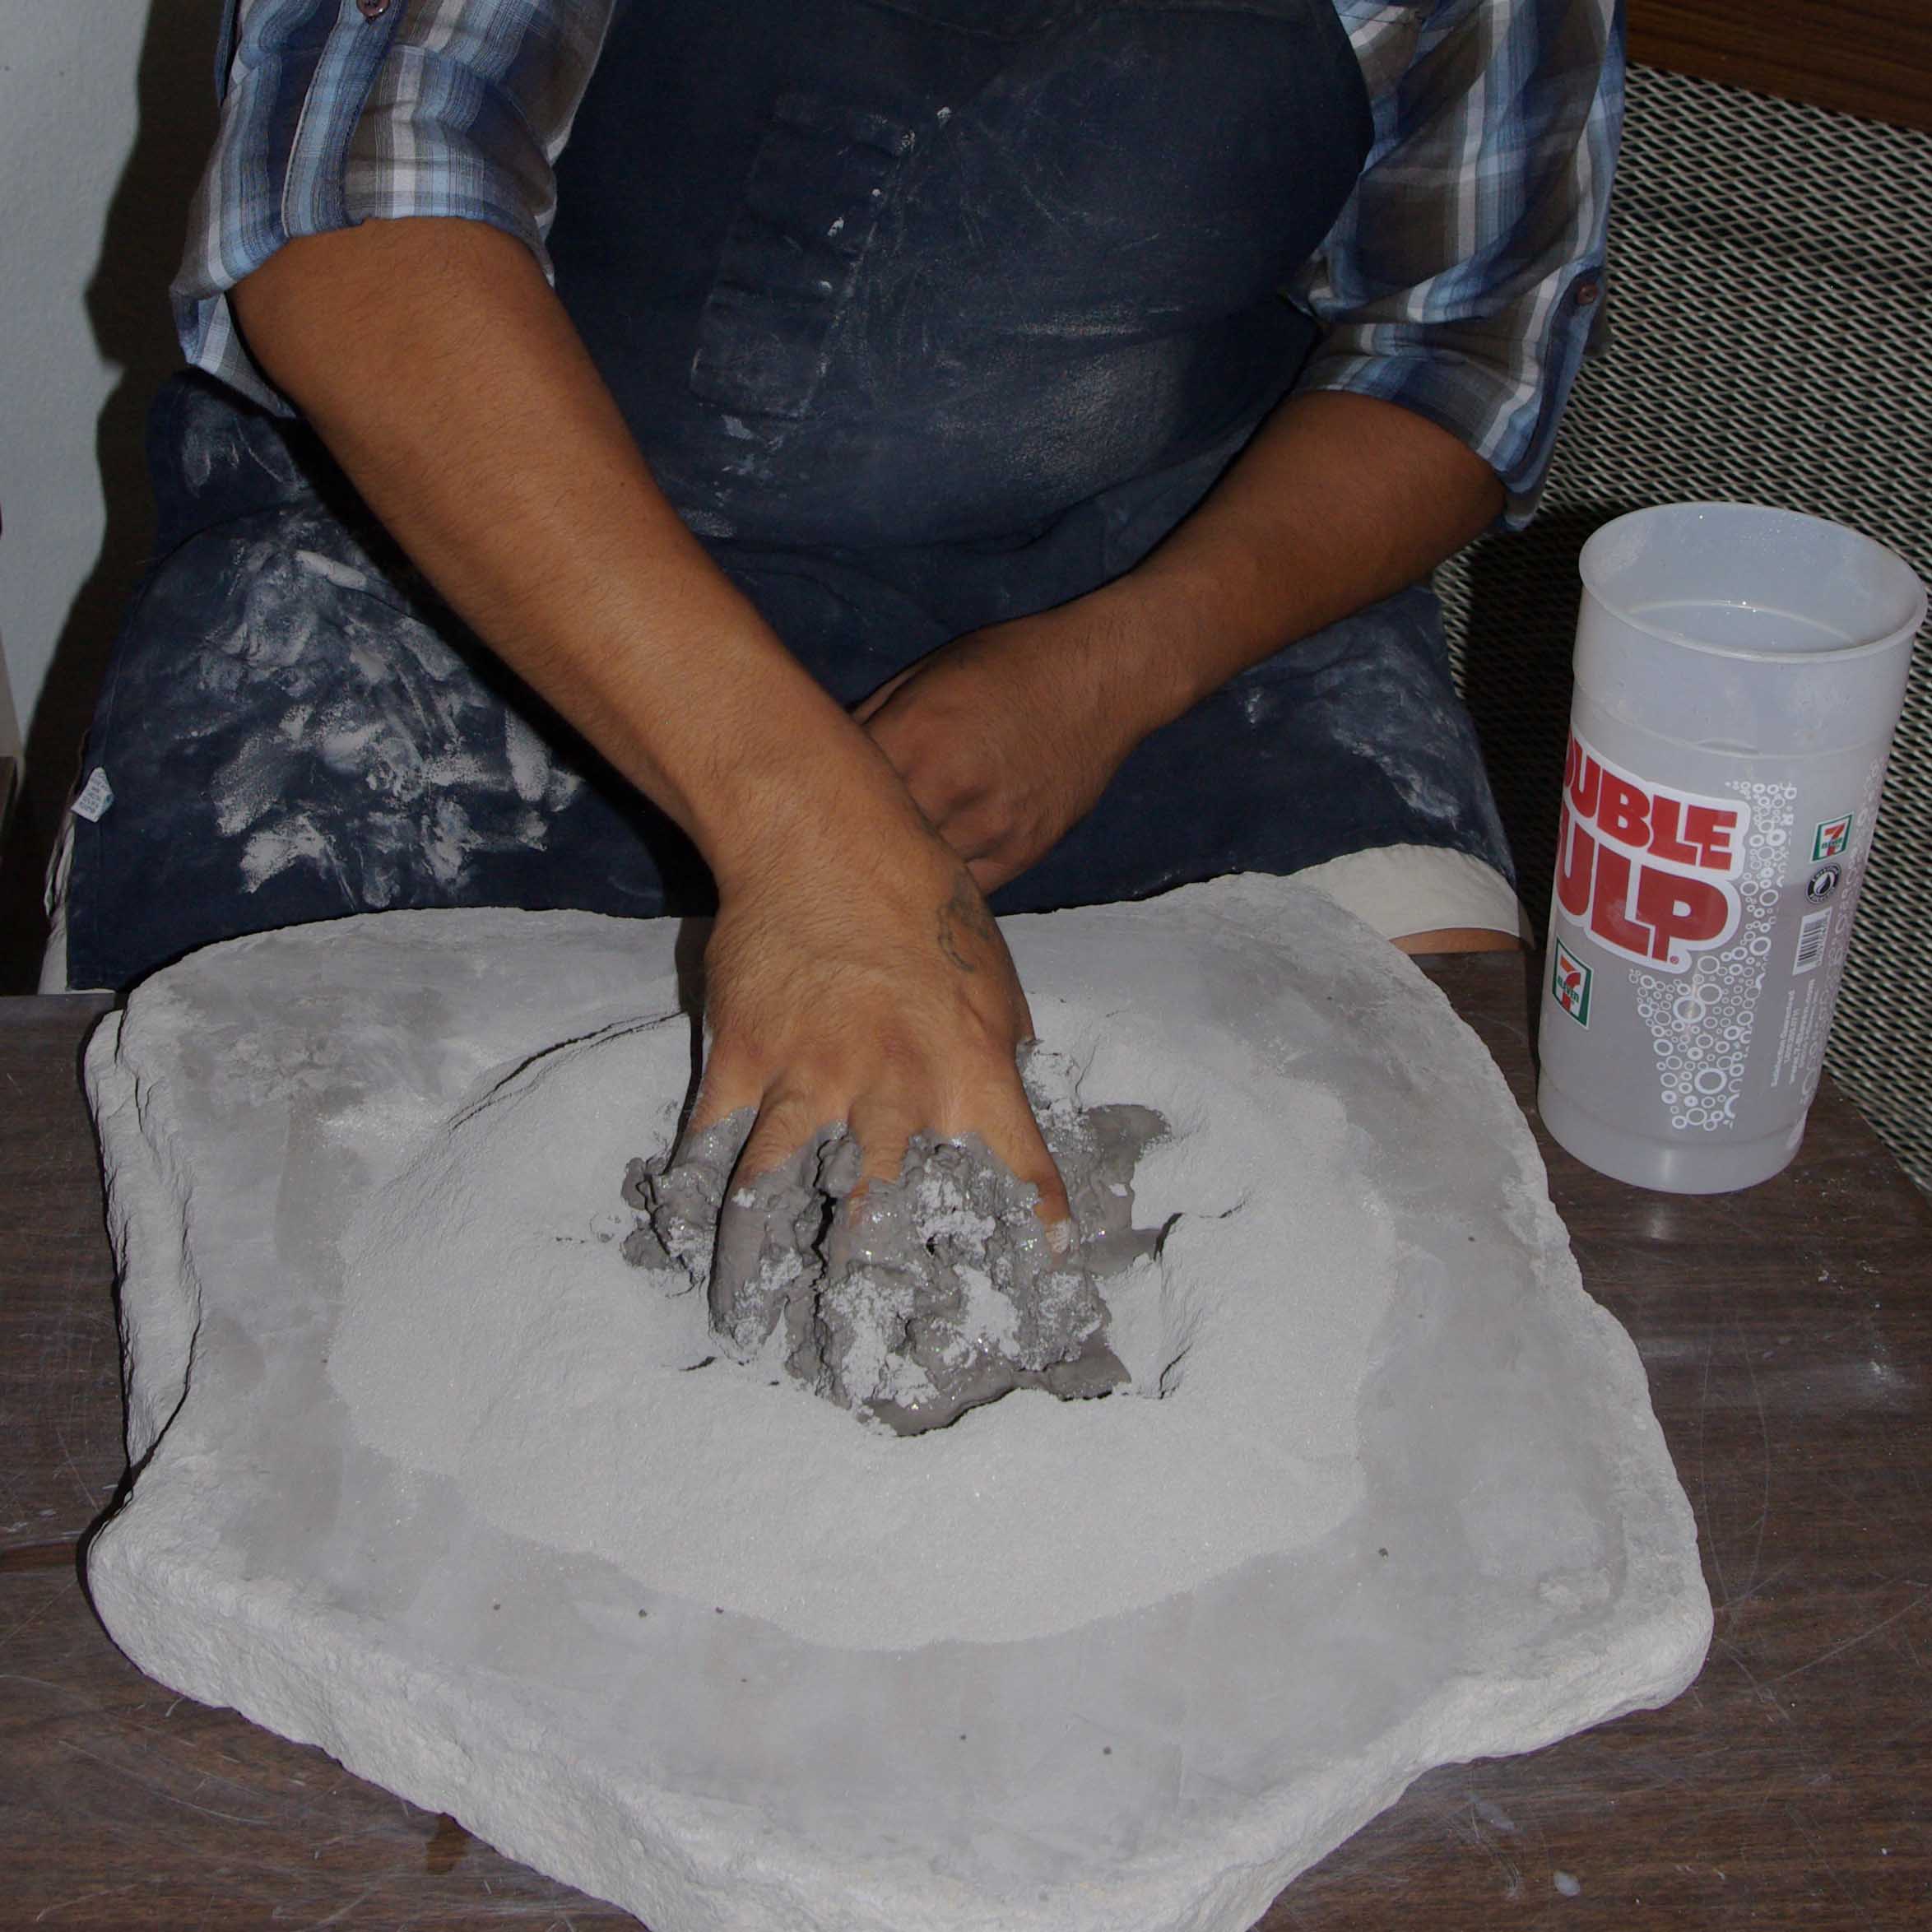
Hand mixing powdered clay and powdered shards
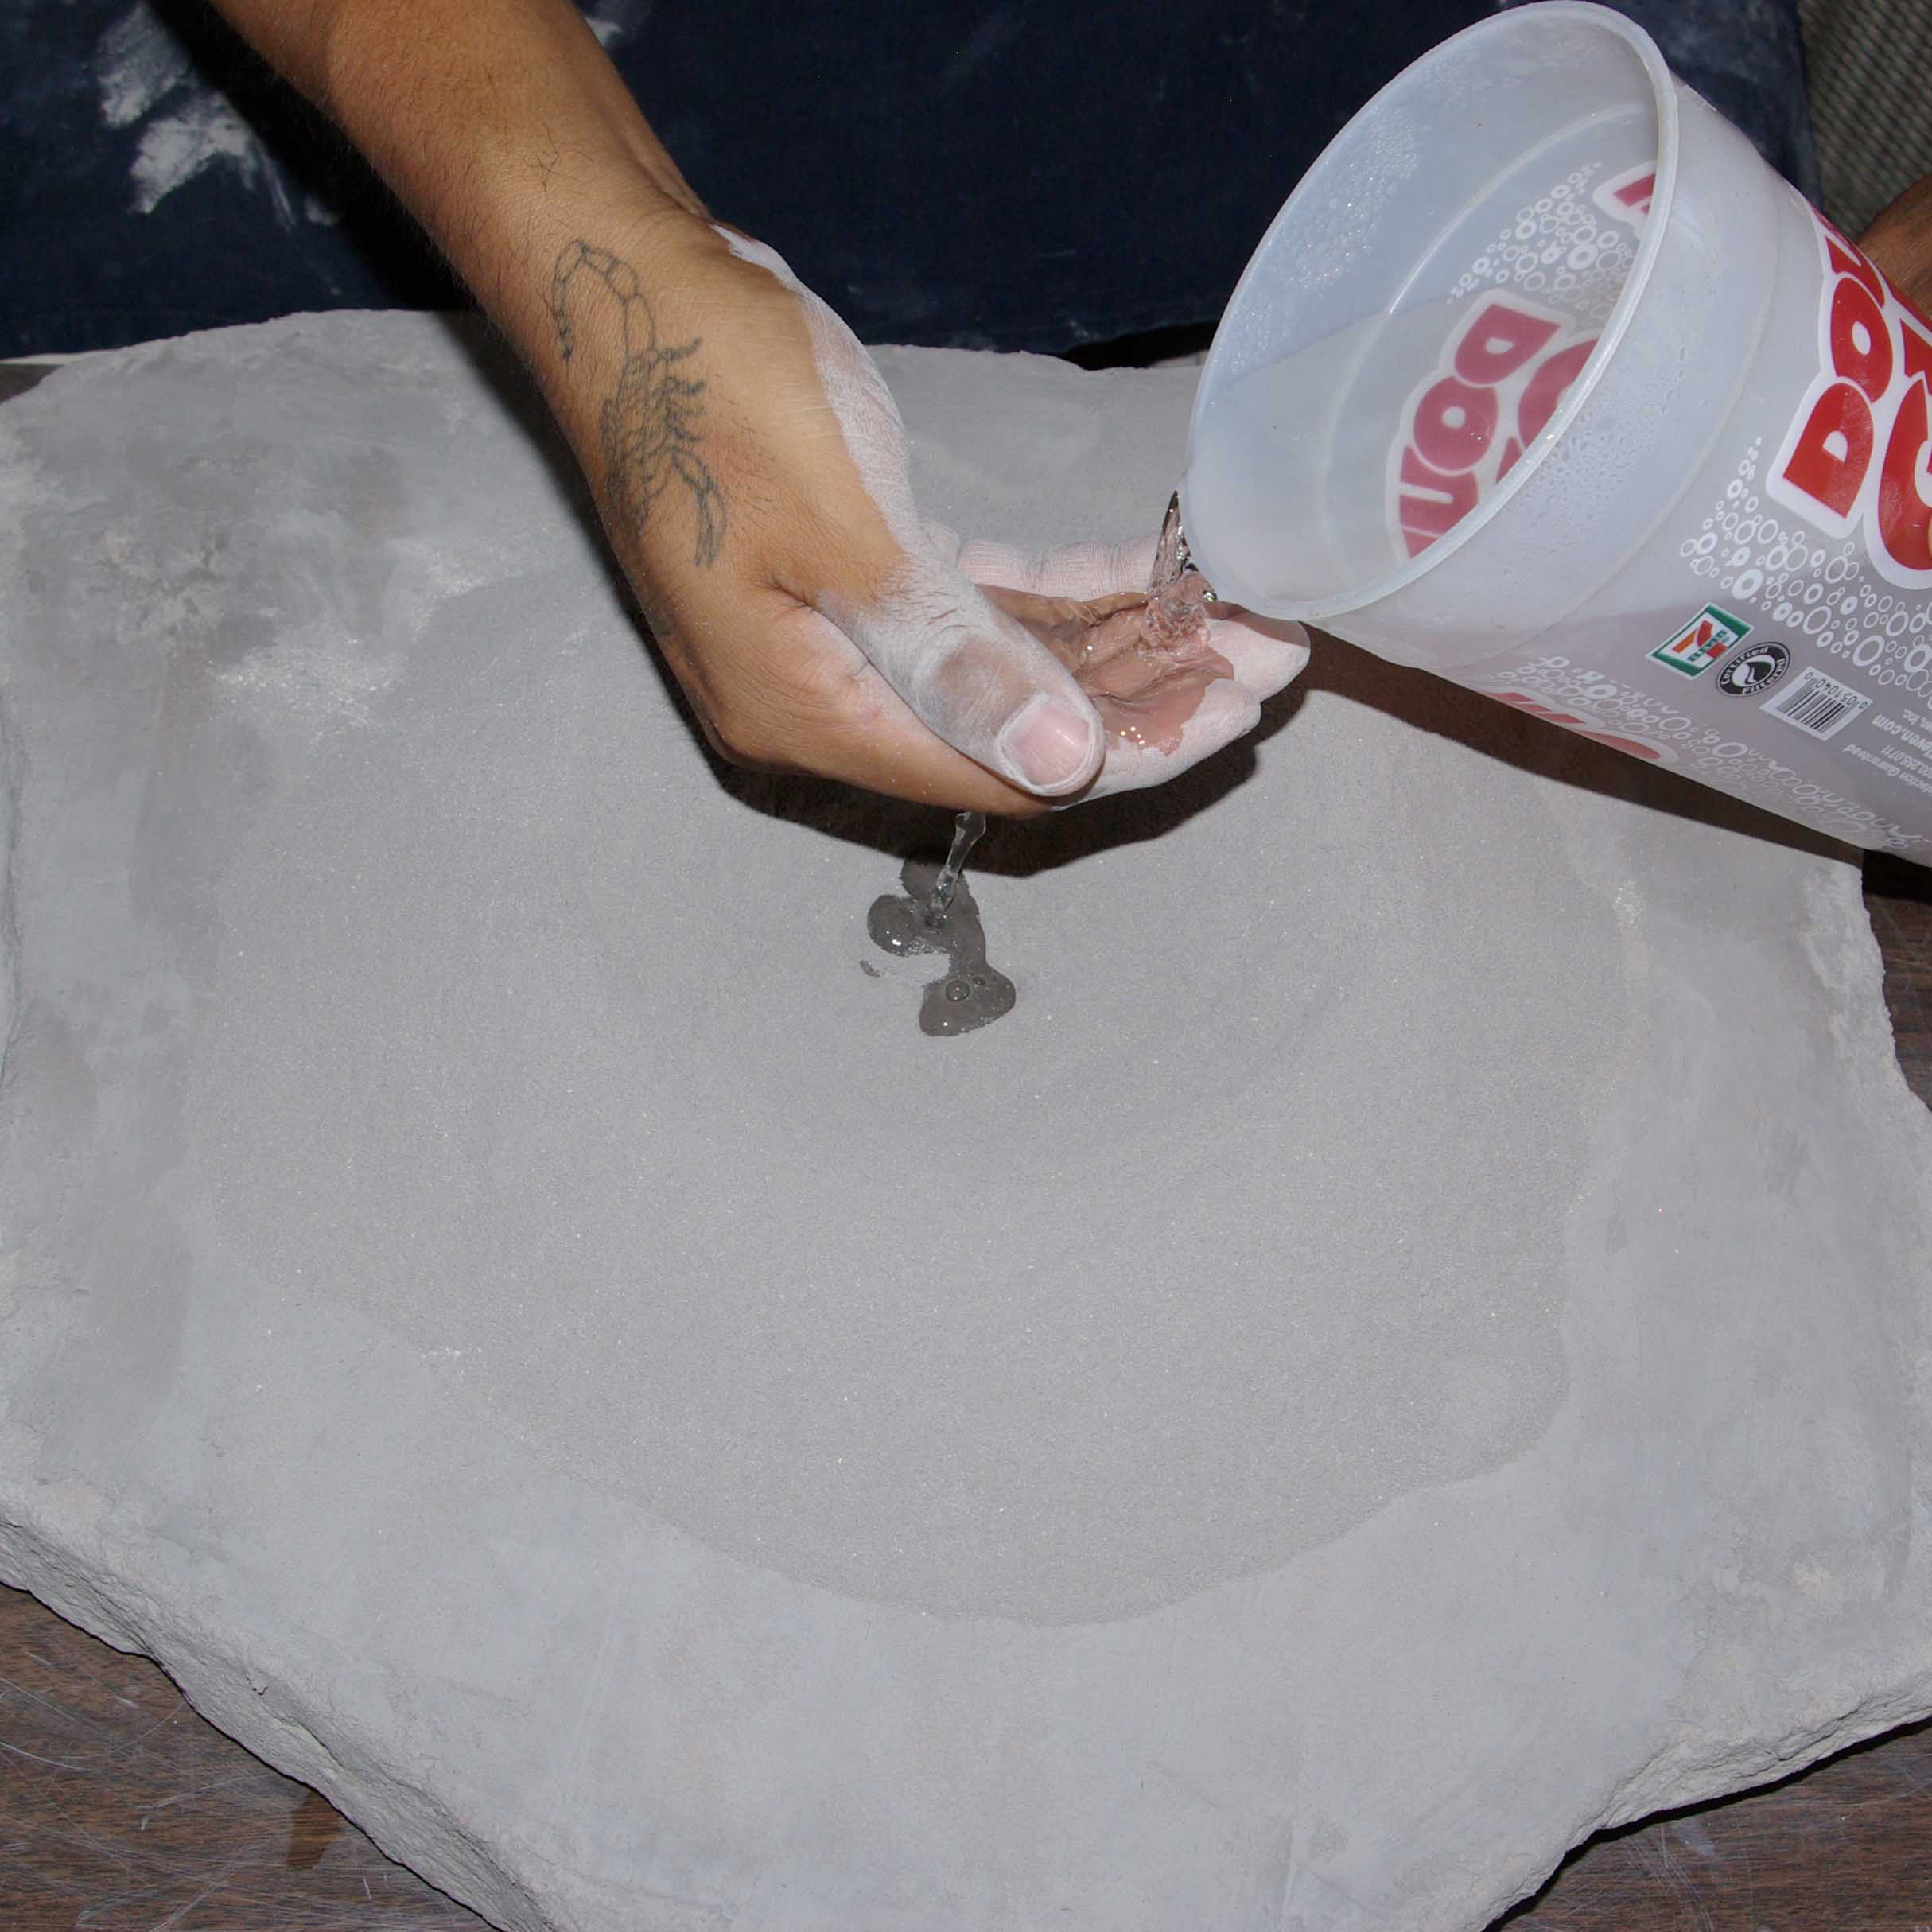
adding water using traditional native big gulp cup
Mixing water, clay, and shards
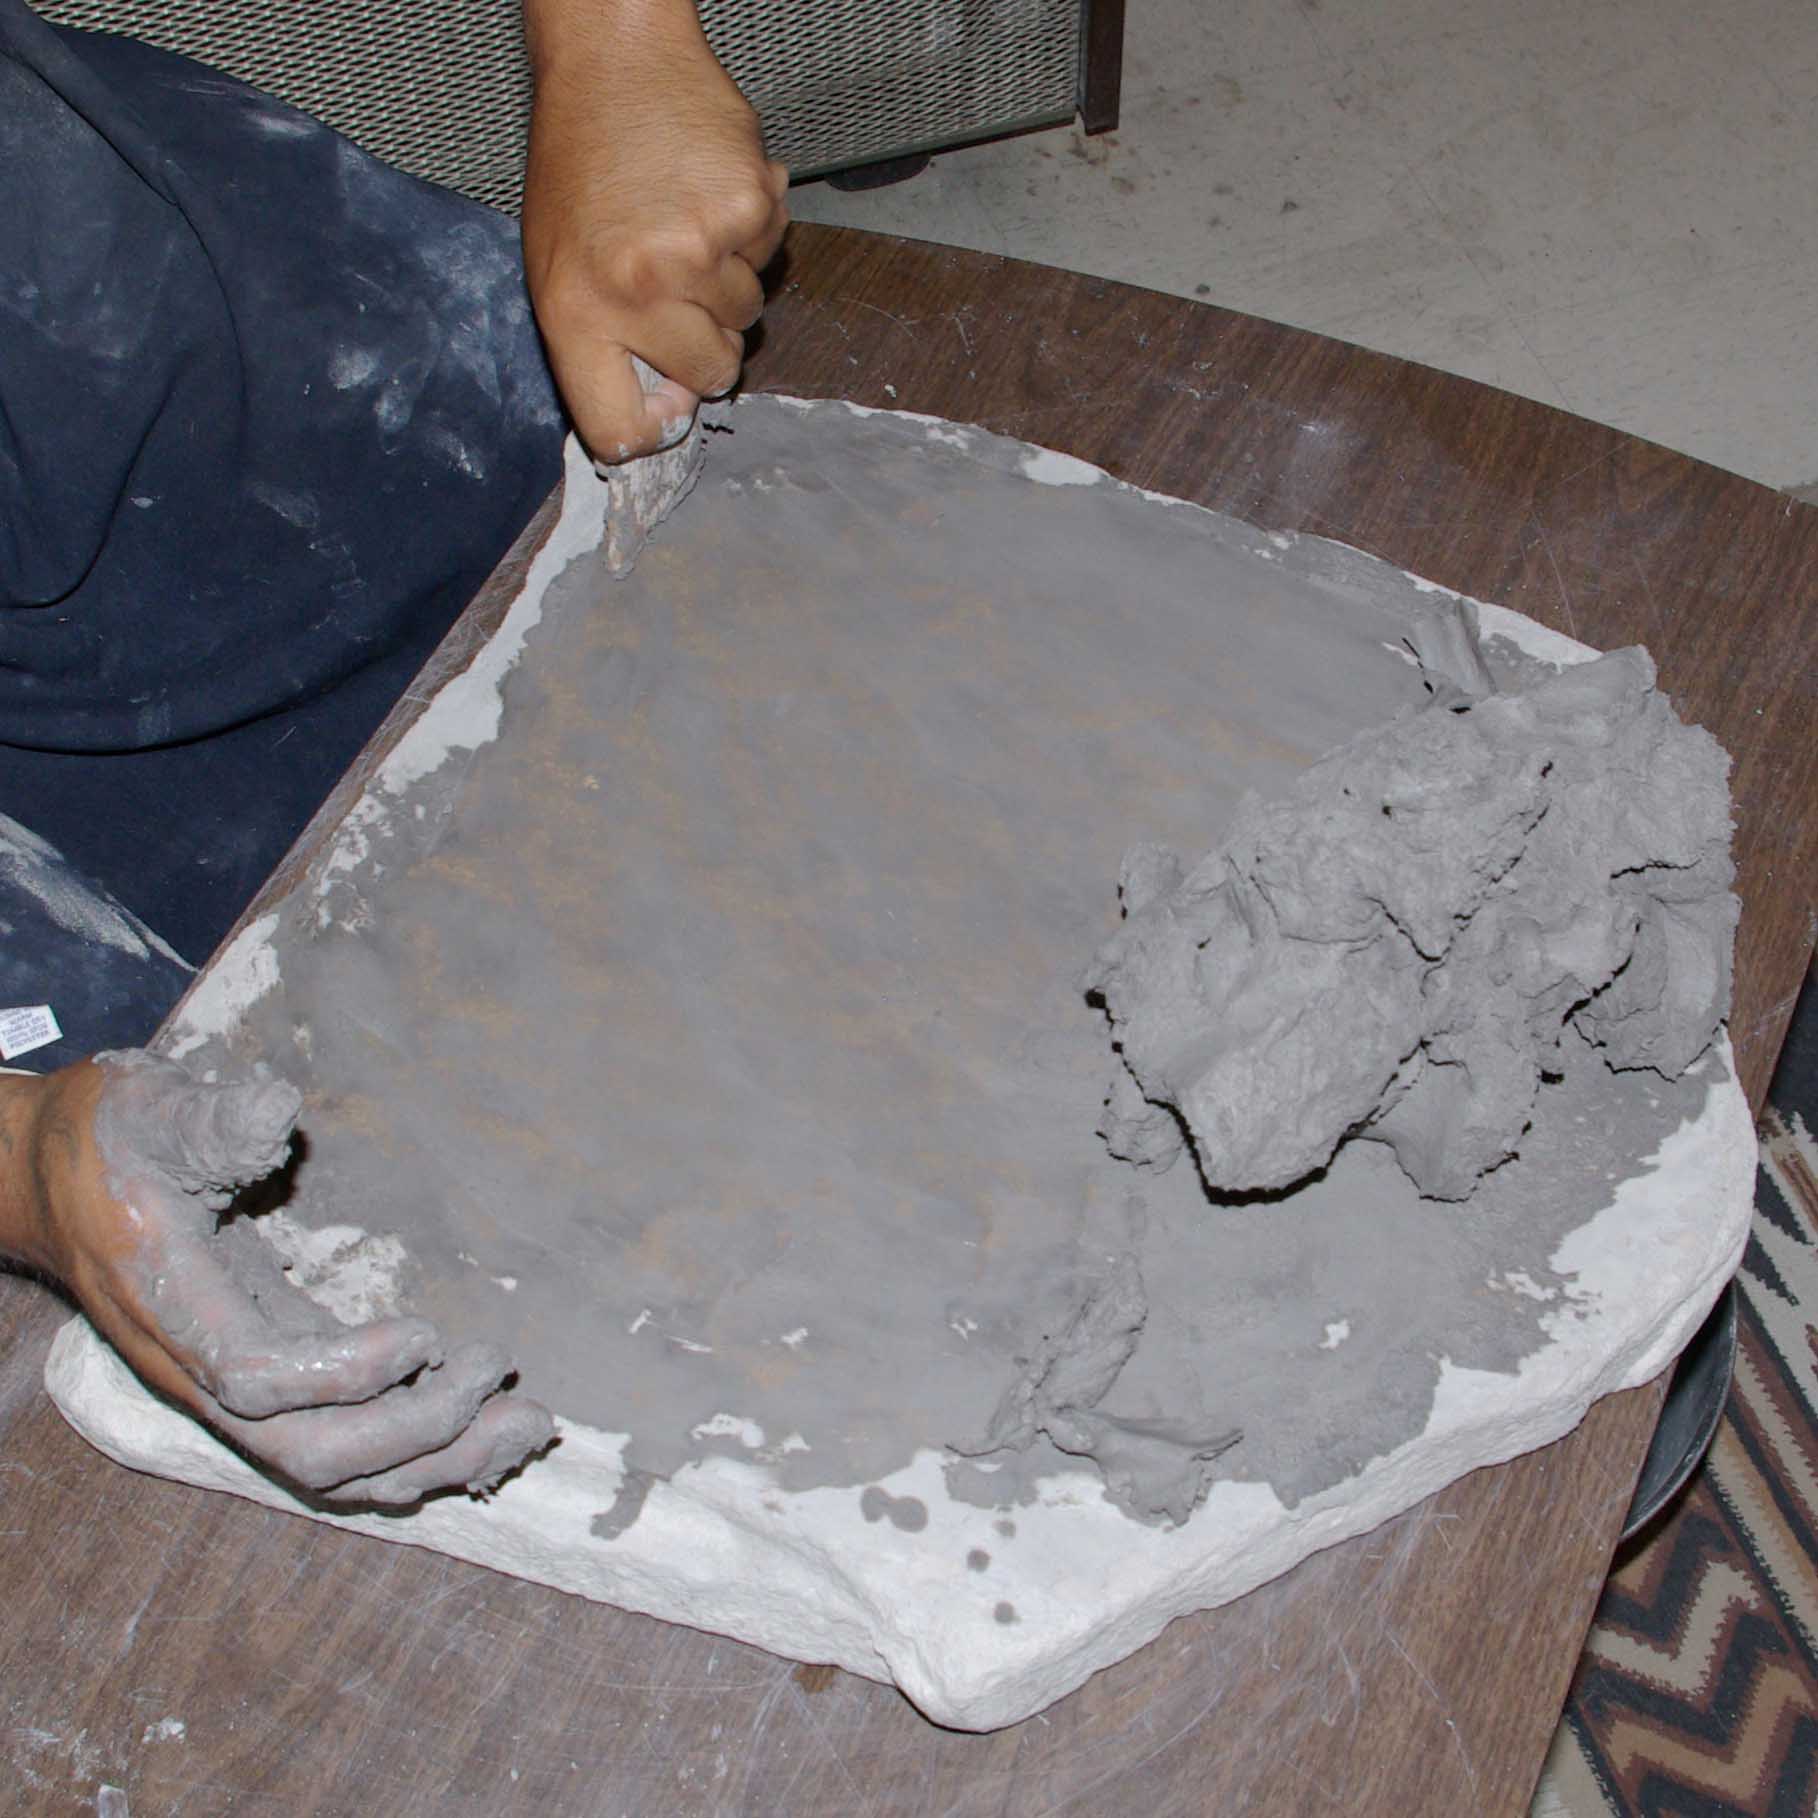
Using wooden tool to scrape up every bit of clay

Using wooden tool to scrape up every bit of clay
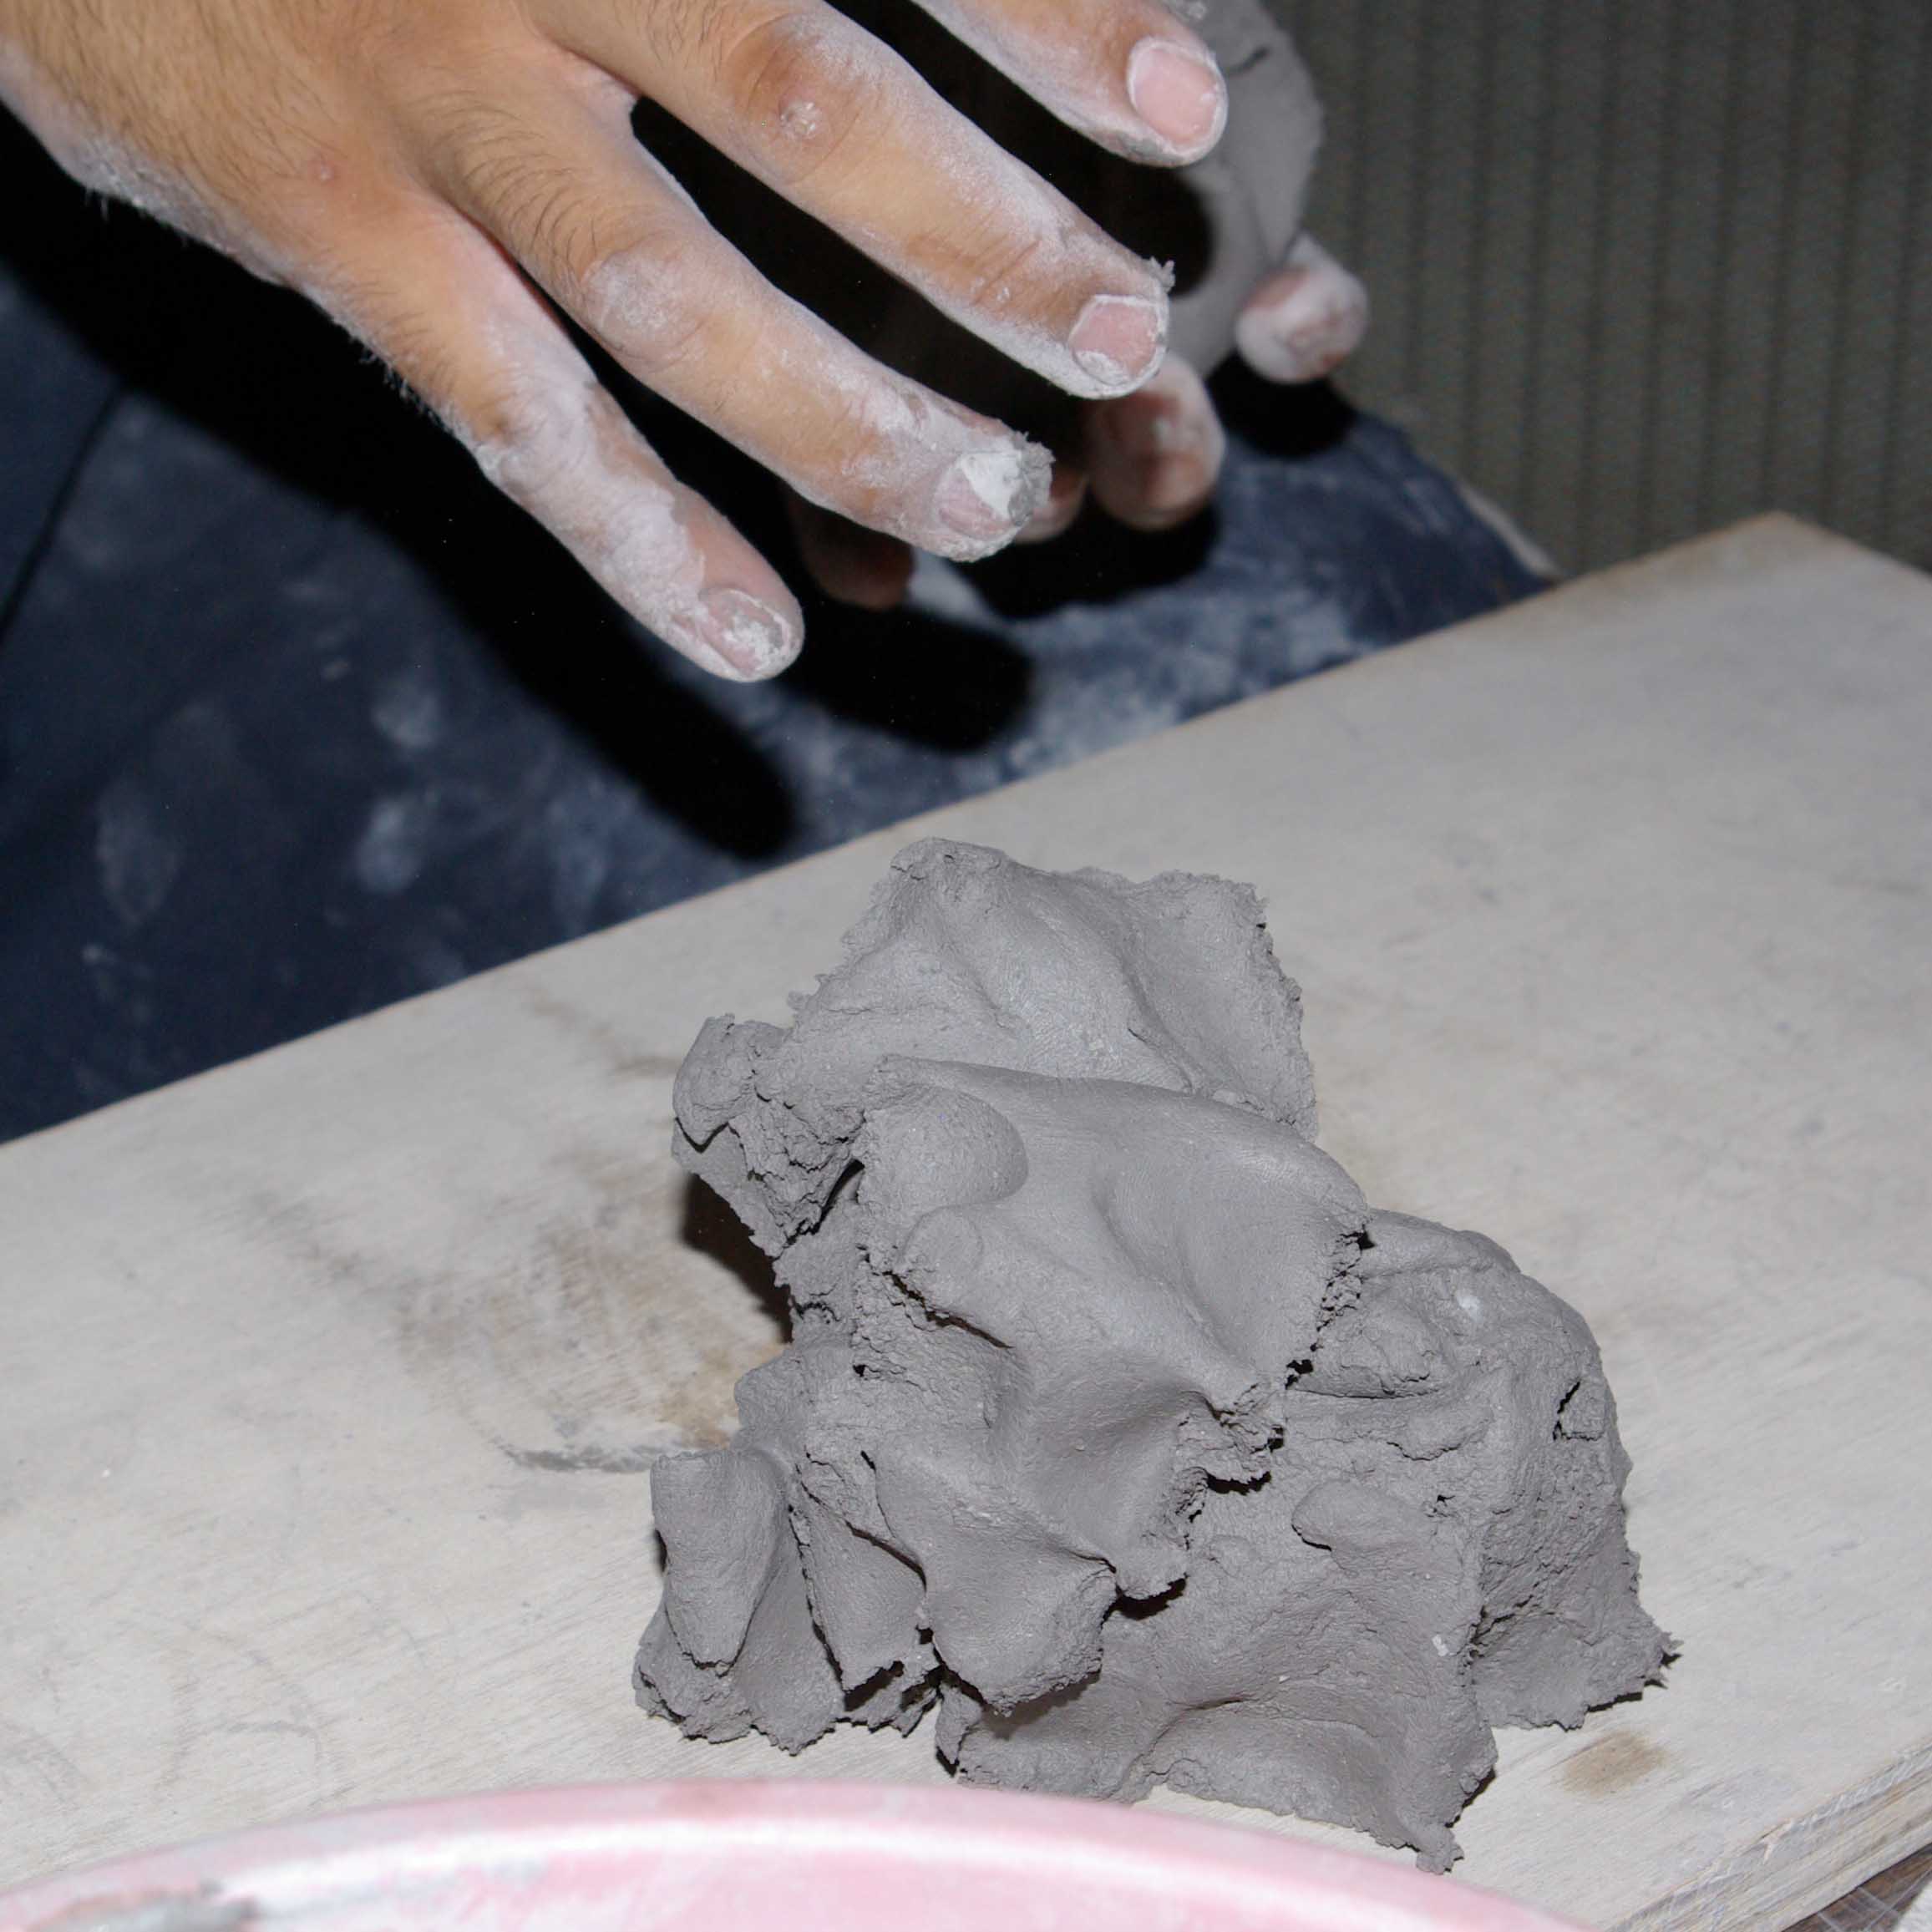
Forming the clay into a block to store it overnight to help it become more usable
Water, tools, and pottery bowl in place to begin forming

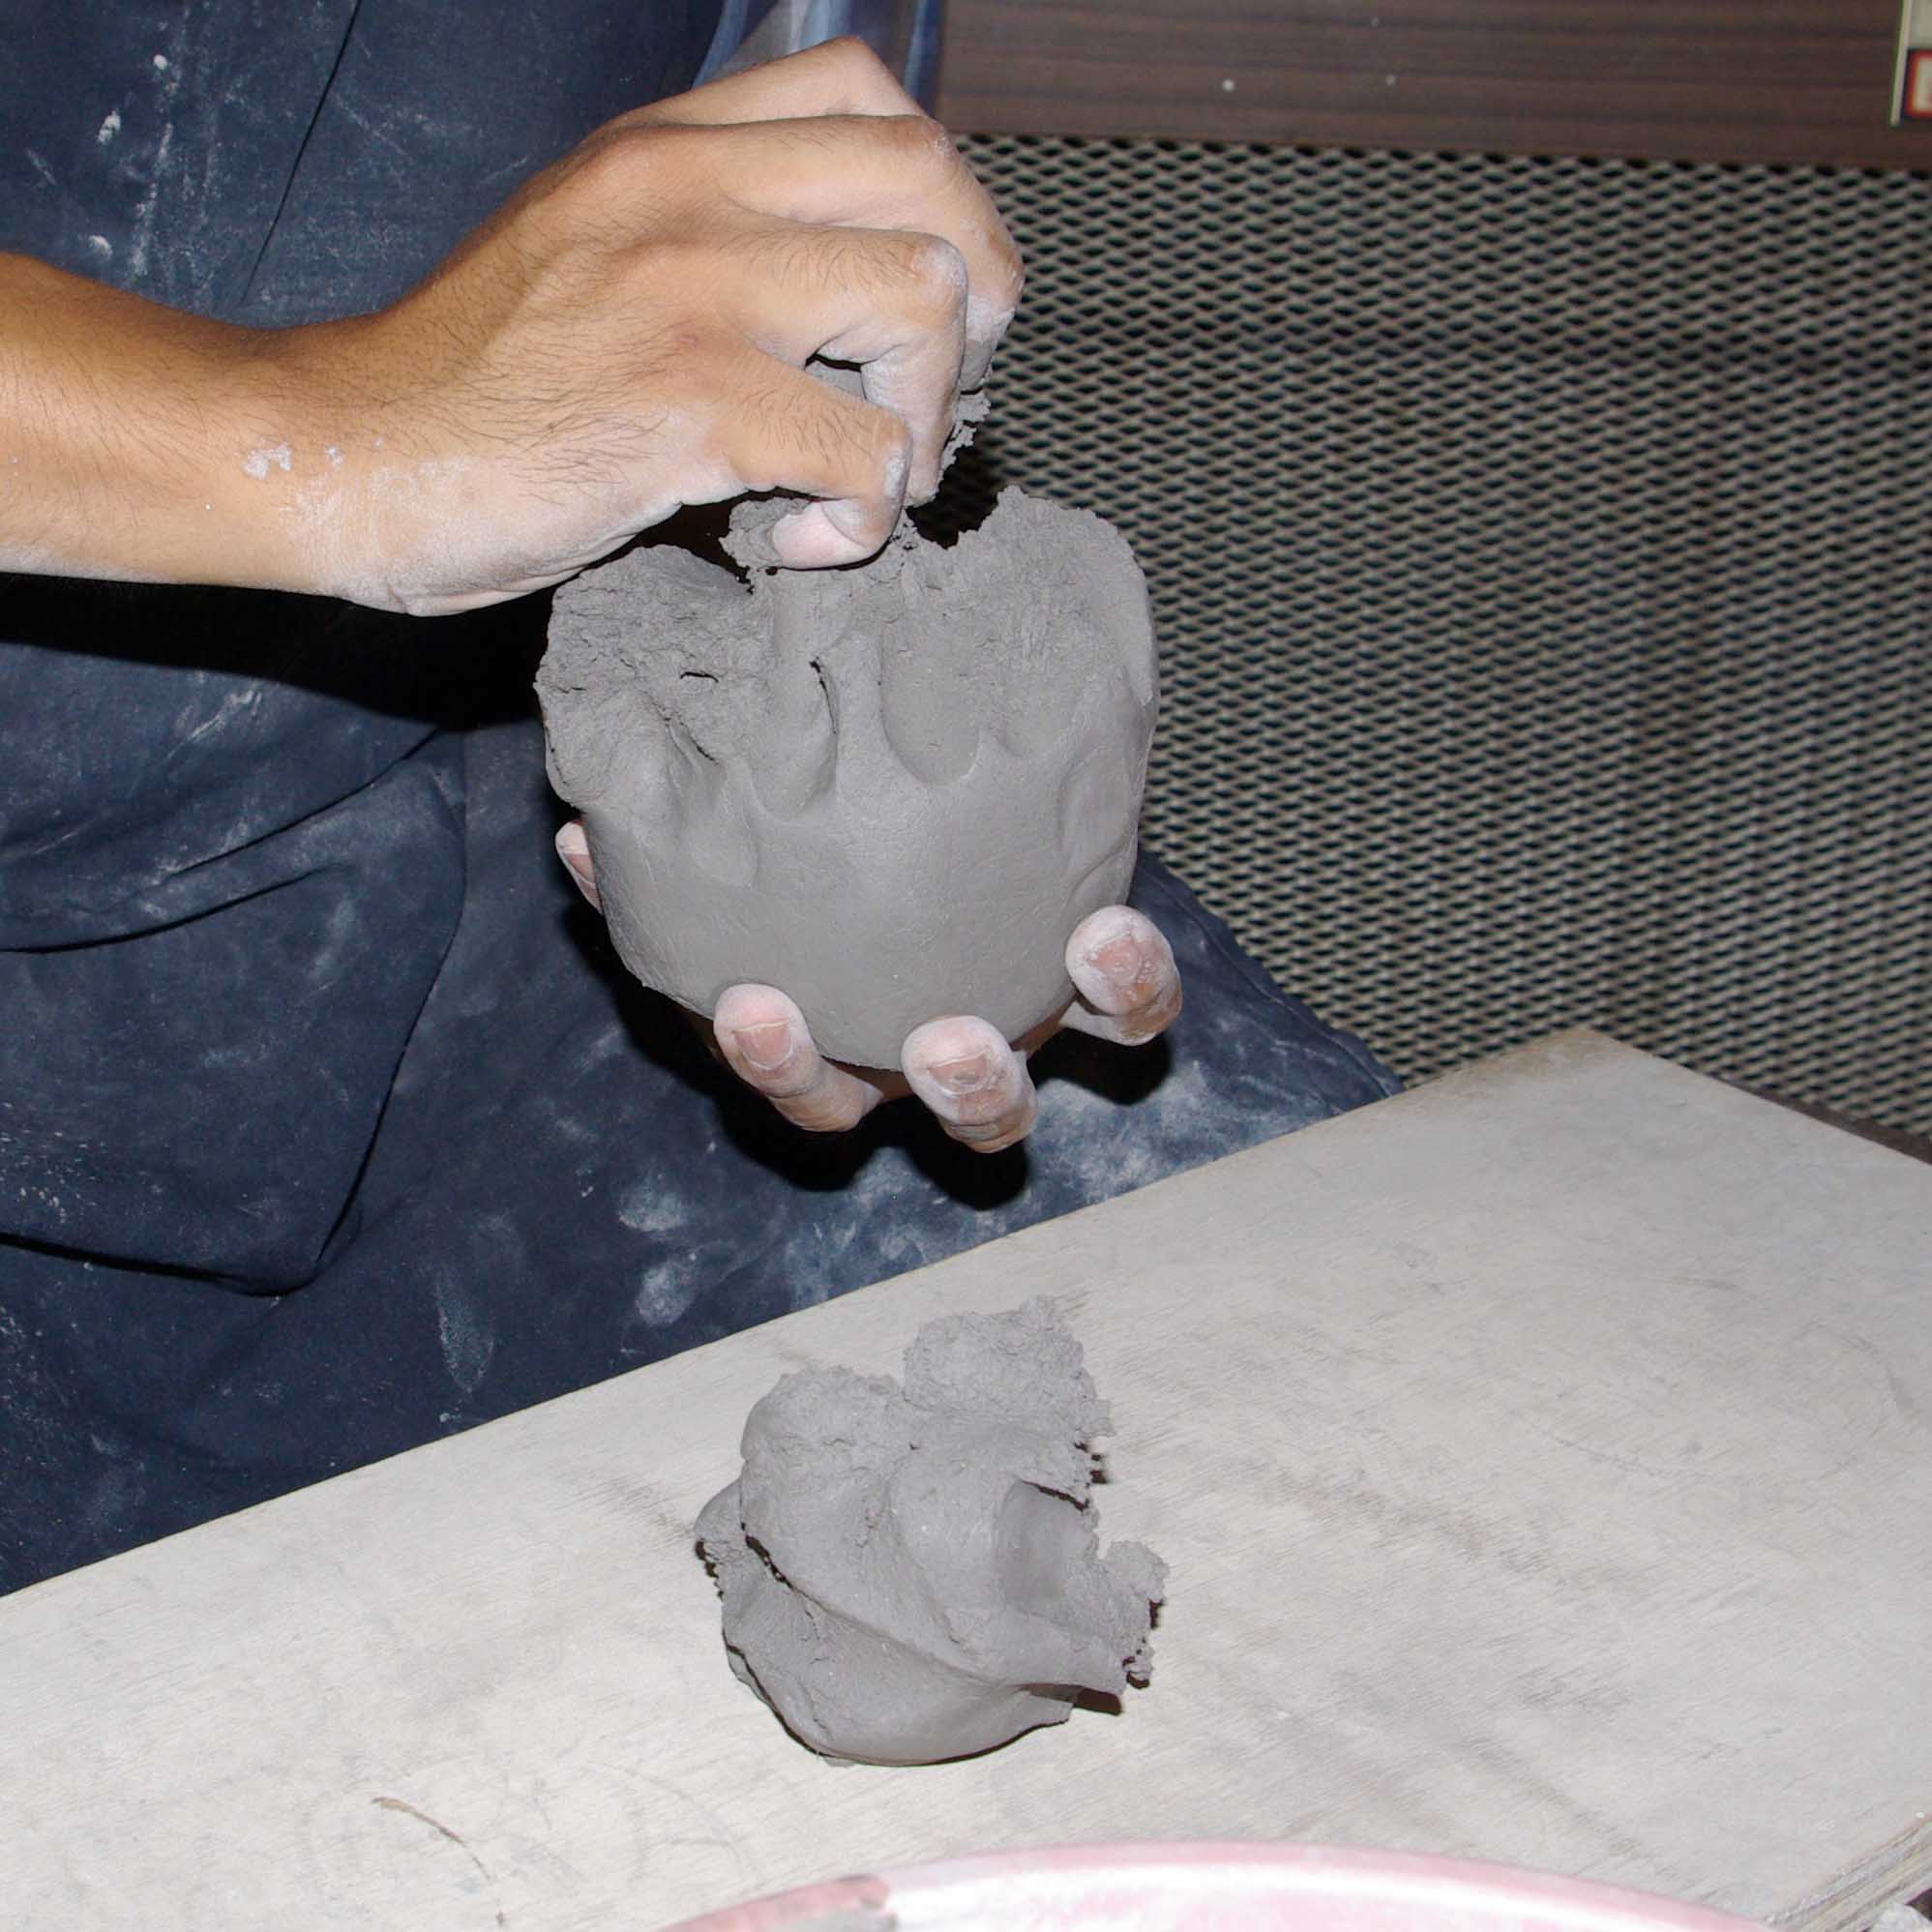
Starting with a small piece of clay
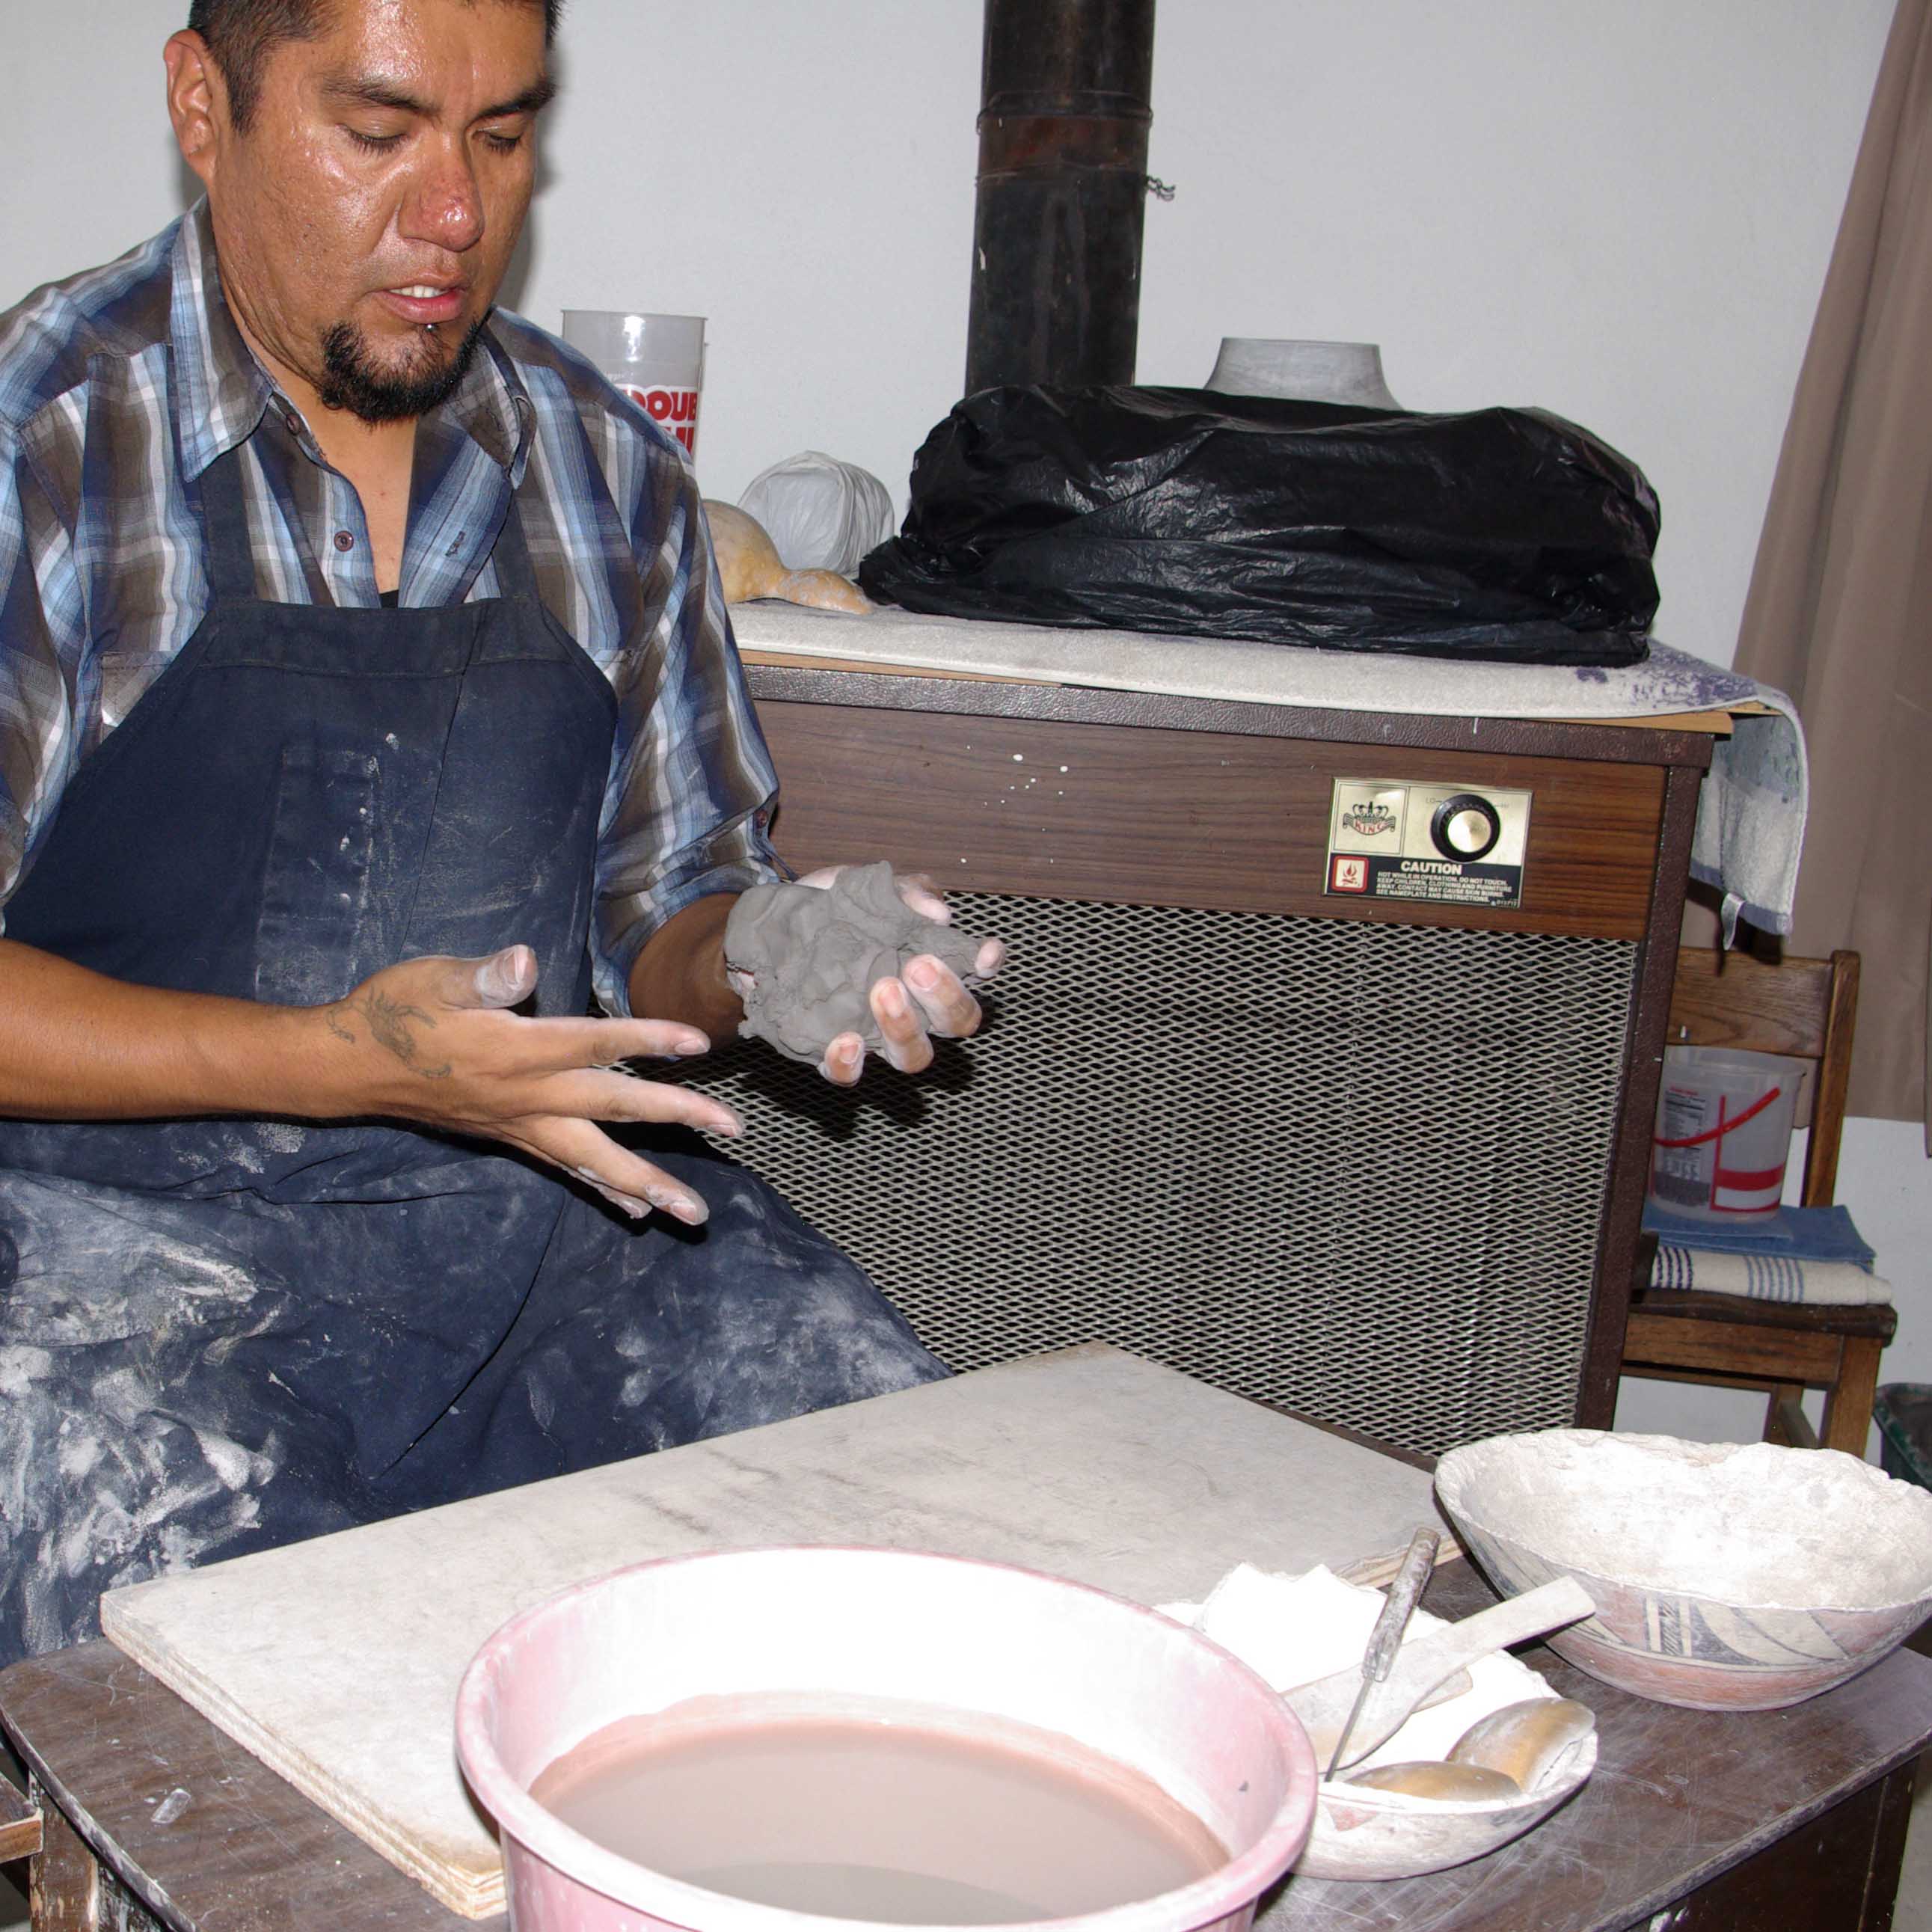
Punching the clay repeatedly to remove air bubbles and forming into a bowl shape
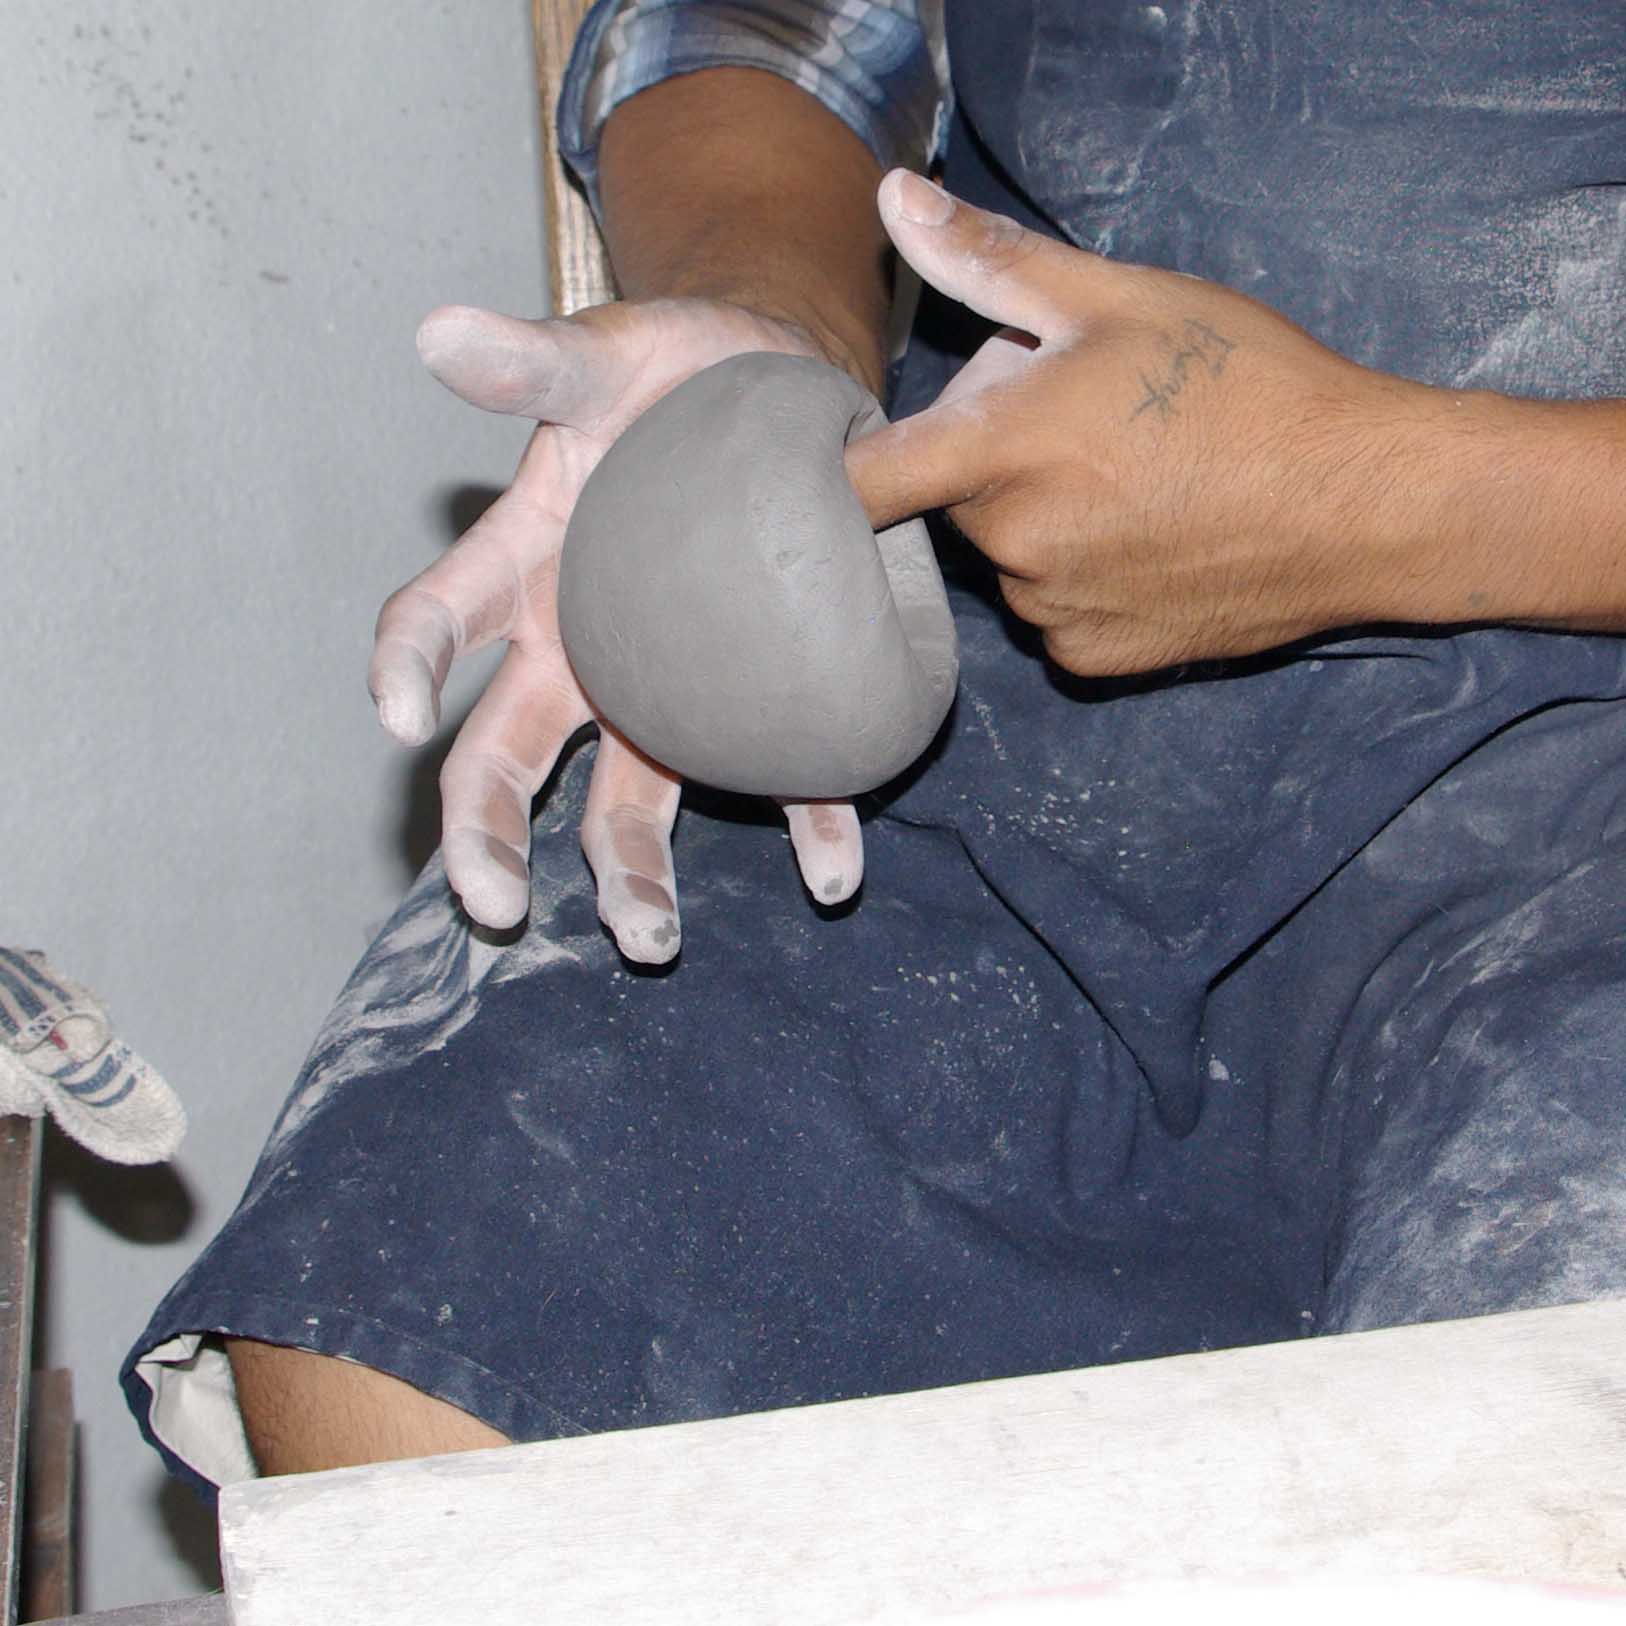
Forming the clay into a bowl shape
Using a gourd to work the clay outwards from the inside
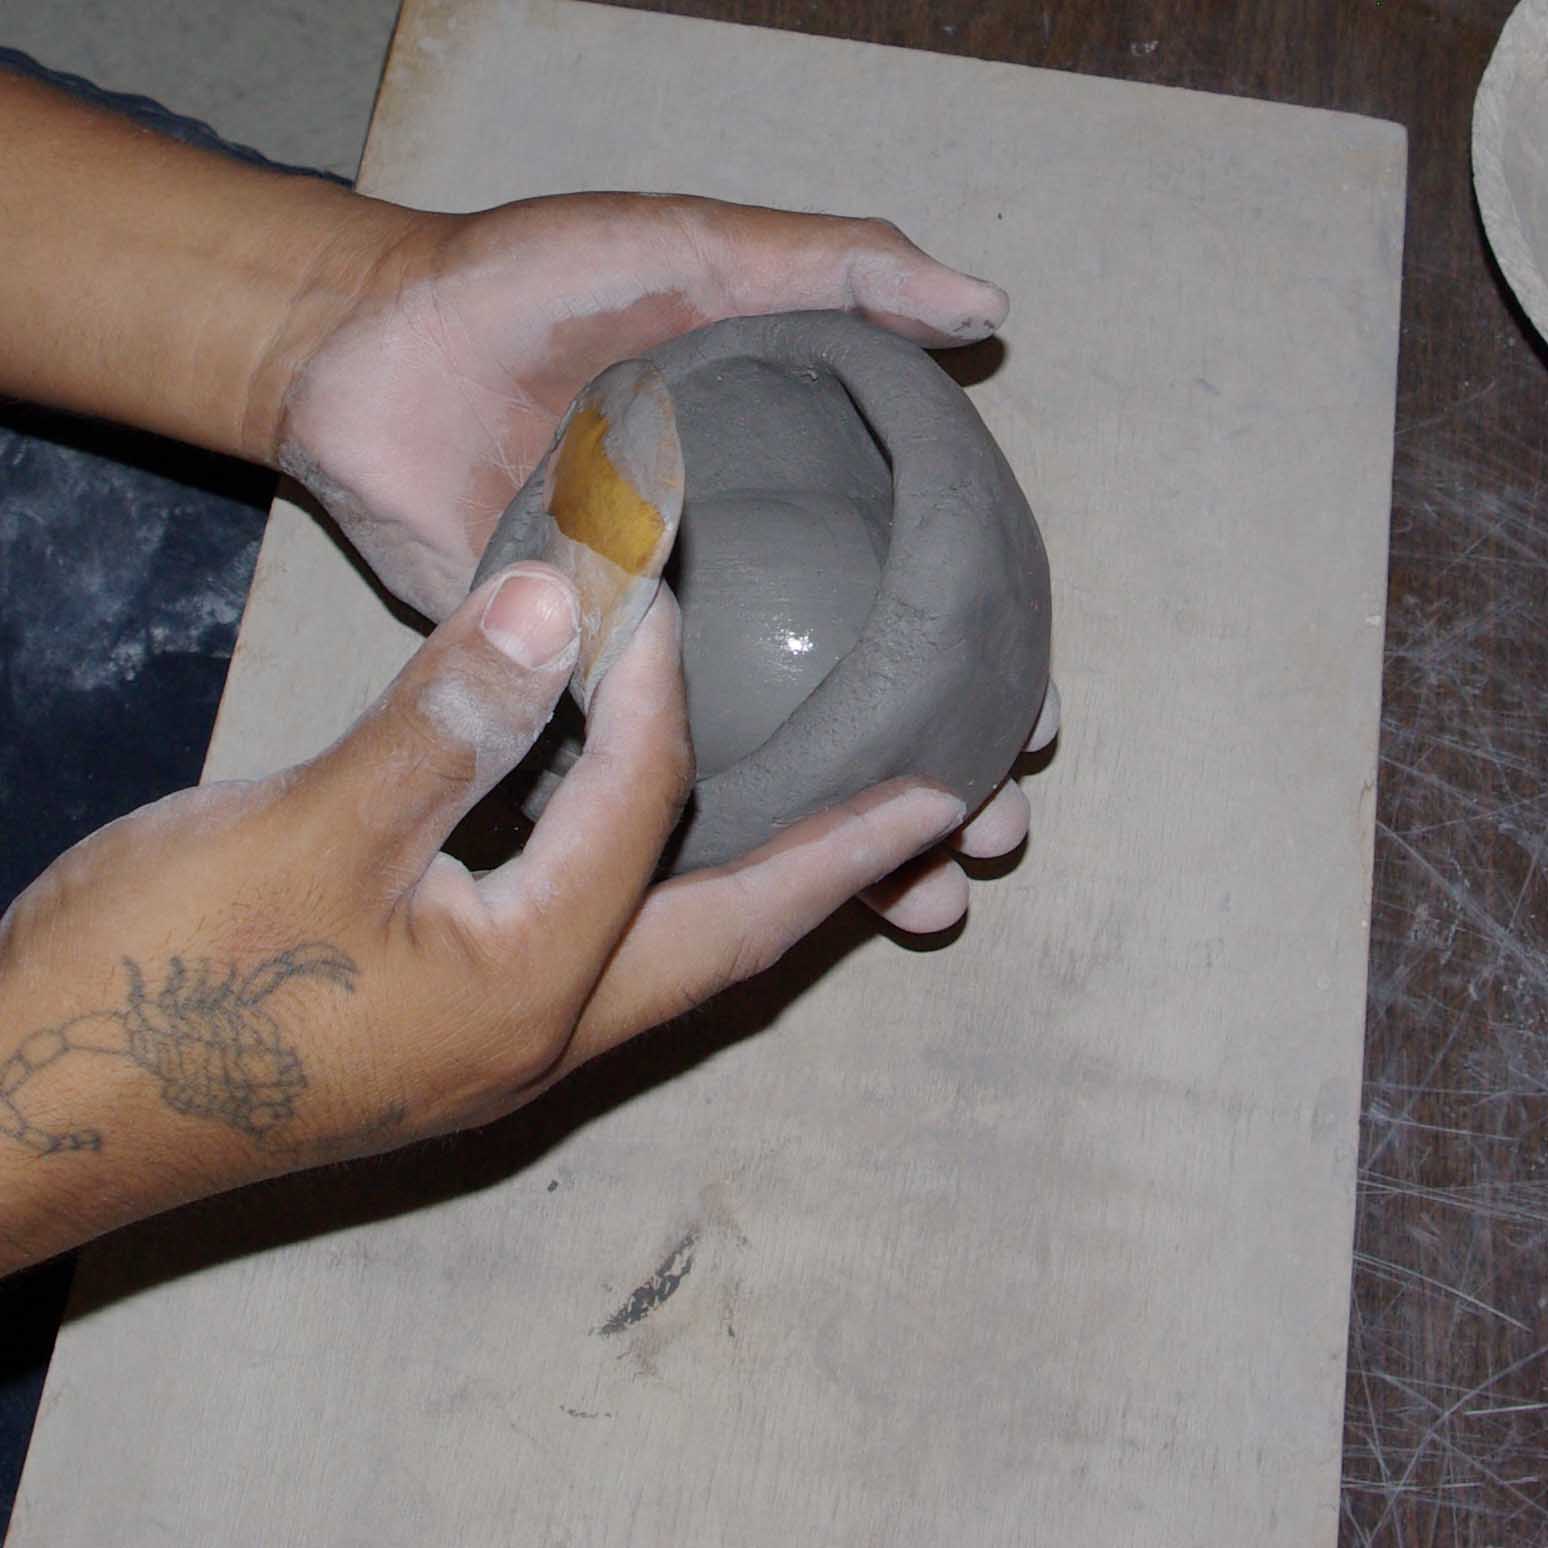
Using a gourd to work the clay outwards from the inside

Using a gourd to work the clay outwards from the inside
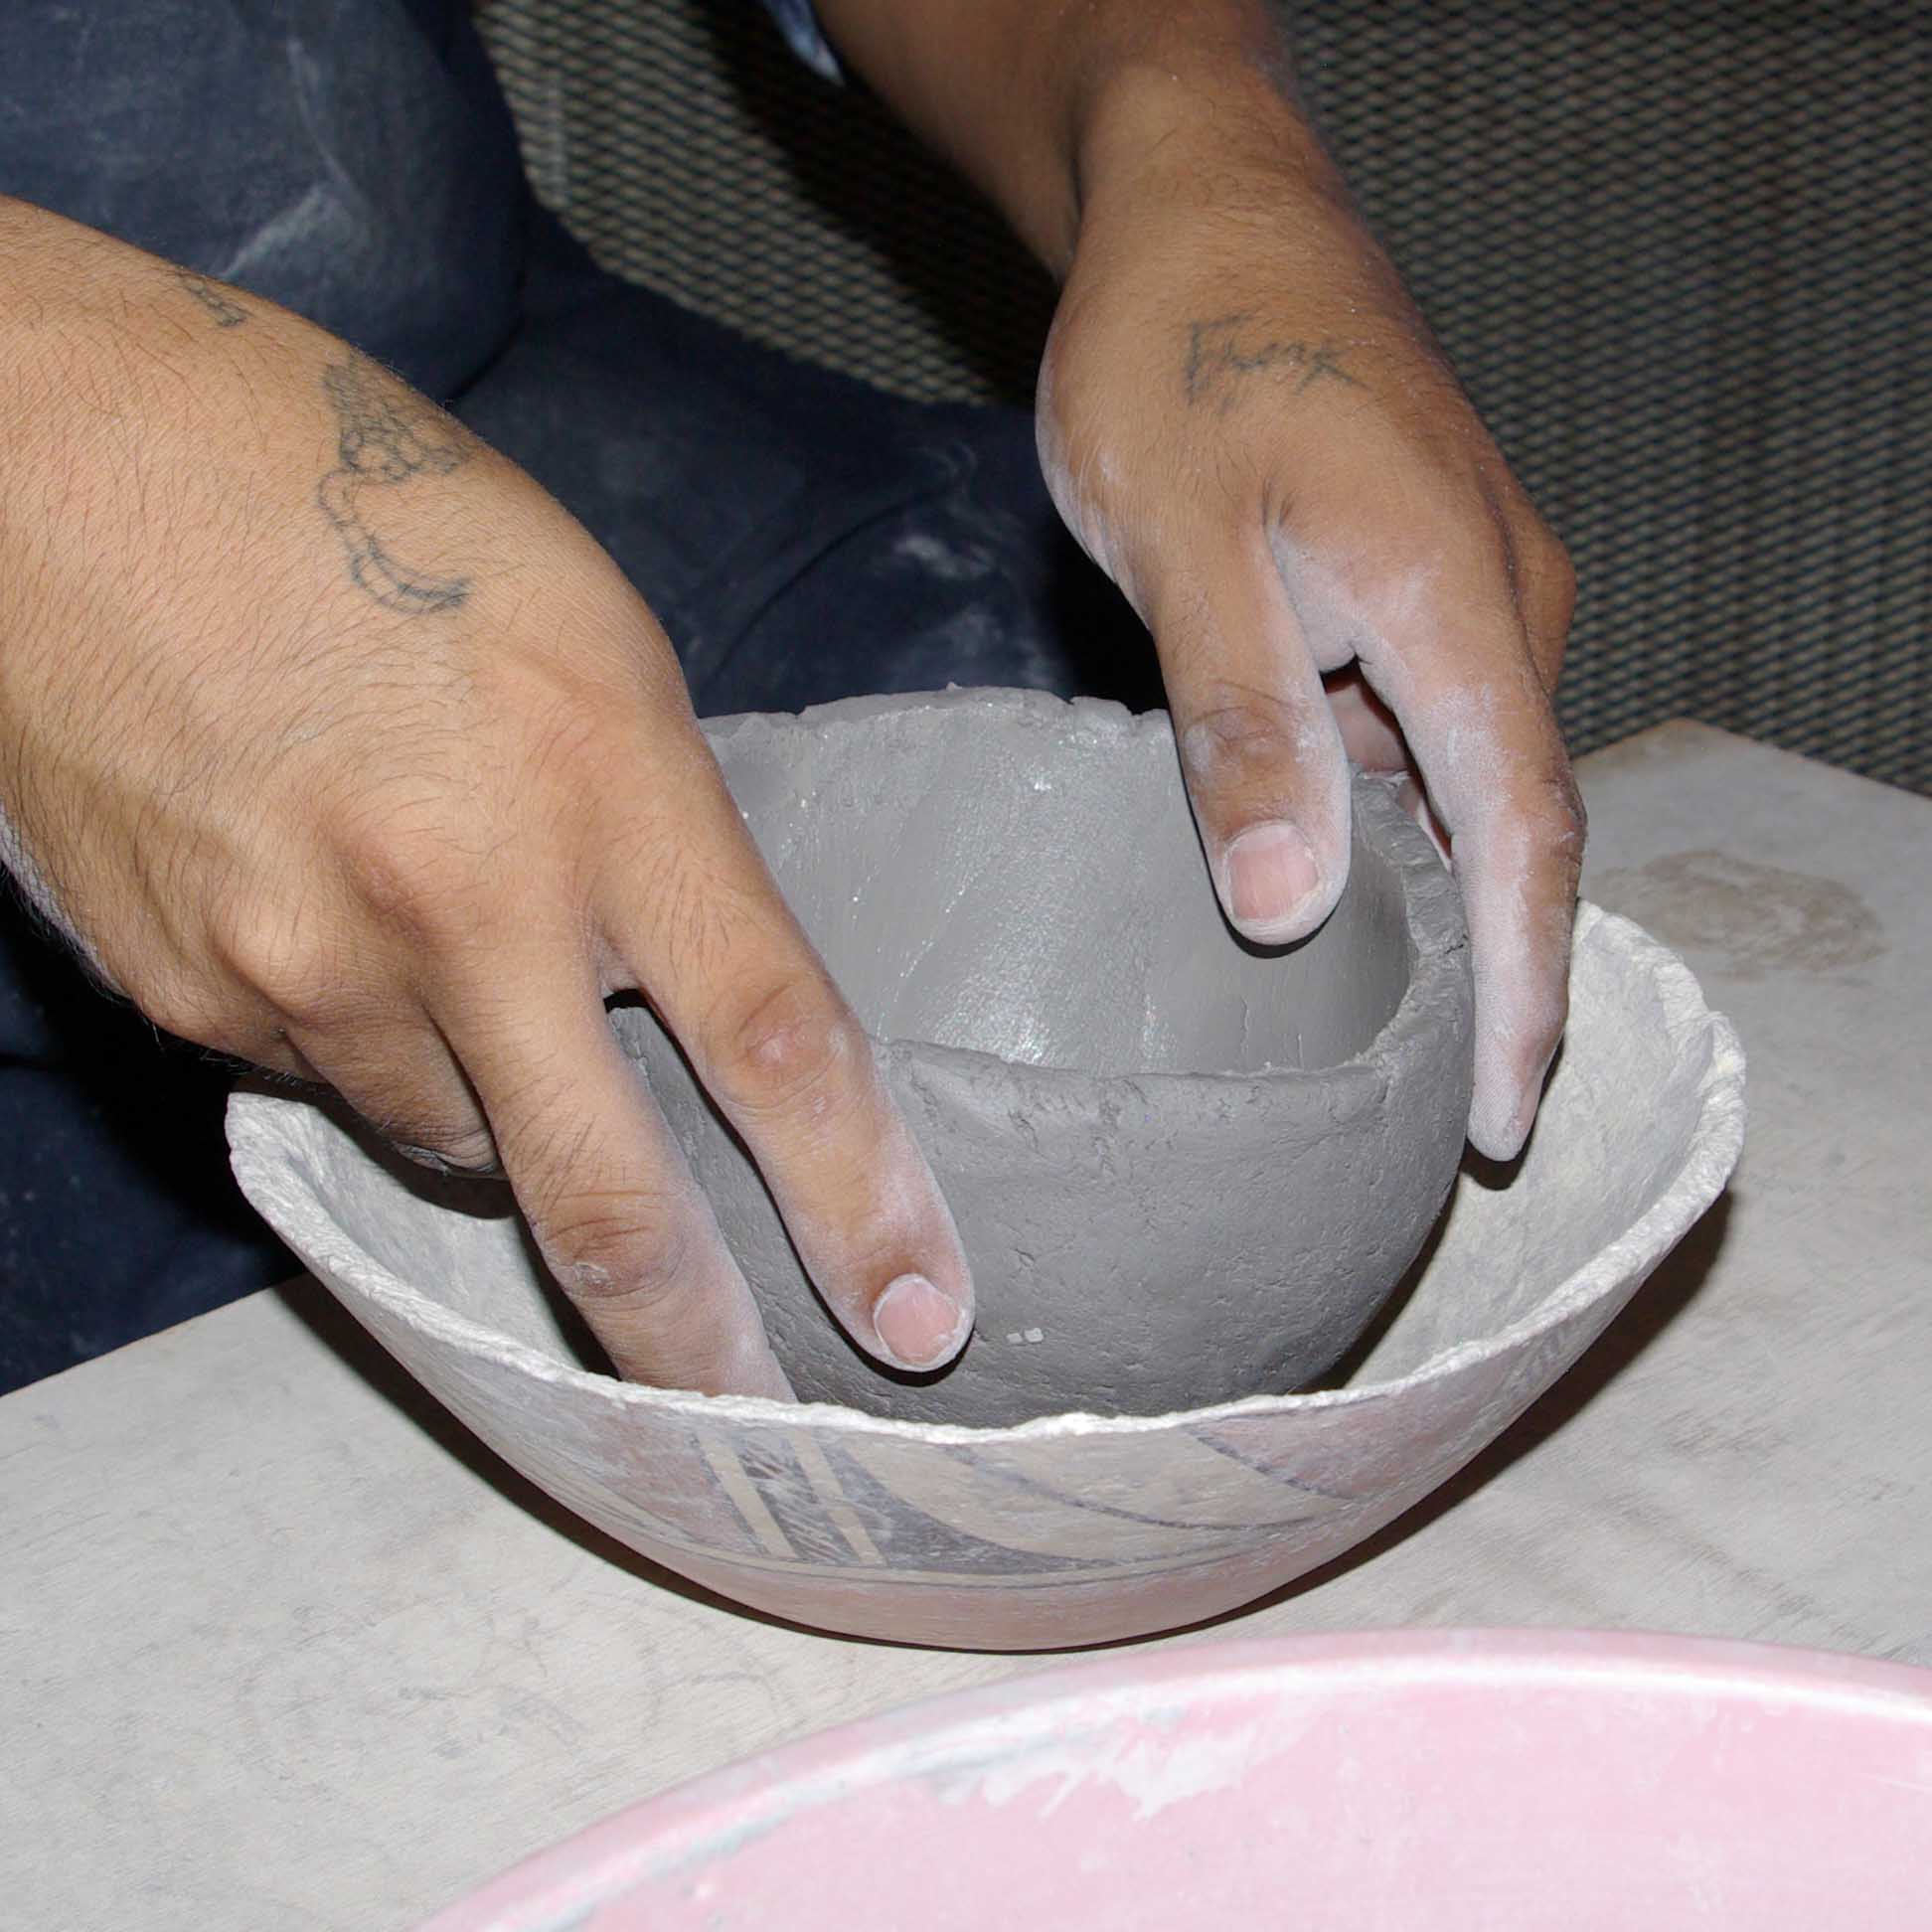
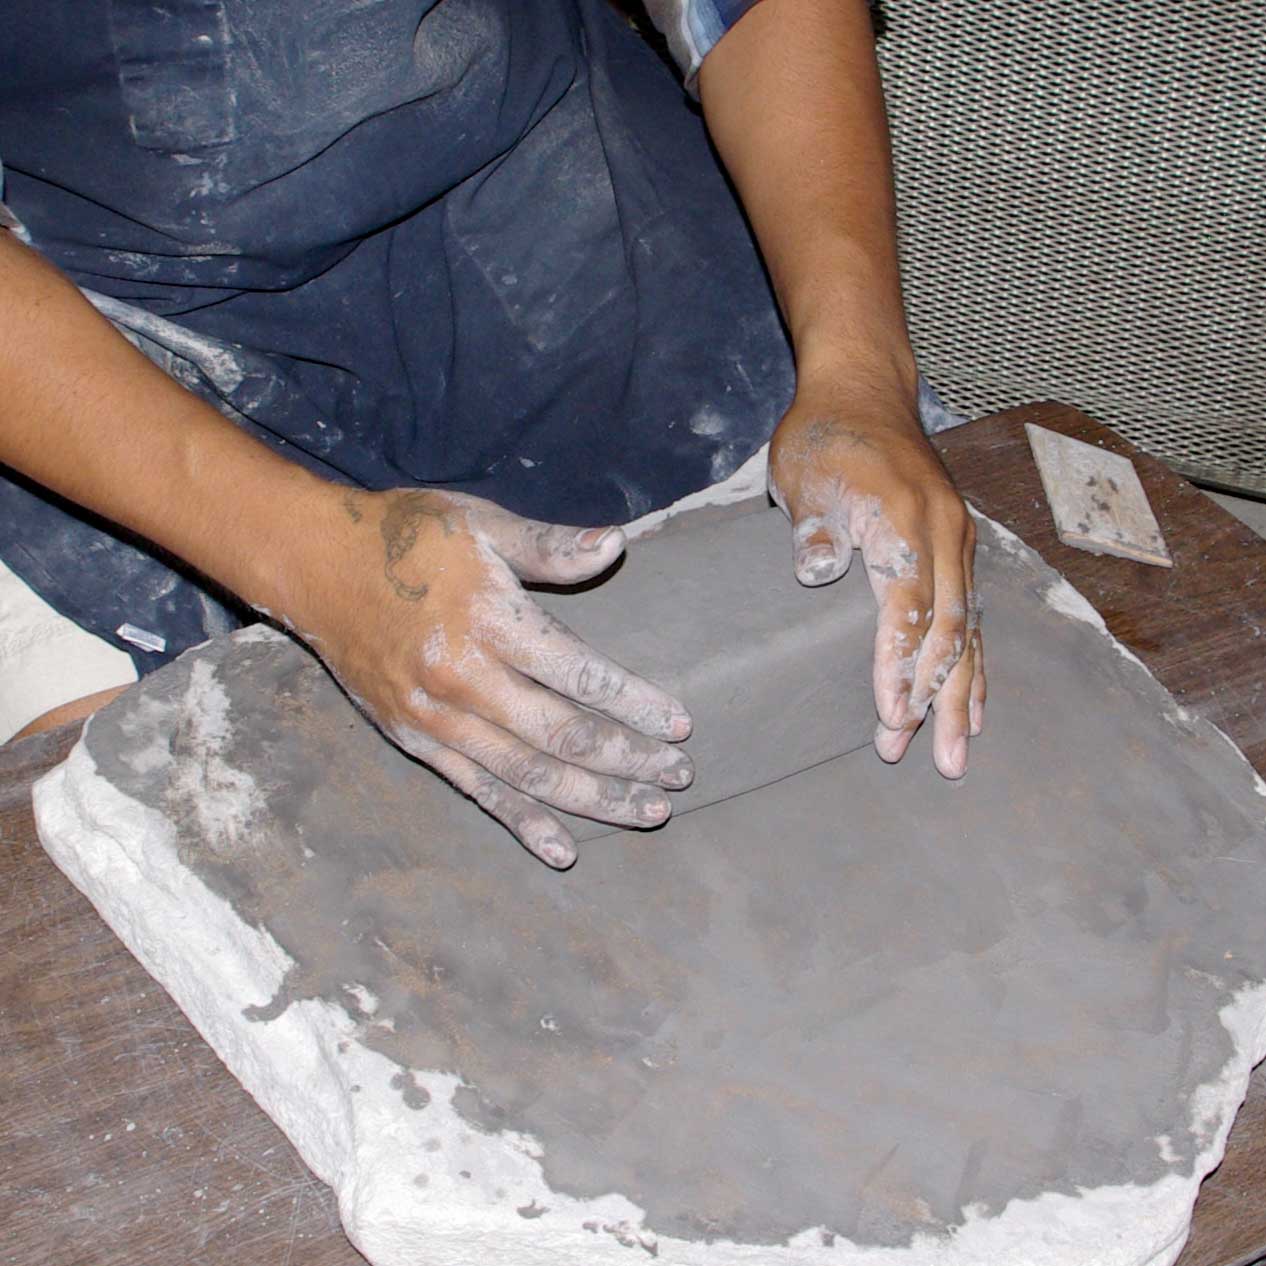
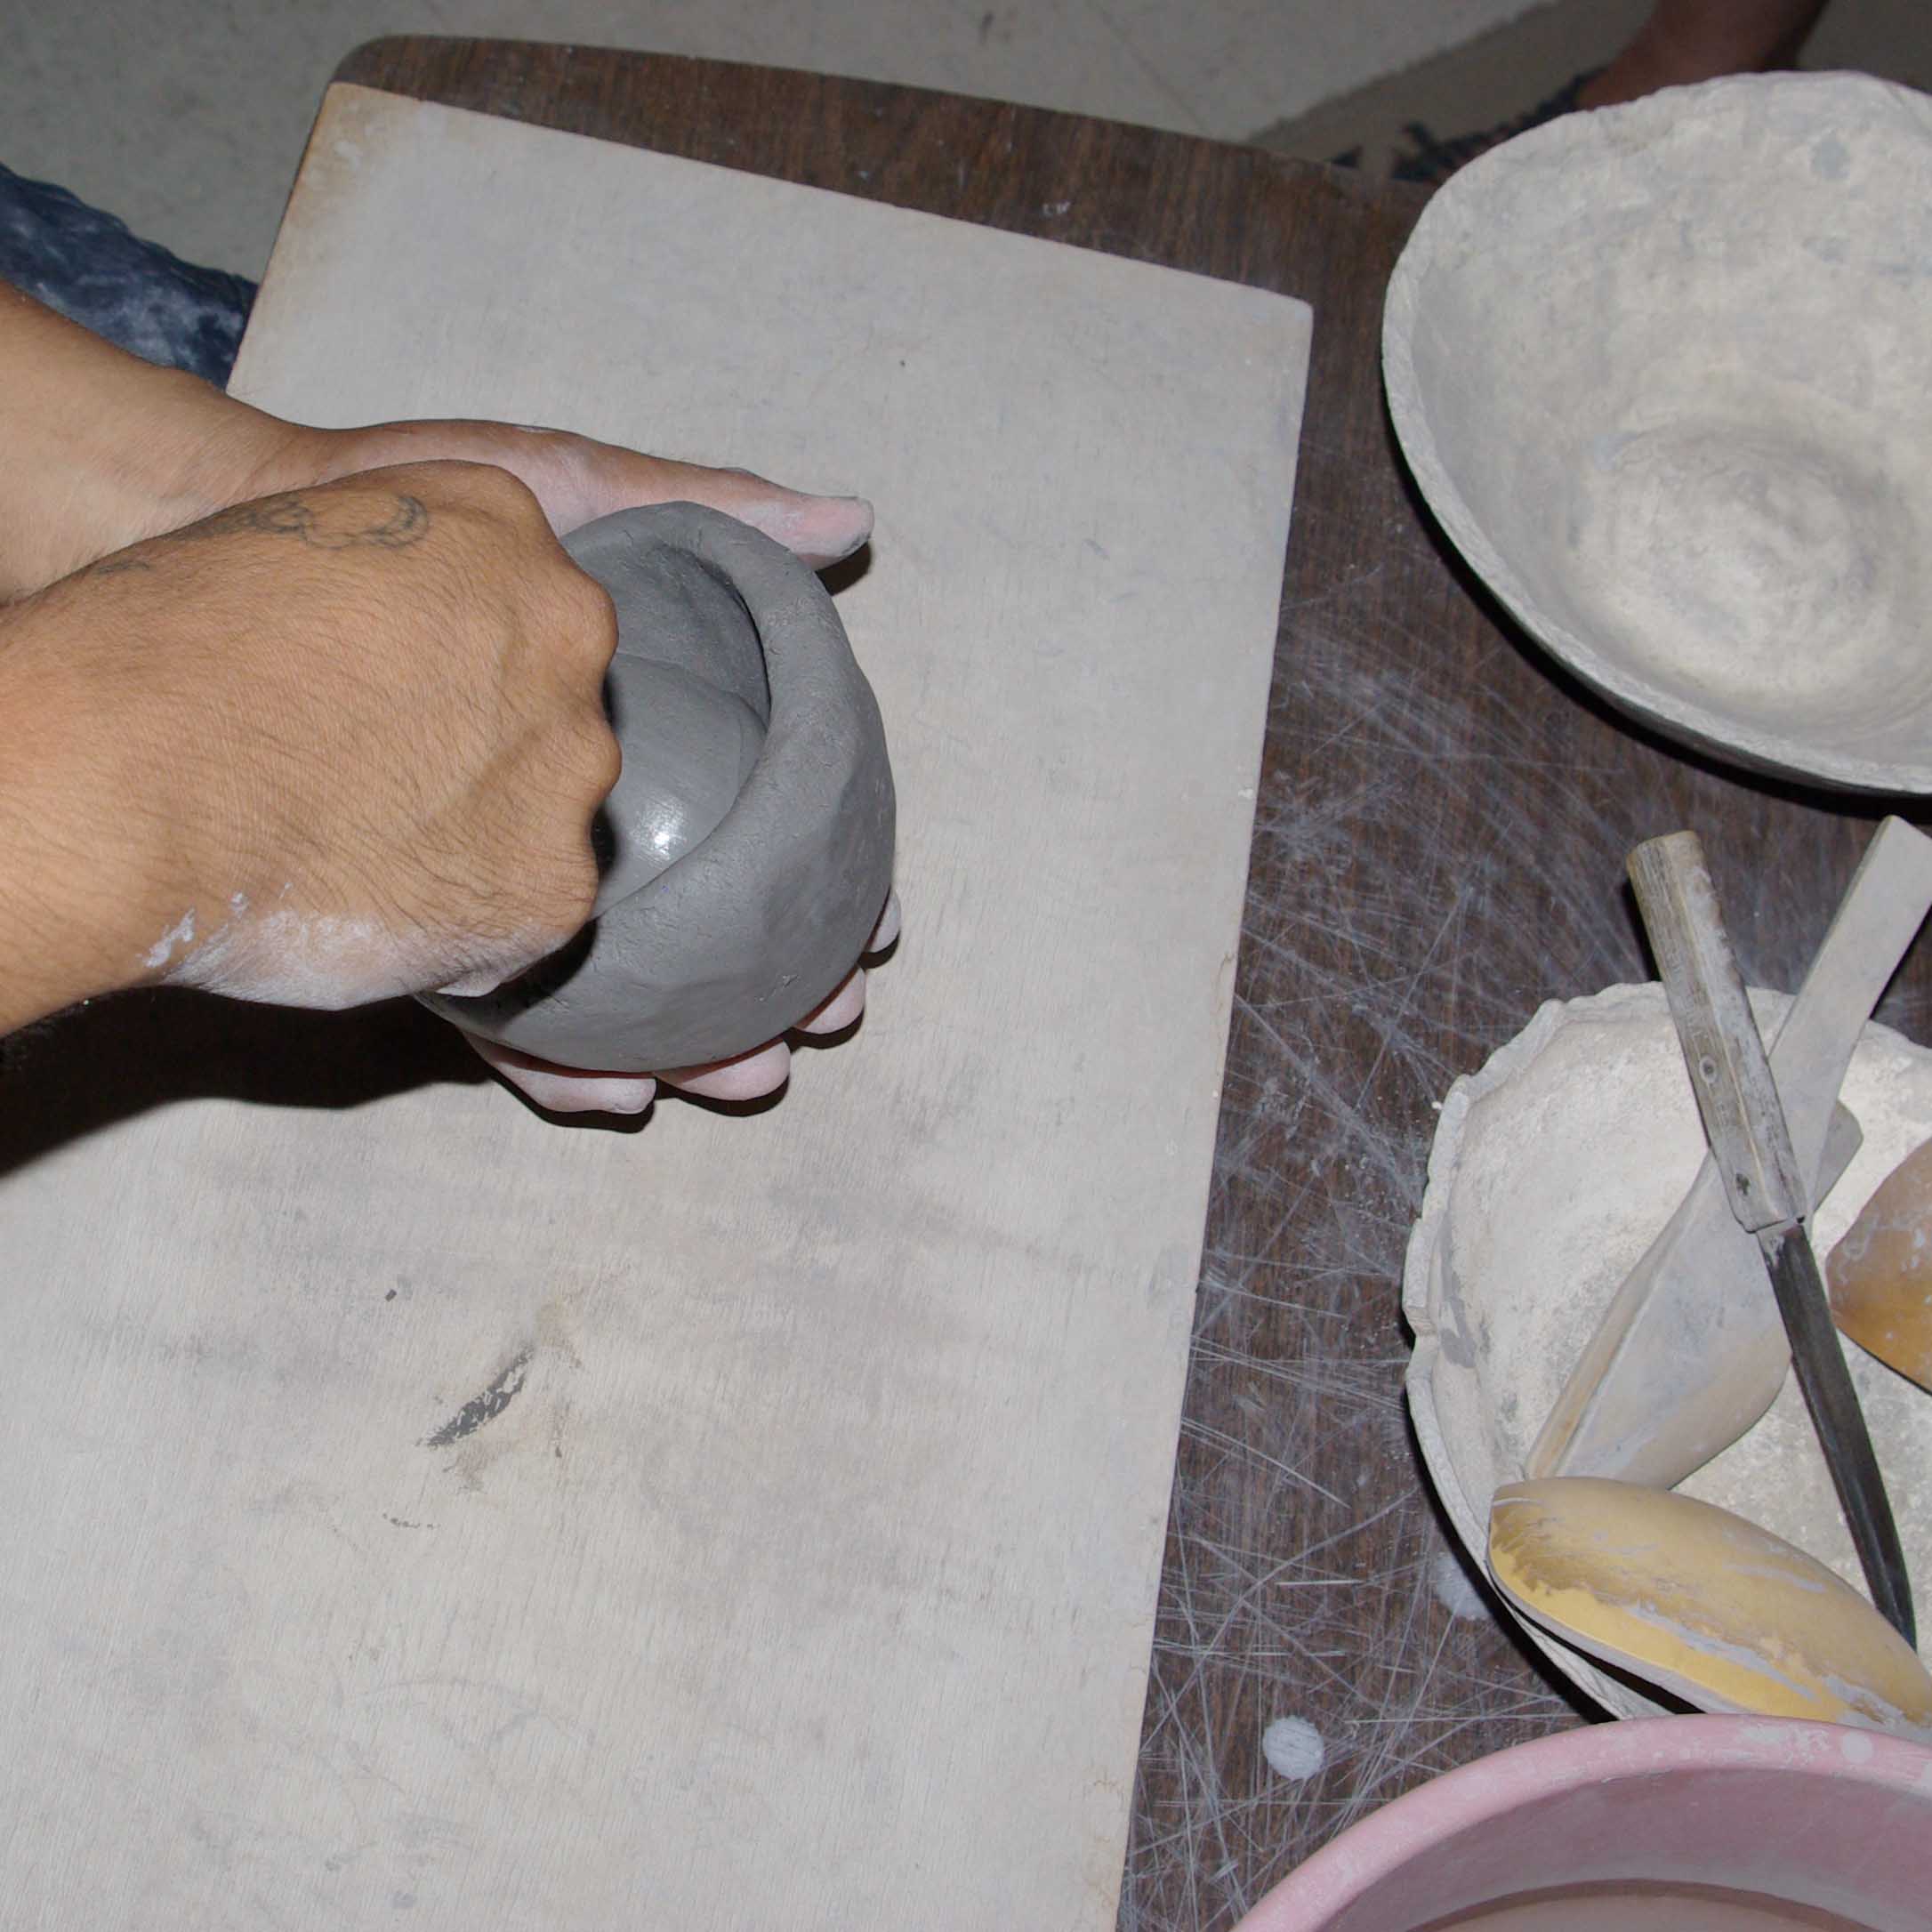
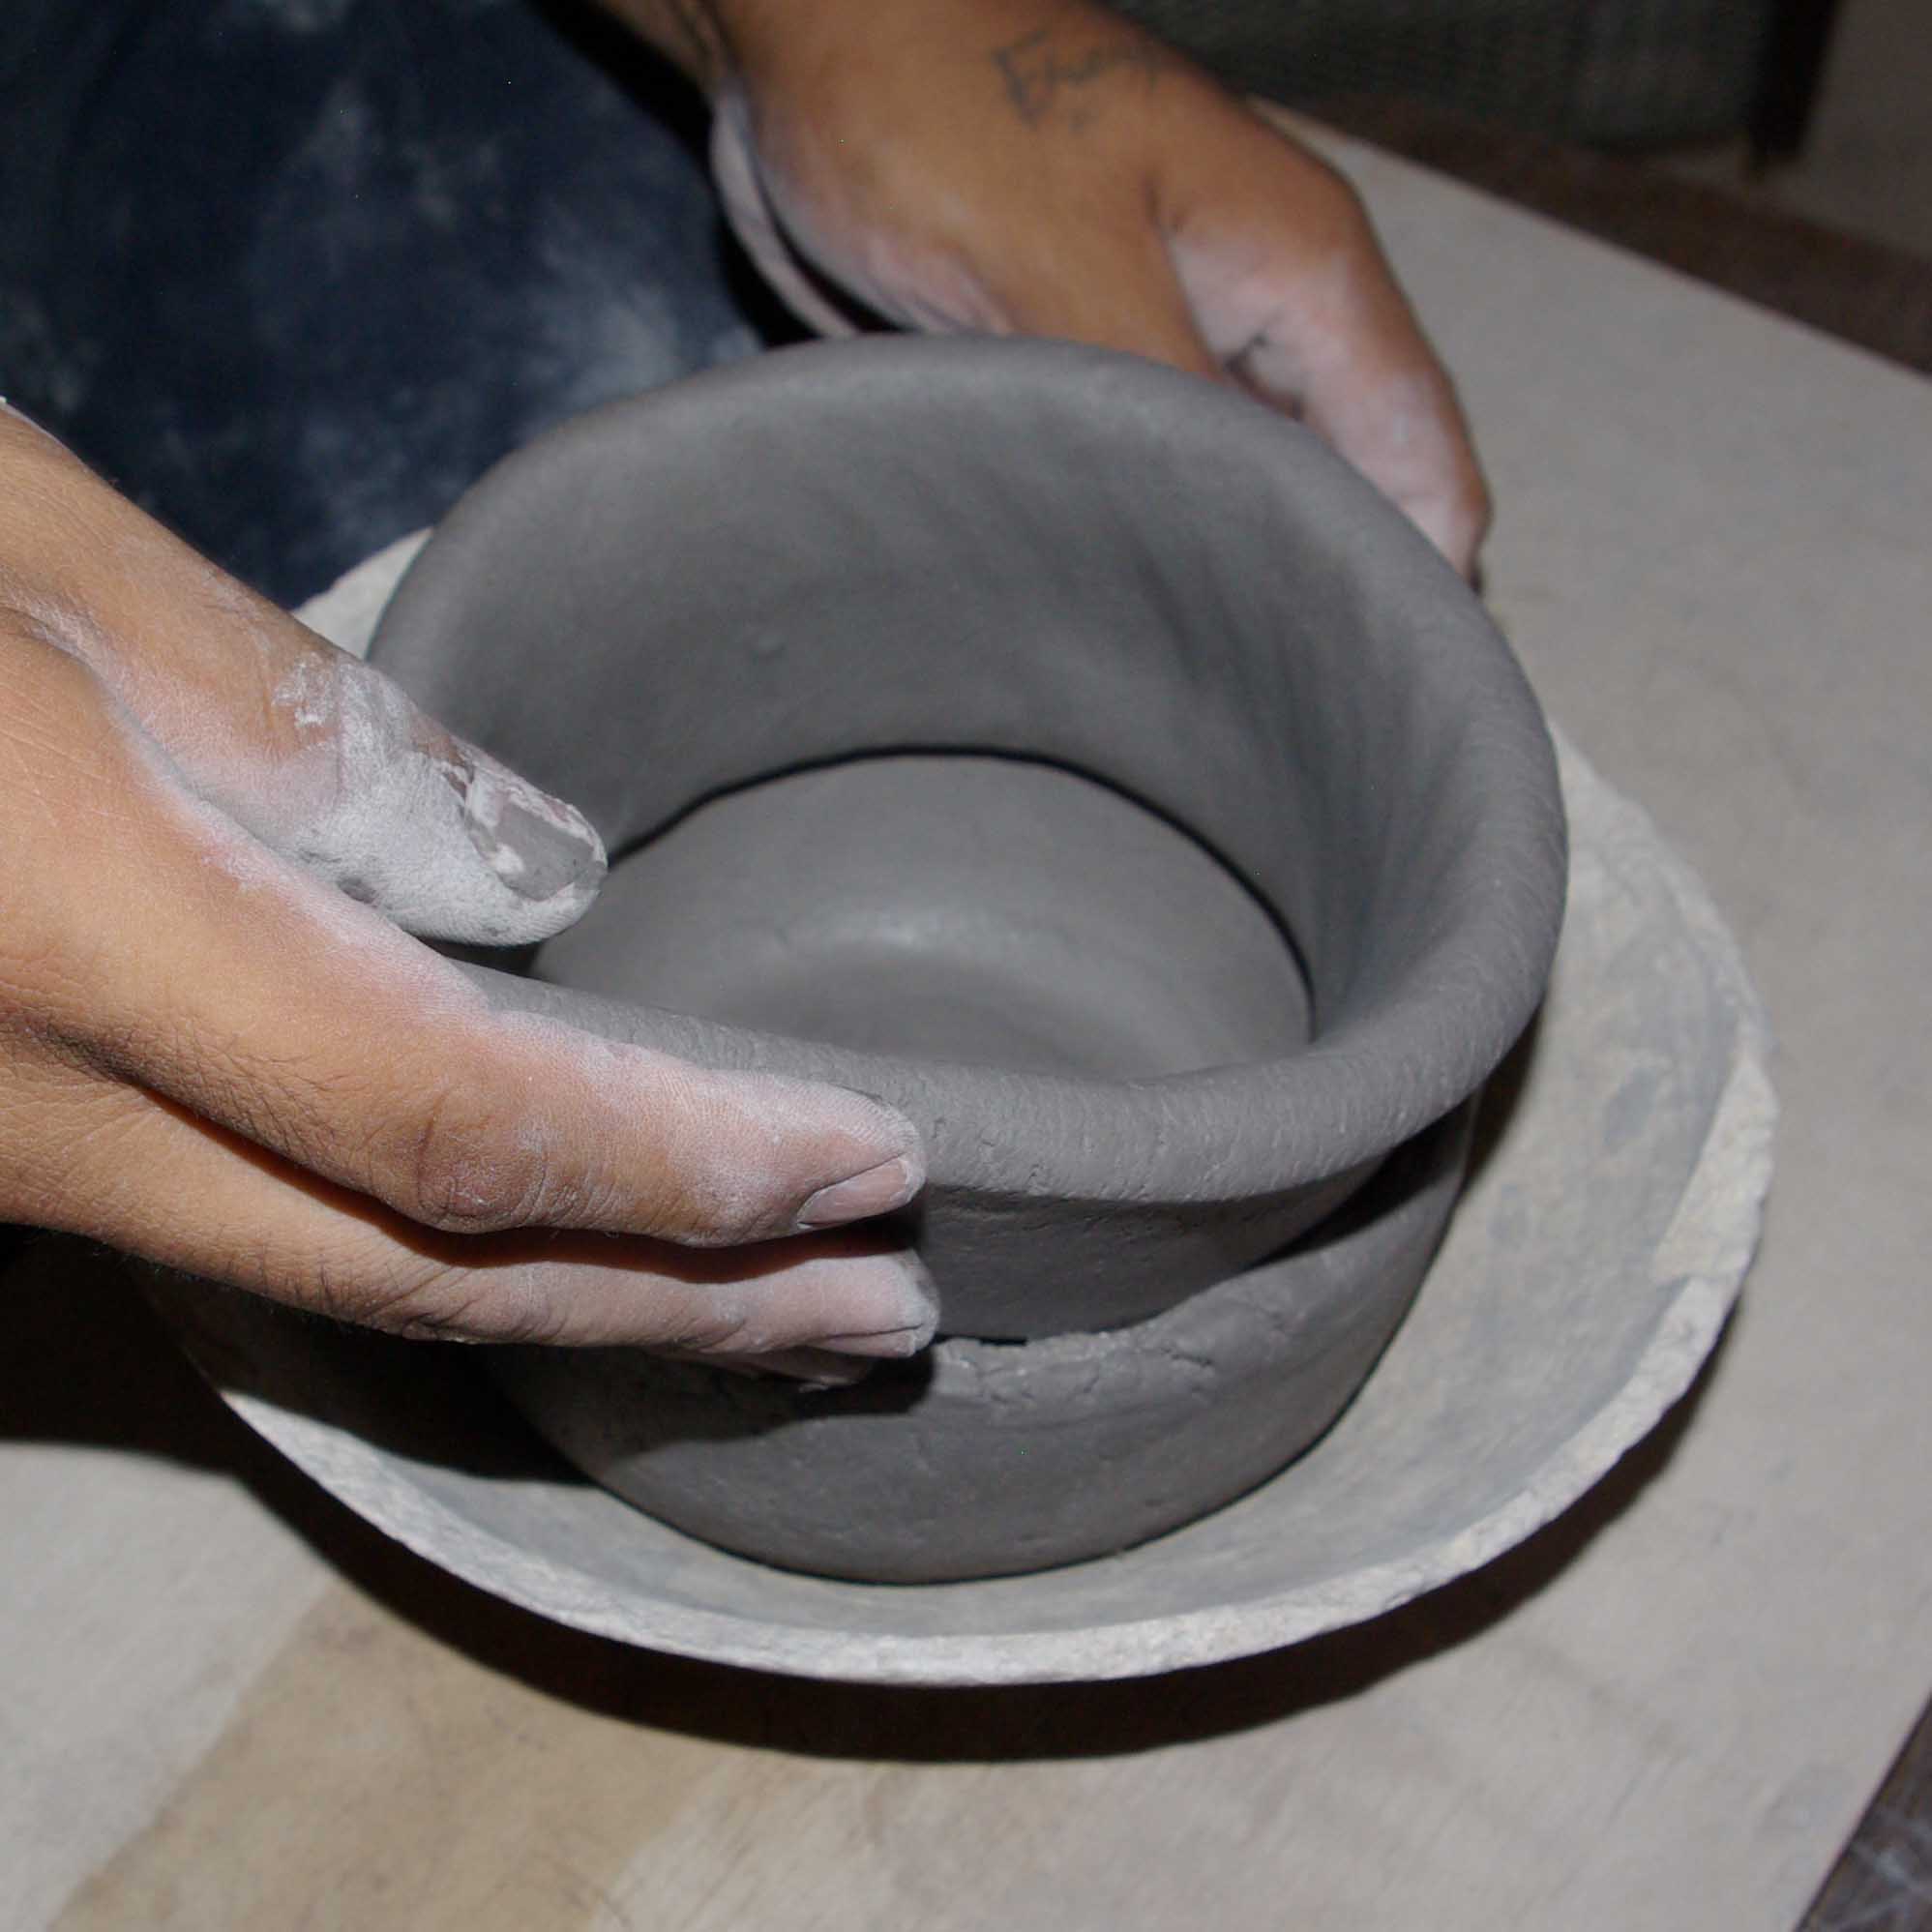
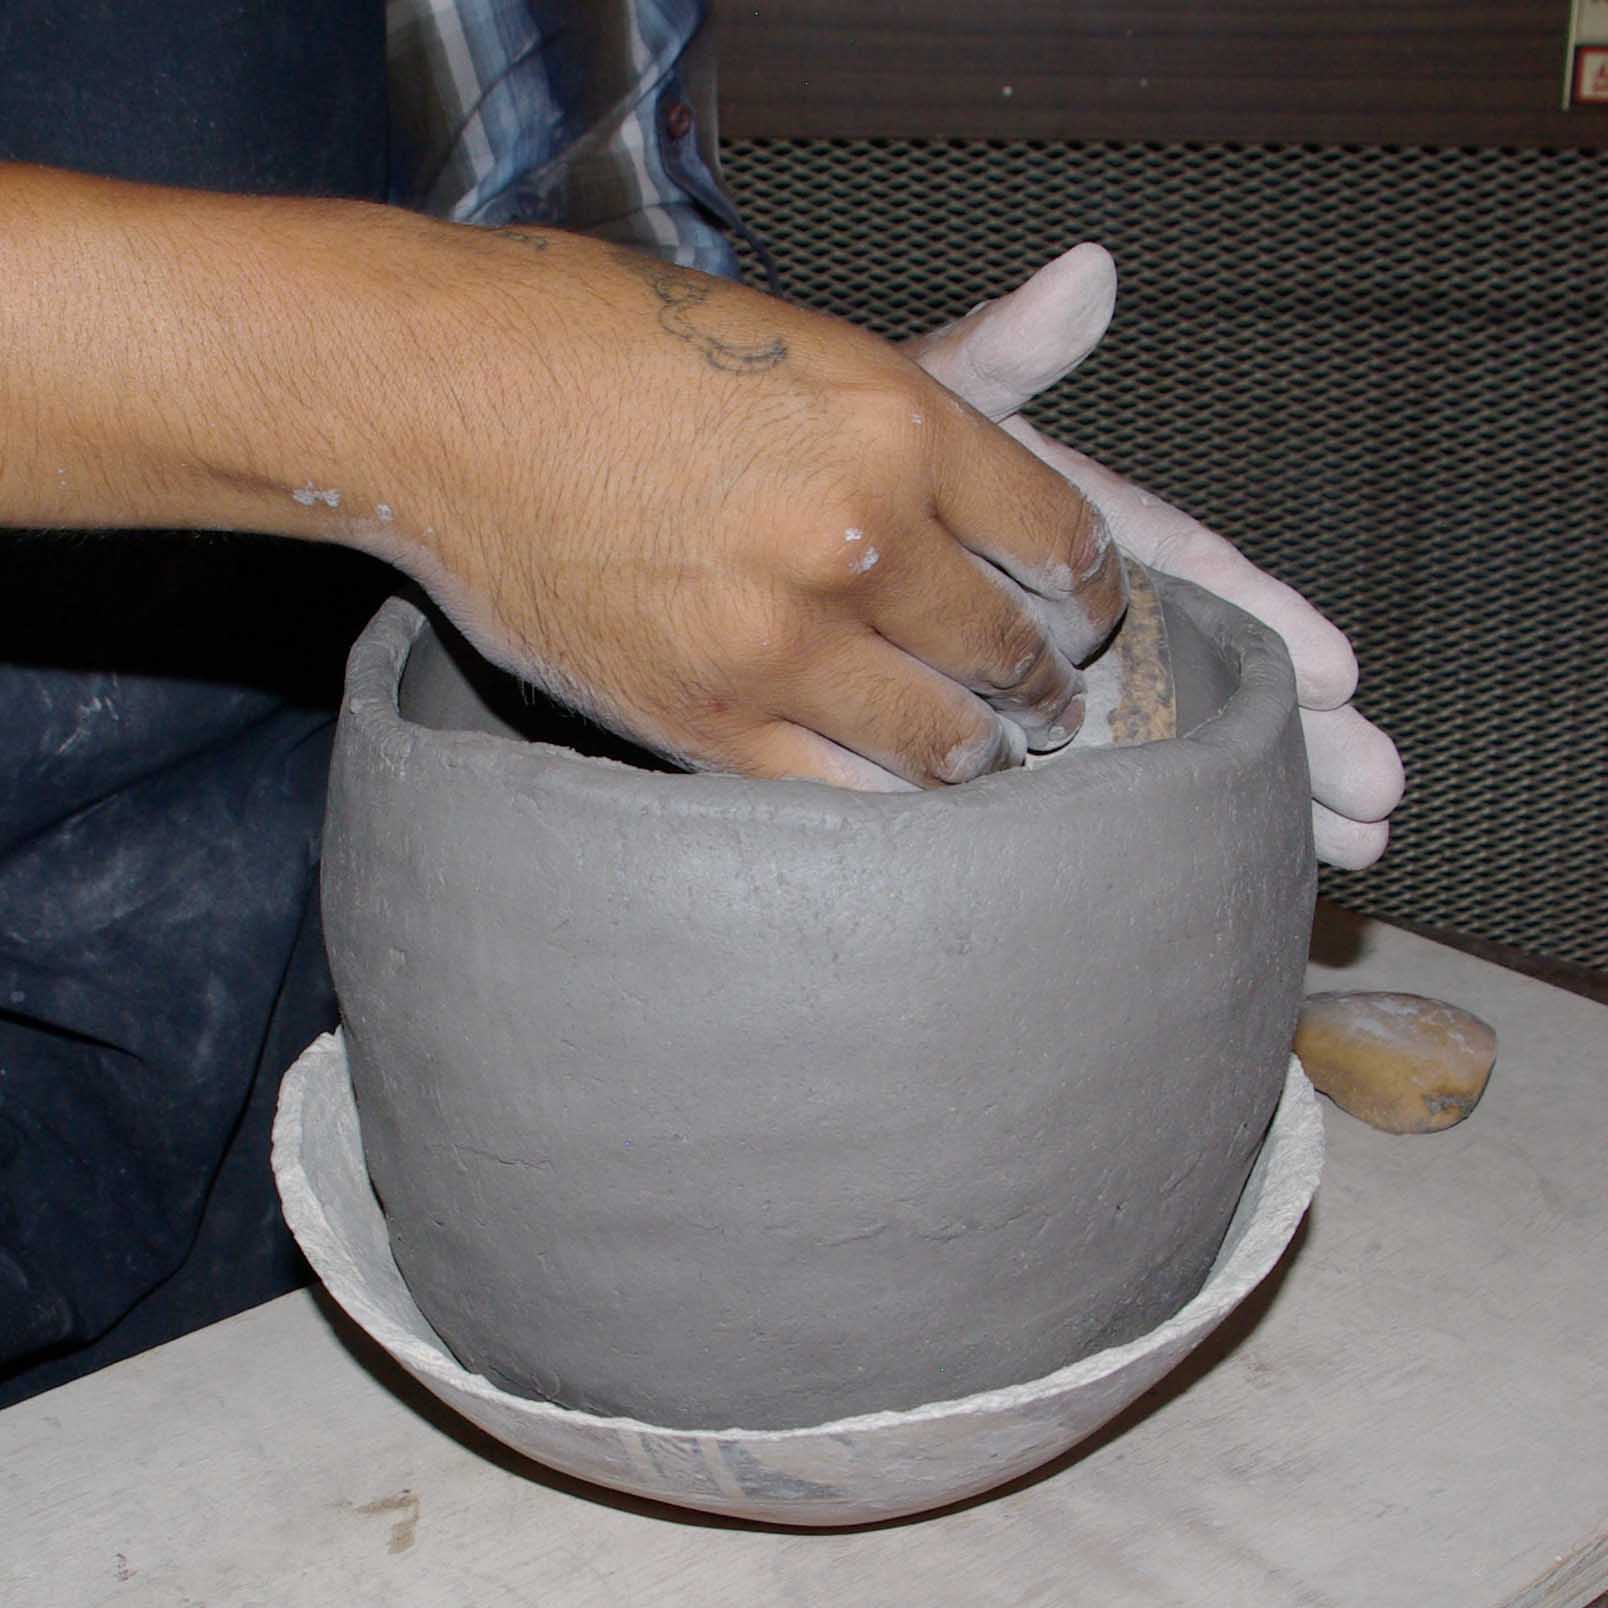
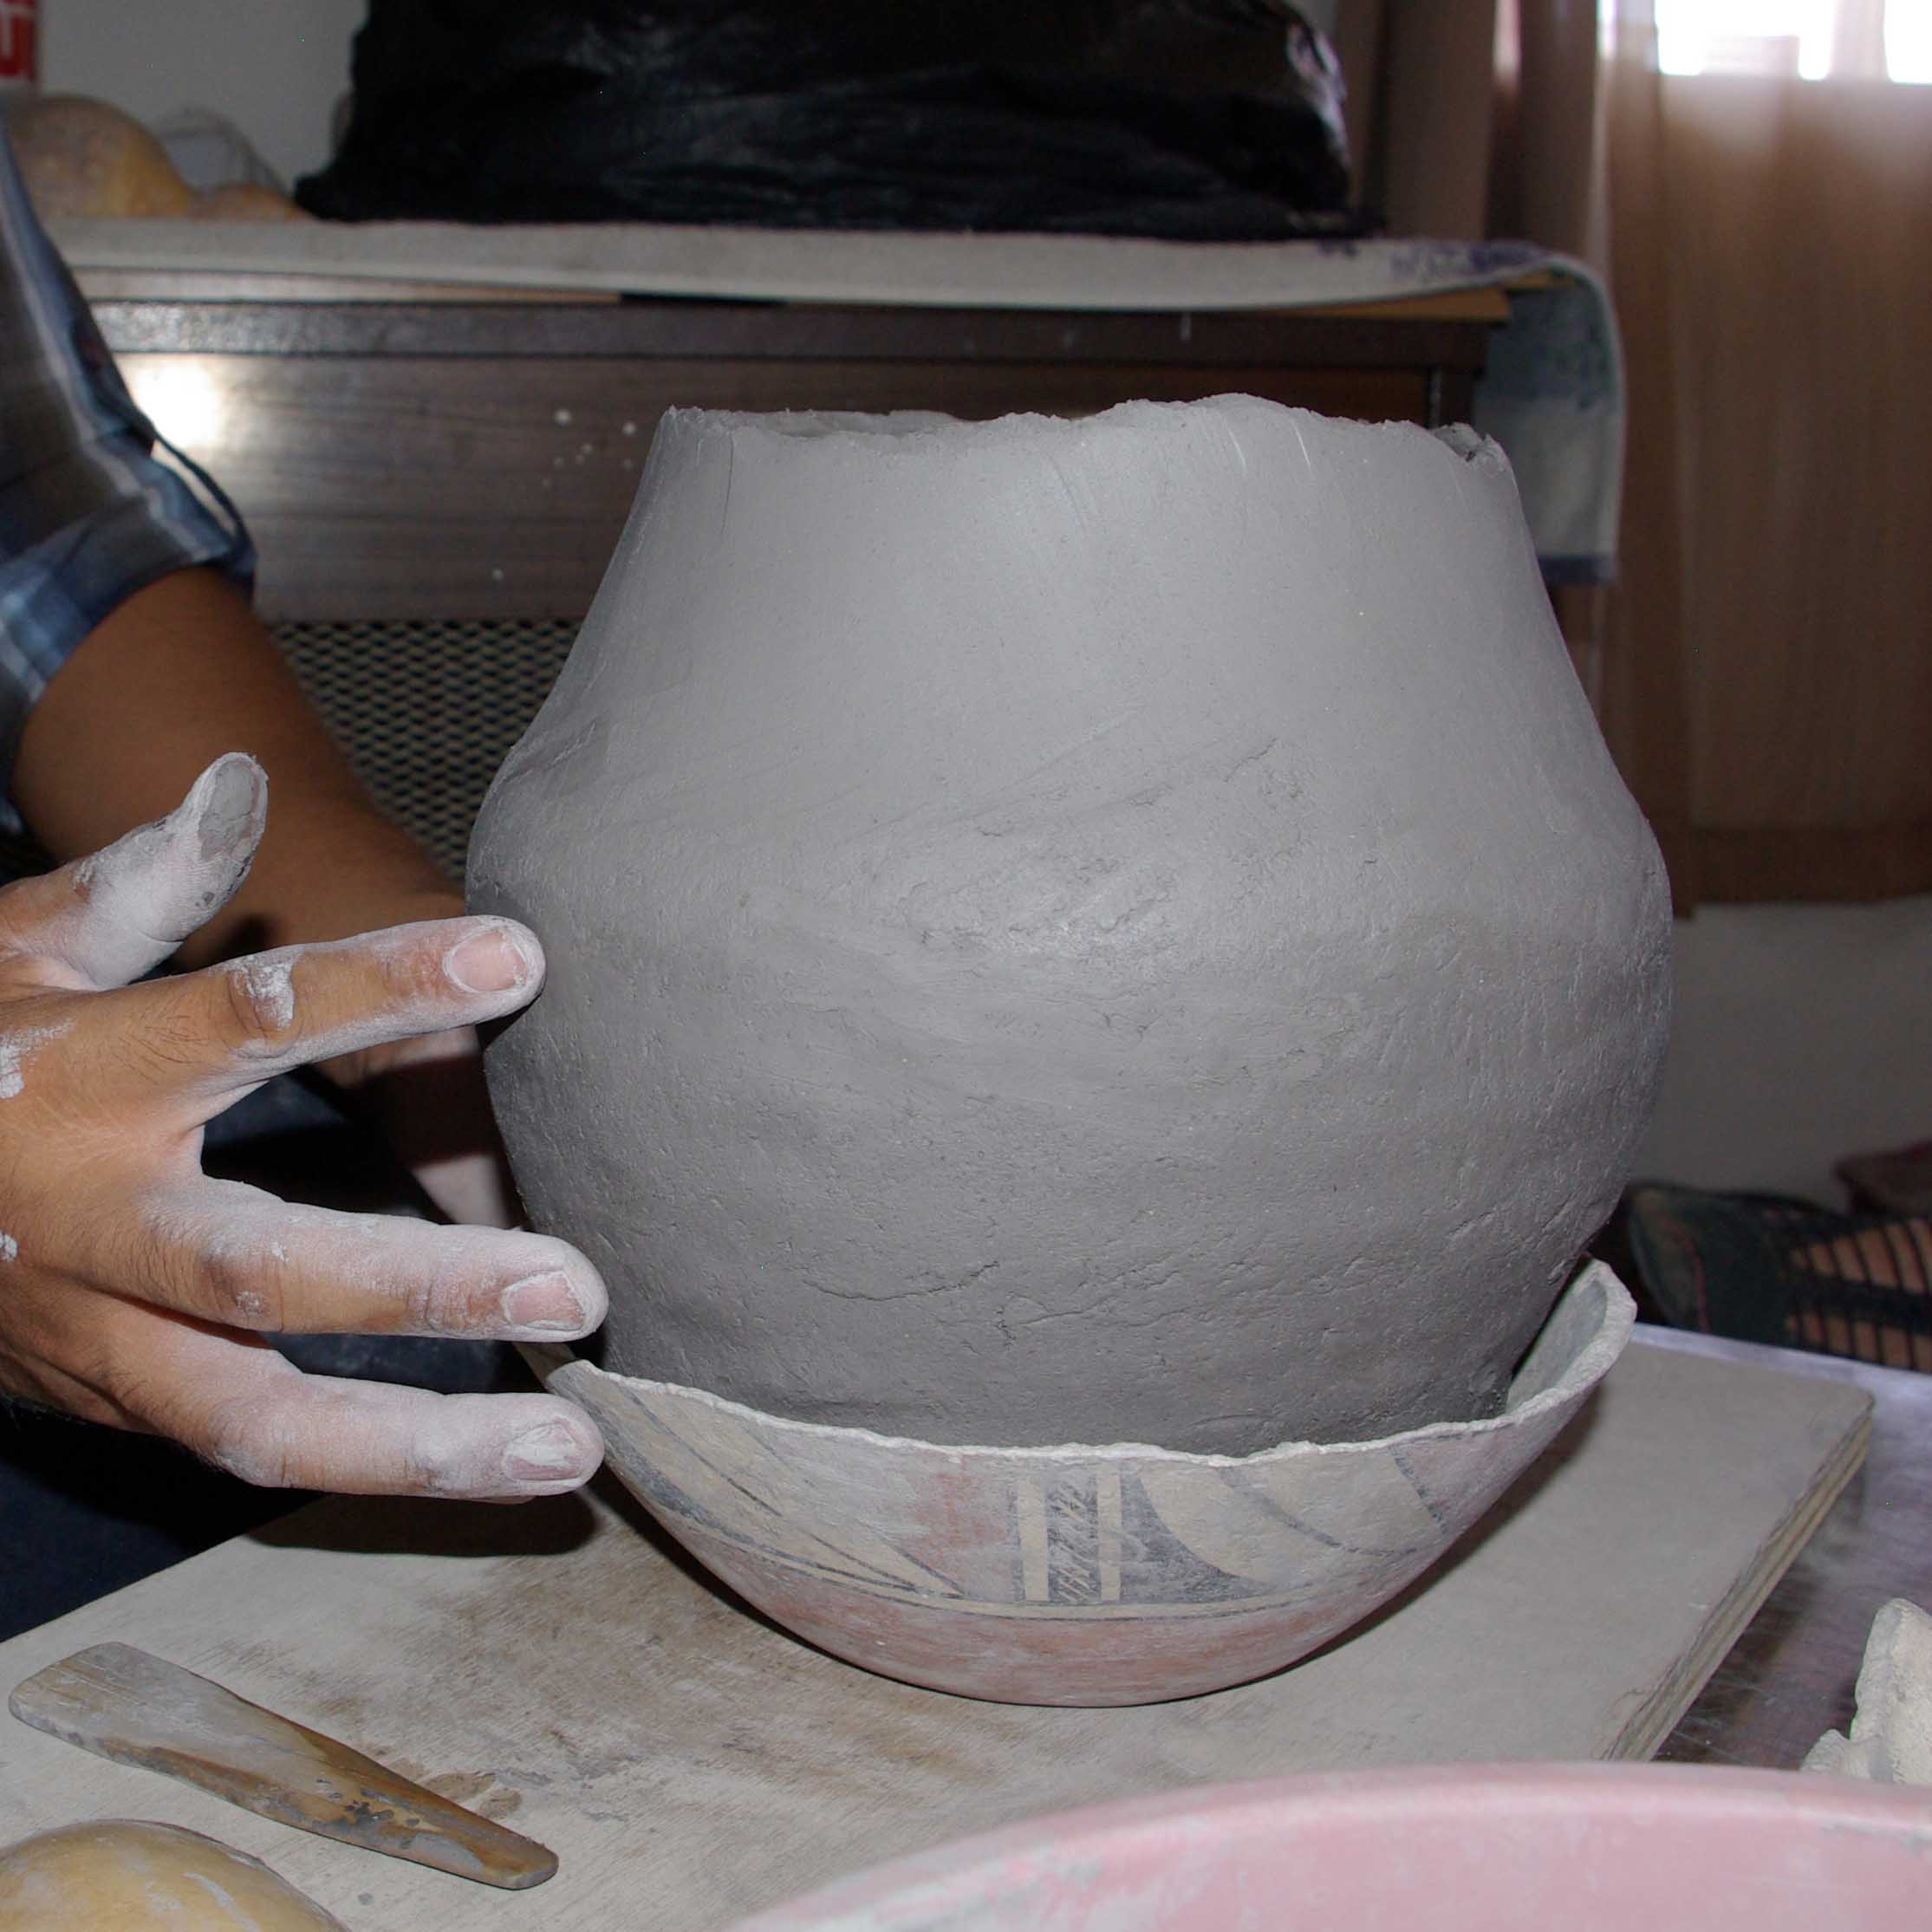
Placing the clay into the bowl form
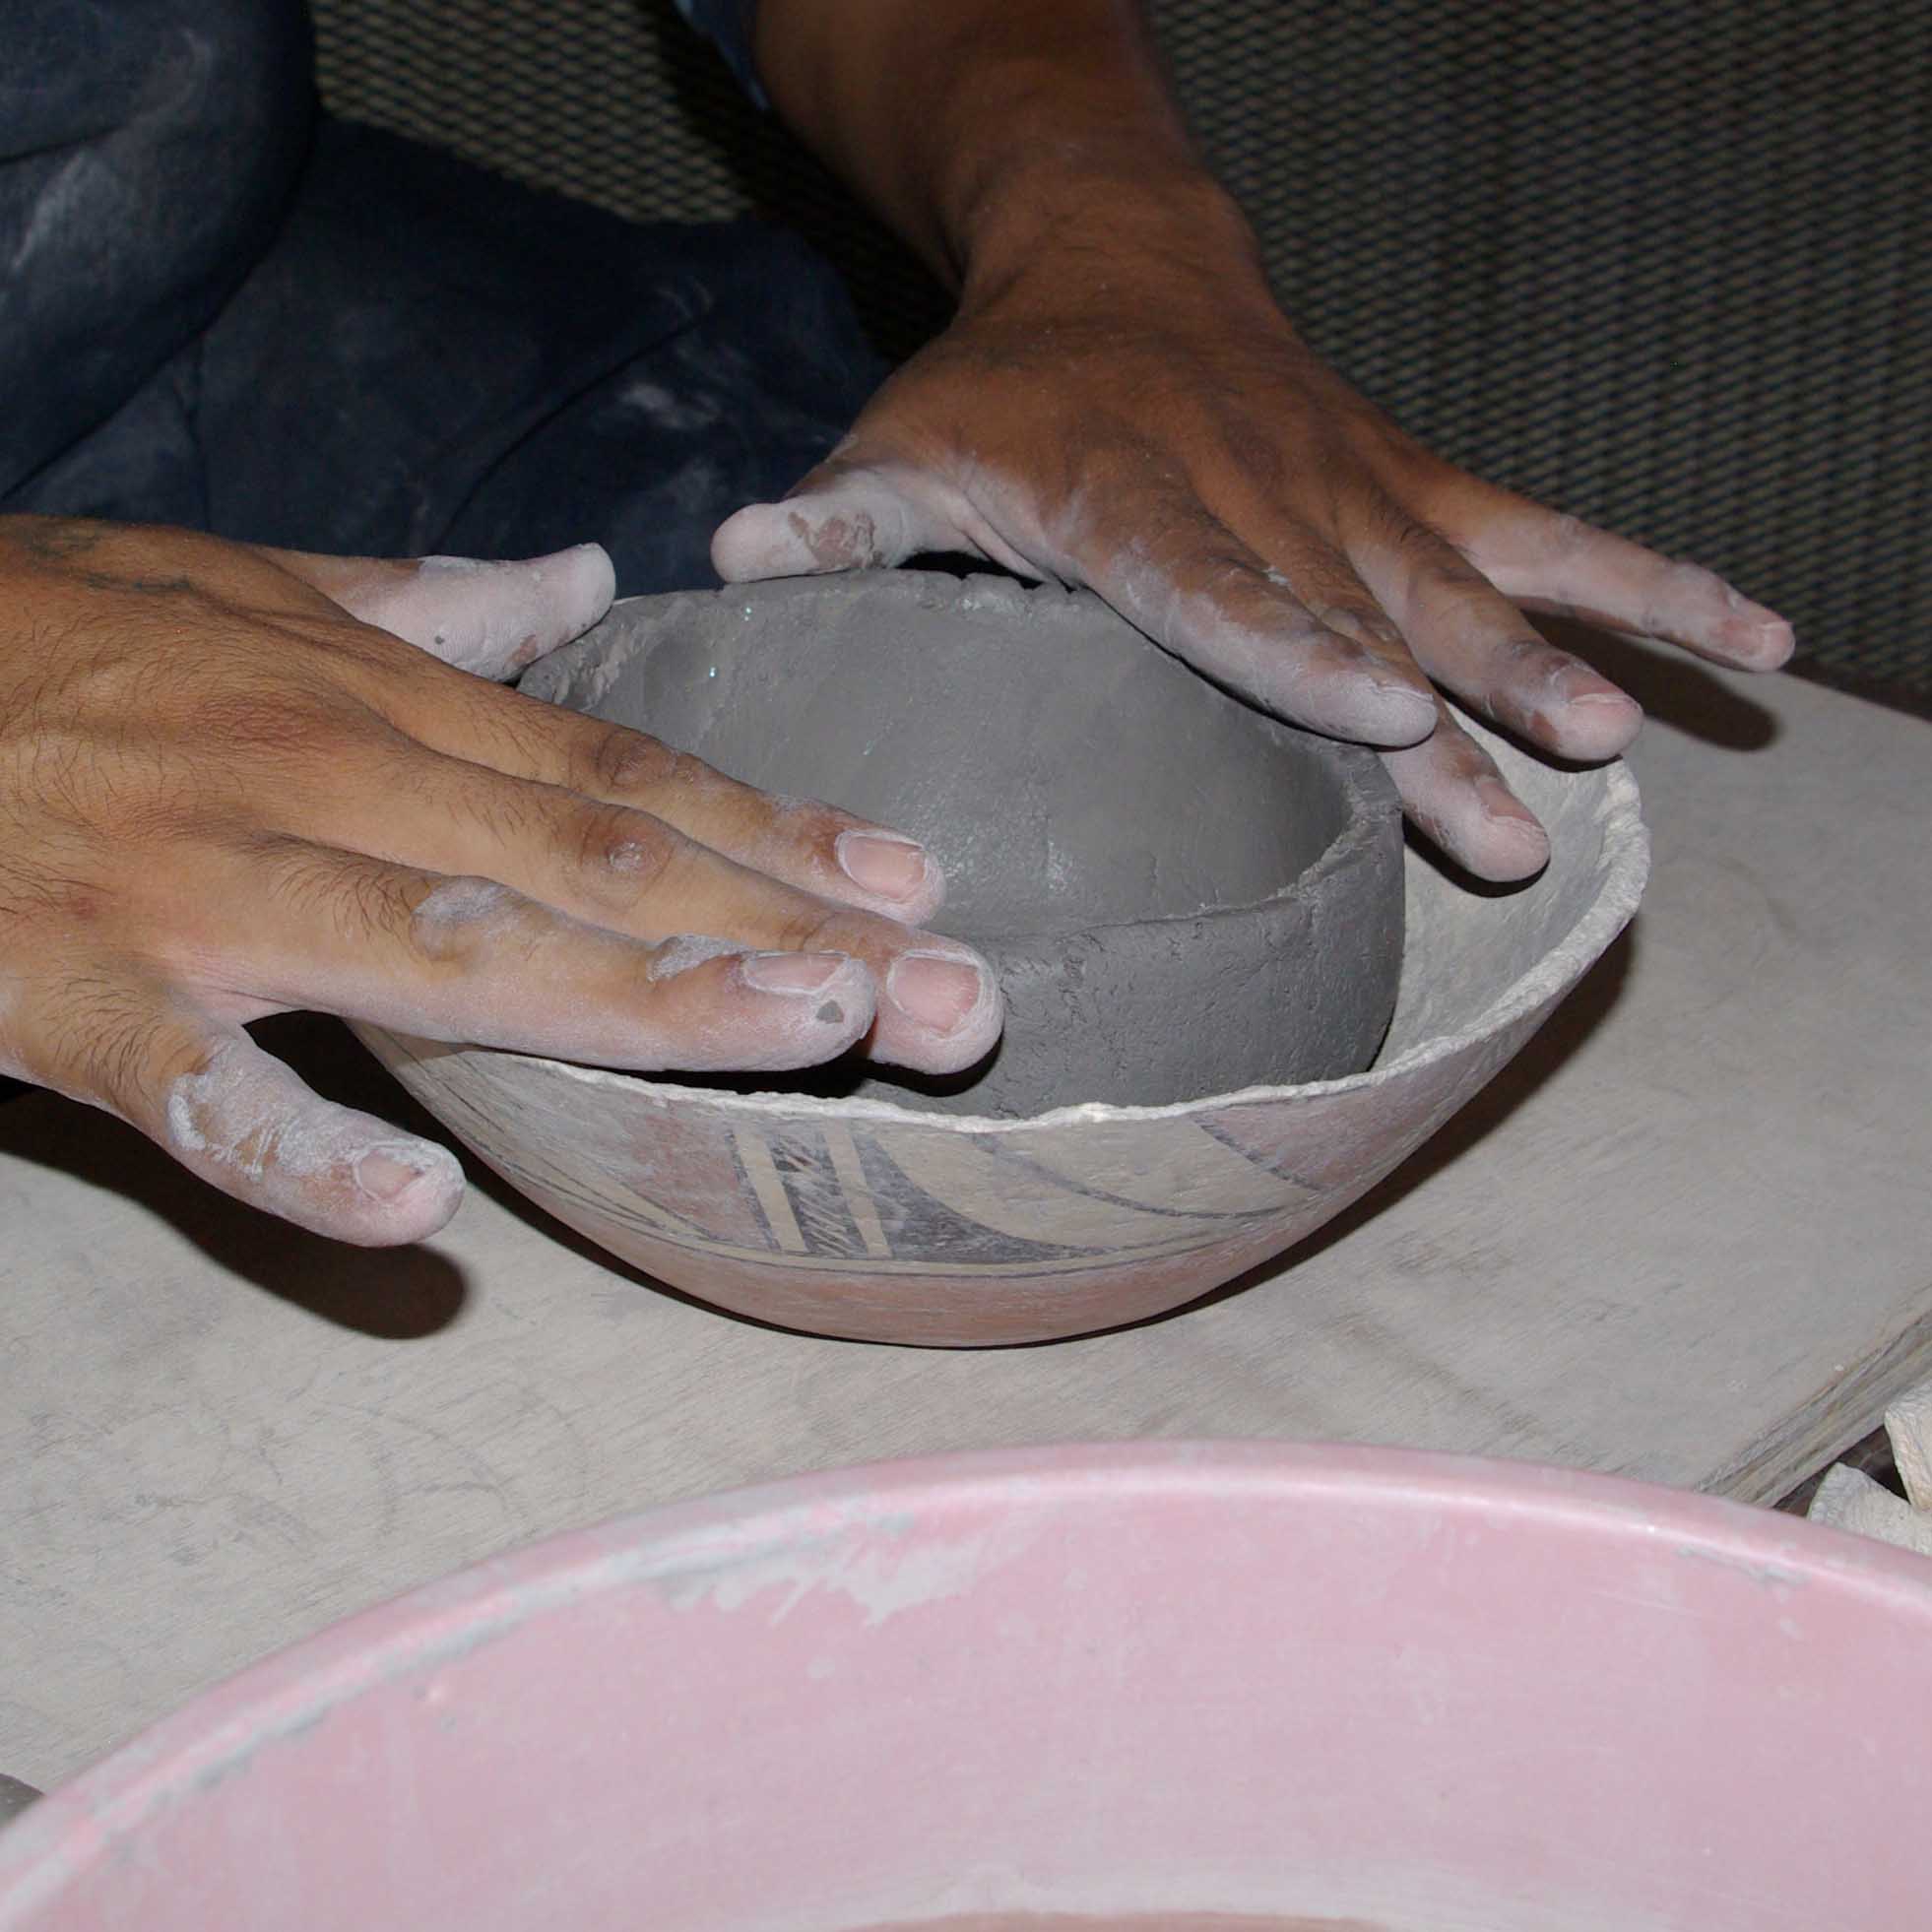
Pushing the clay into the bowl form
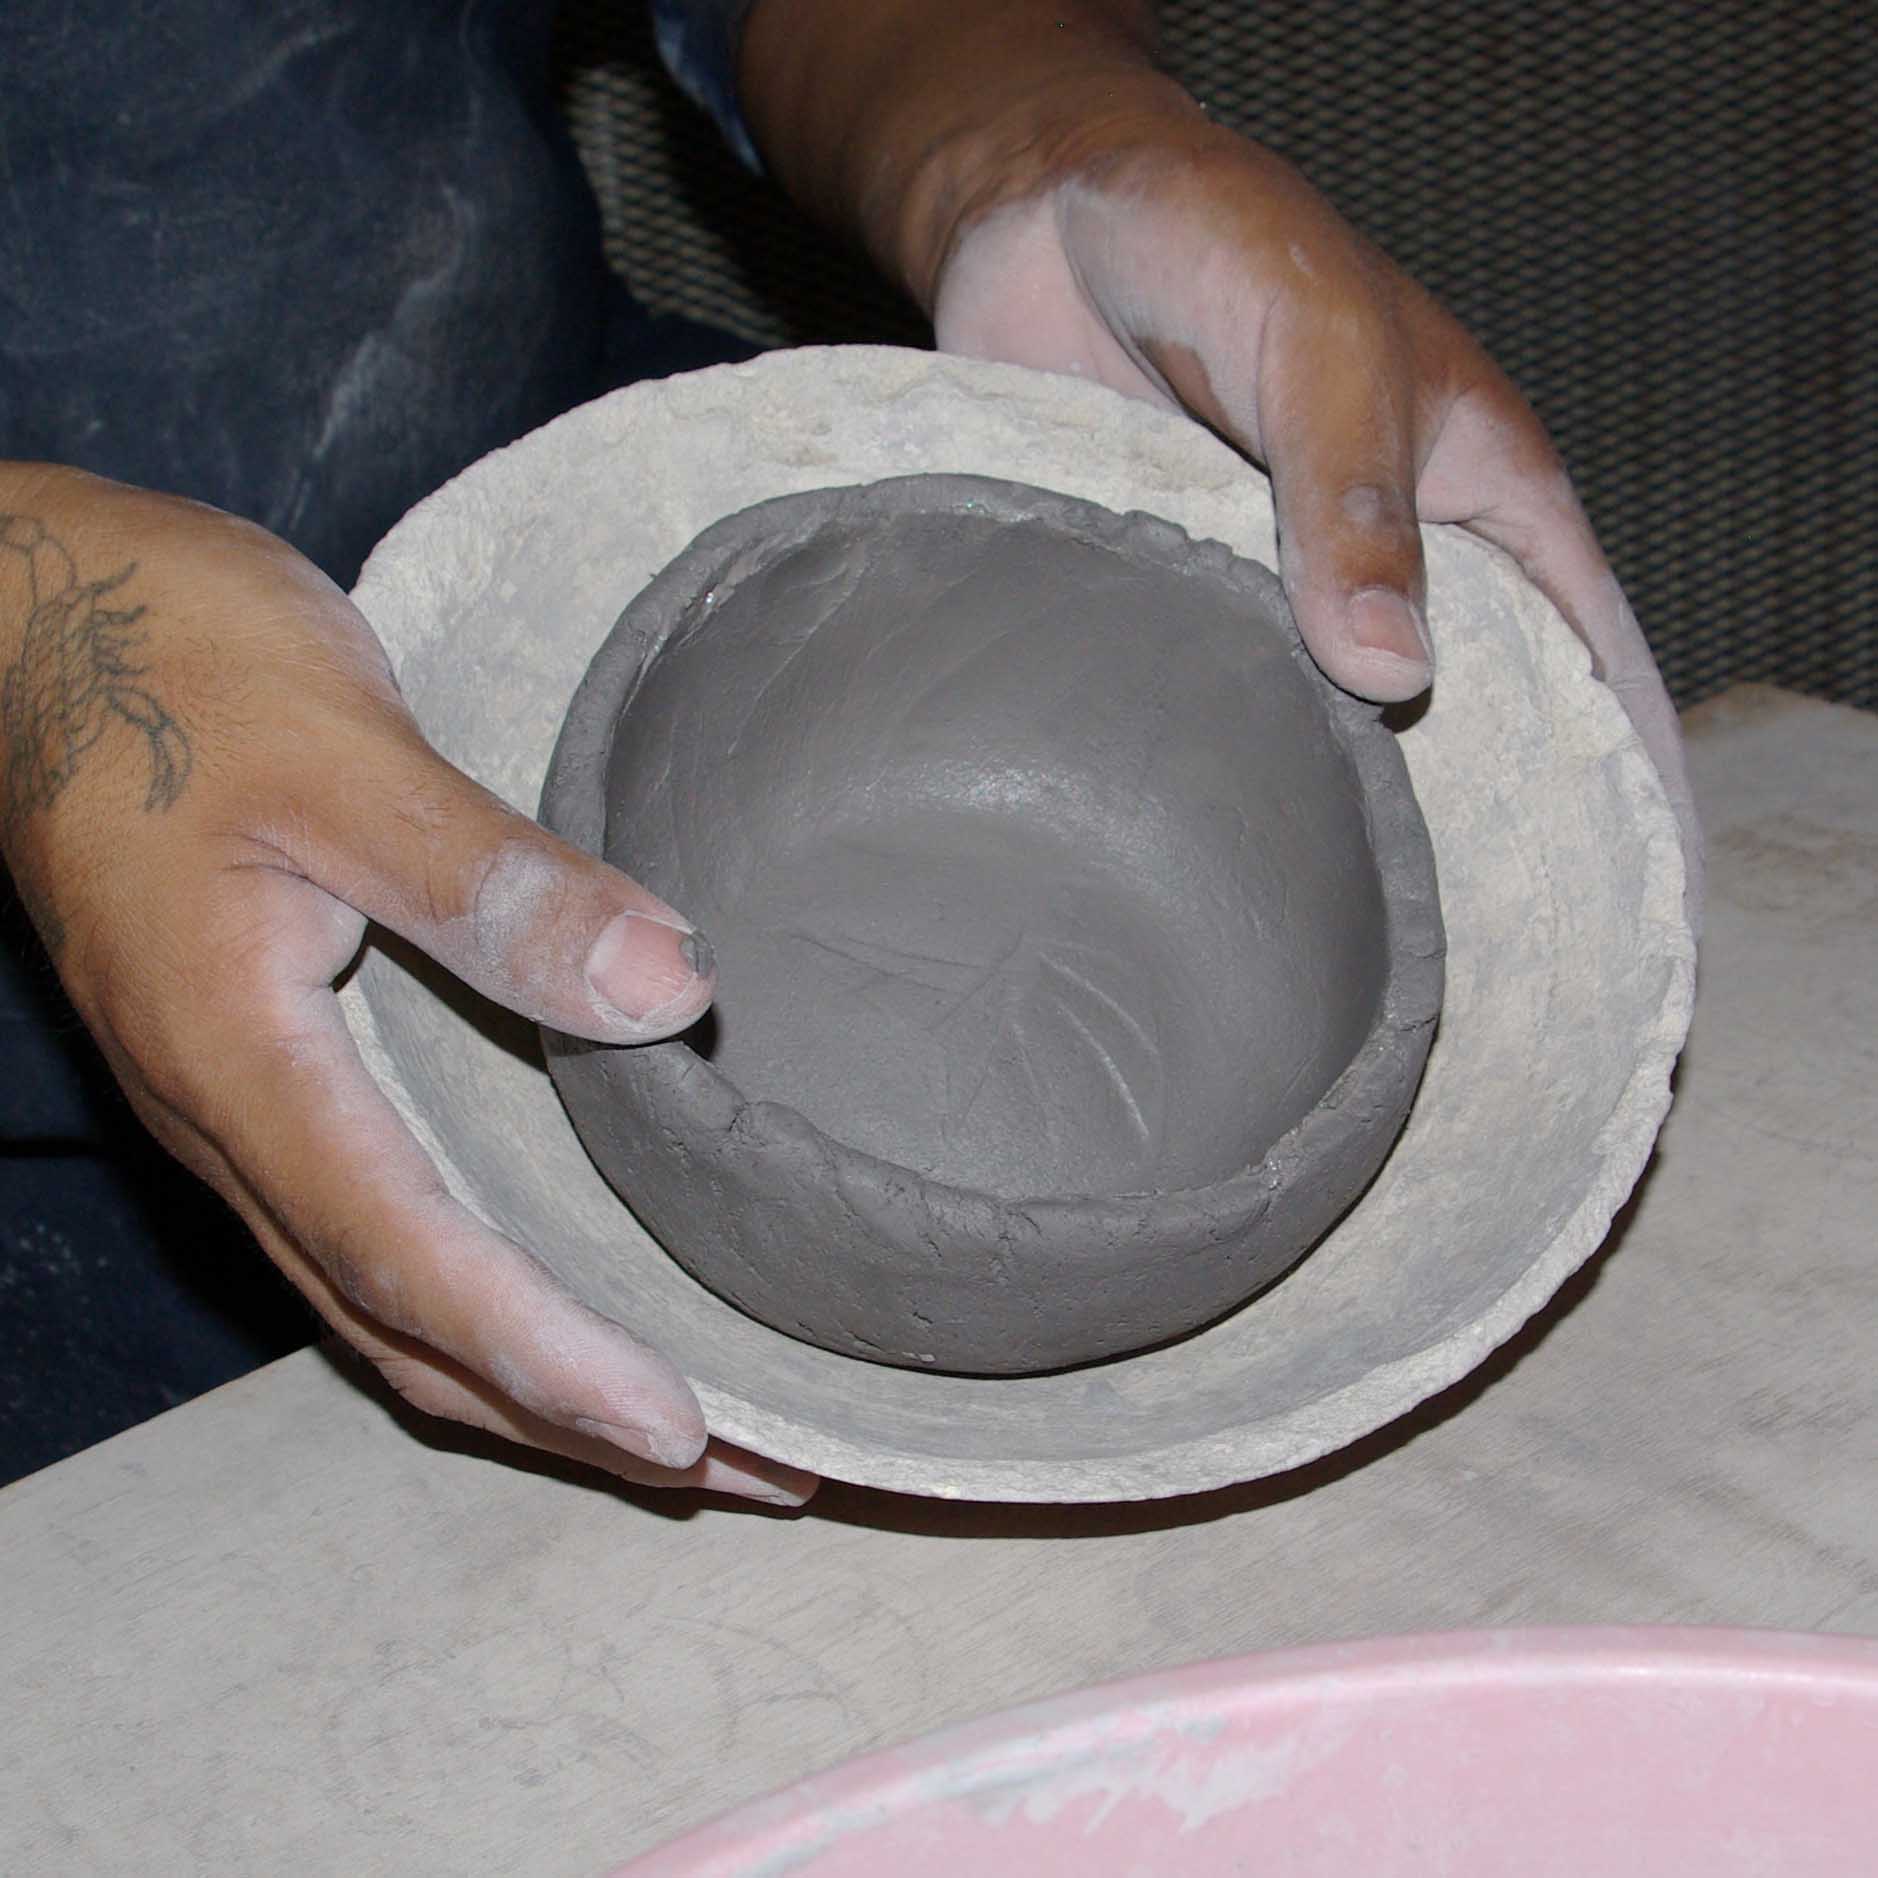
Finished clay in bowl form
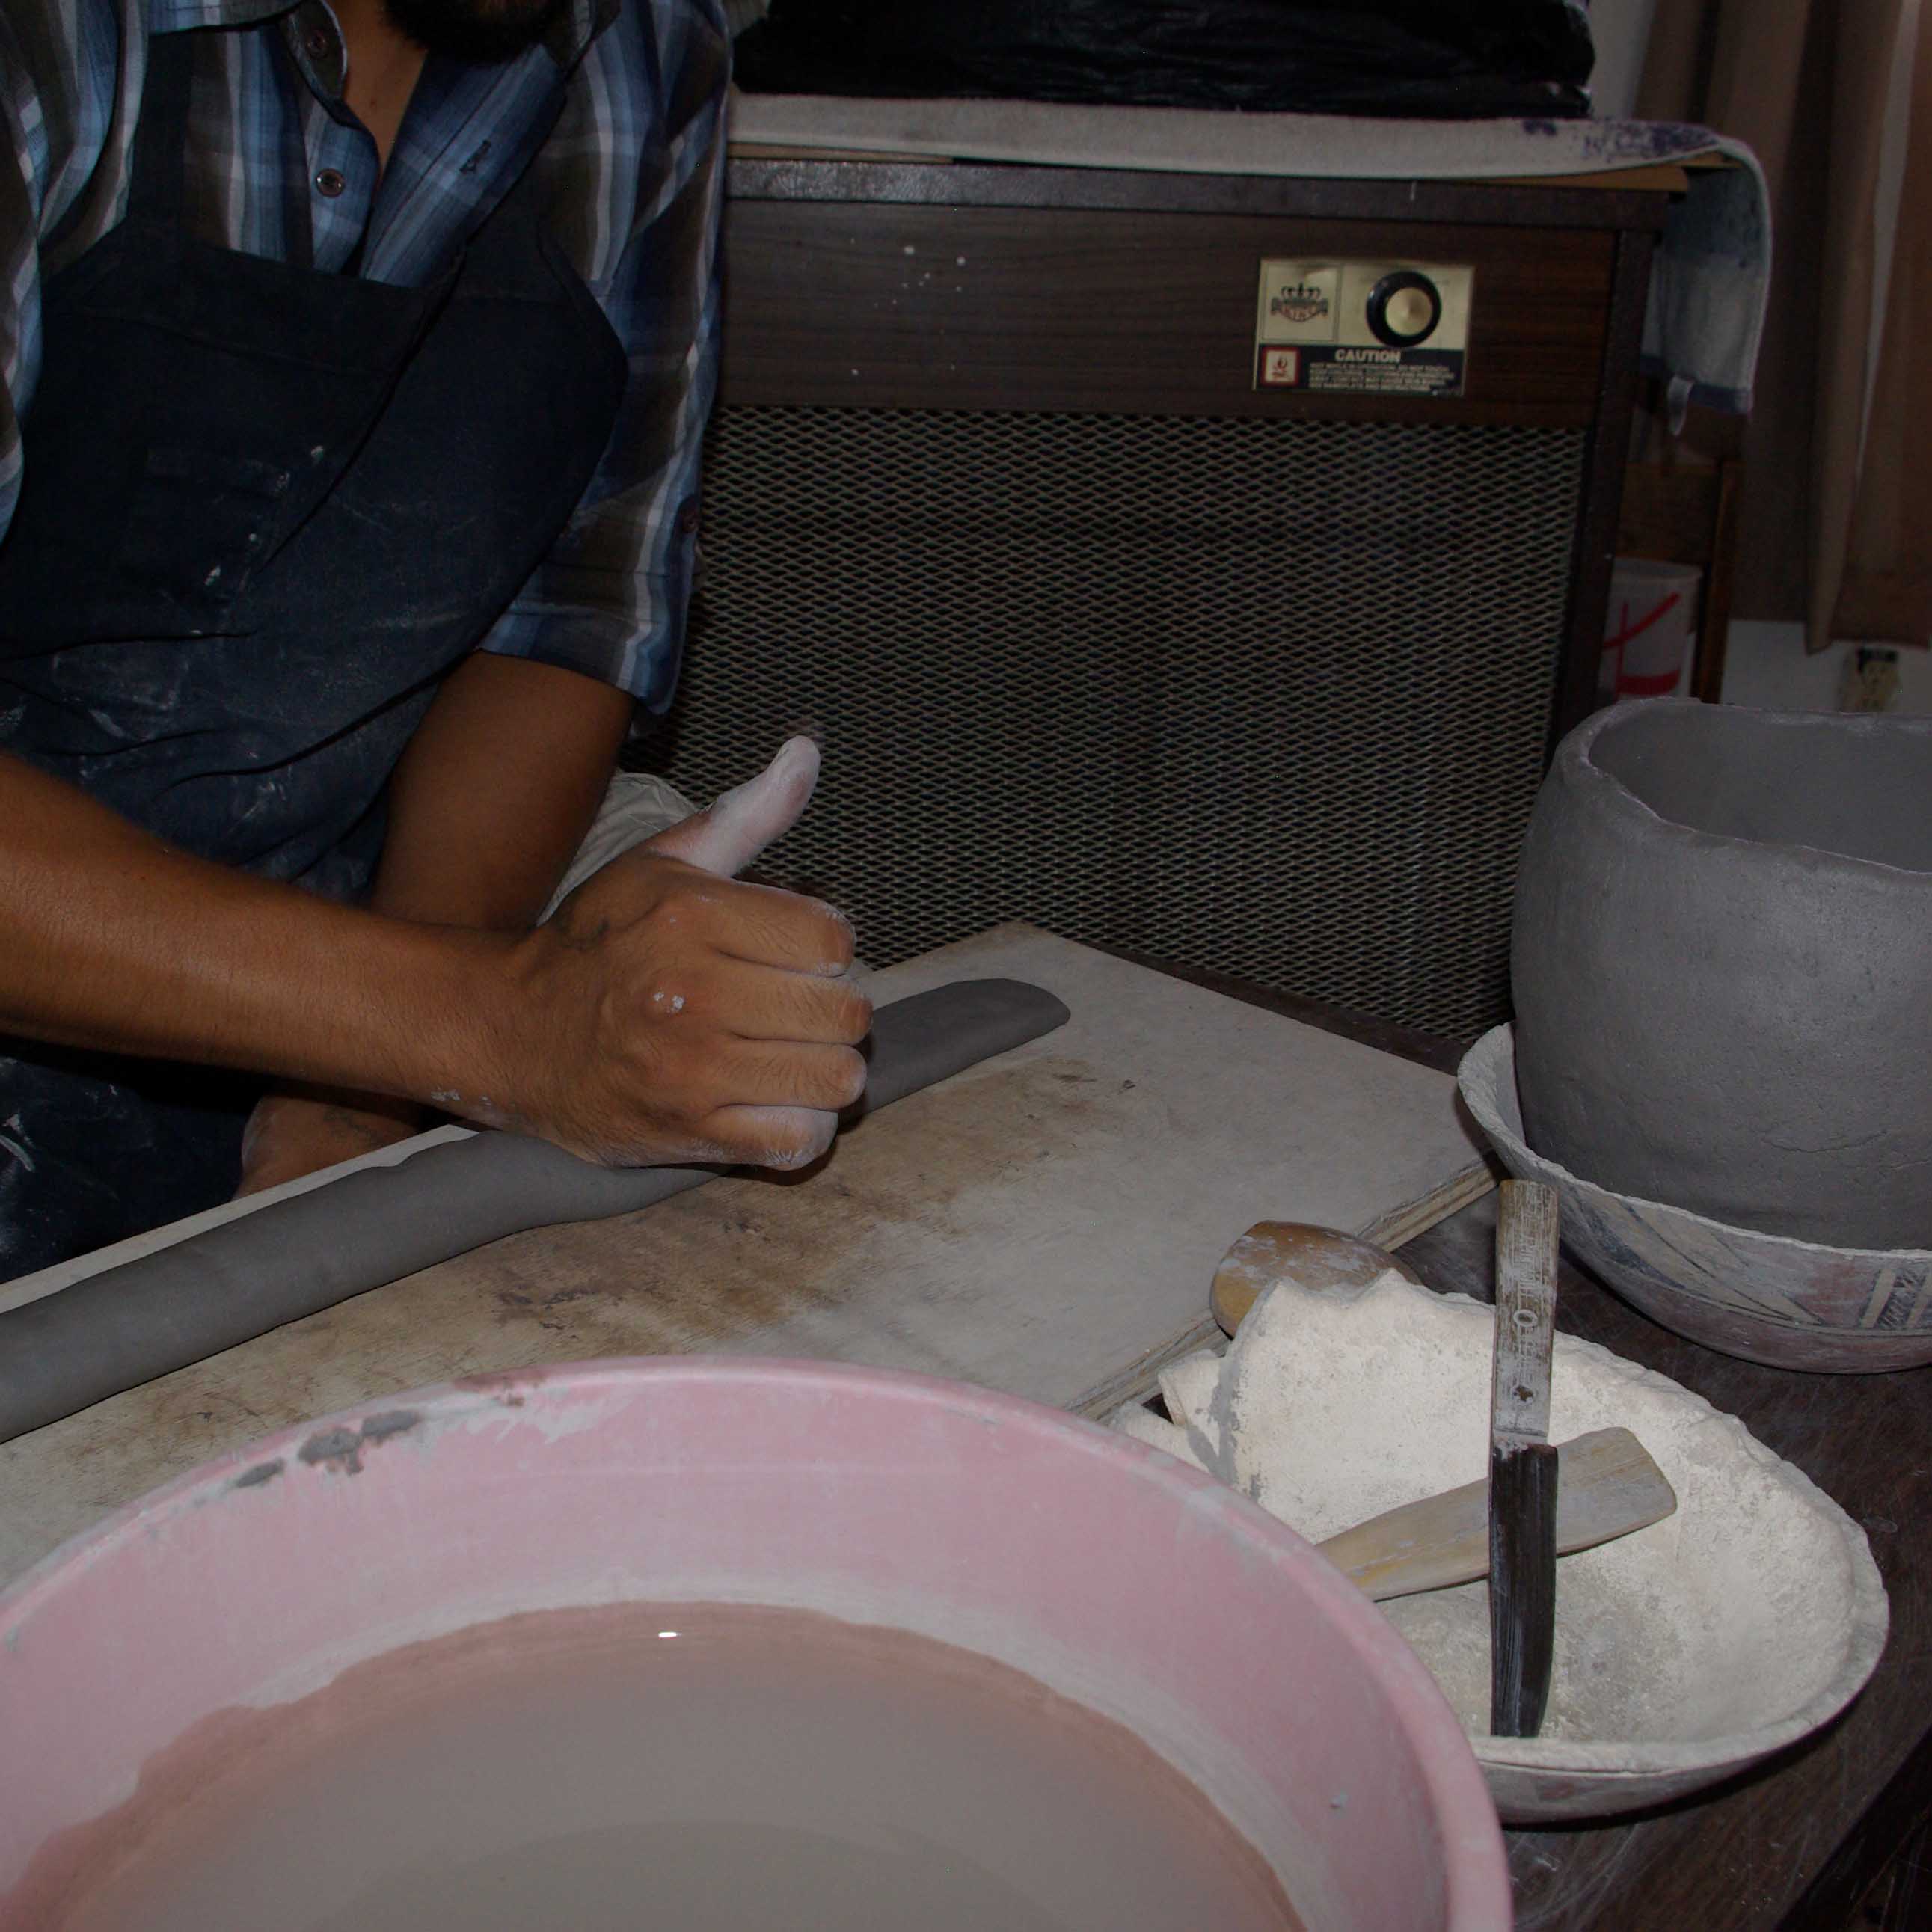
Preparing clay for the first coil
Pounding the first coil with hand to flatten
Pounding the first coil with hand to flatten
Pounding the first coil with hand to flatten

Flattened clay coil
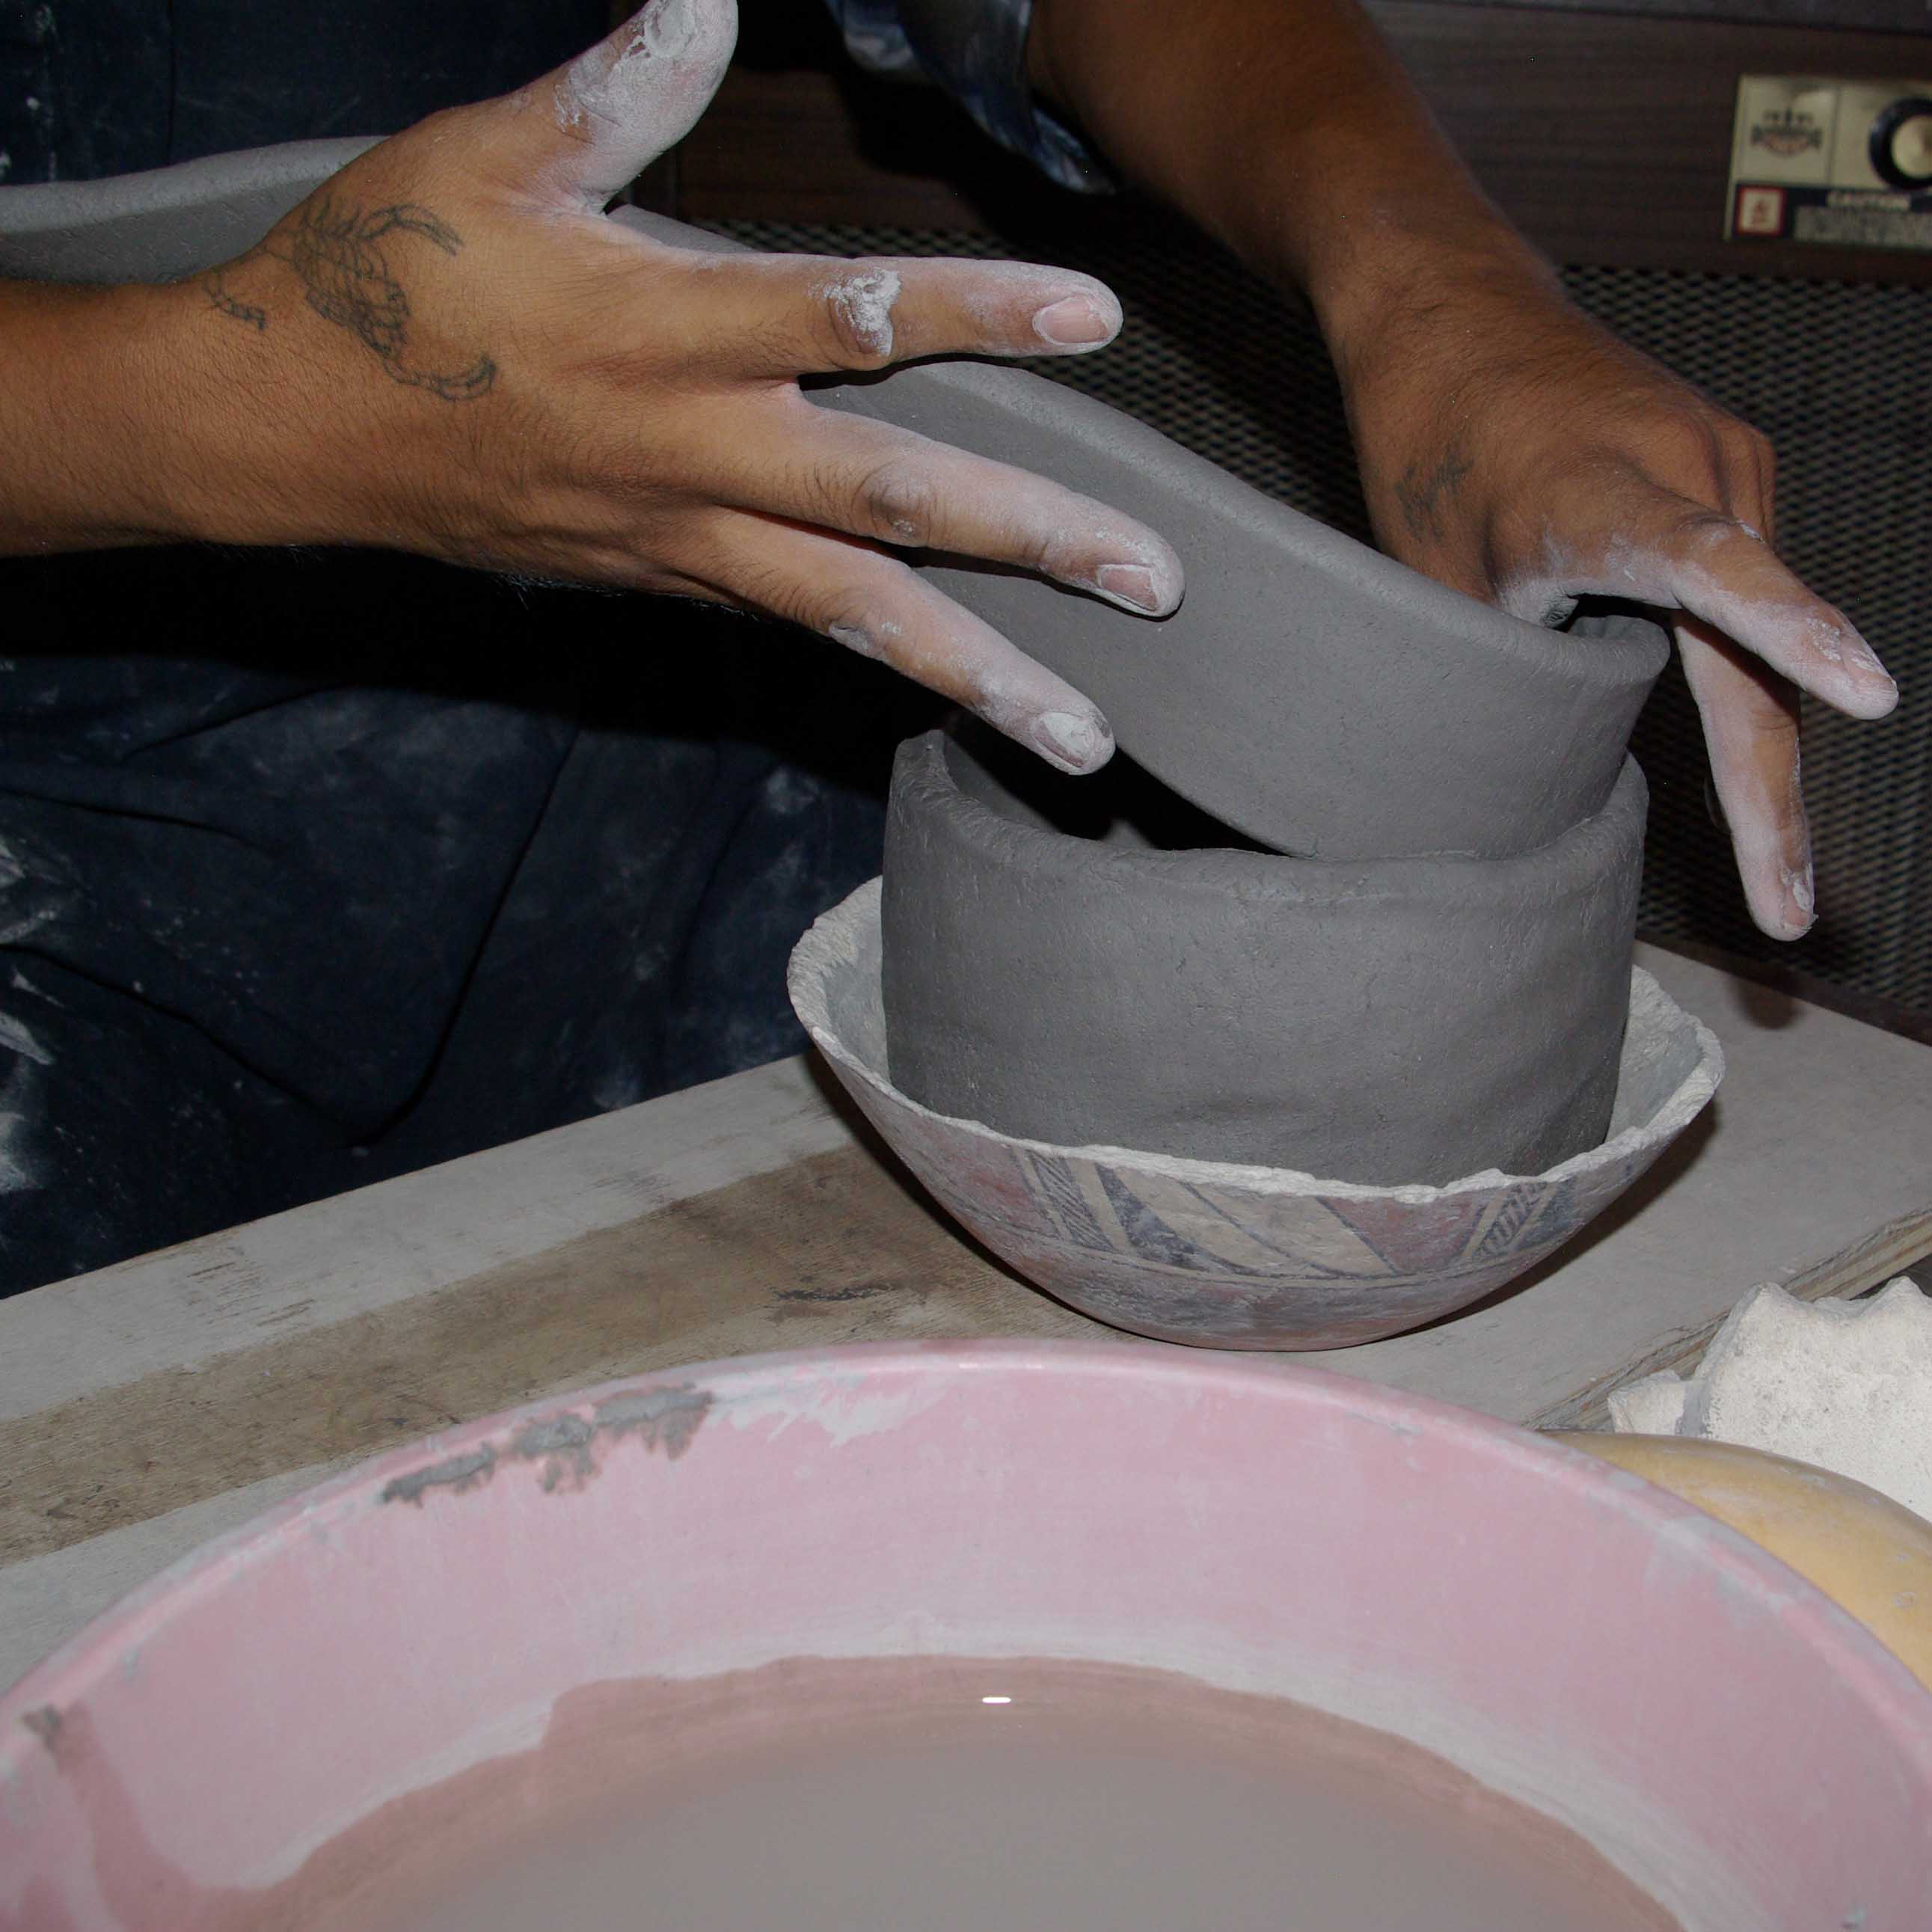
Adding the clay coil to the bowl

Adding the clay coil to the bowl
Adding the clay coil to the bowl

Smoothing the added coil
Smoothing the added coil
Smoothing the added coil
Smoothing the added coil
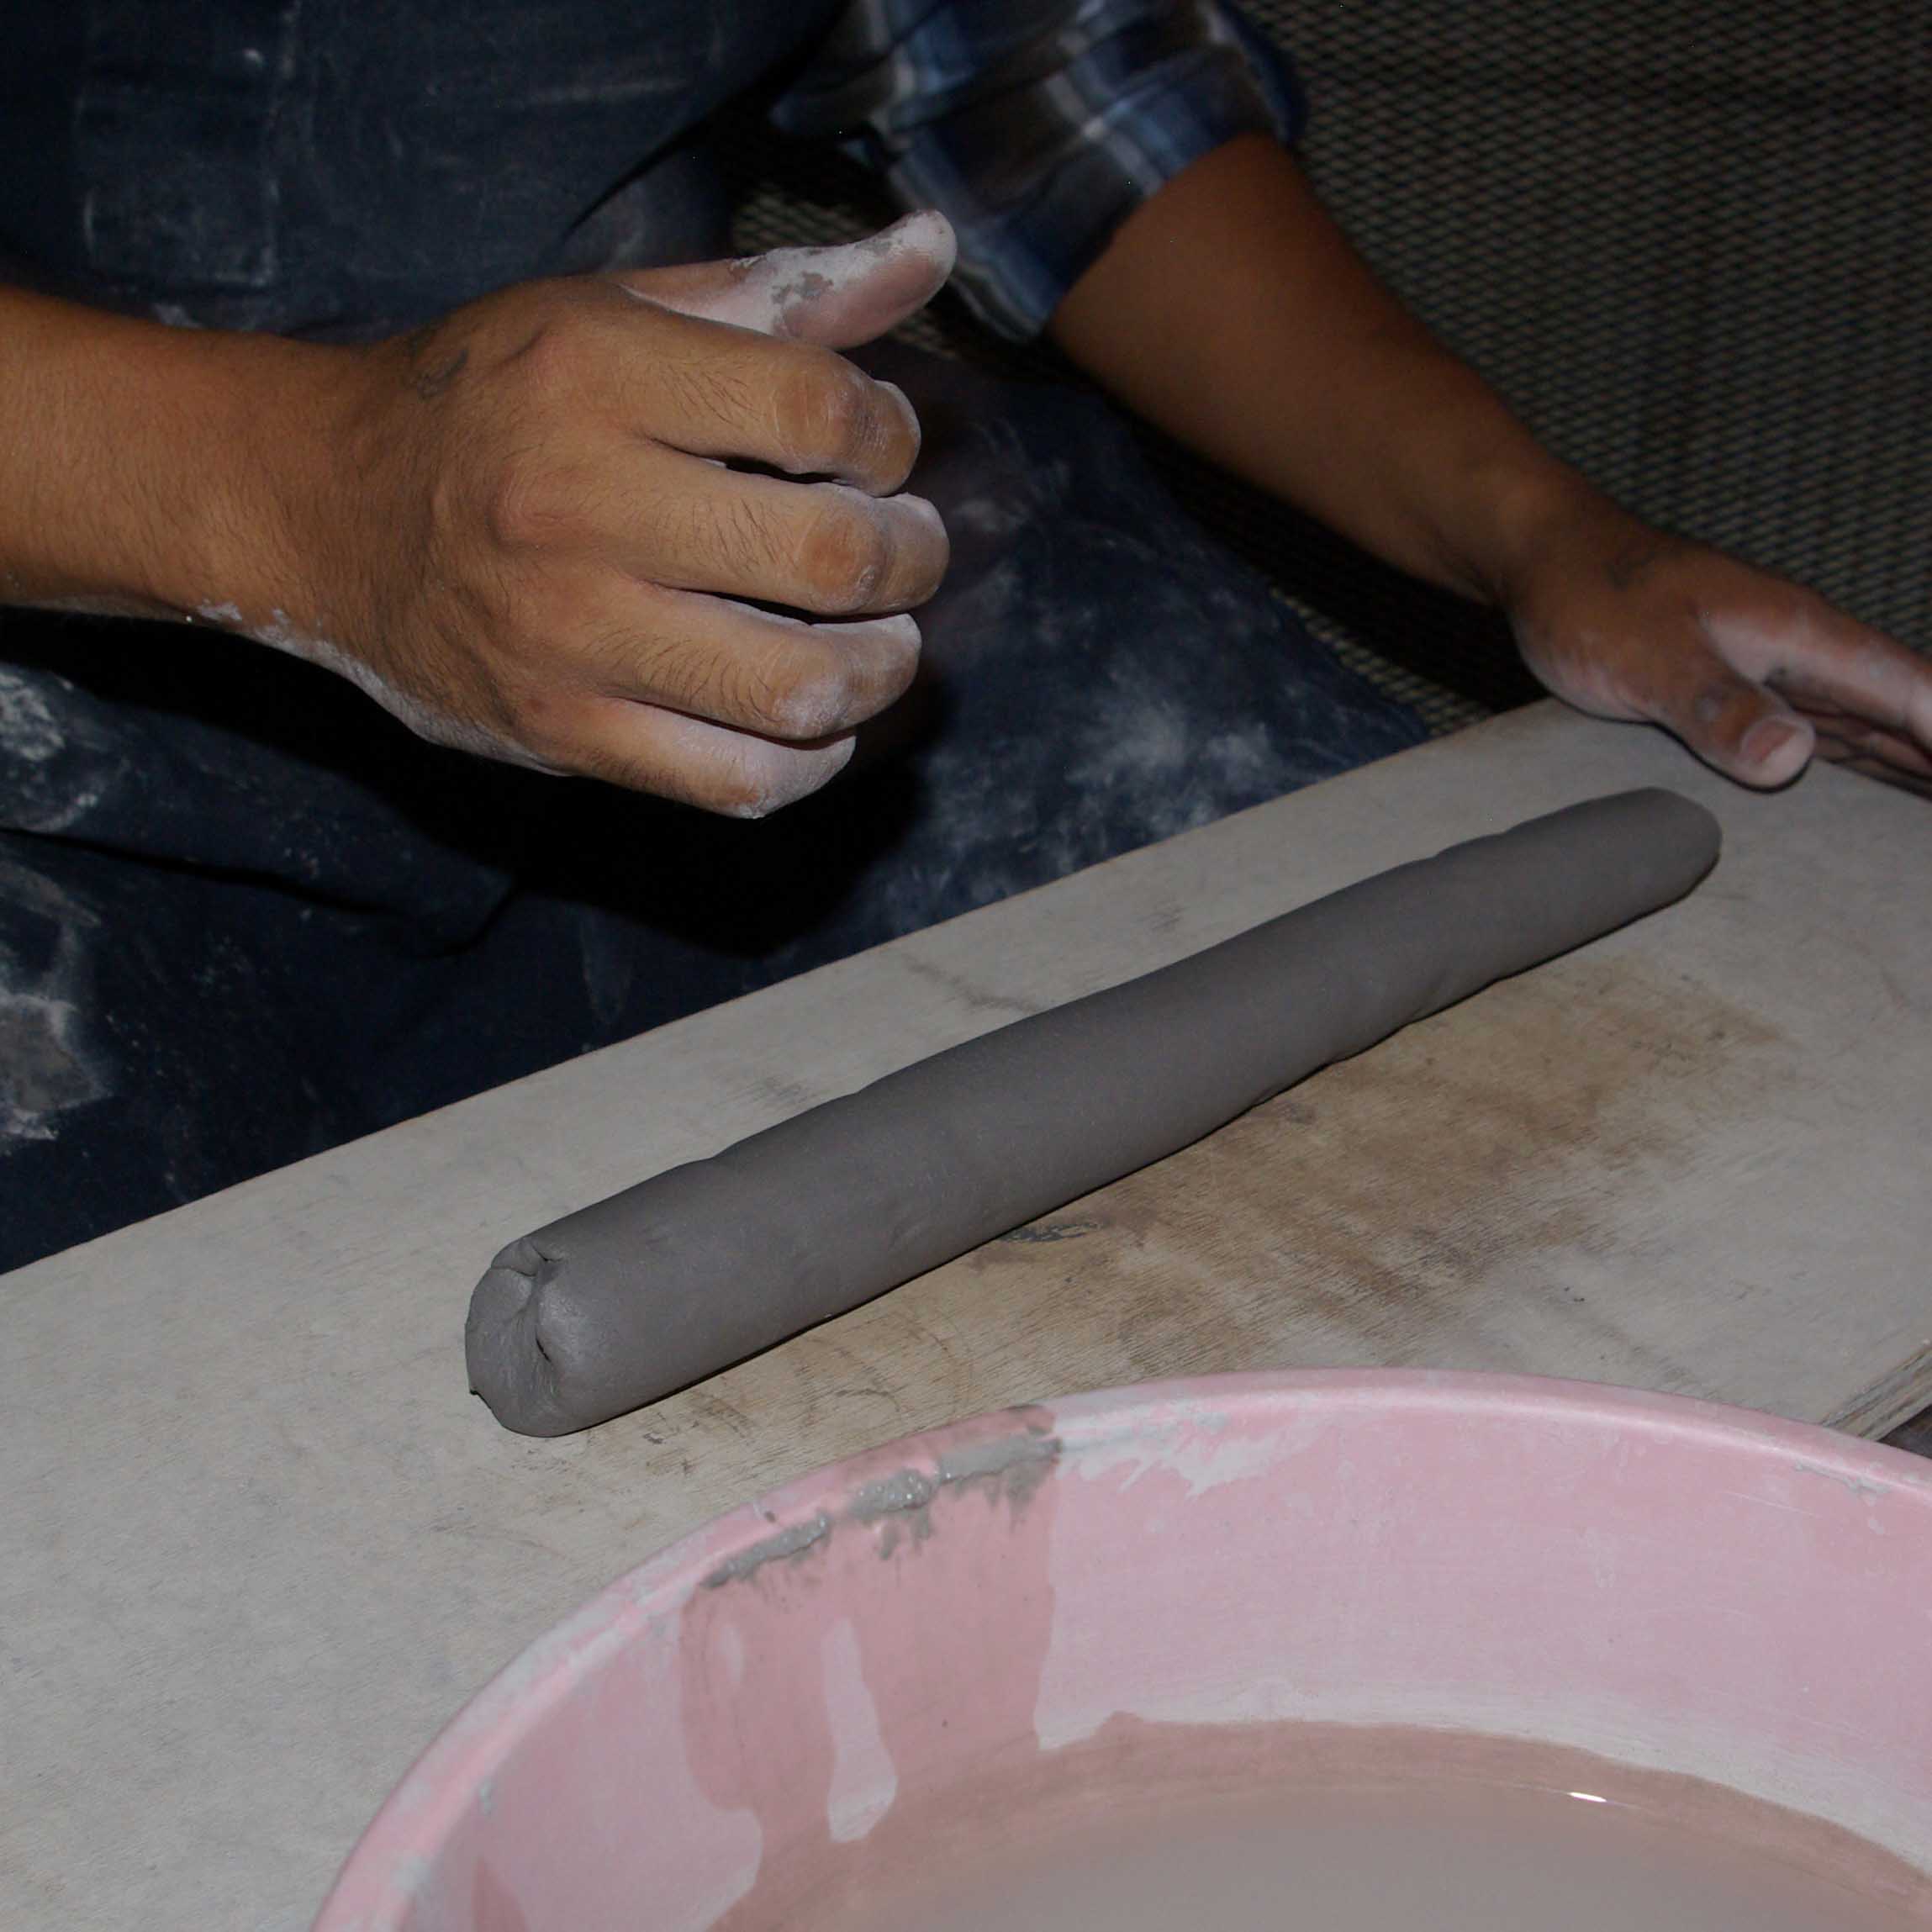
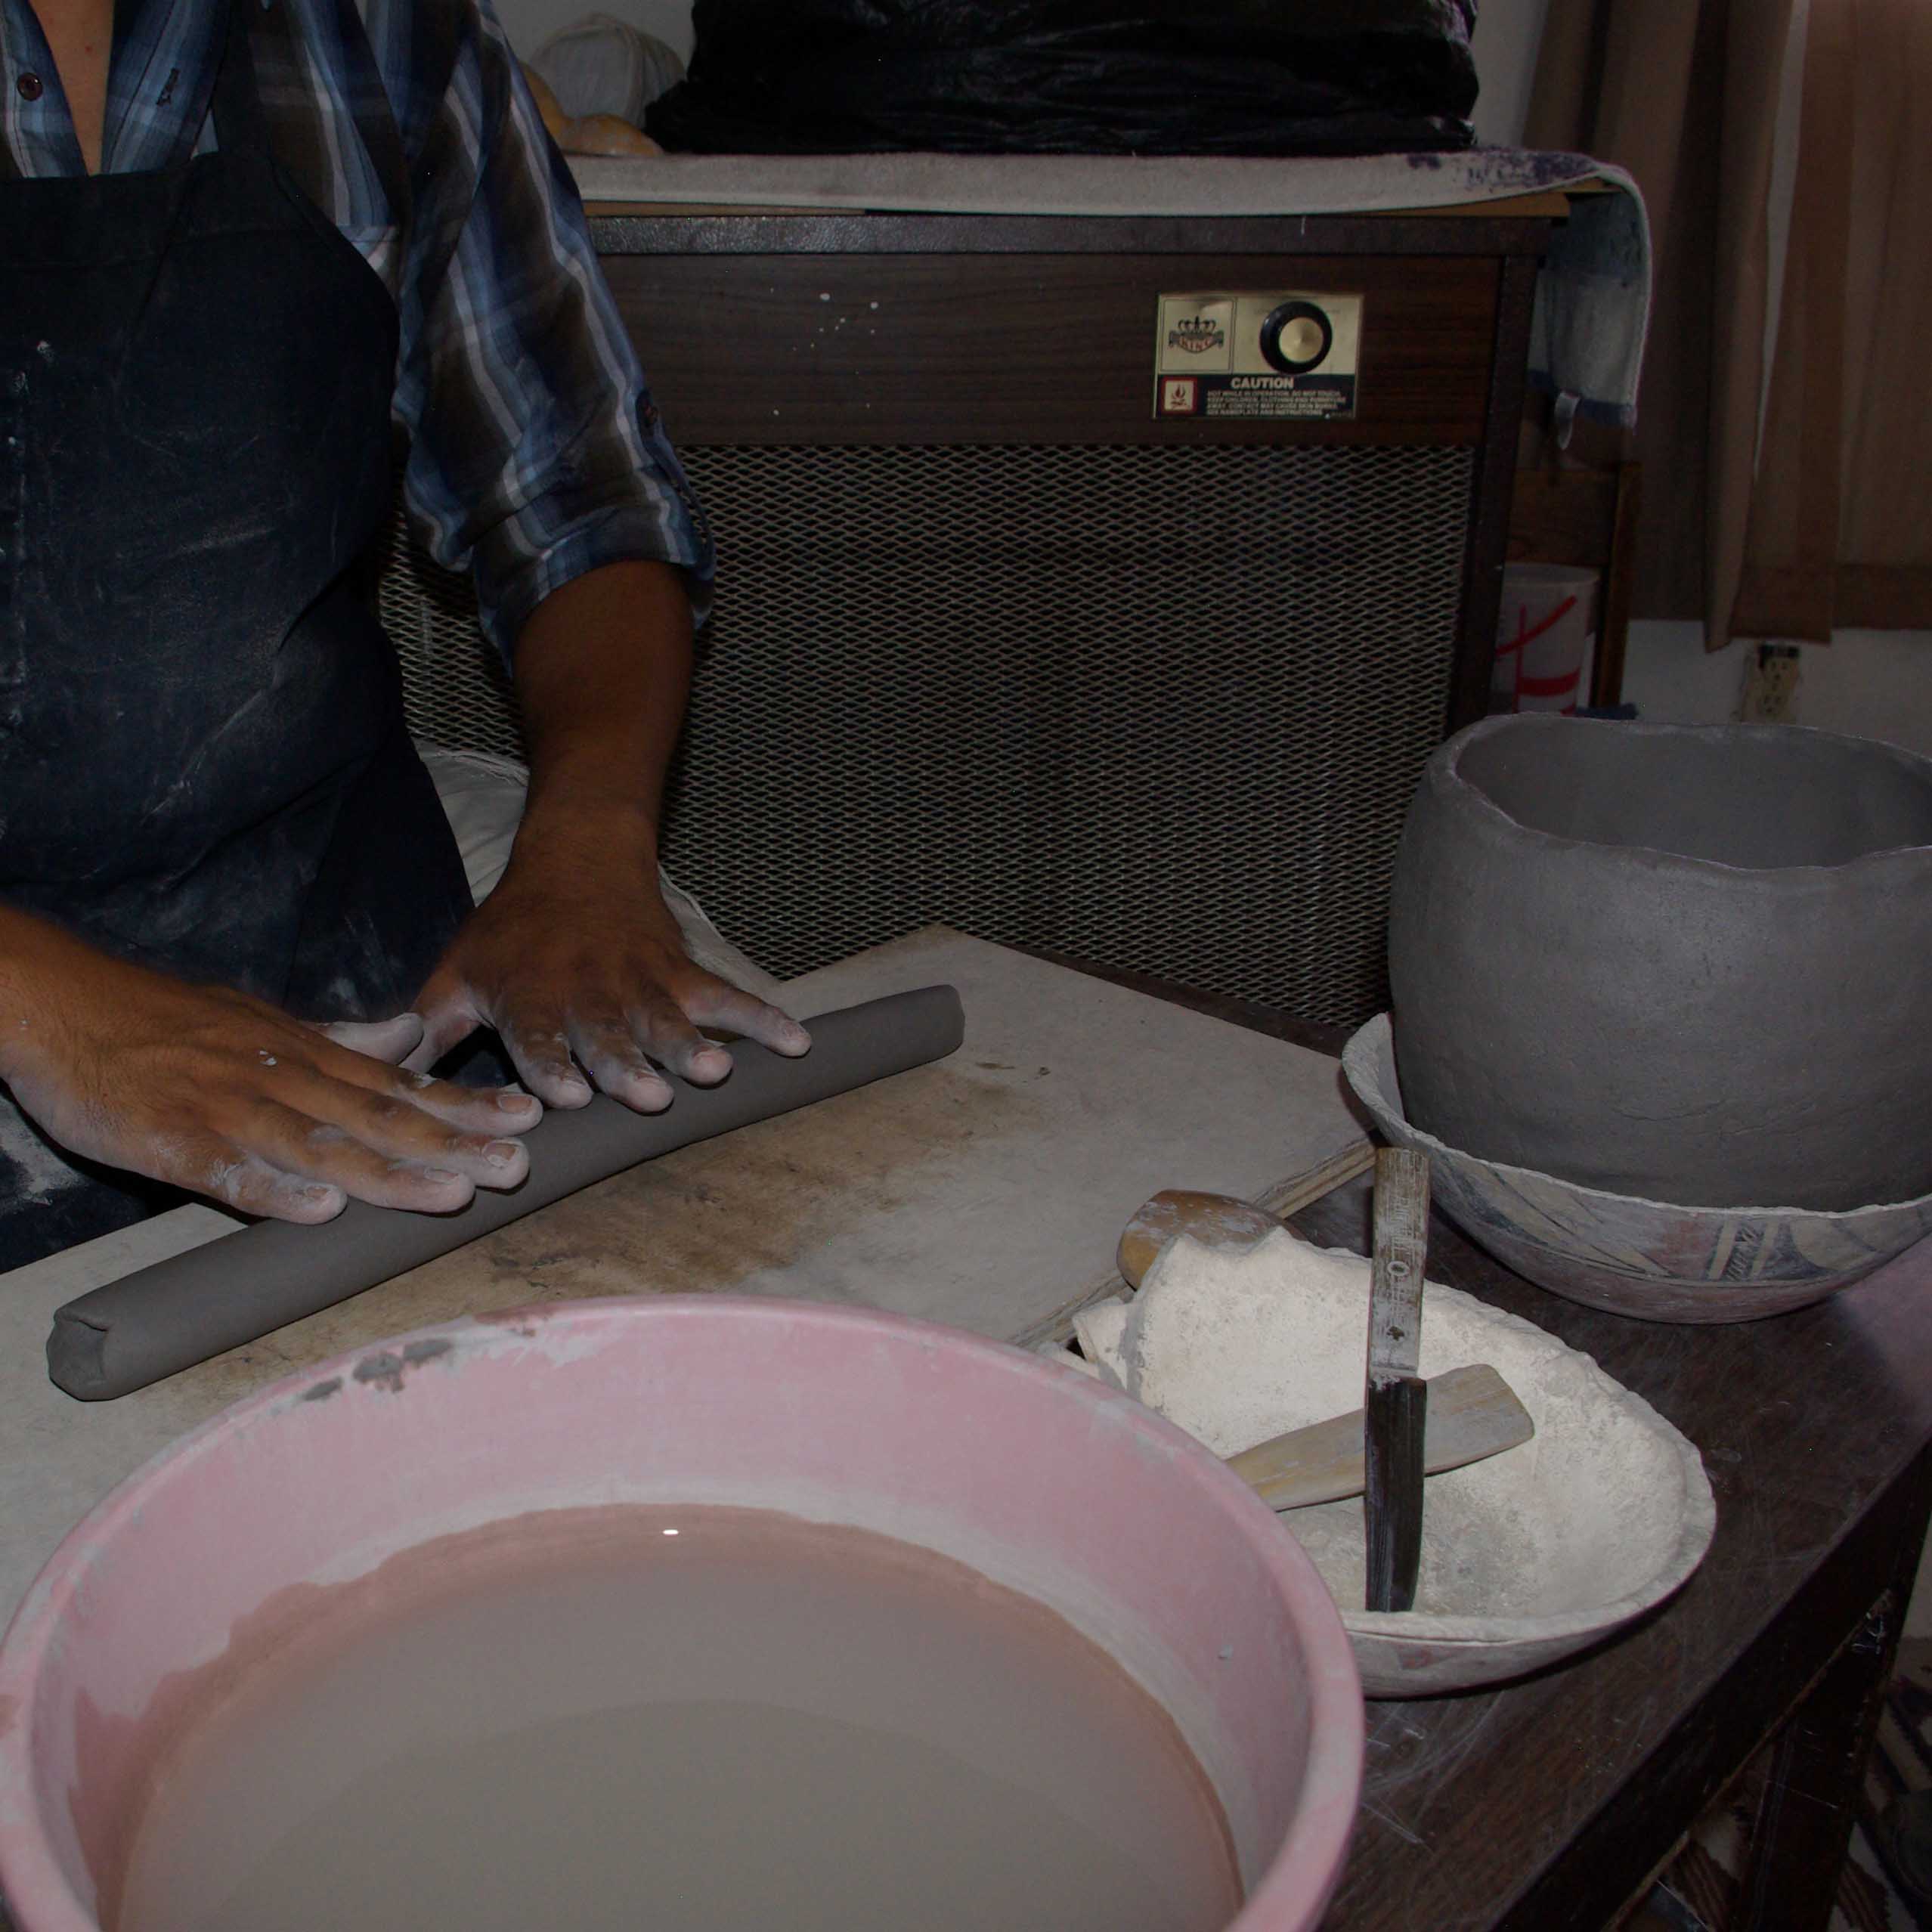
Preparing the clay for the second coil
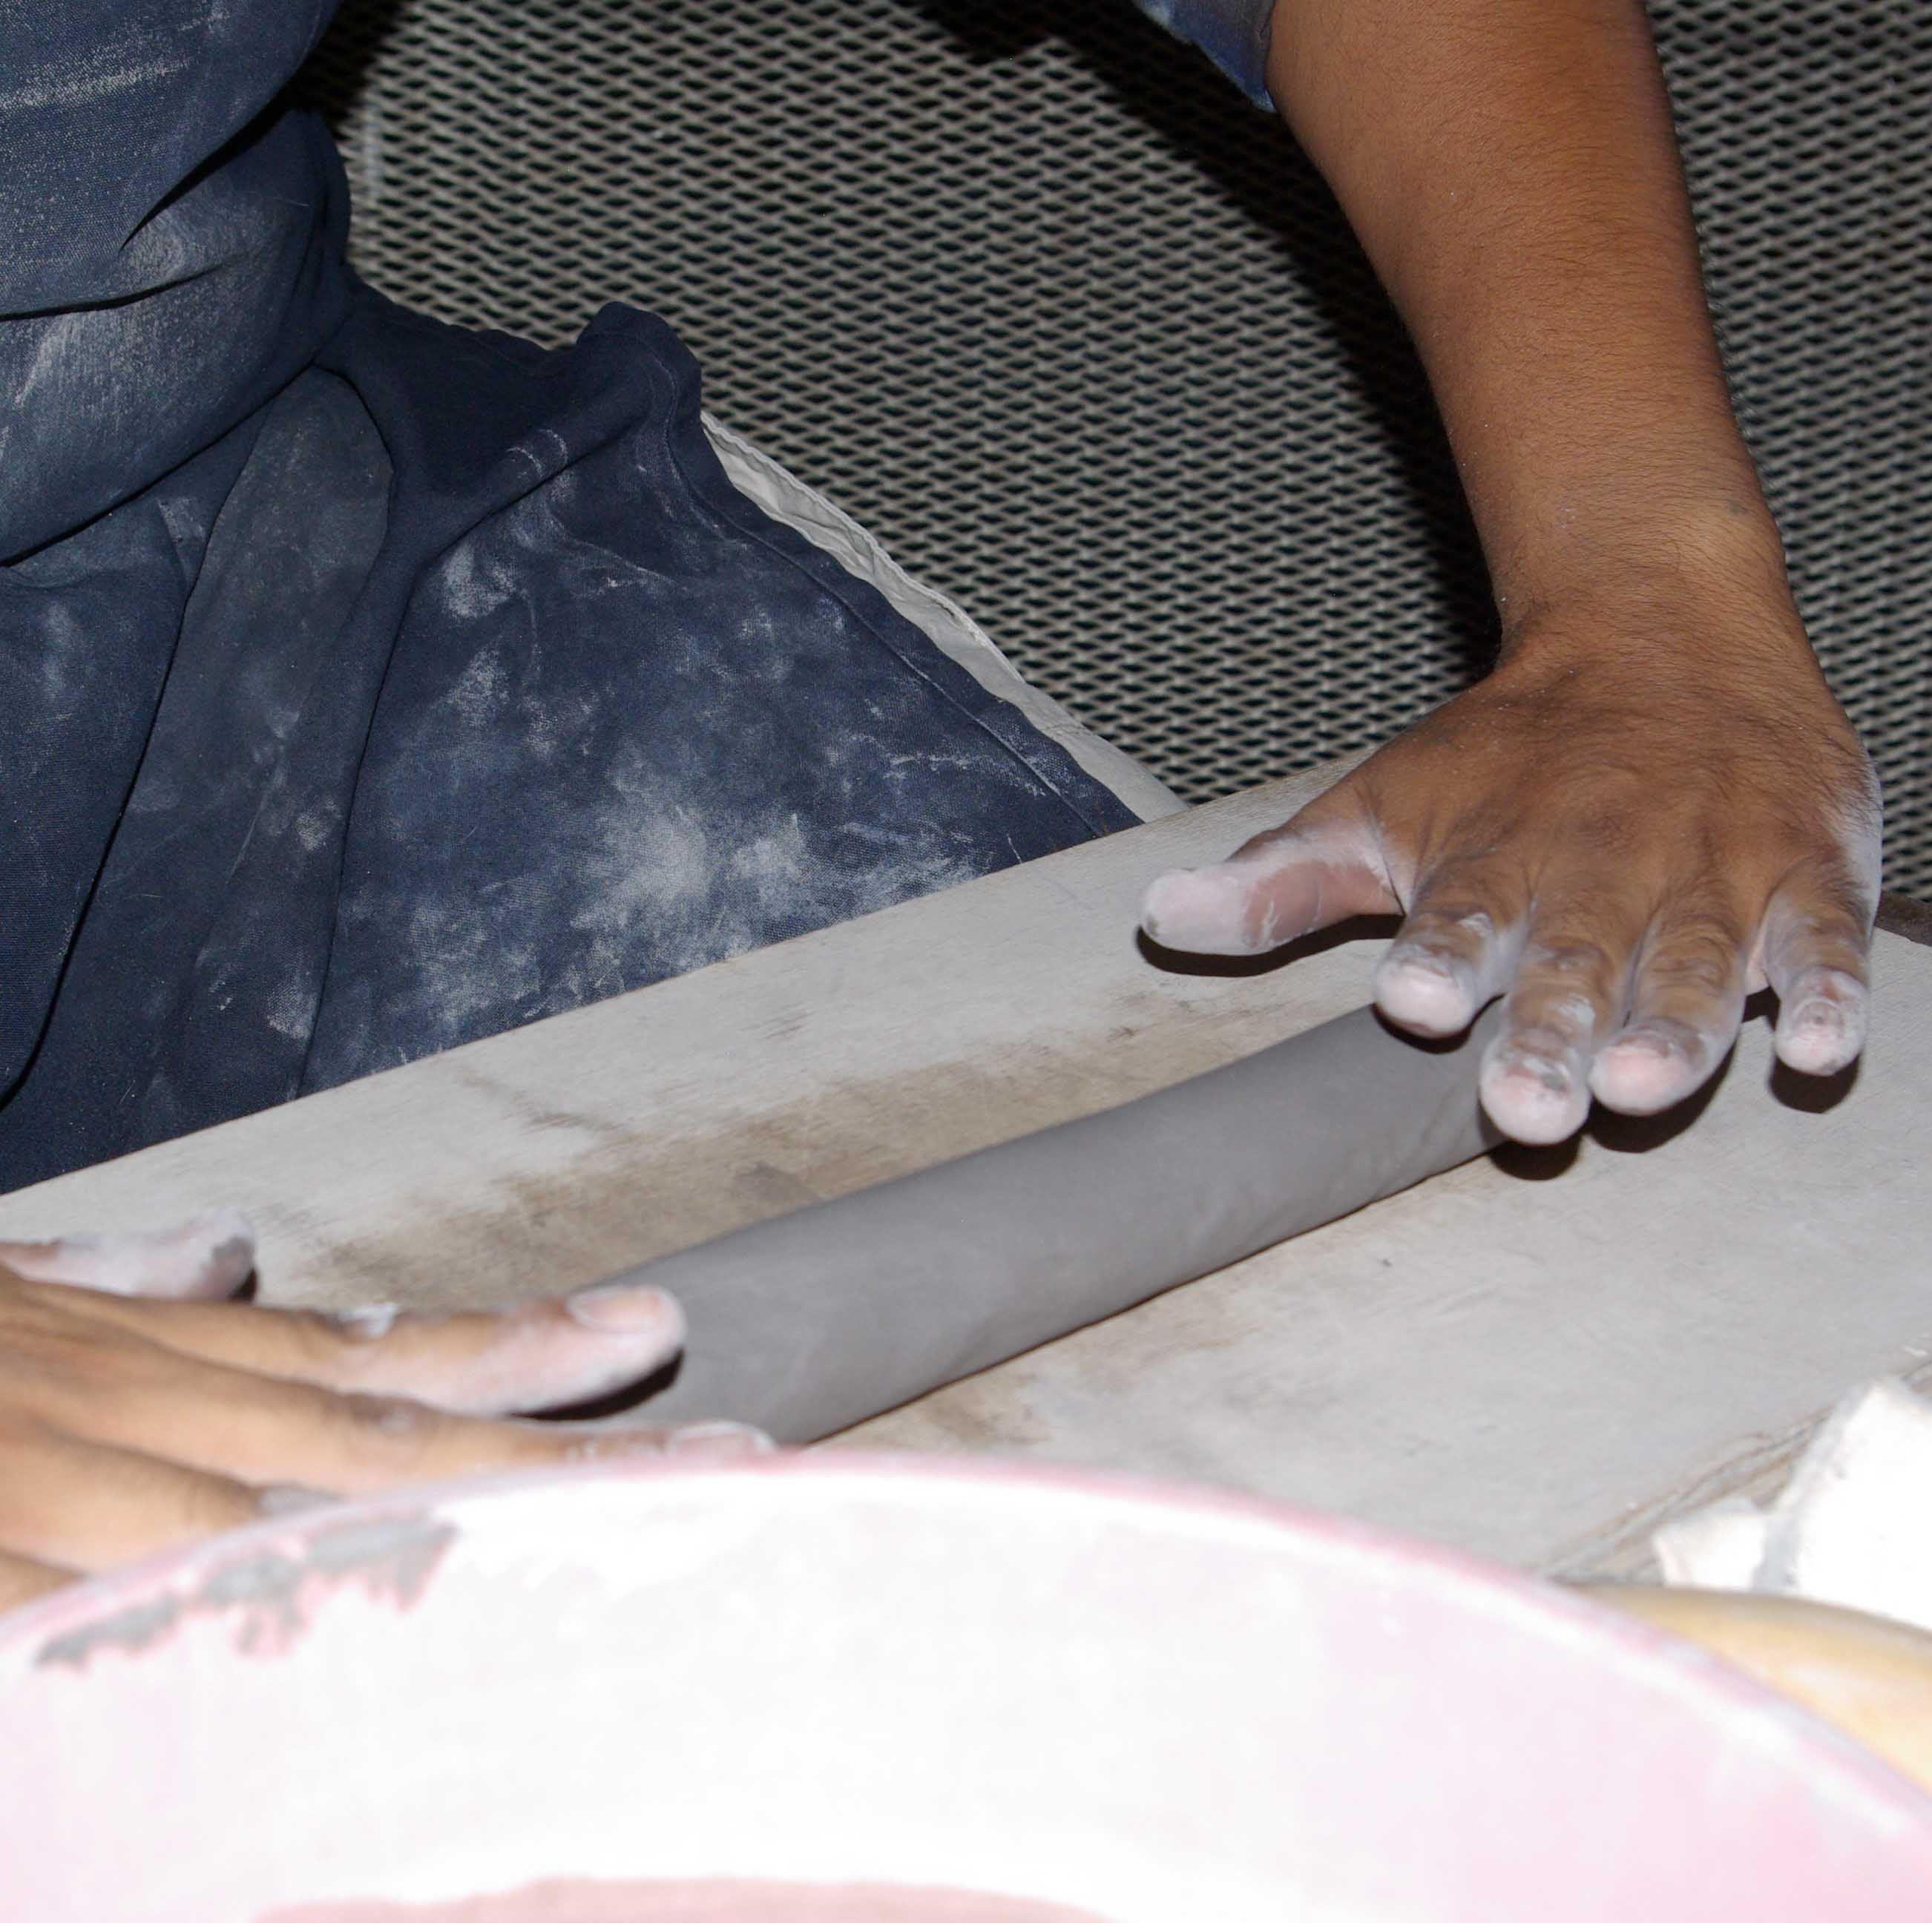
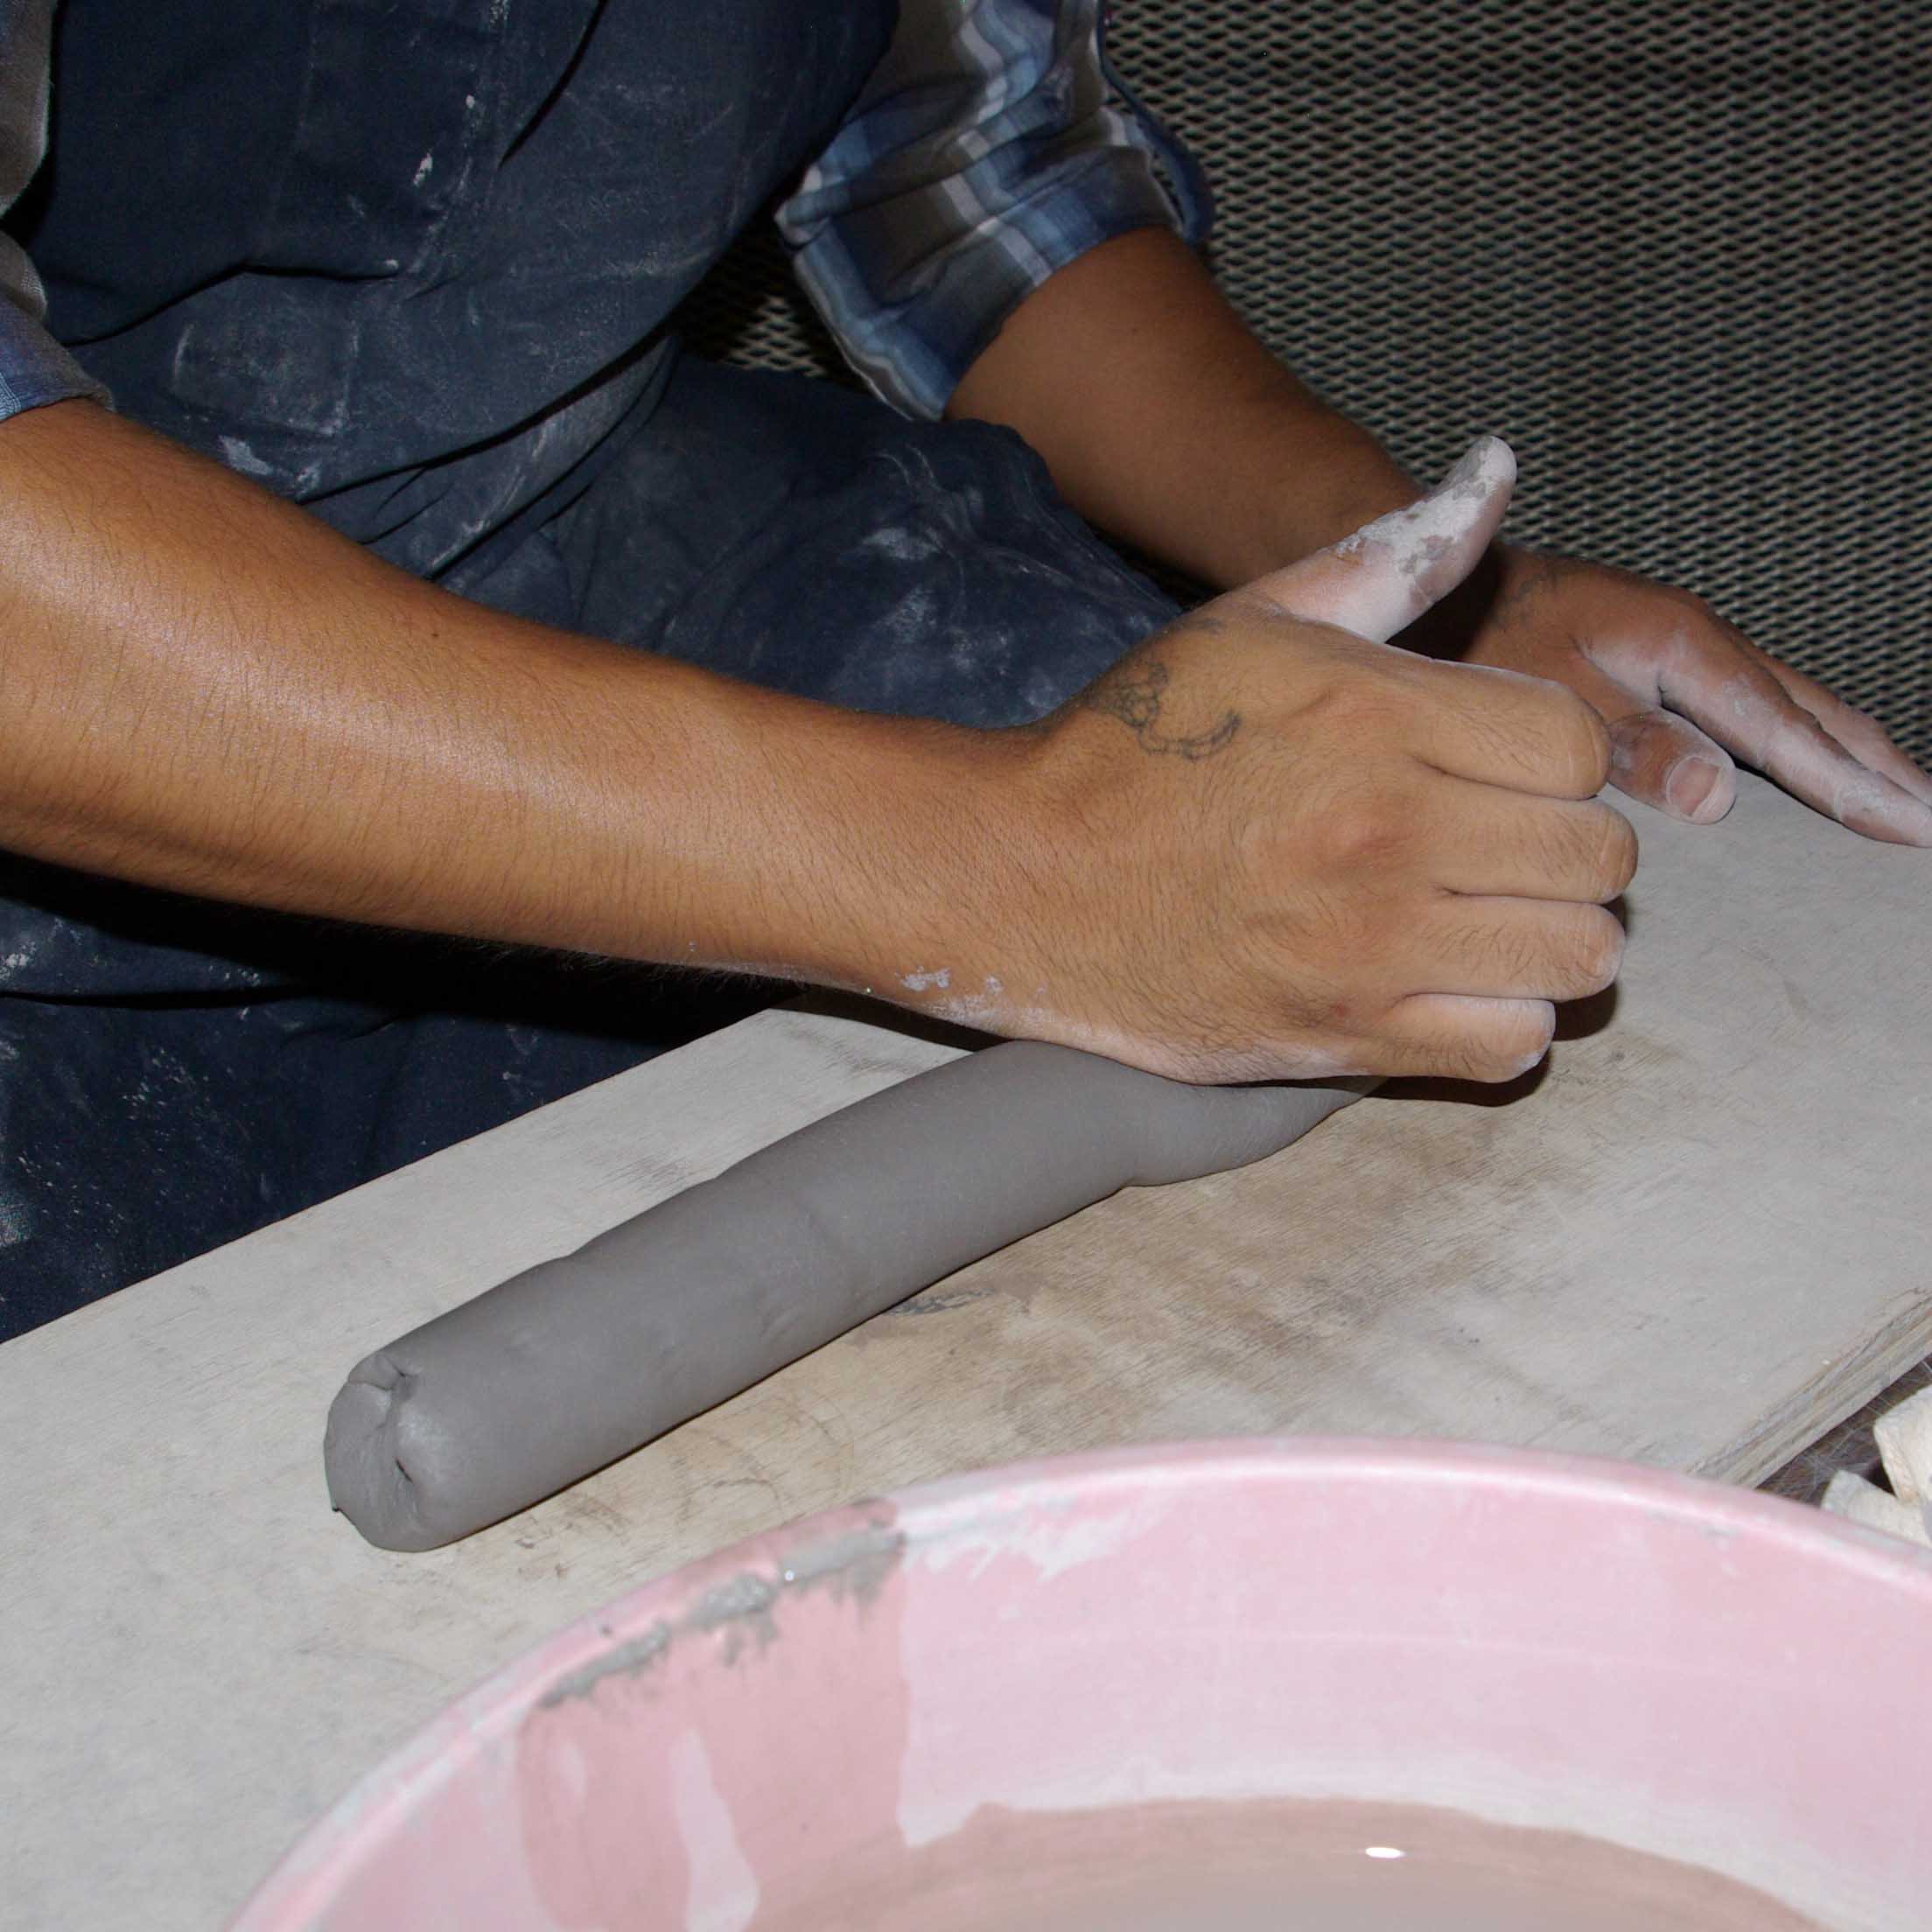
Rolling the second coil

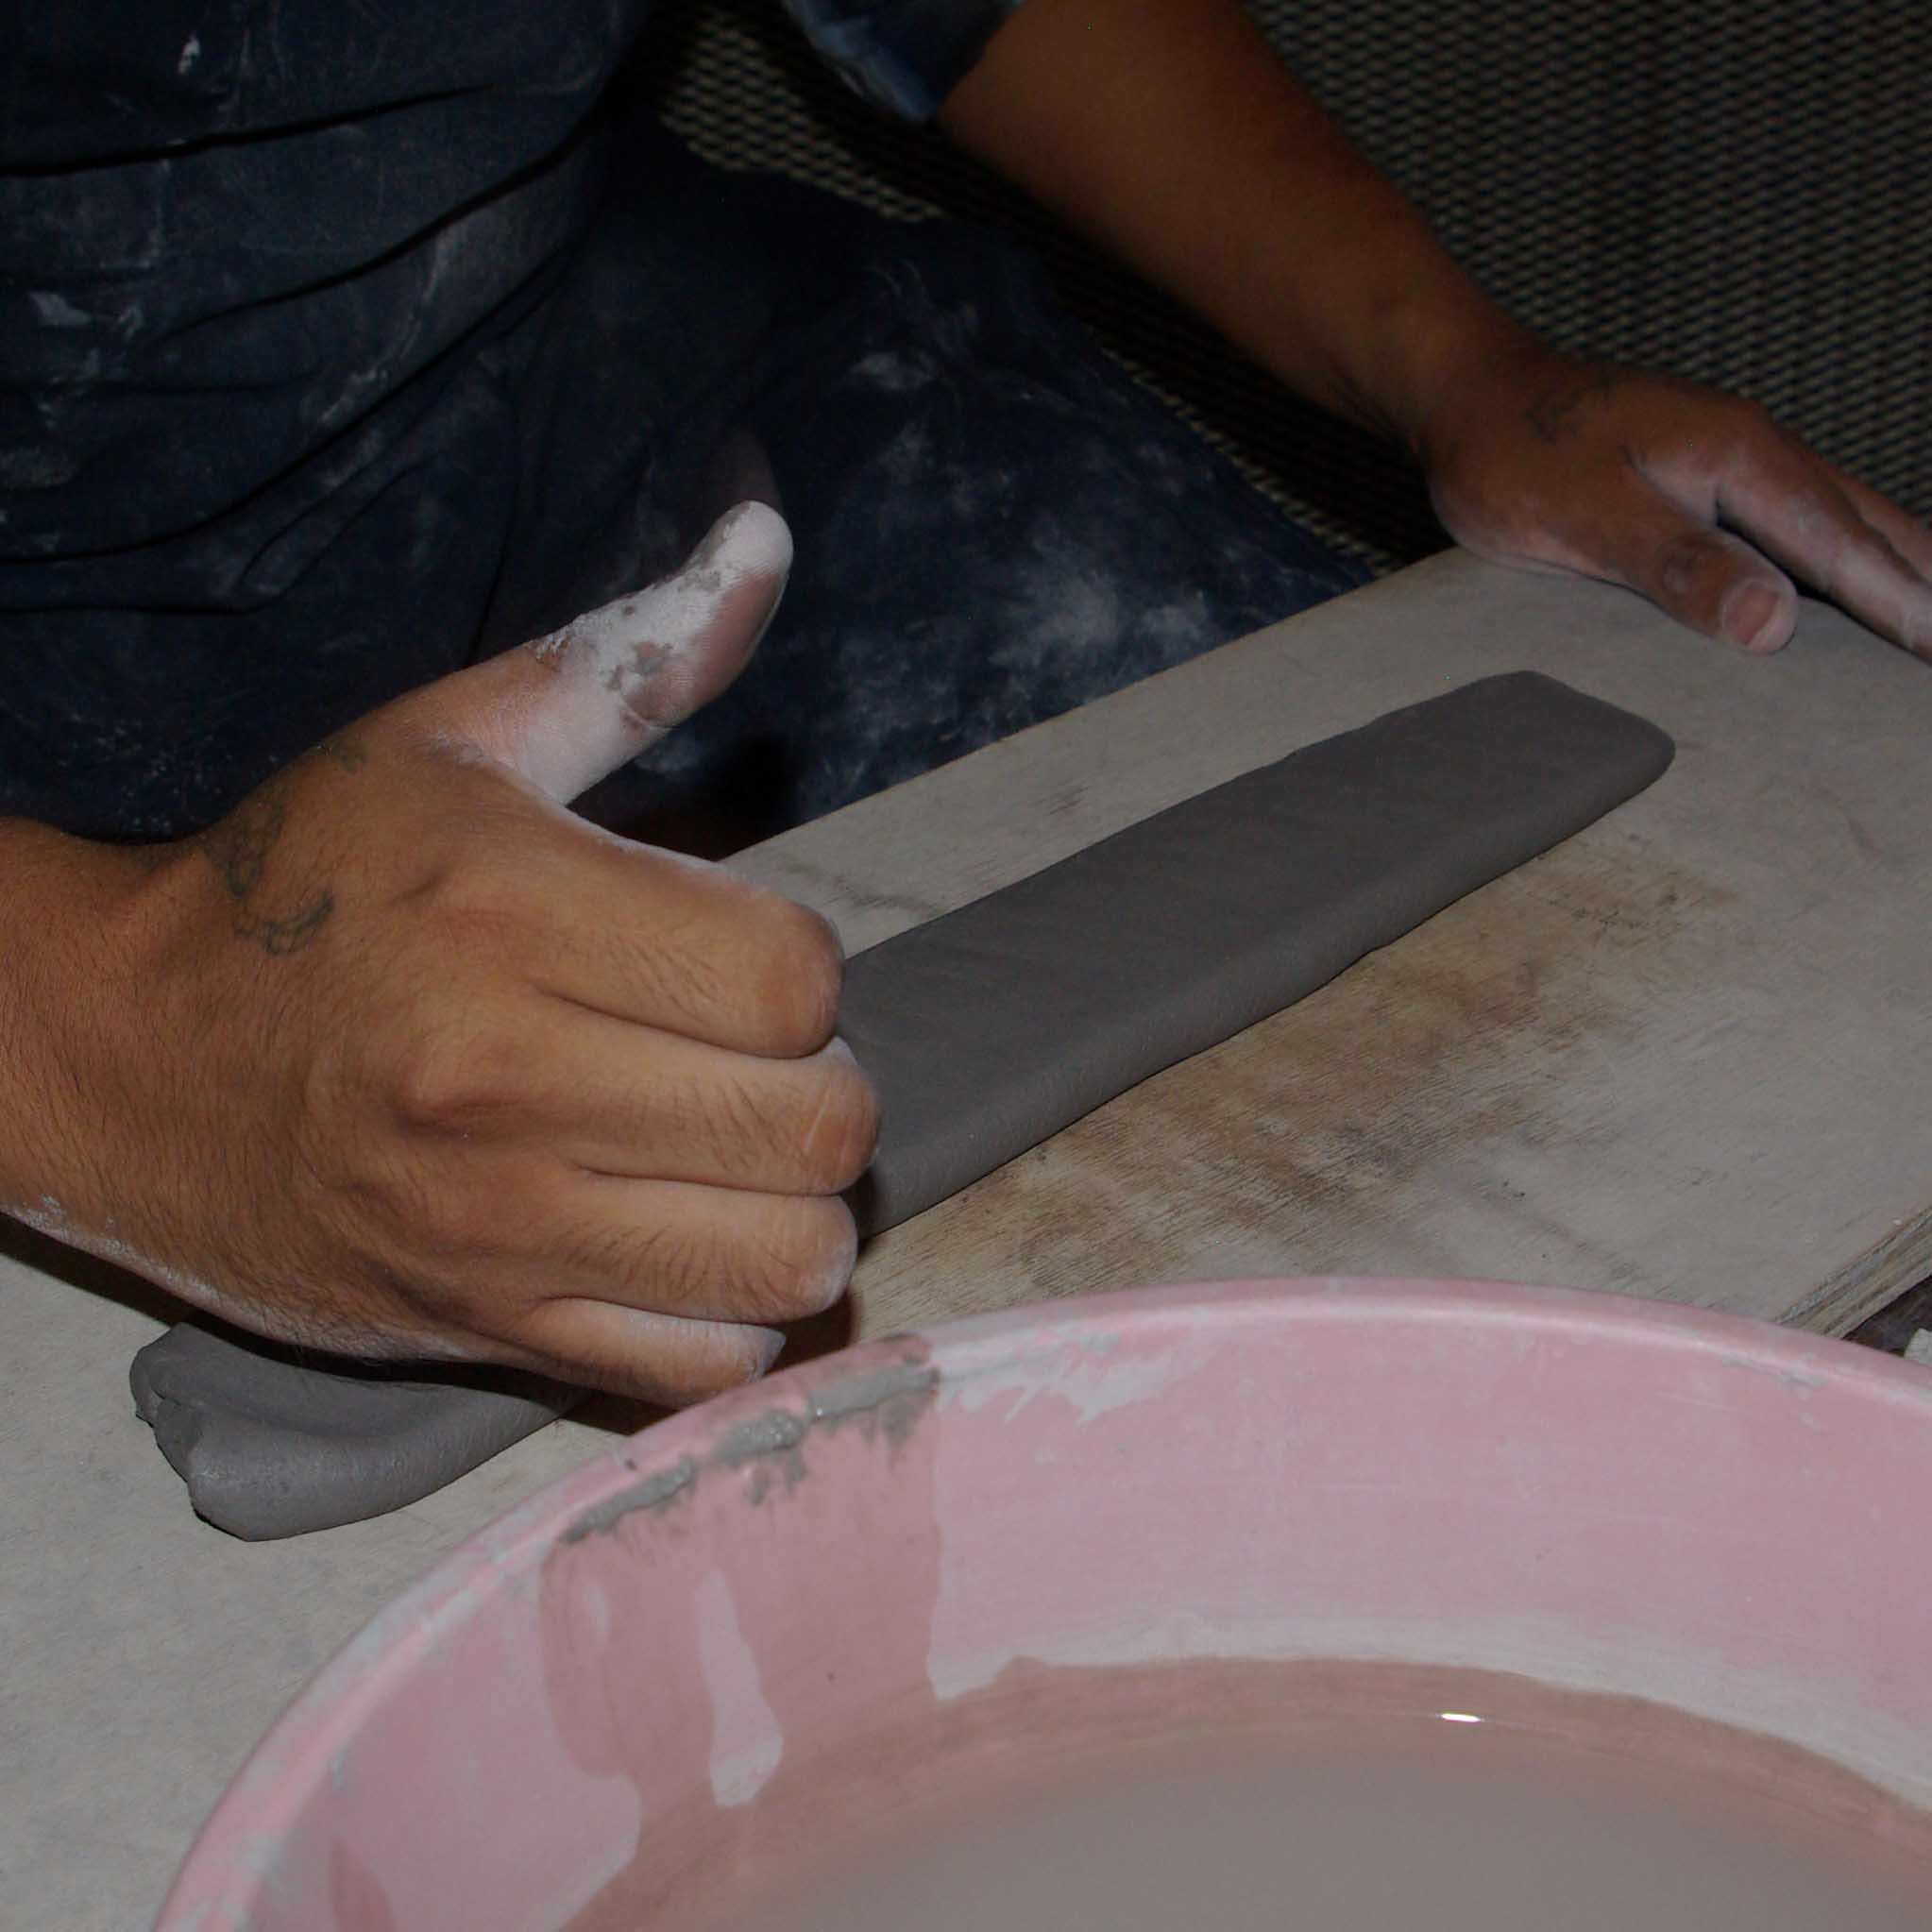
Flattening the second coil
Flattening the second coil
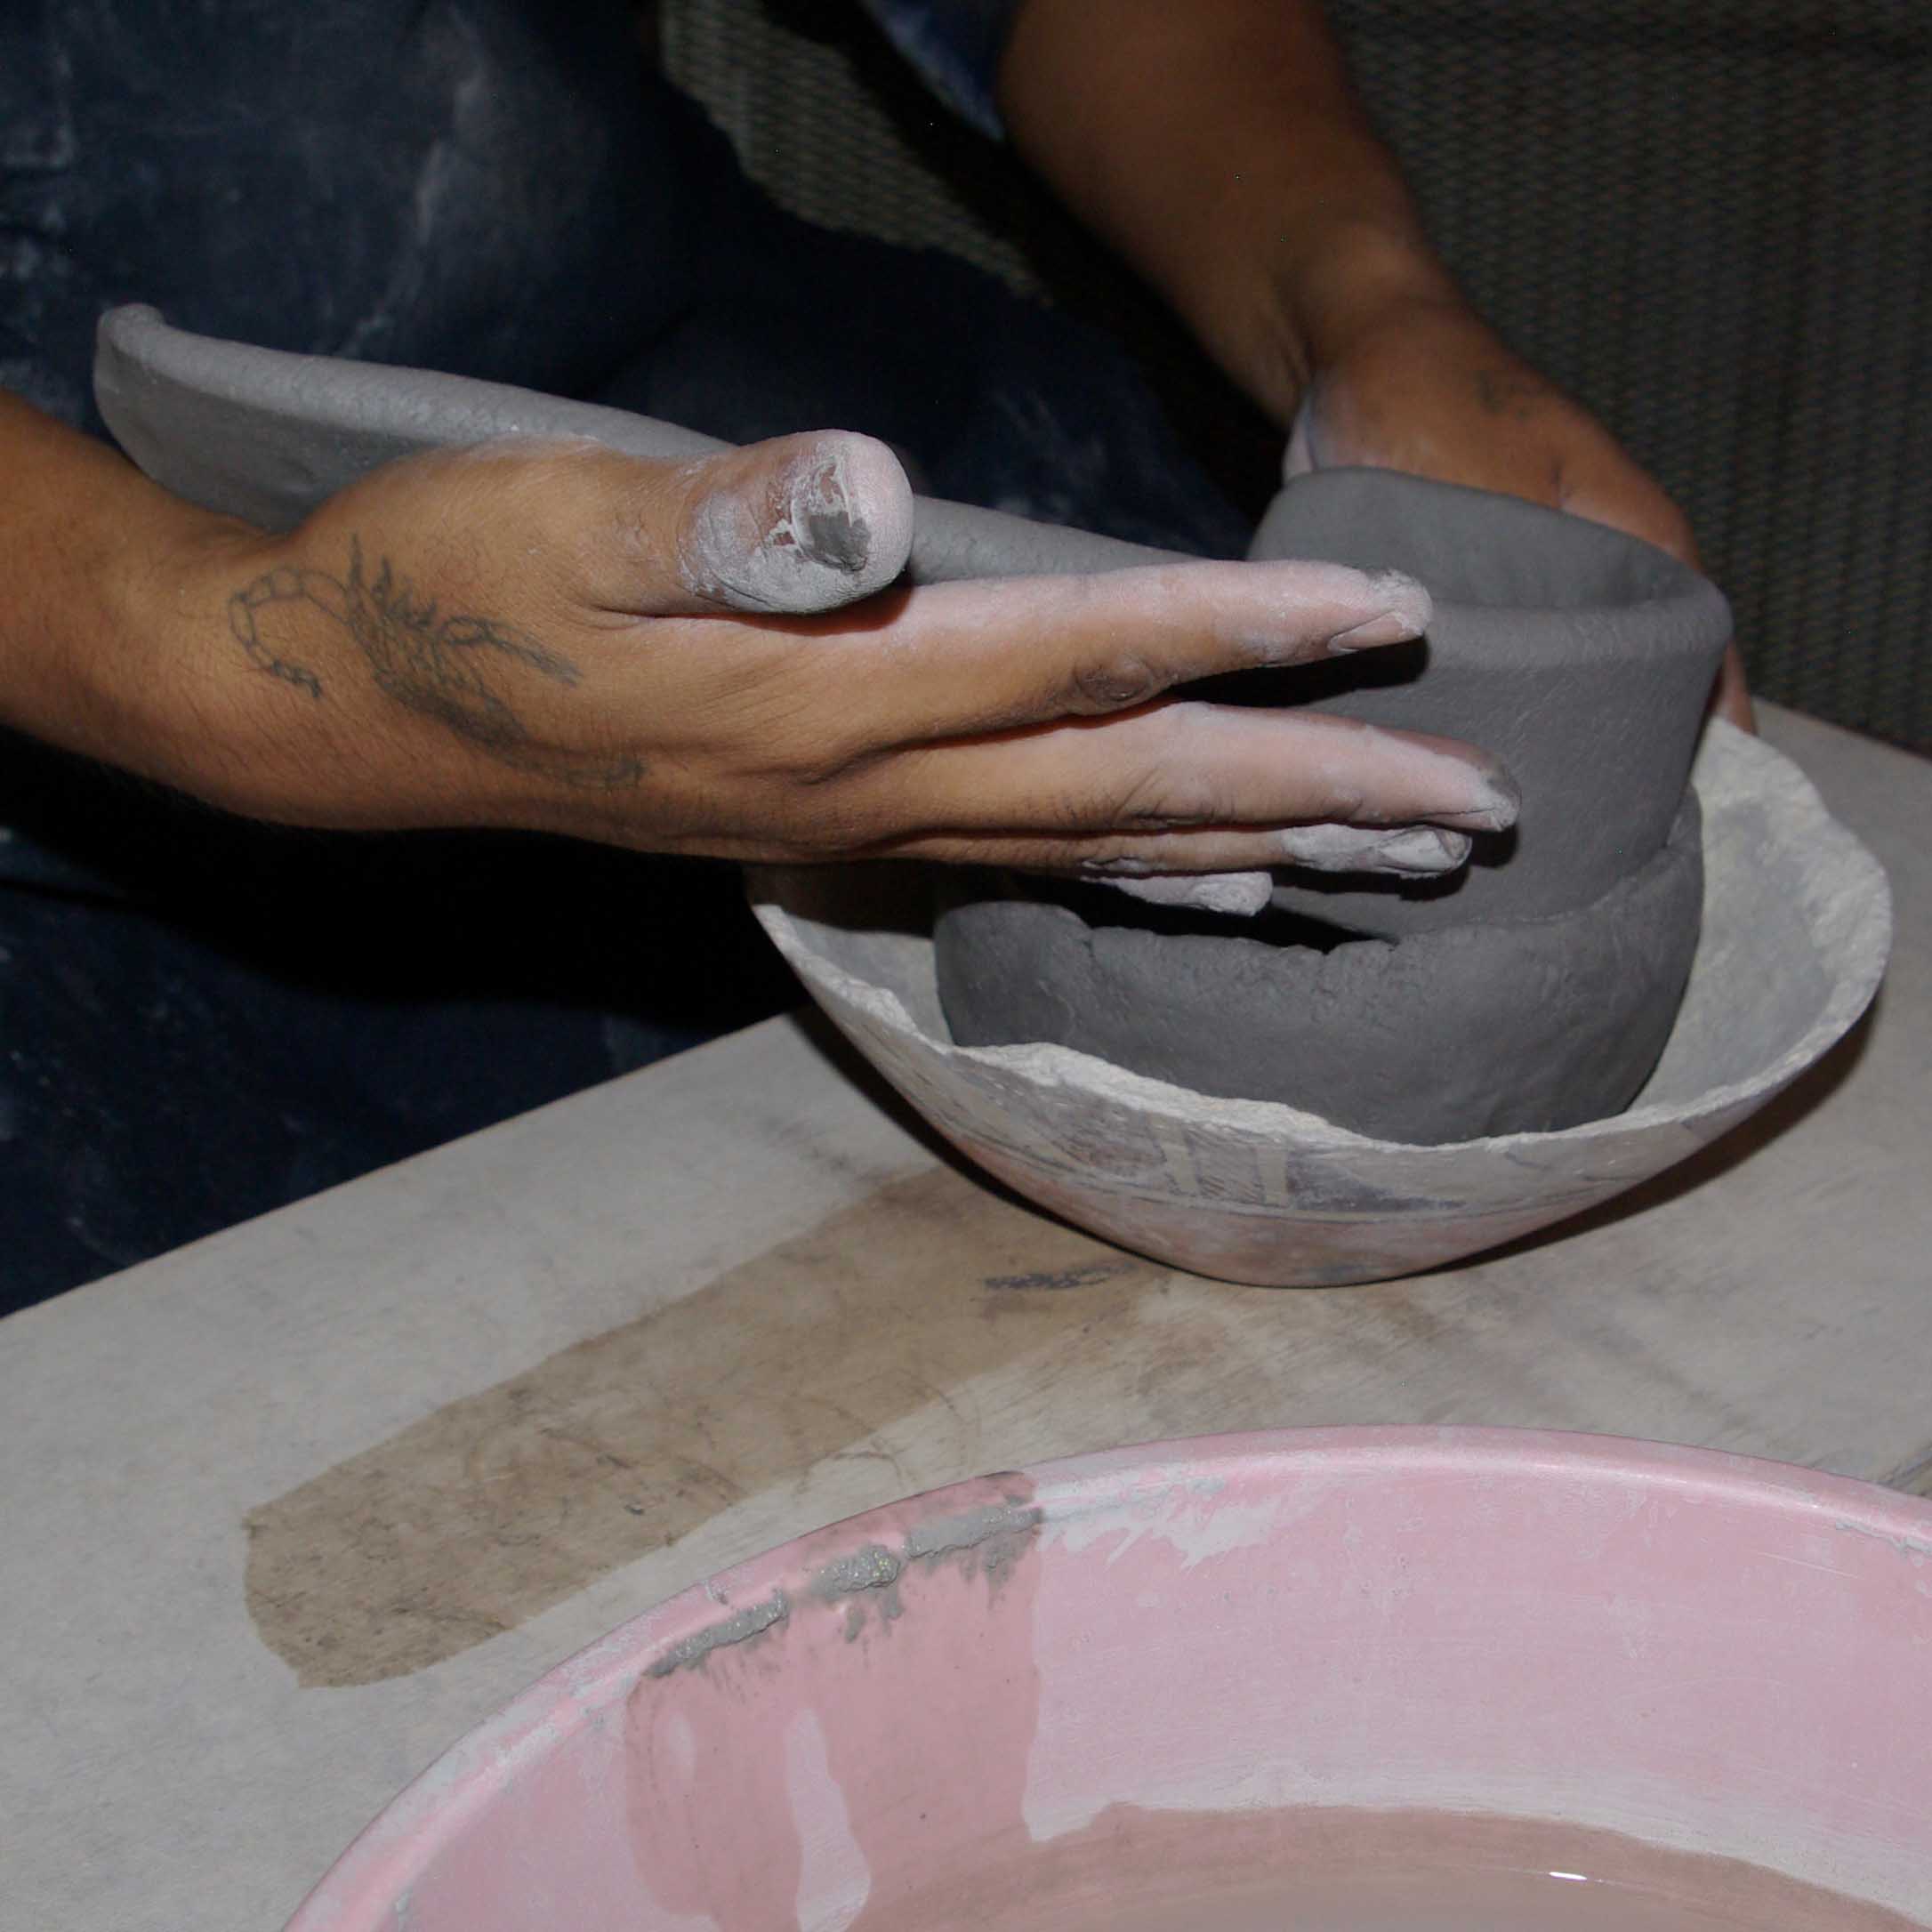
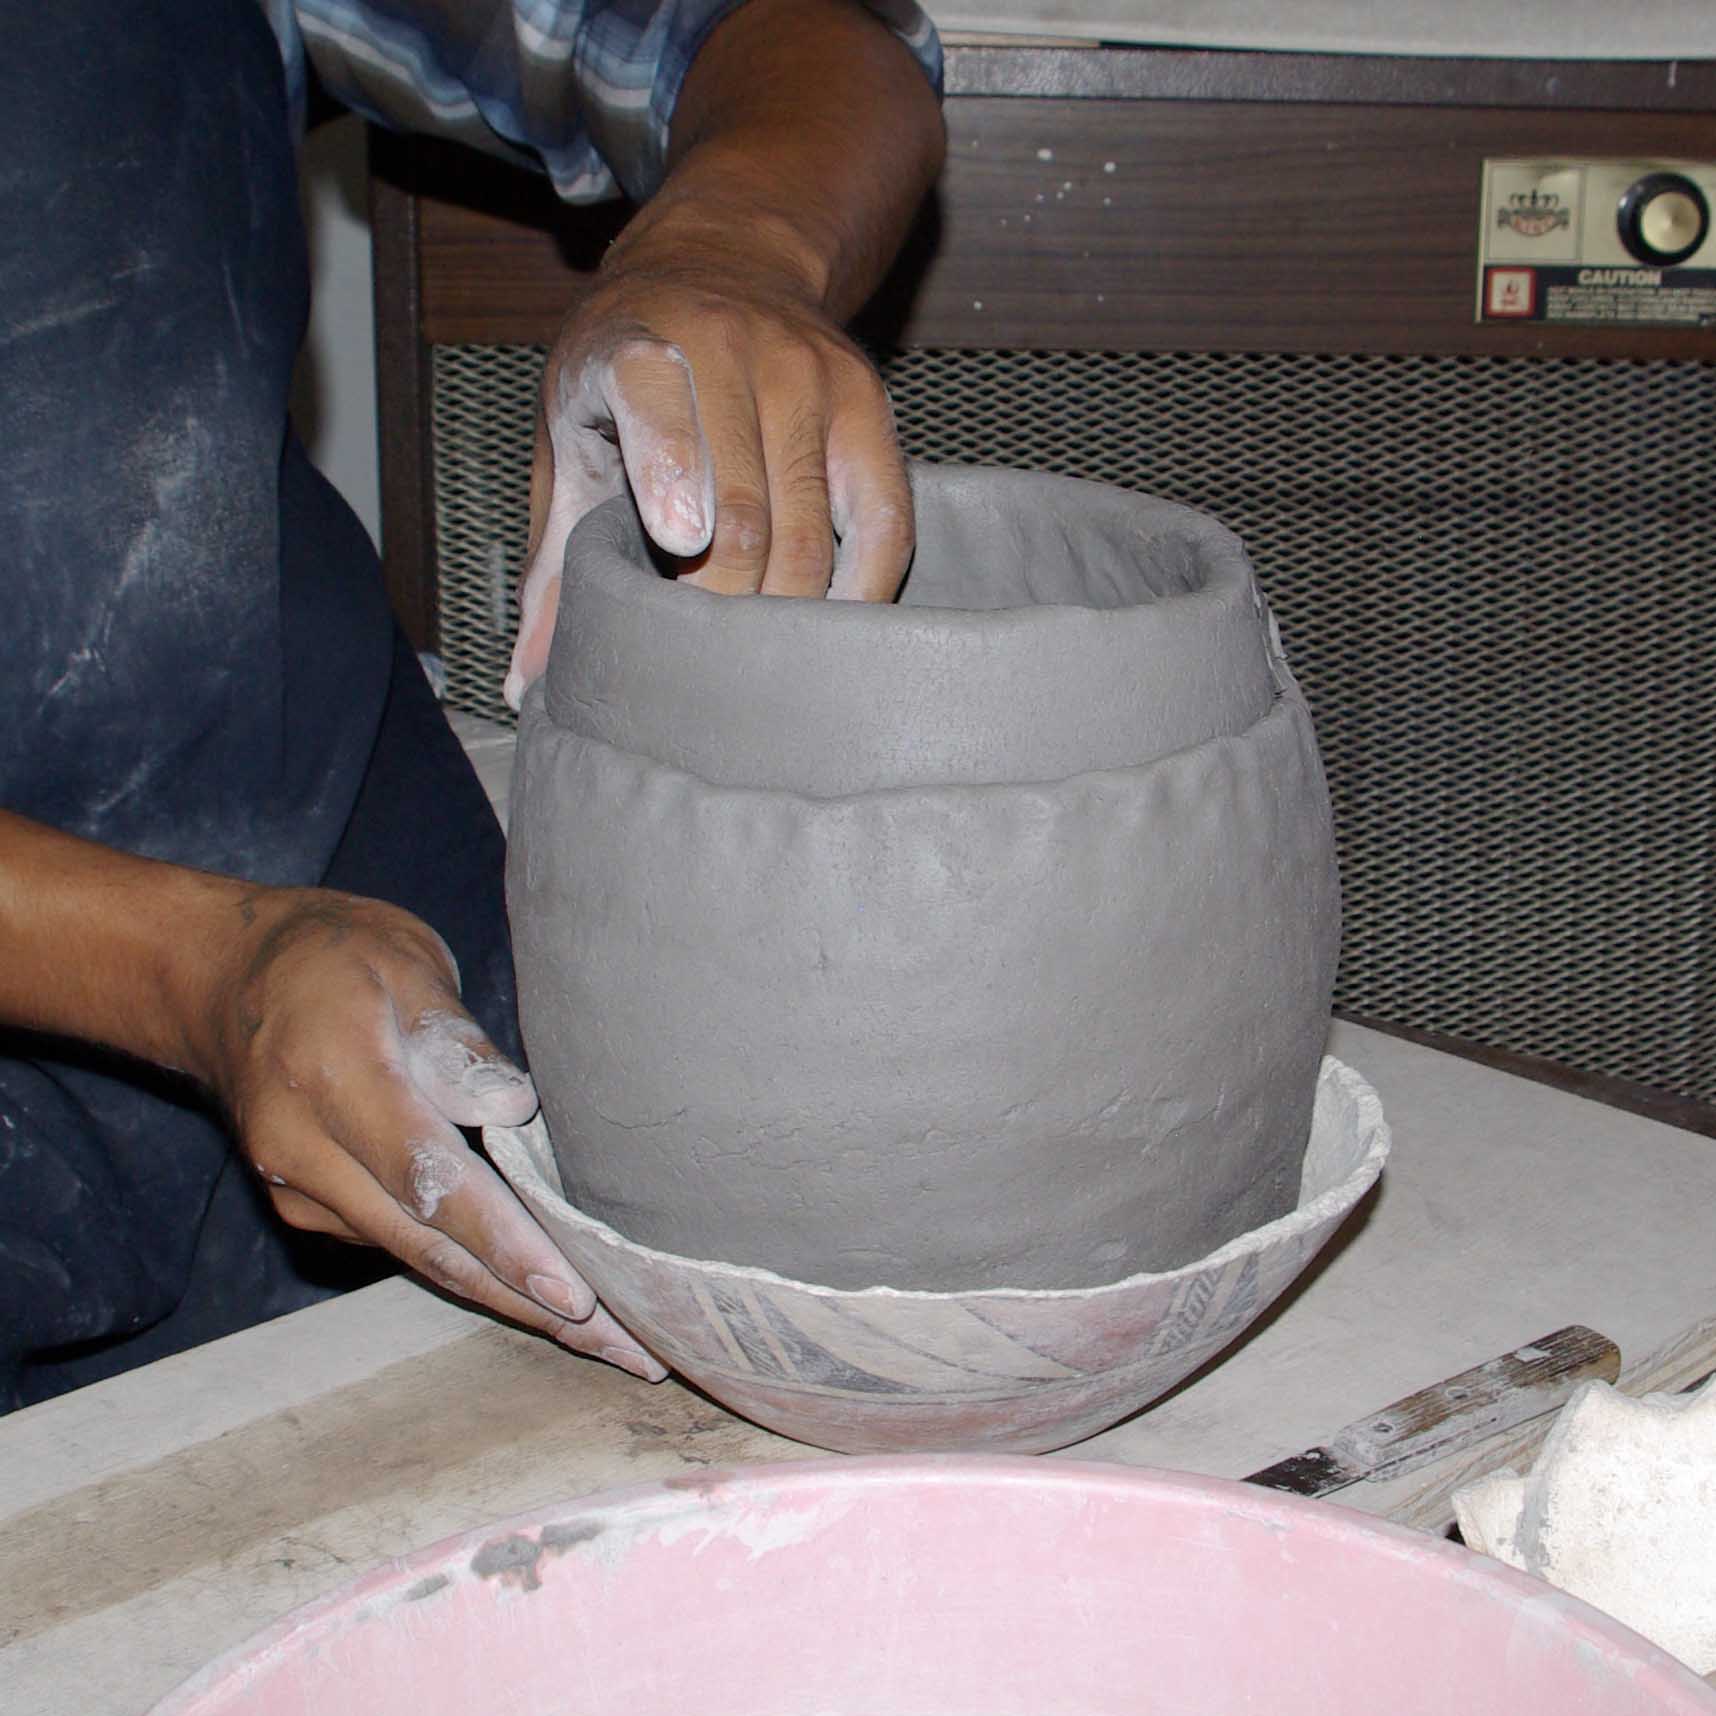
Attaching the second coil

Attaching the second coil

Attaching the second coil
Smoothing the second coil
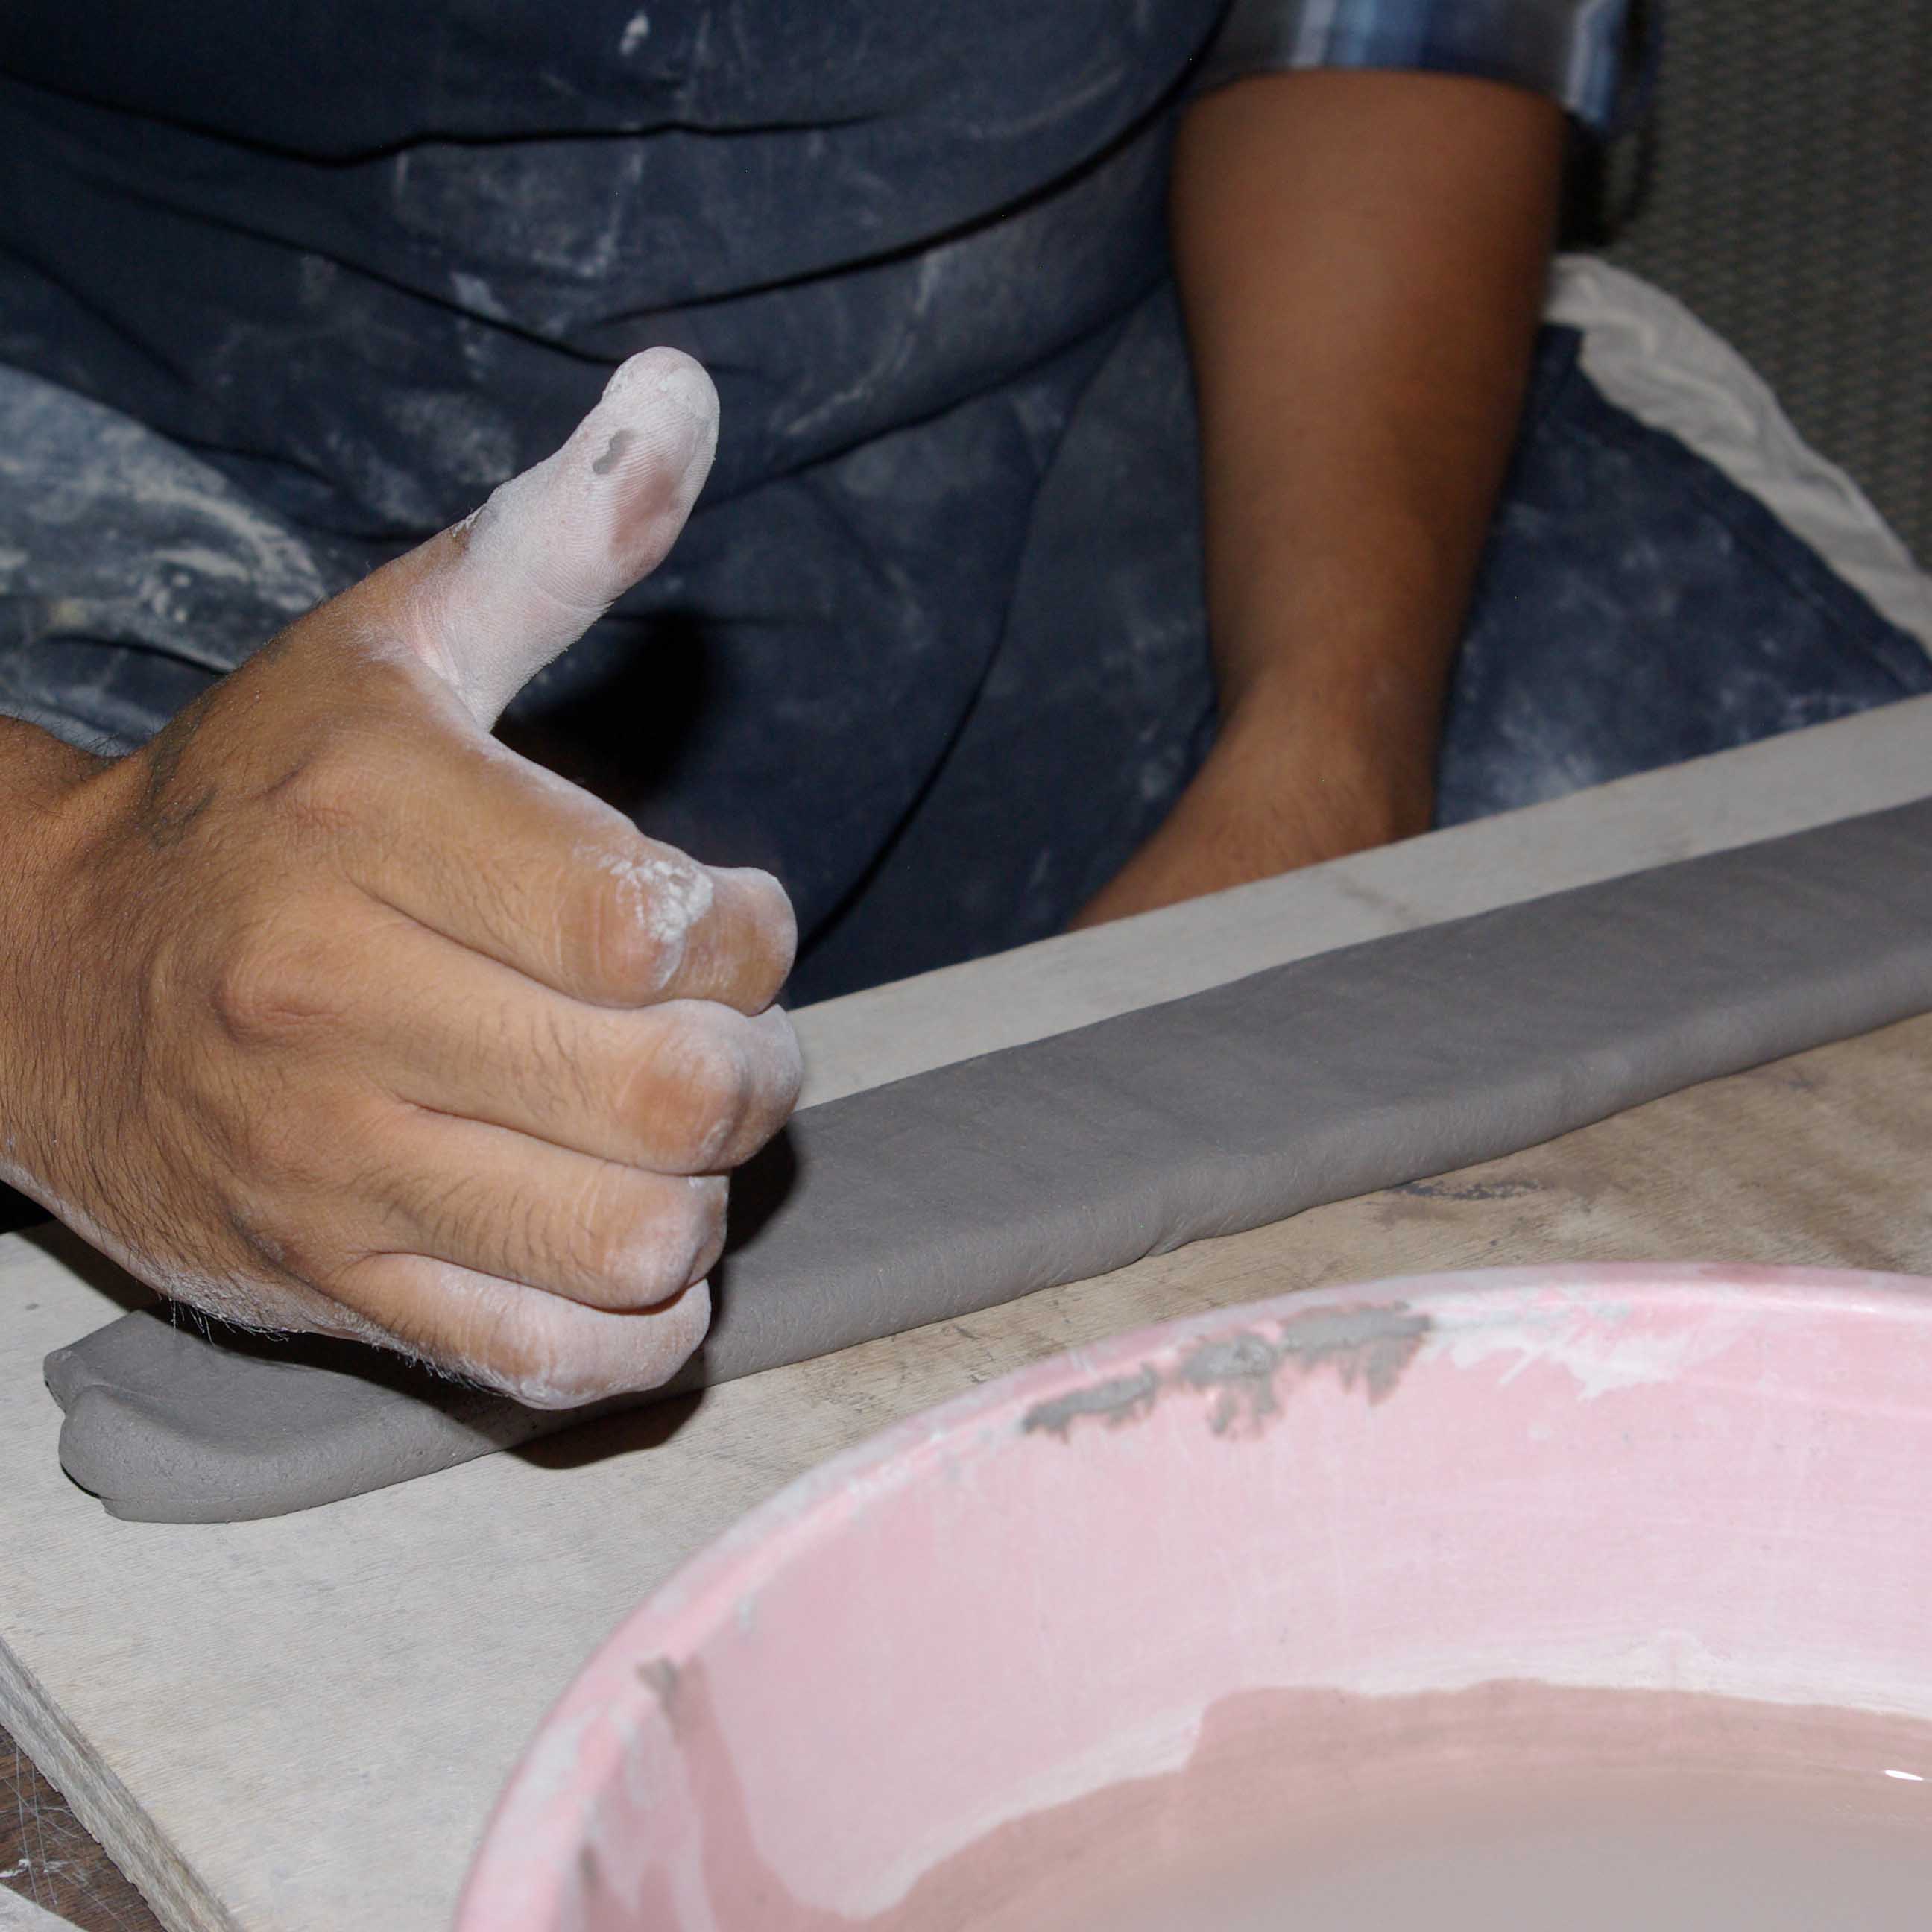
Rolling out the third coil
Flattening the third coil

Attaching the third coil

Attaching the third coil
Smoothing the third coil
Smoothing the third coil

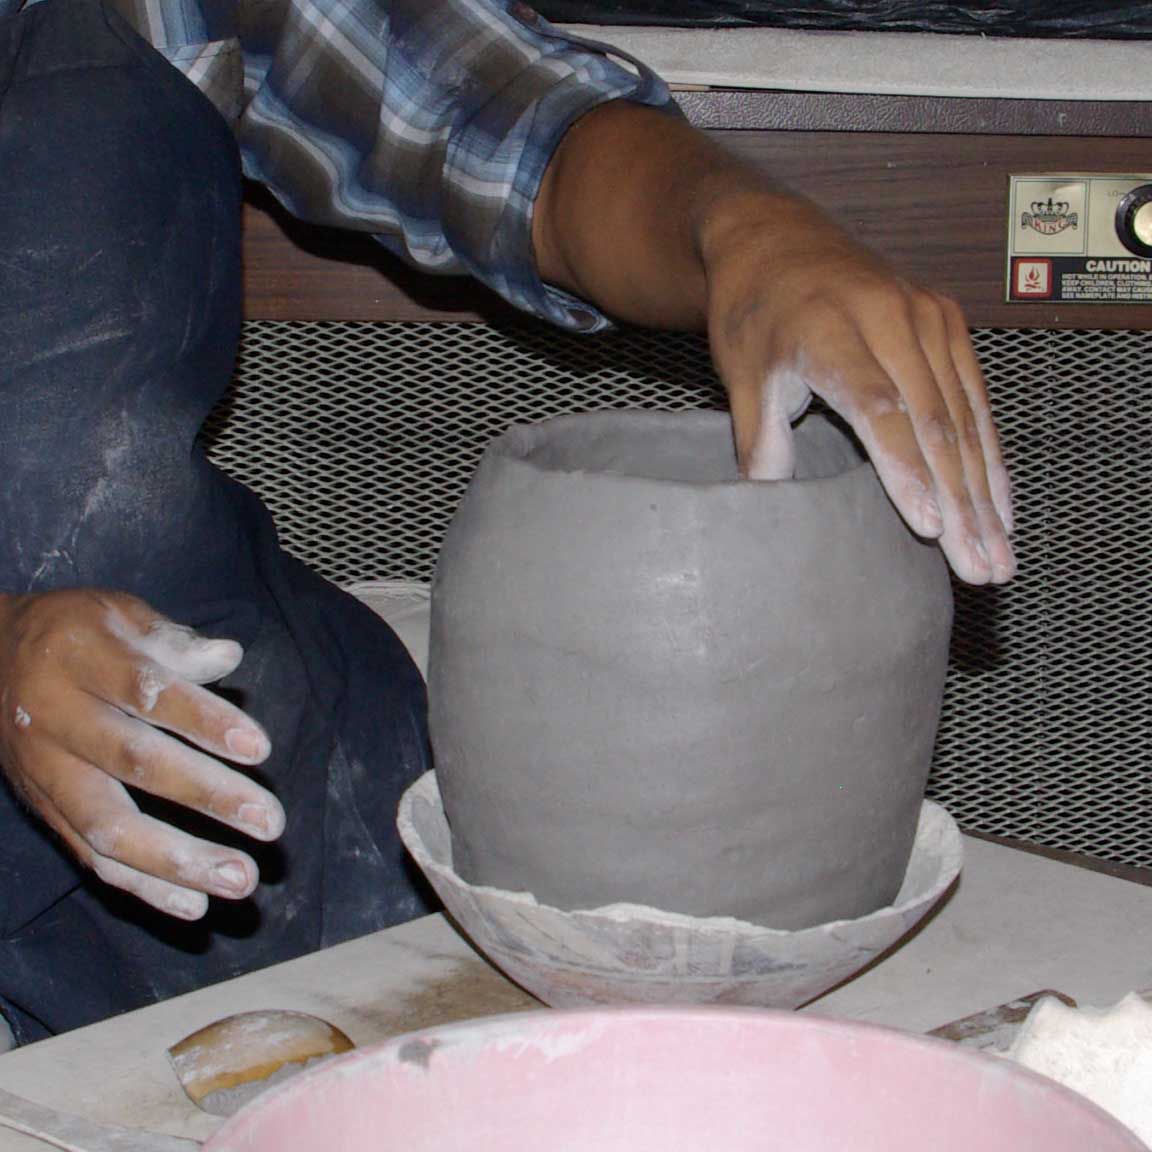
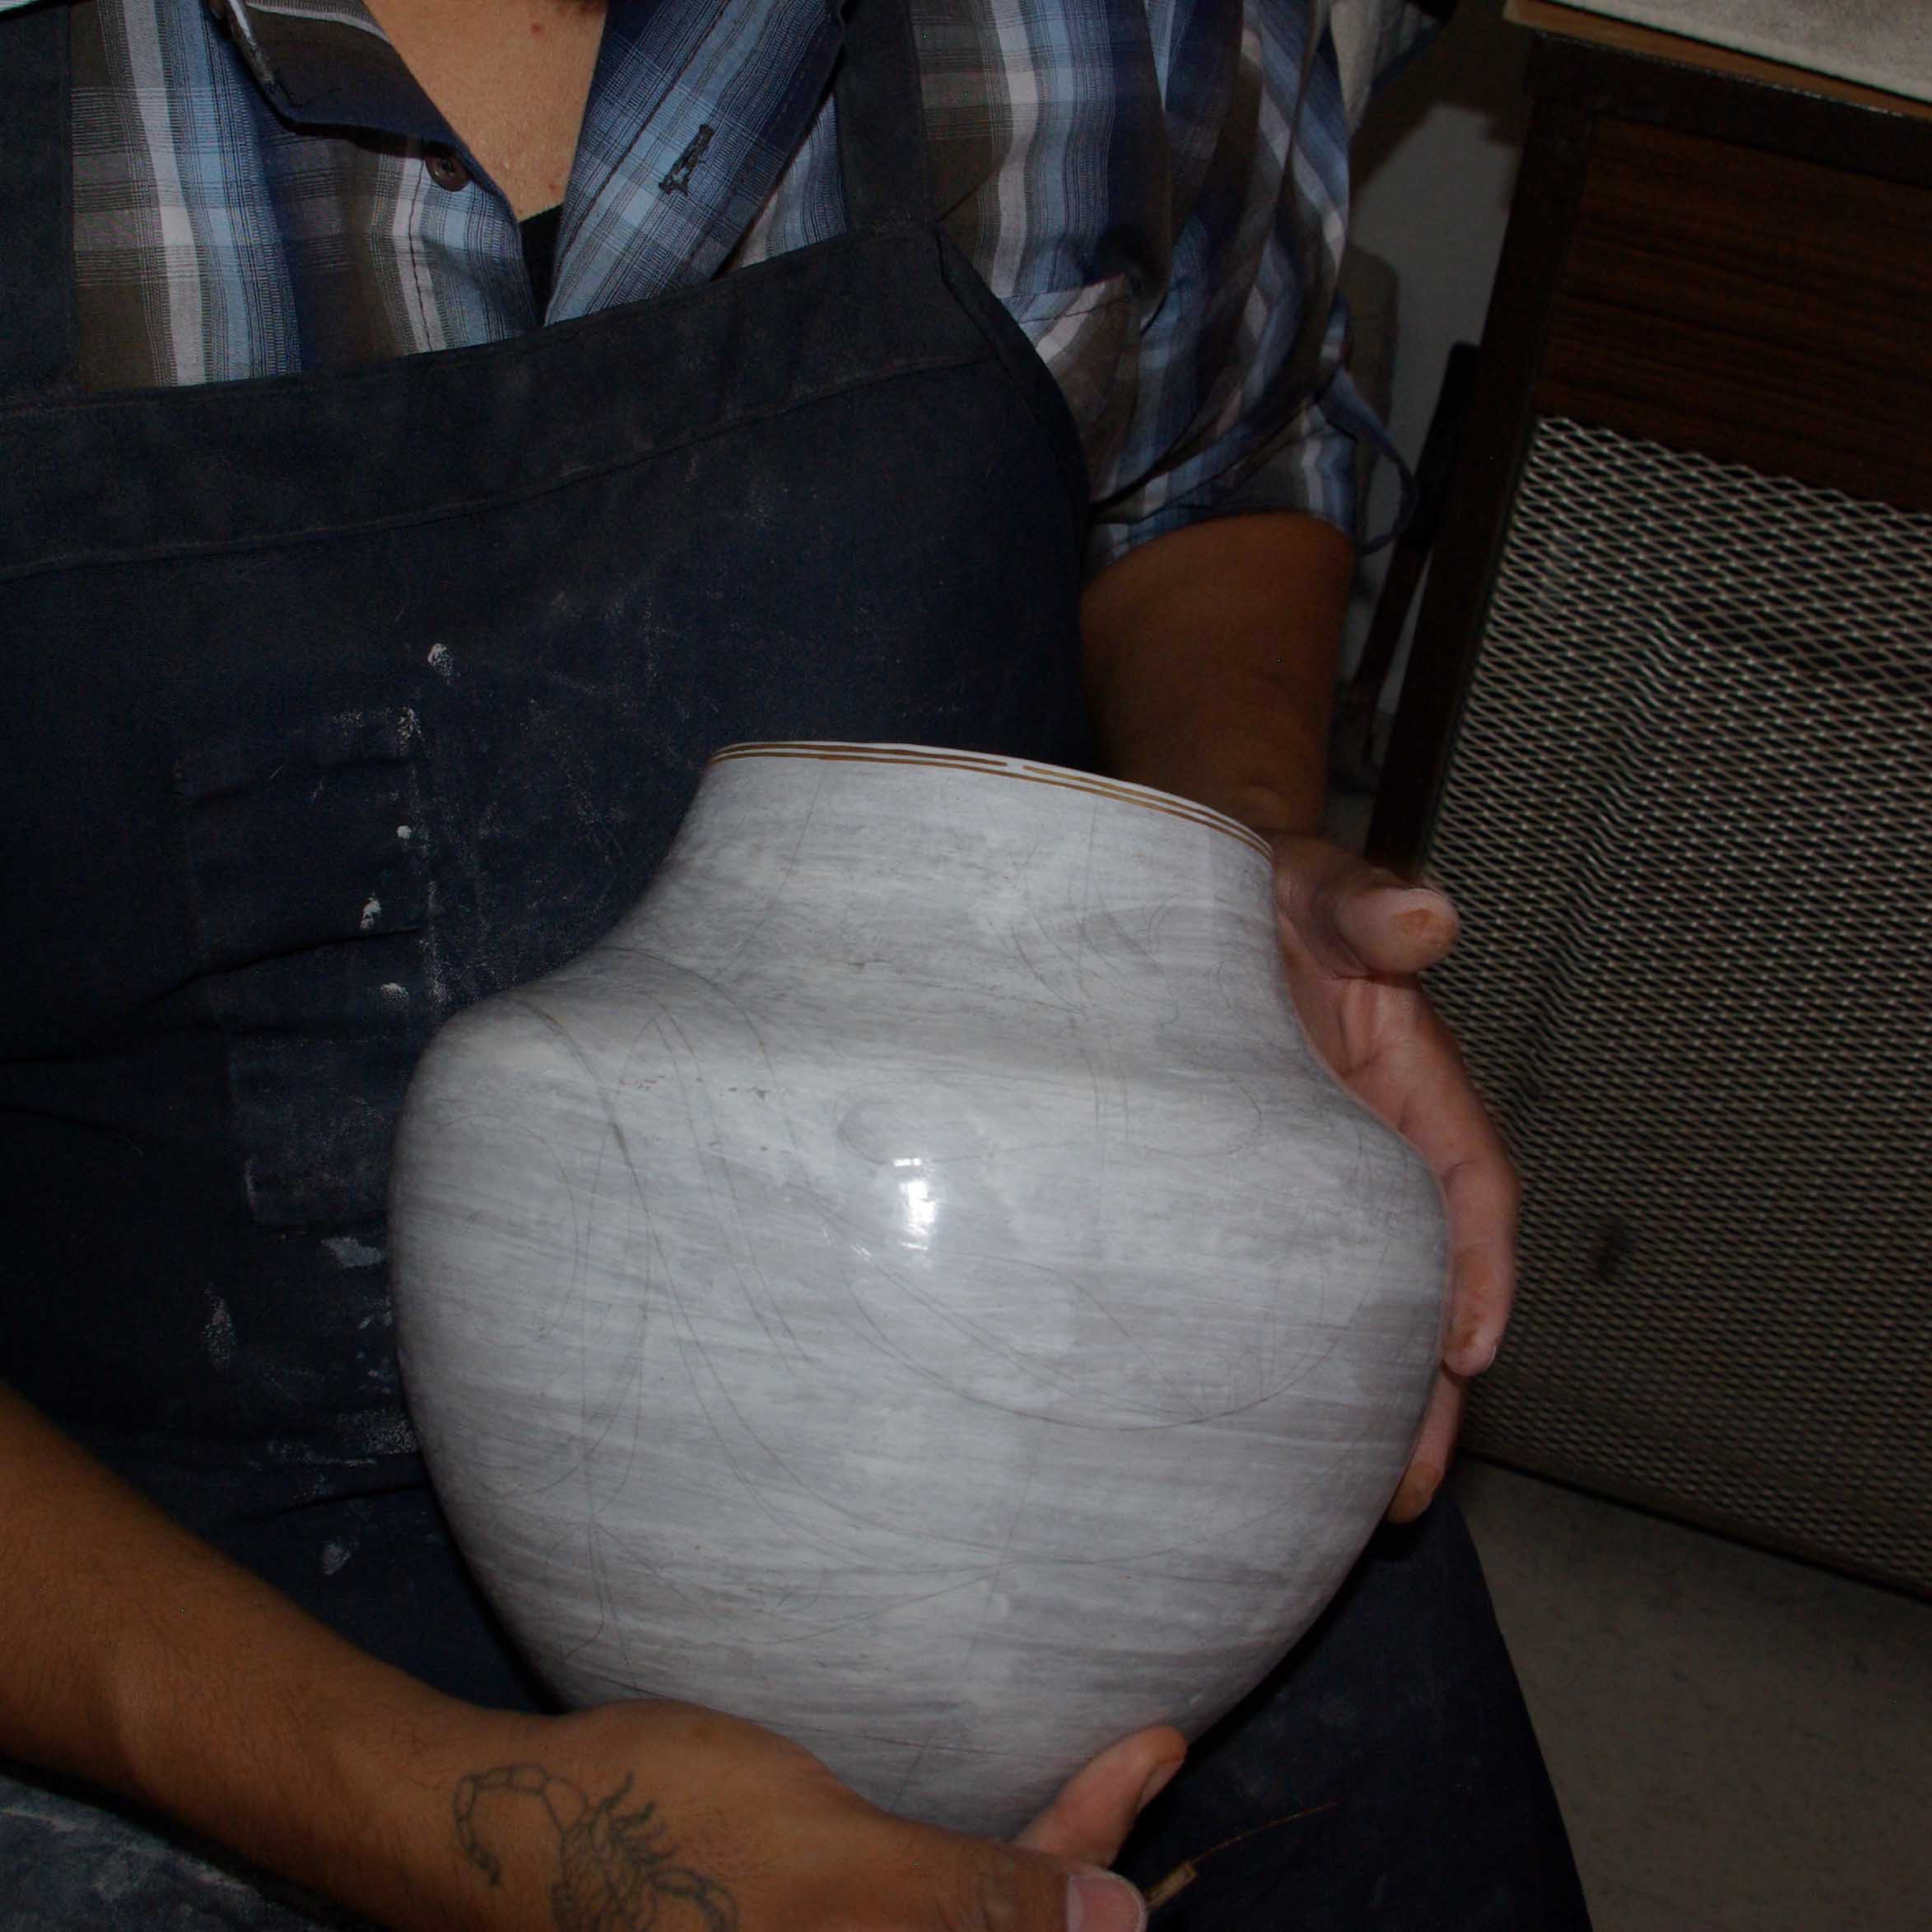
Shaping the pot

Shaping the pot
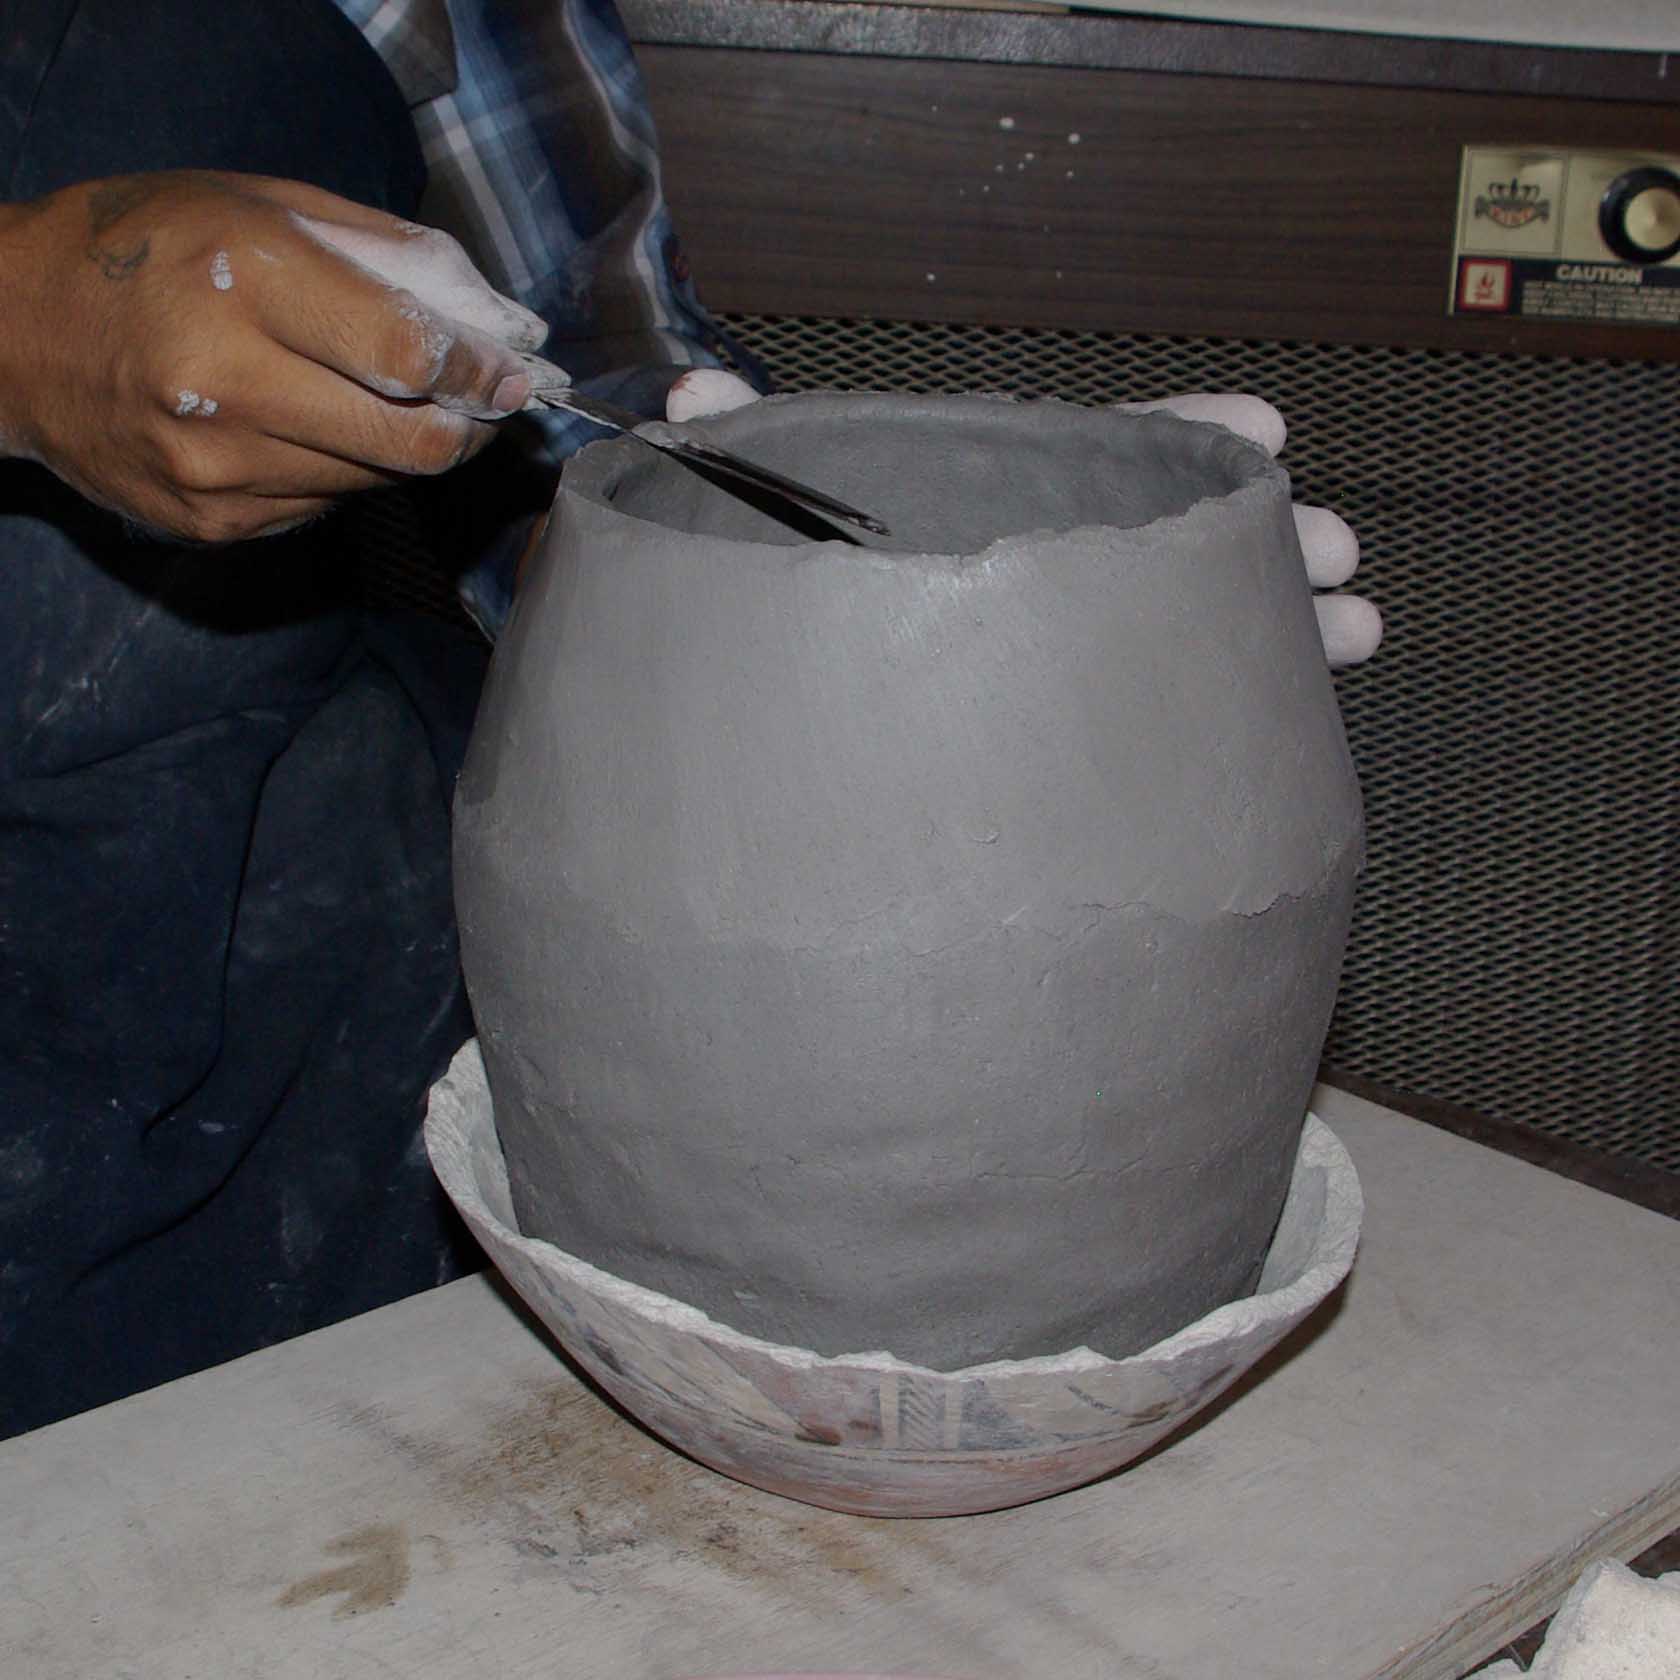
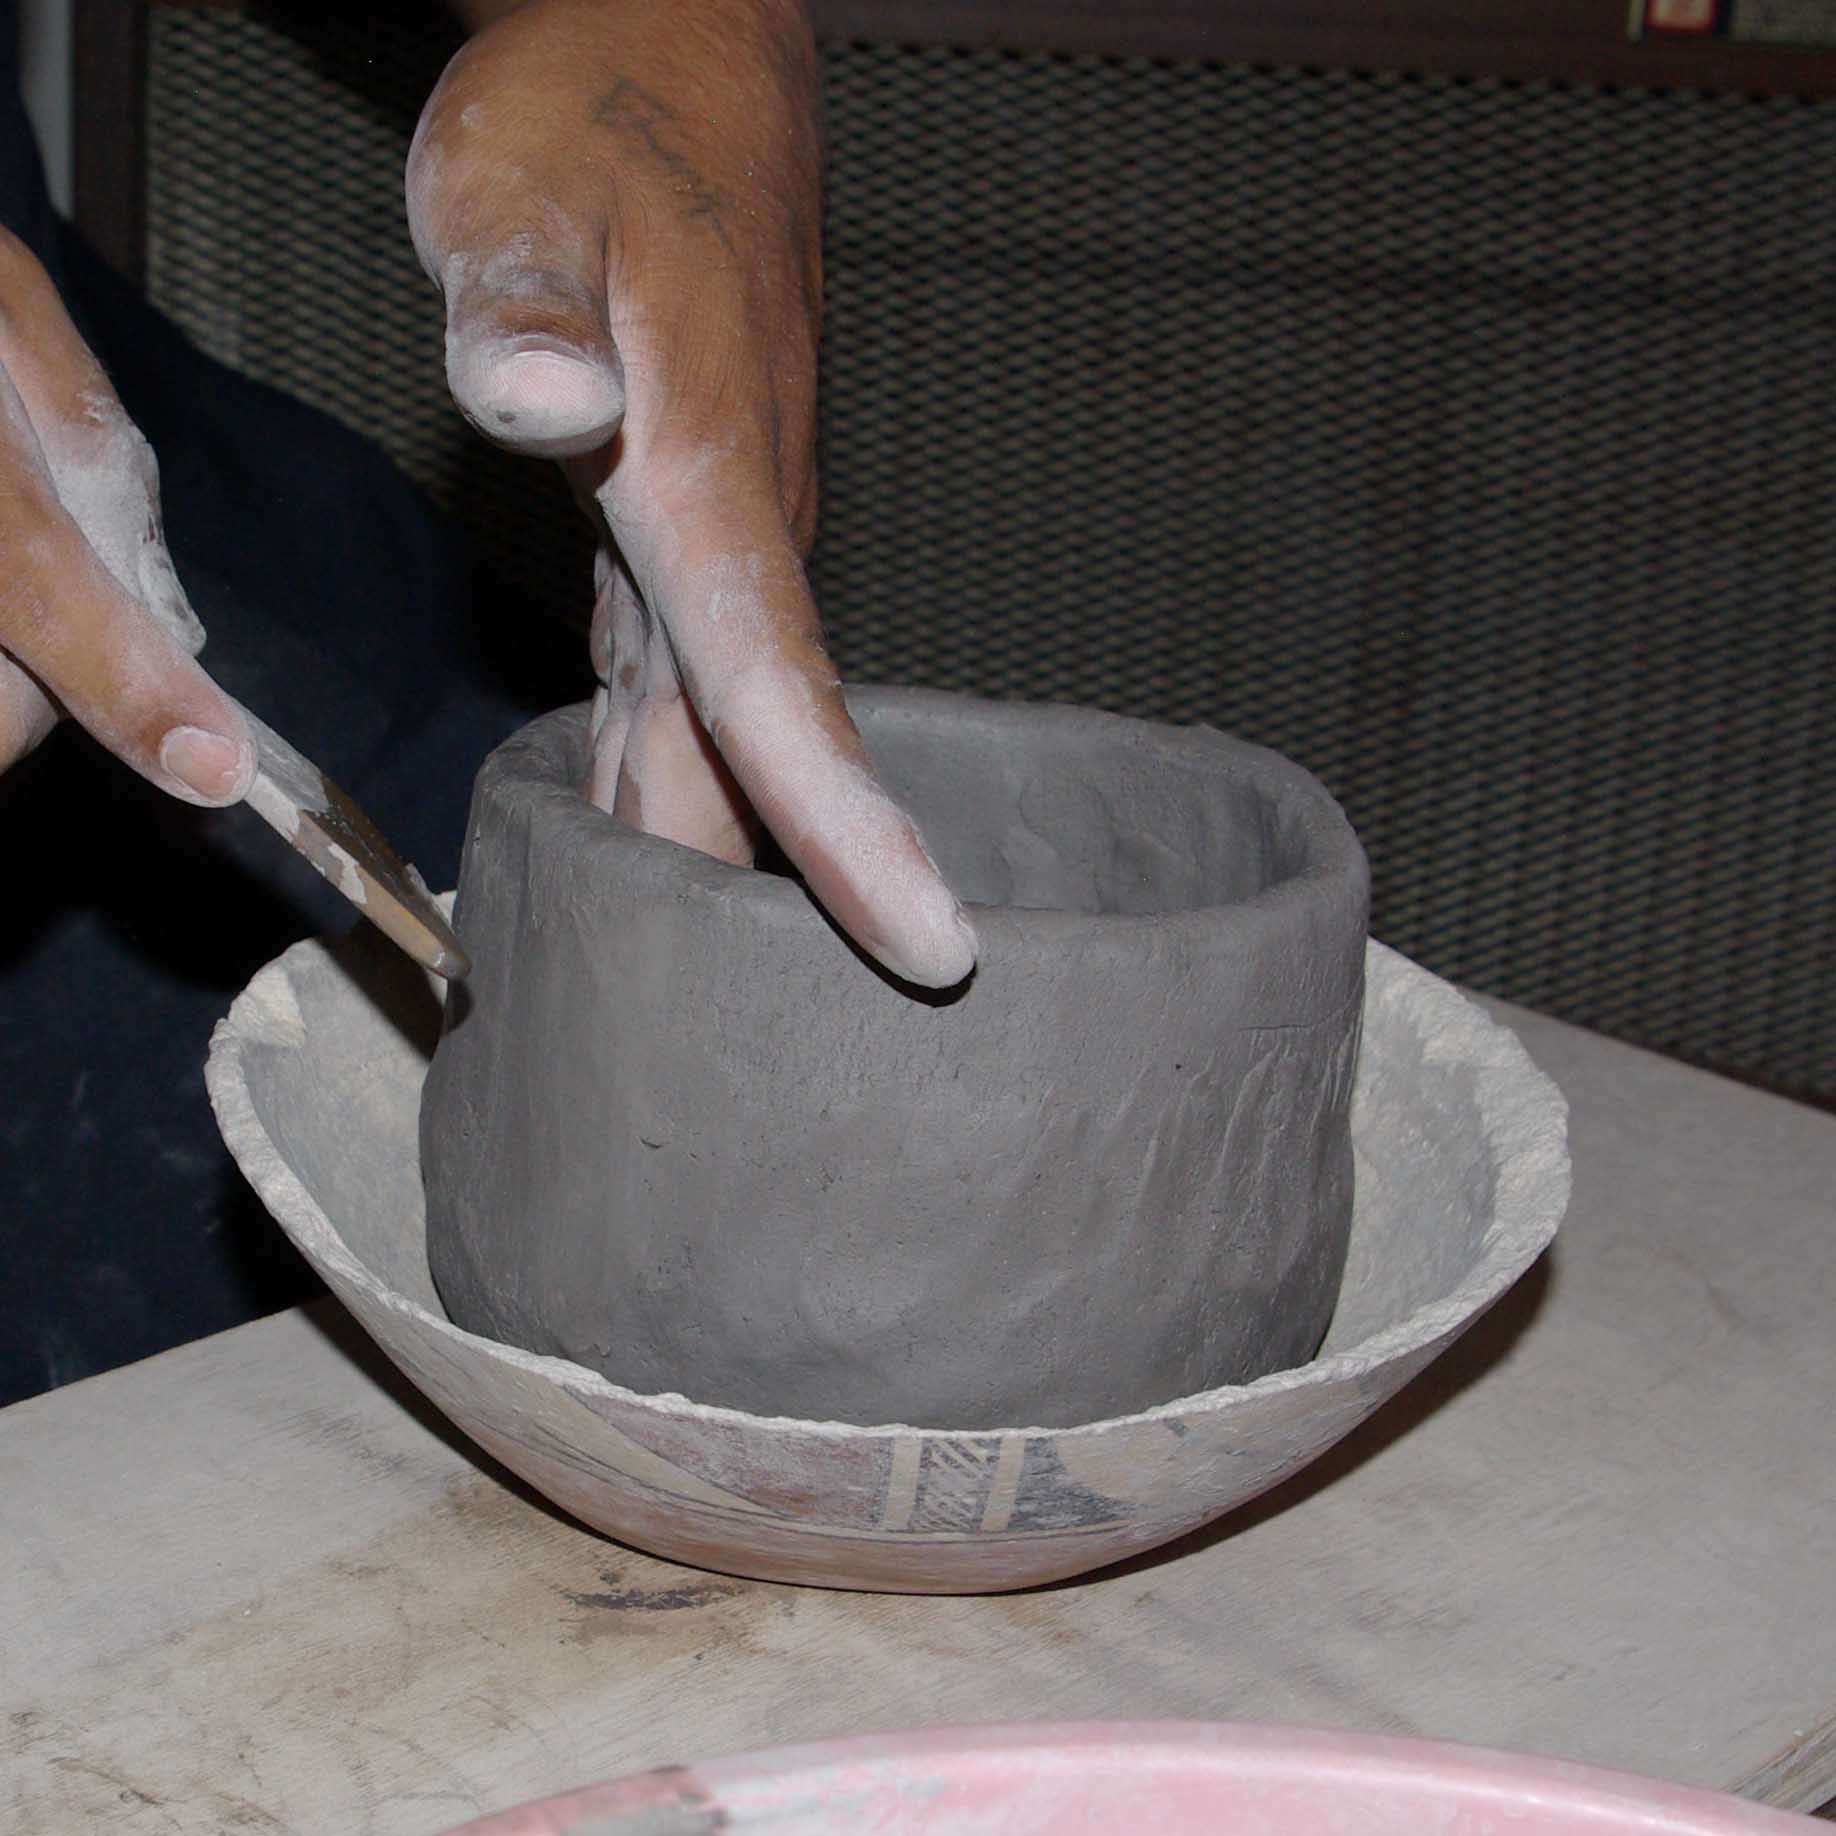
The first trim
The first trim
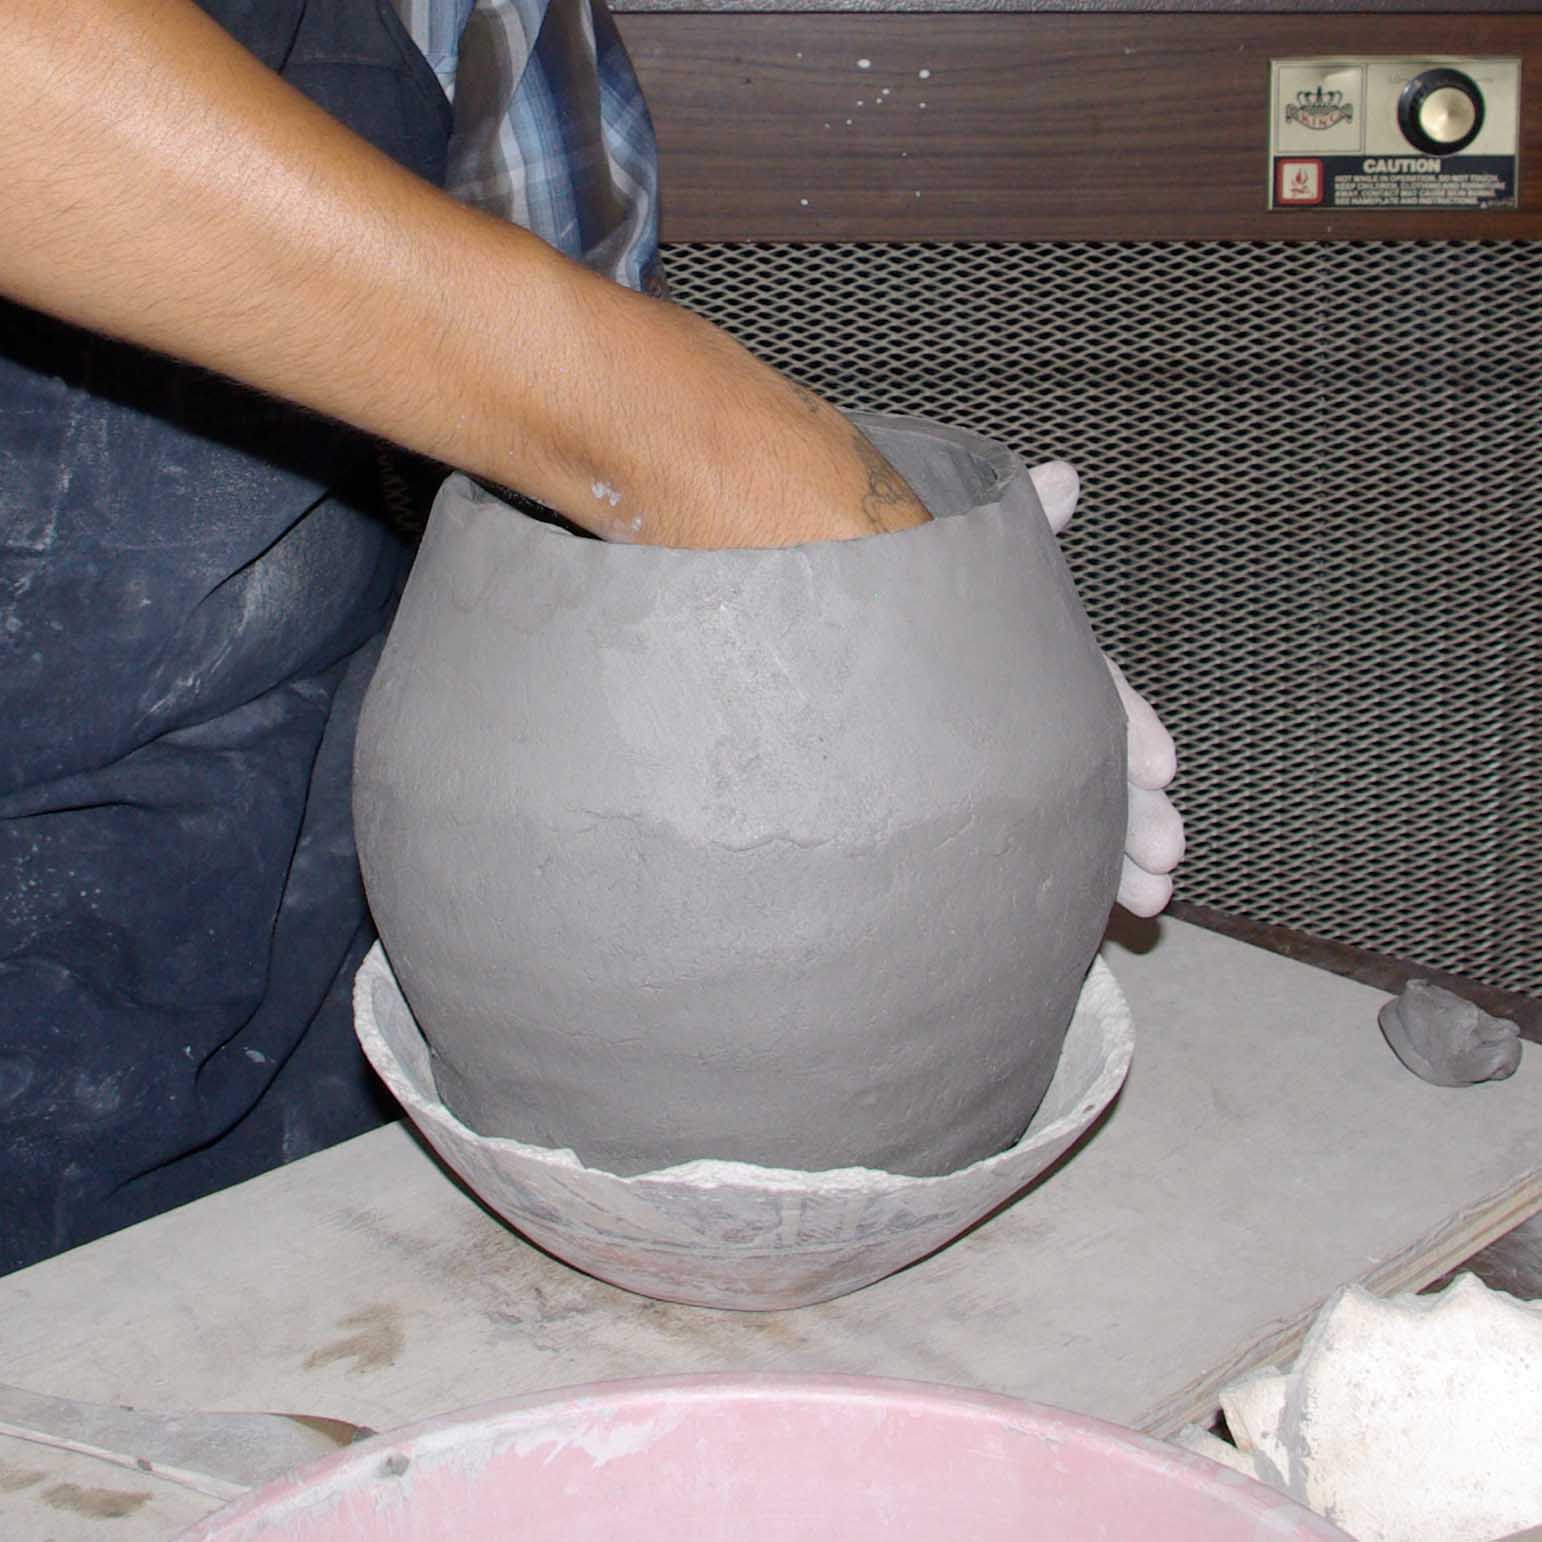
Stretching and shaping the pot
Stretching and shaping the pot
Stretching and shaping the pot
Stretching and shaping the pot
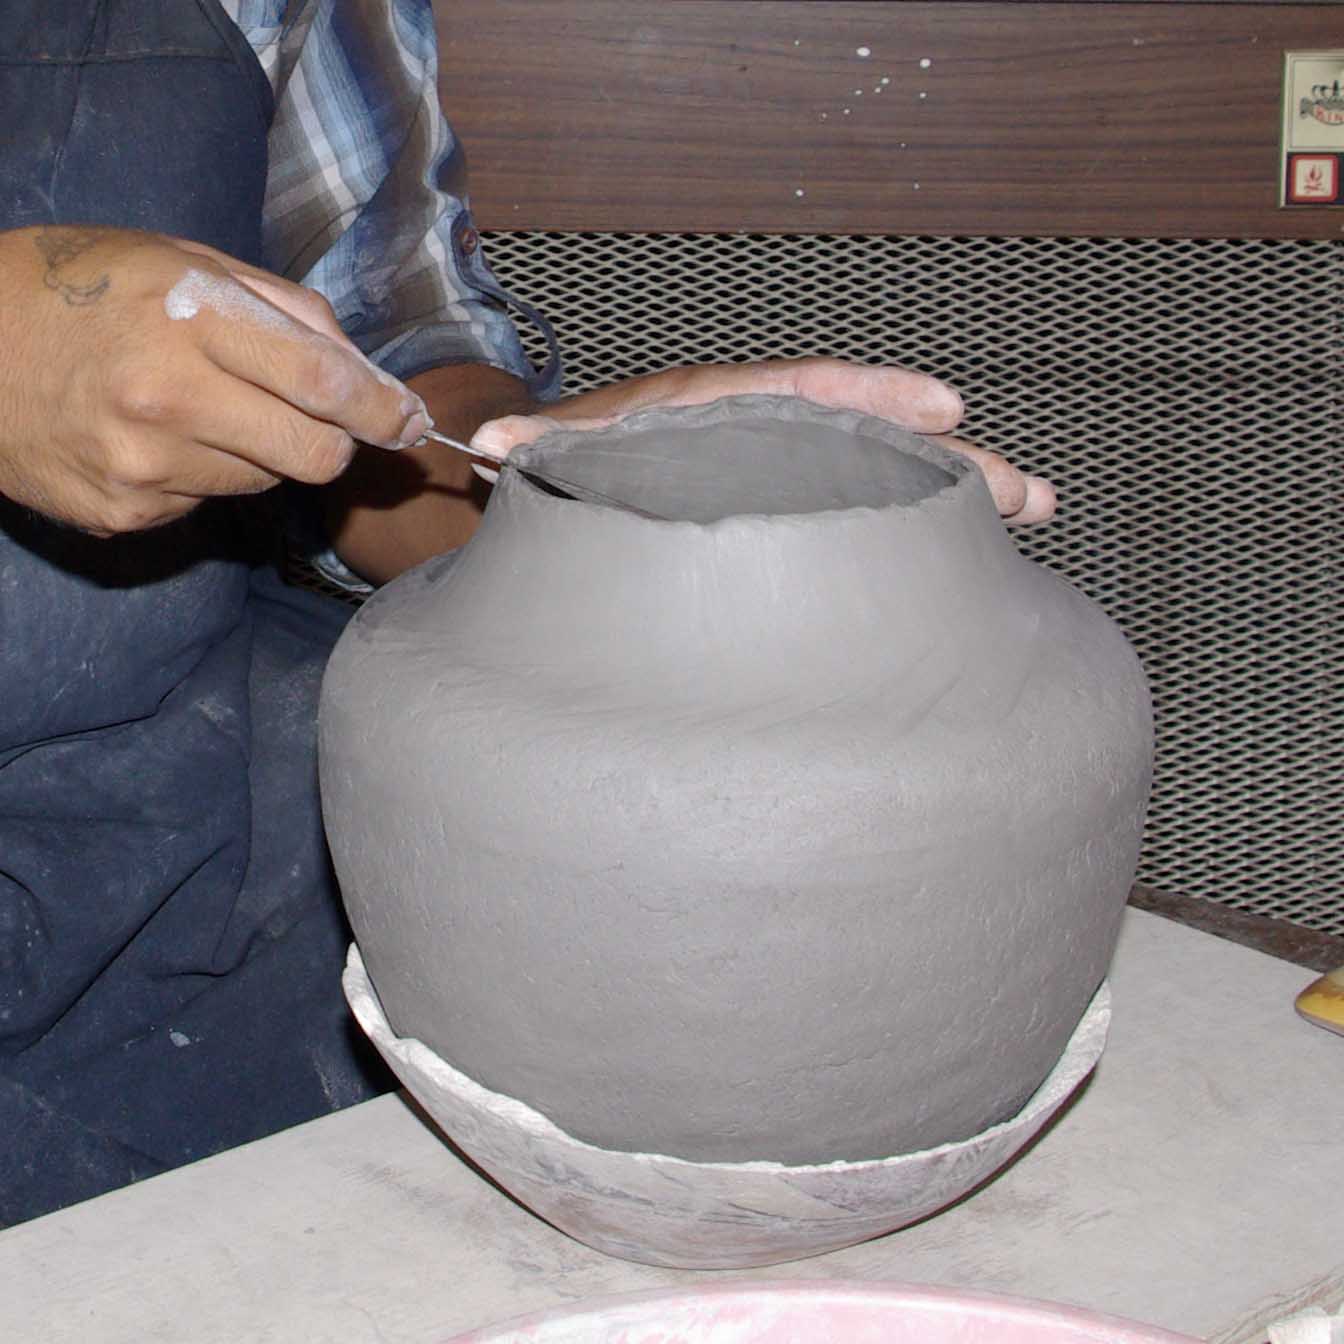
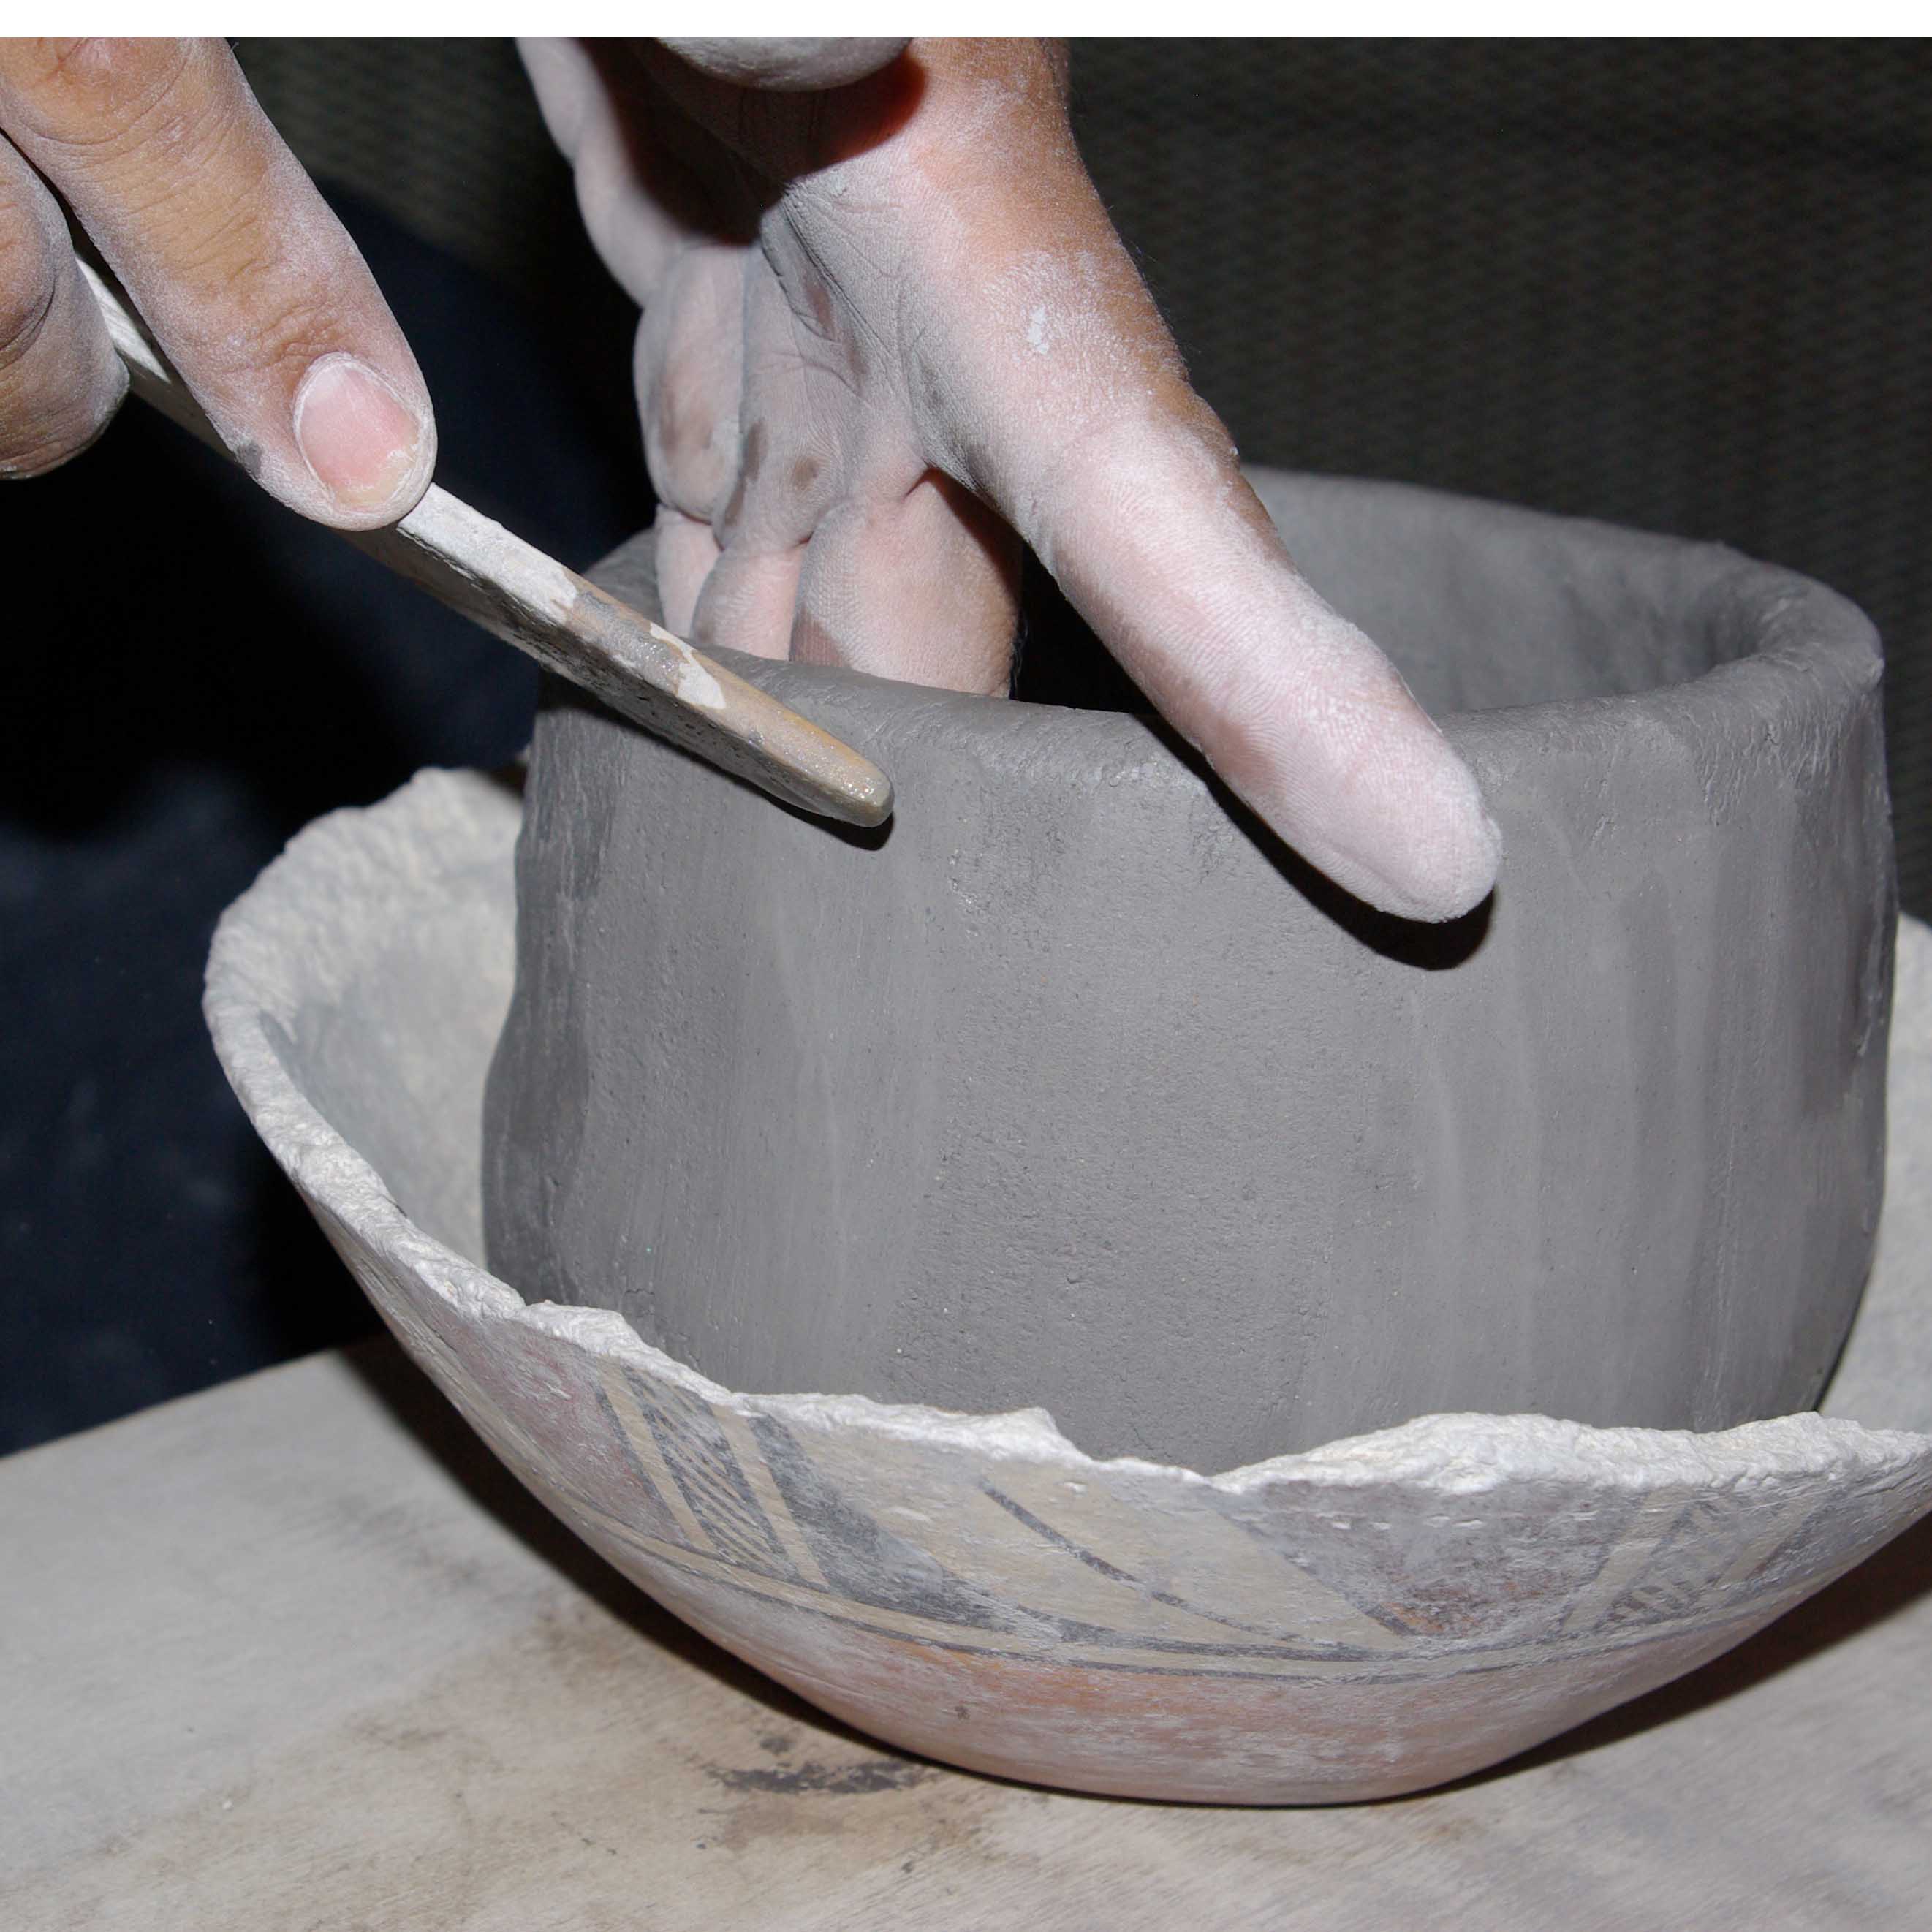
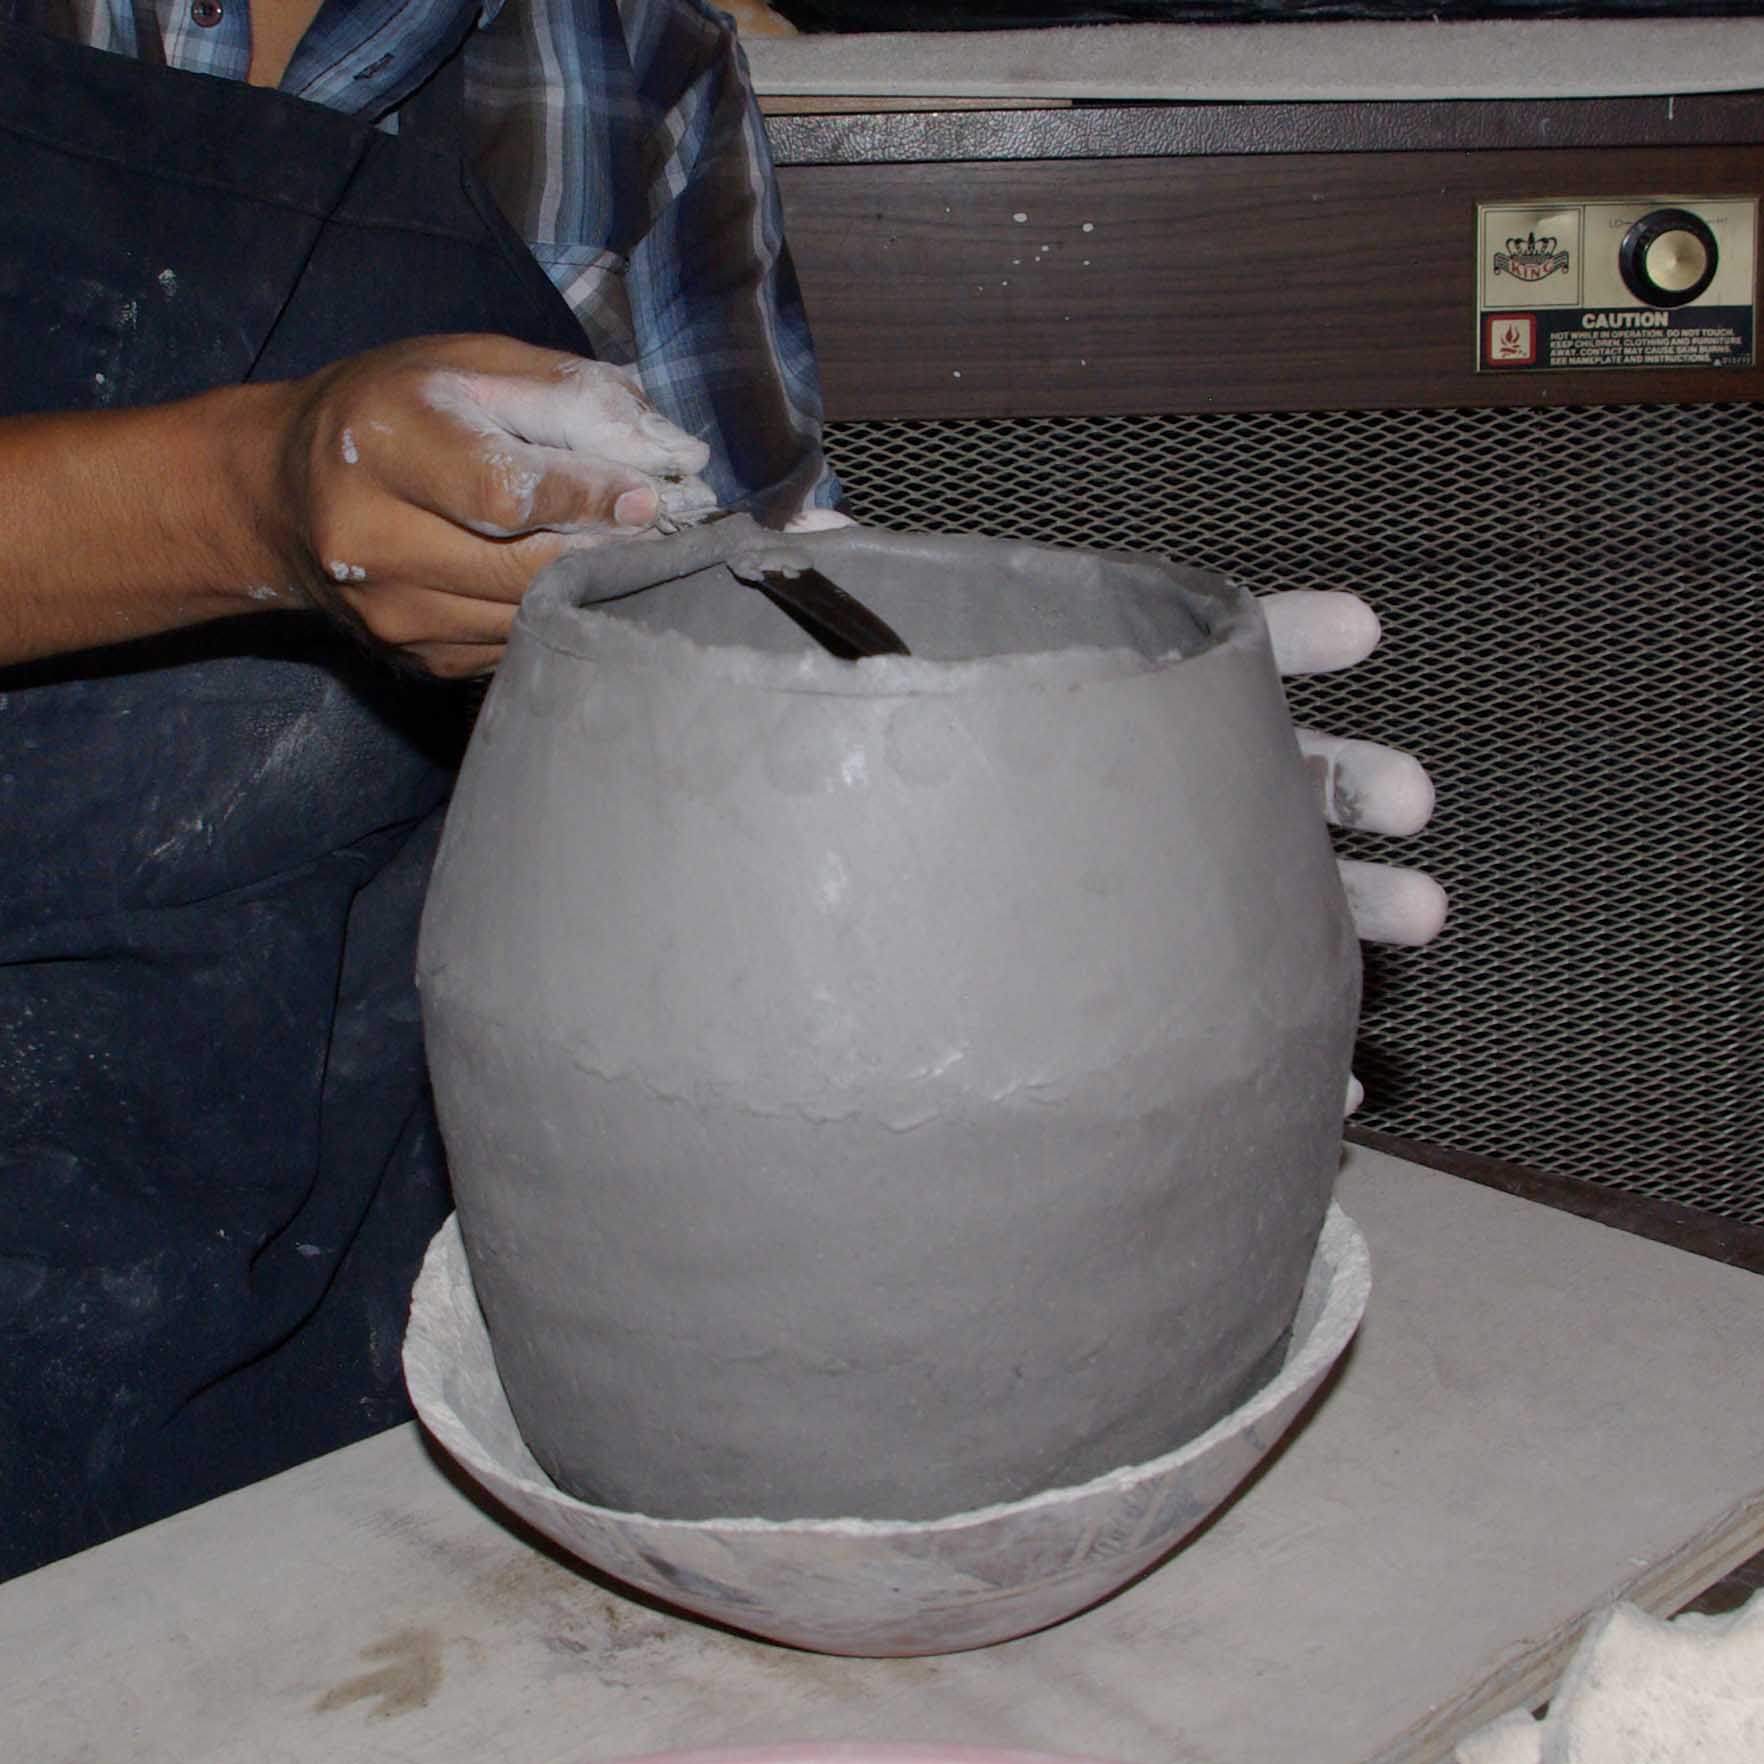
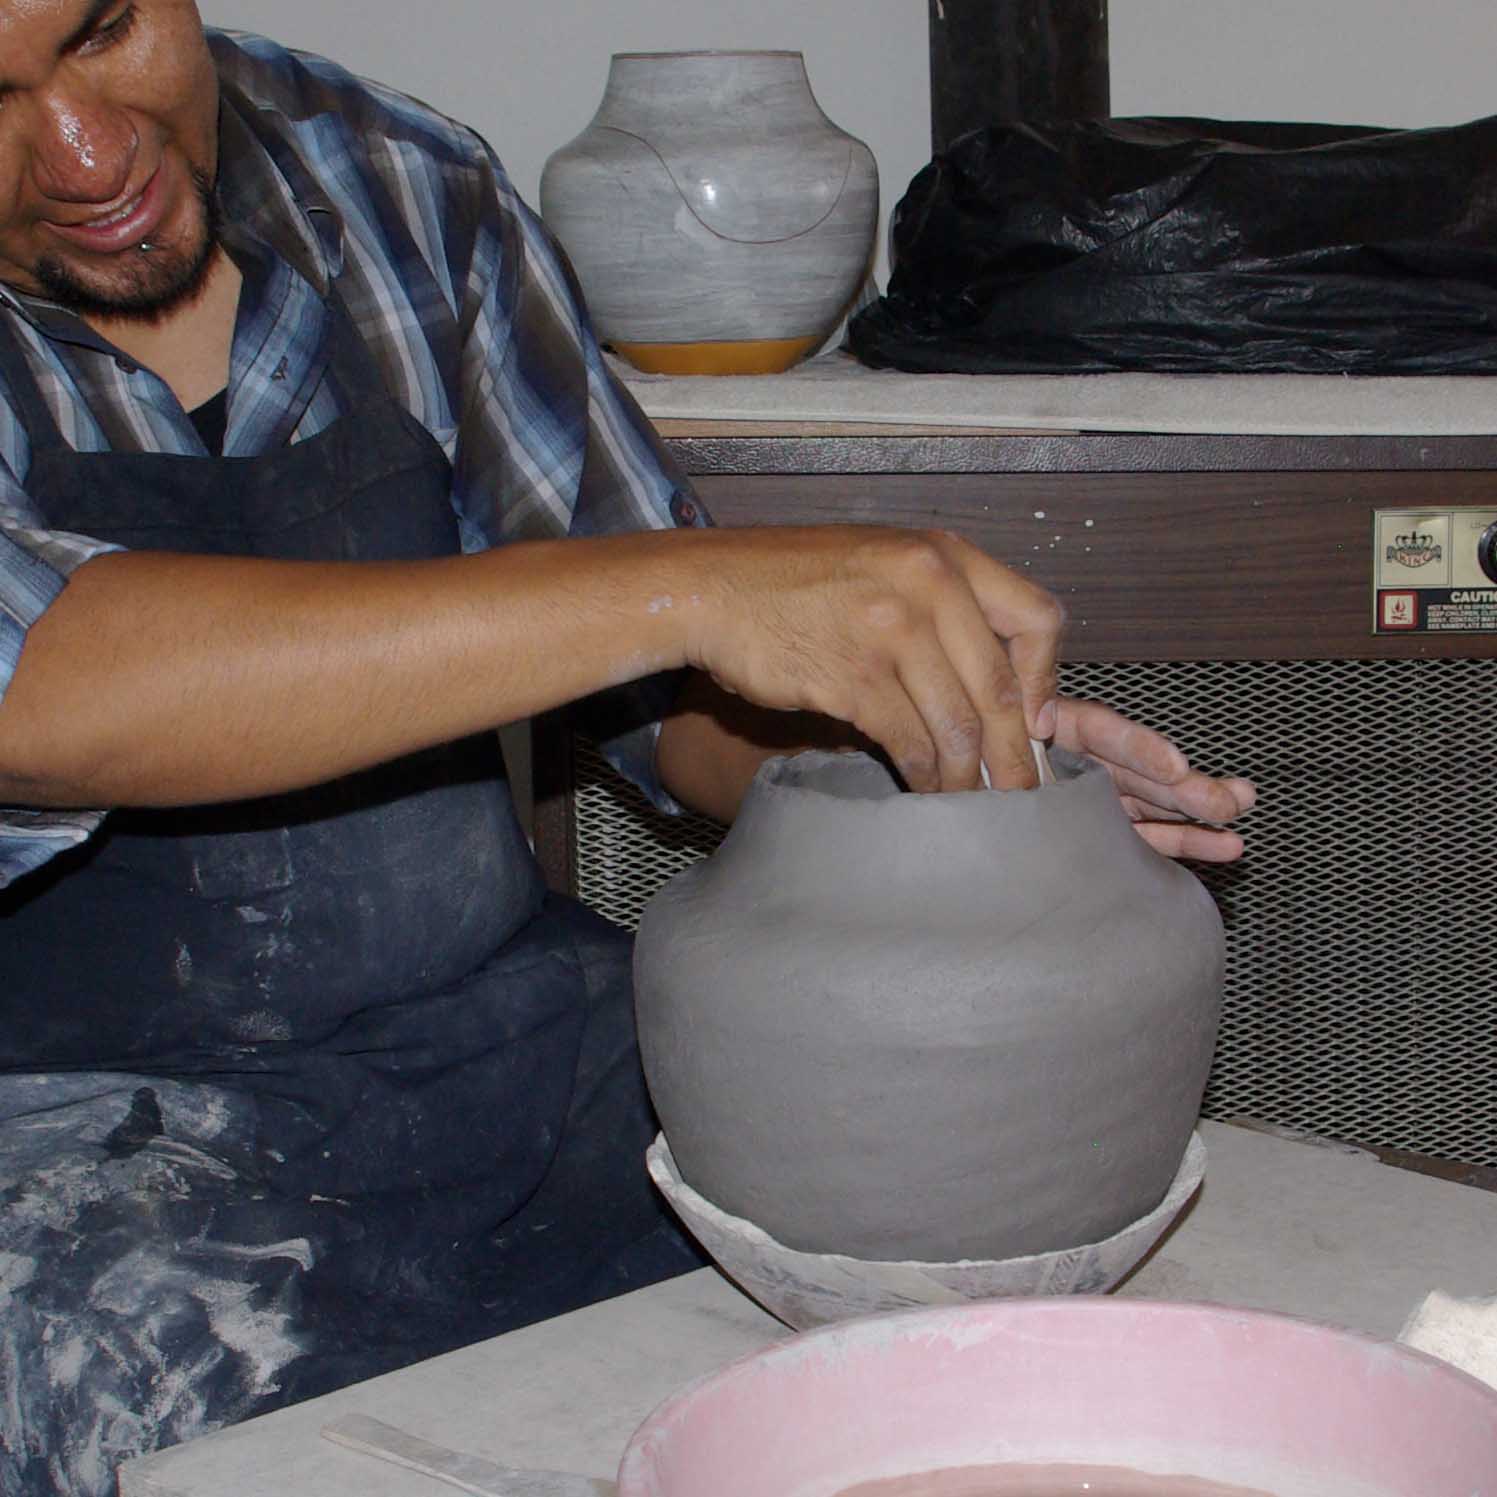
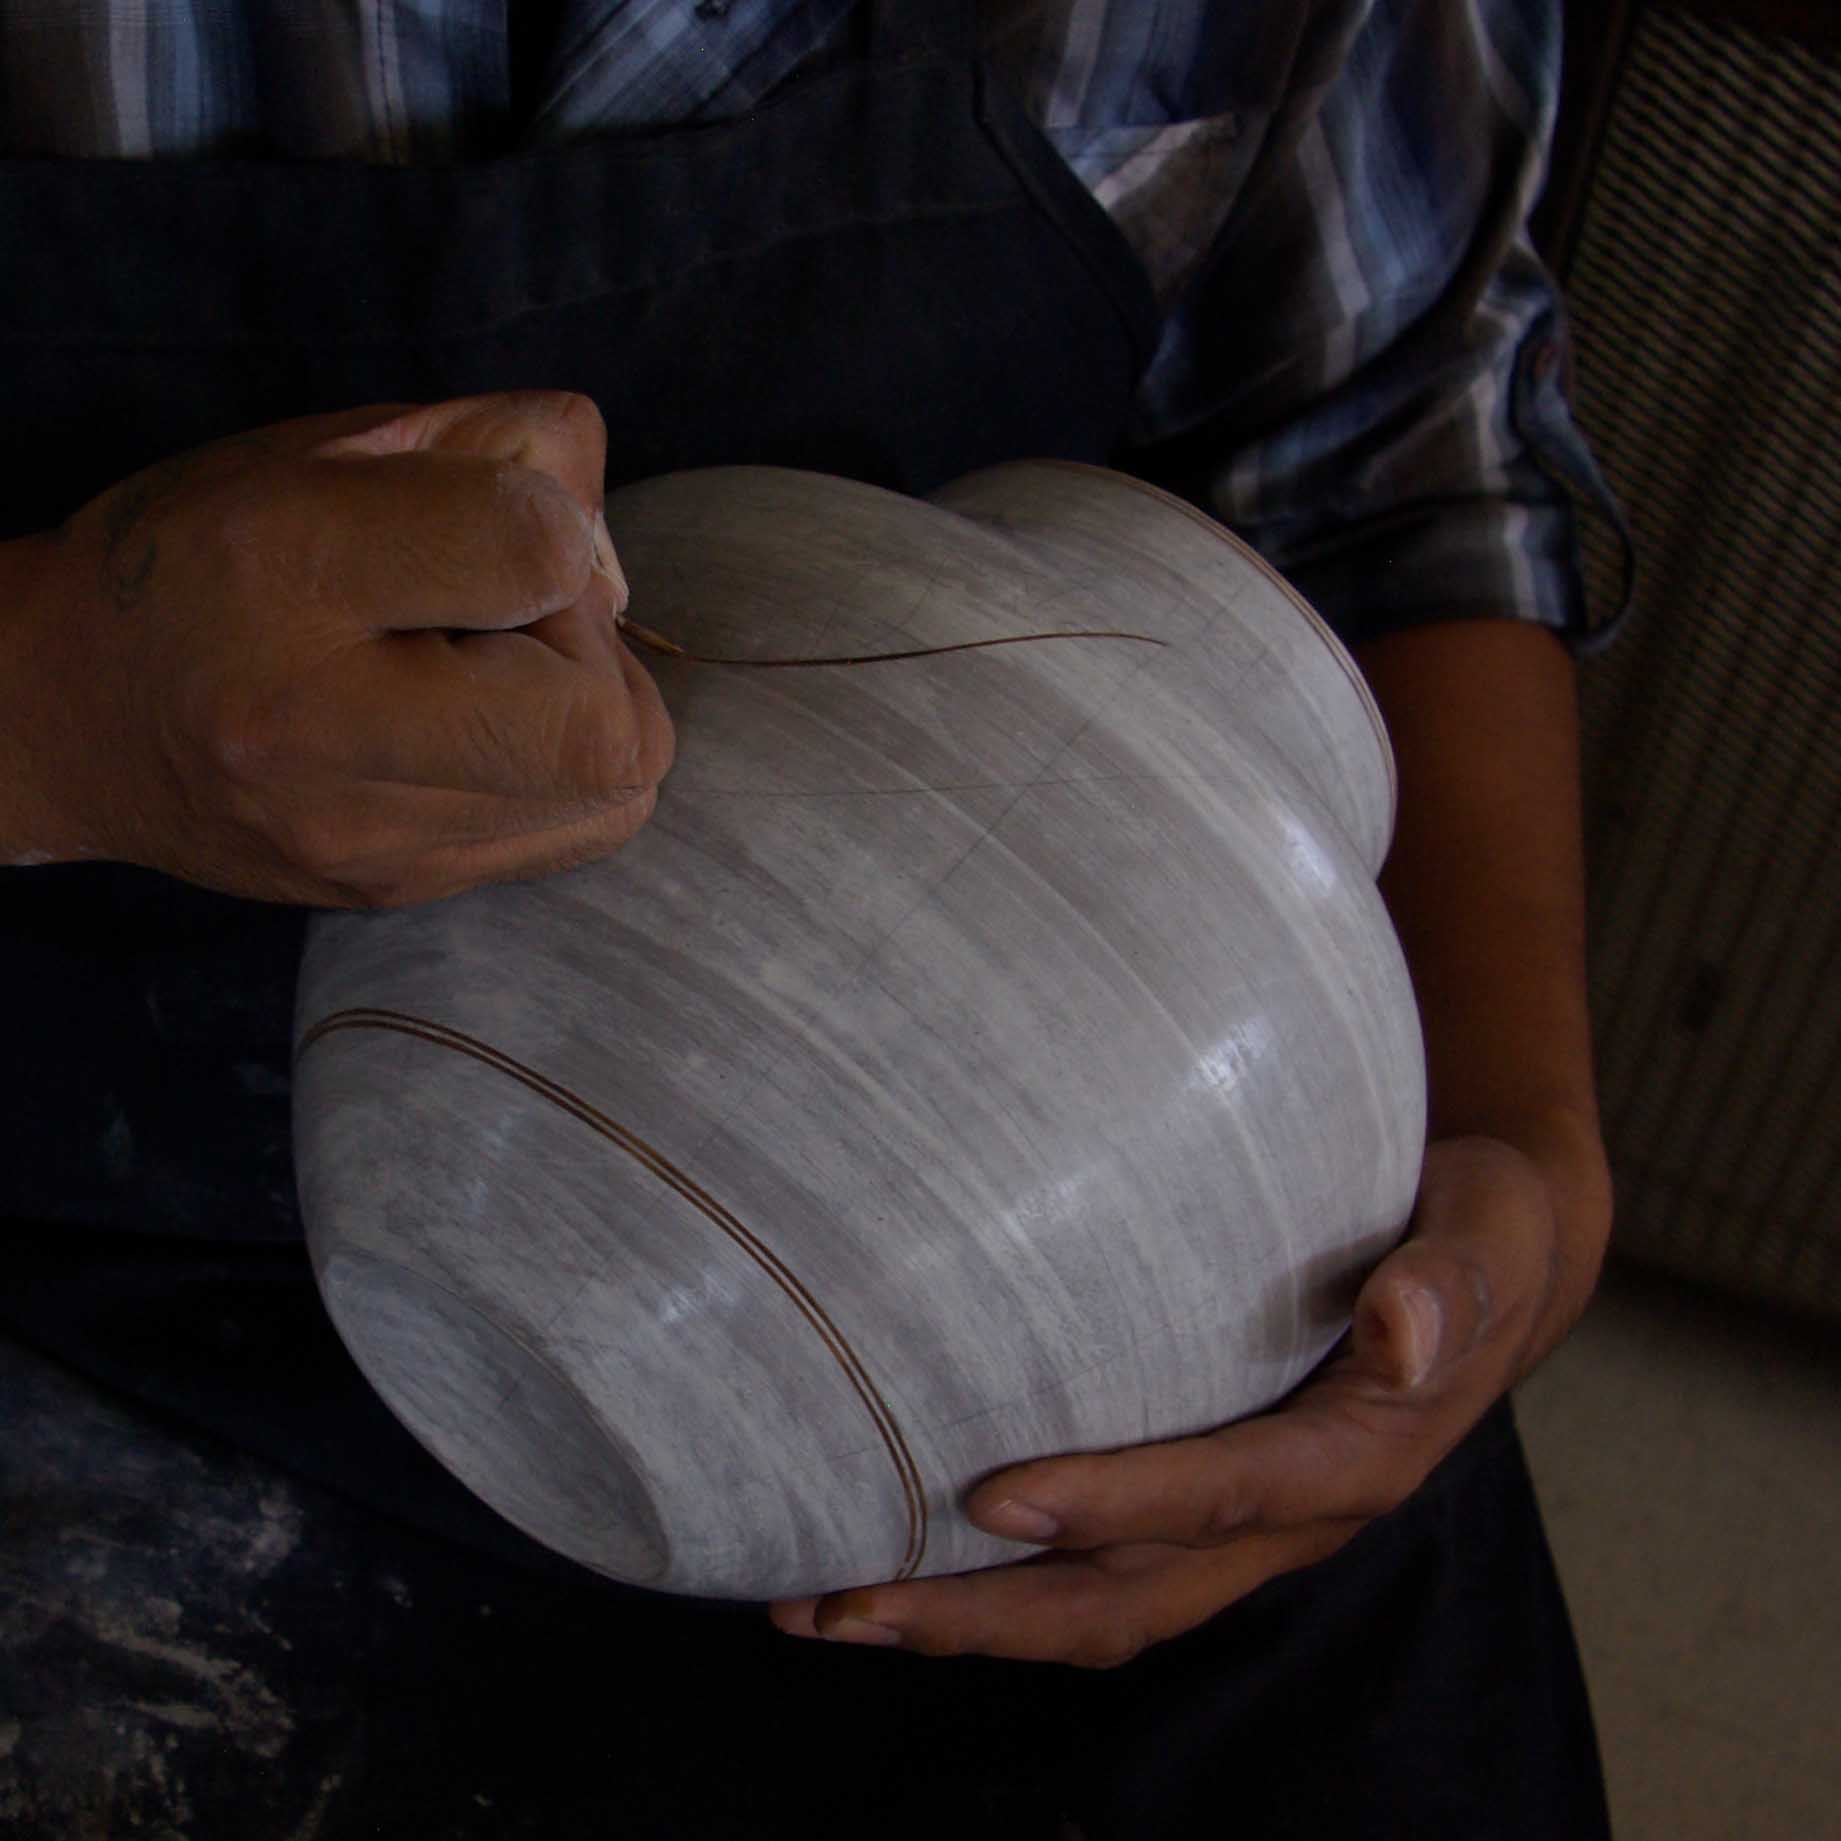
The second trim of the top of the pot

Trimming the pot
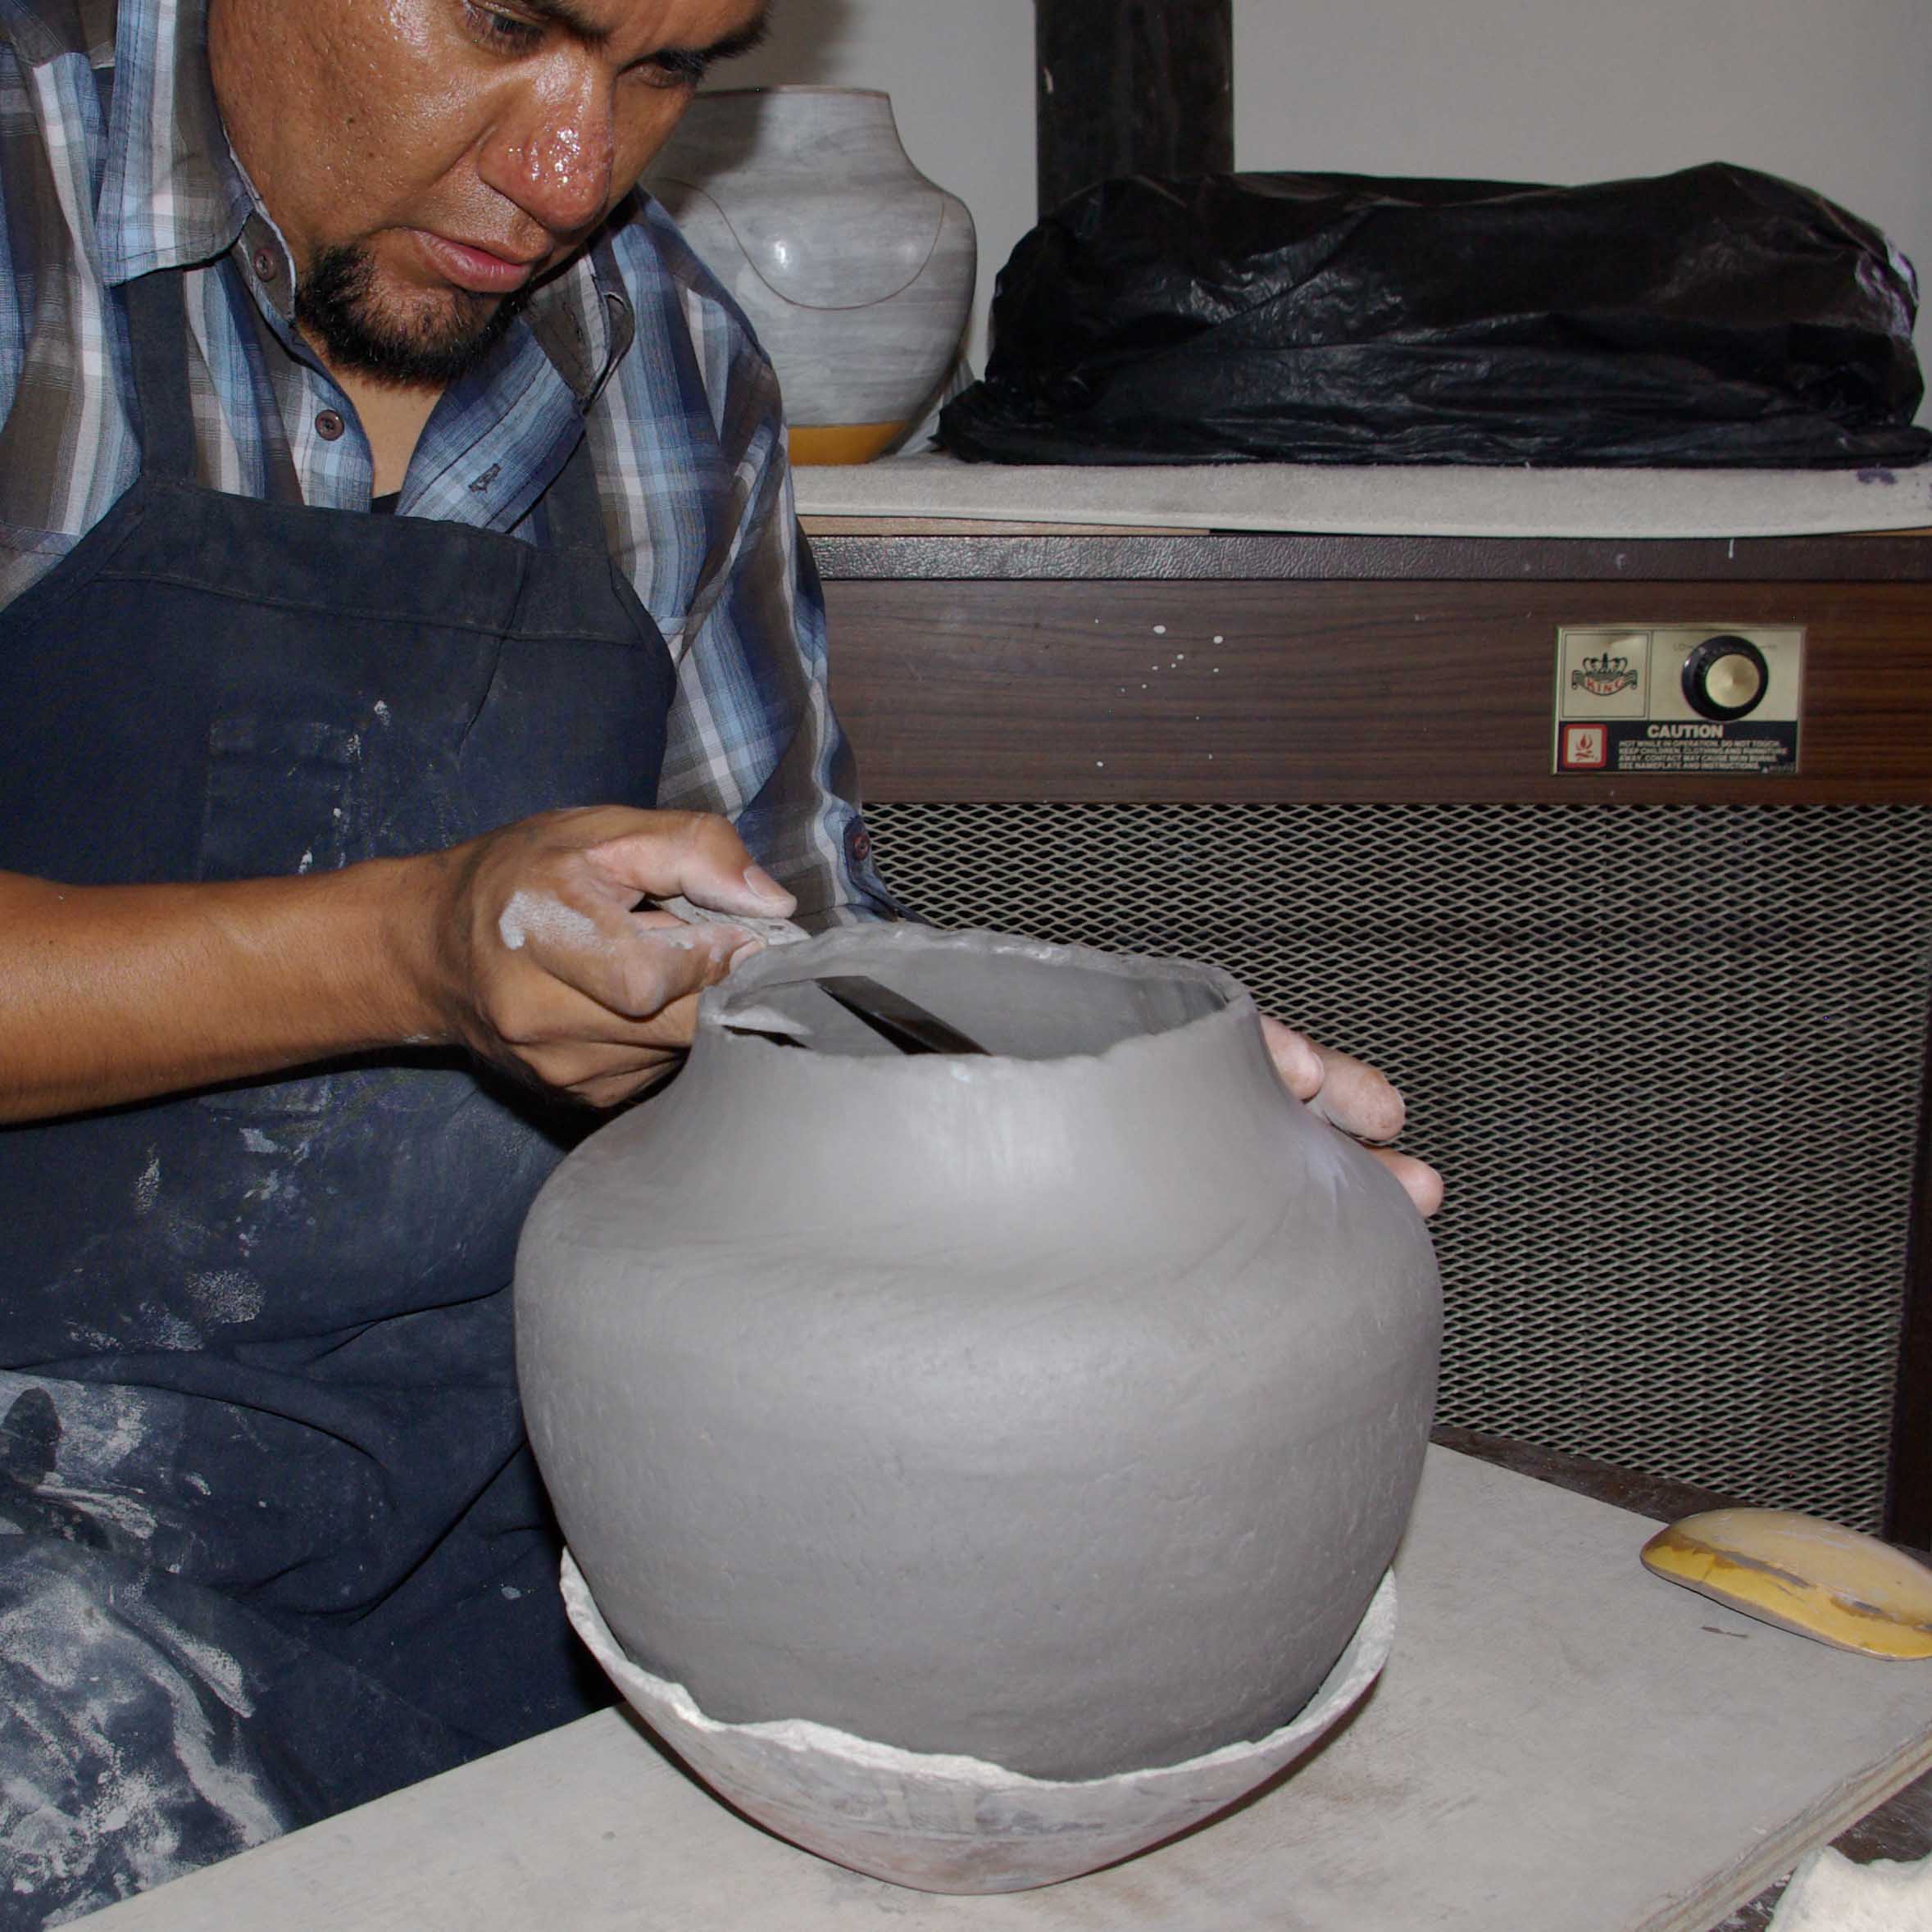
Trimming the pot

Trimming the pot
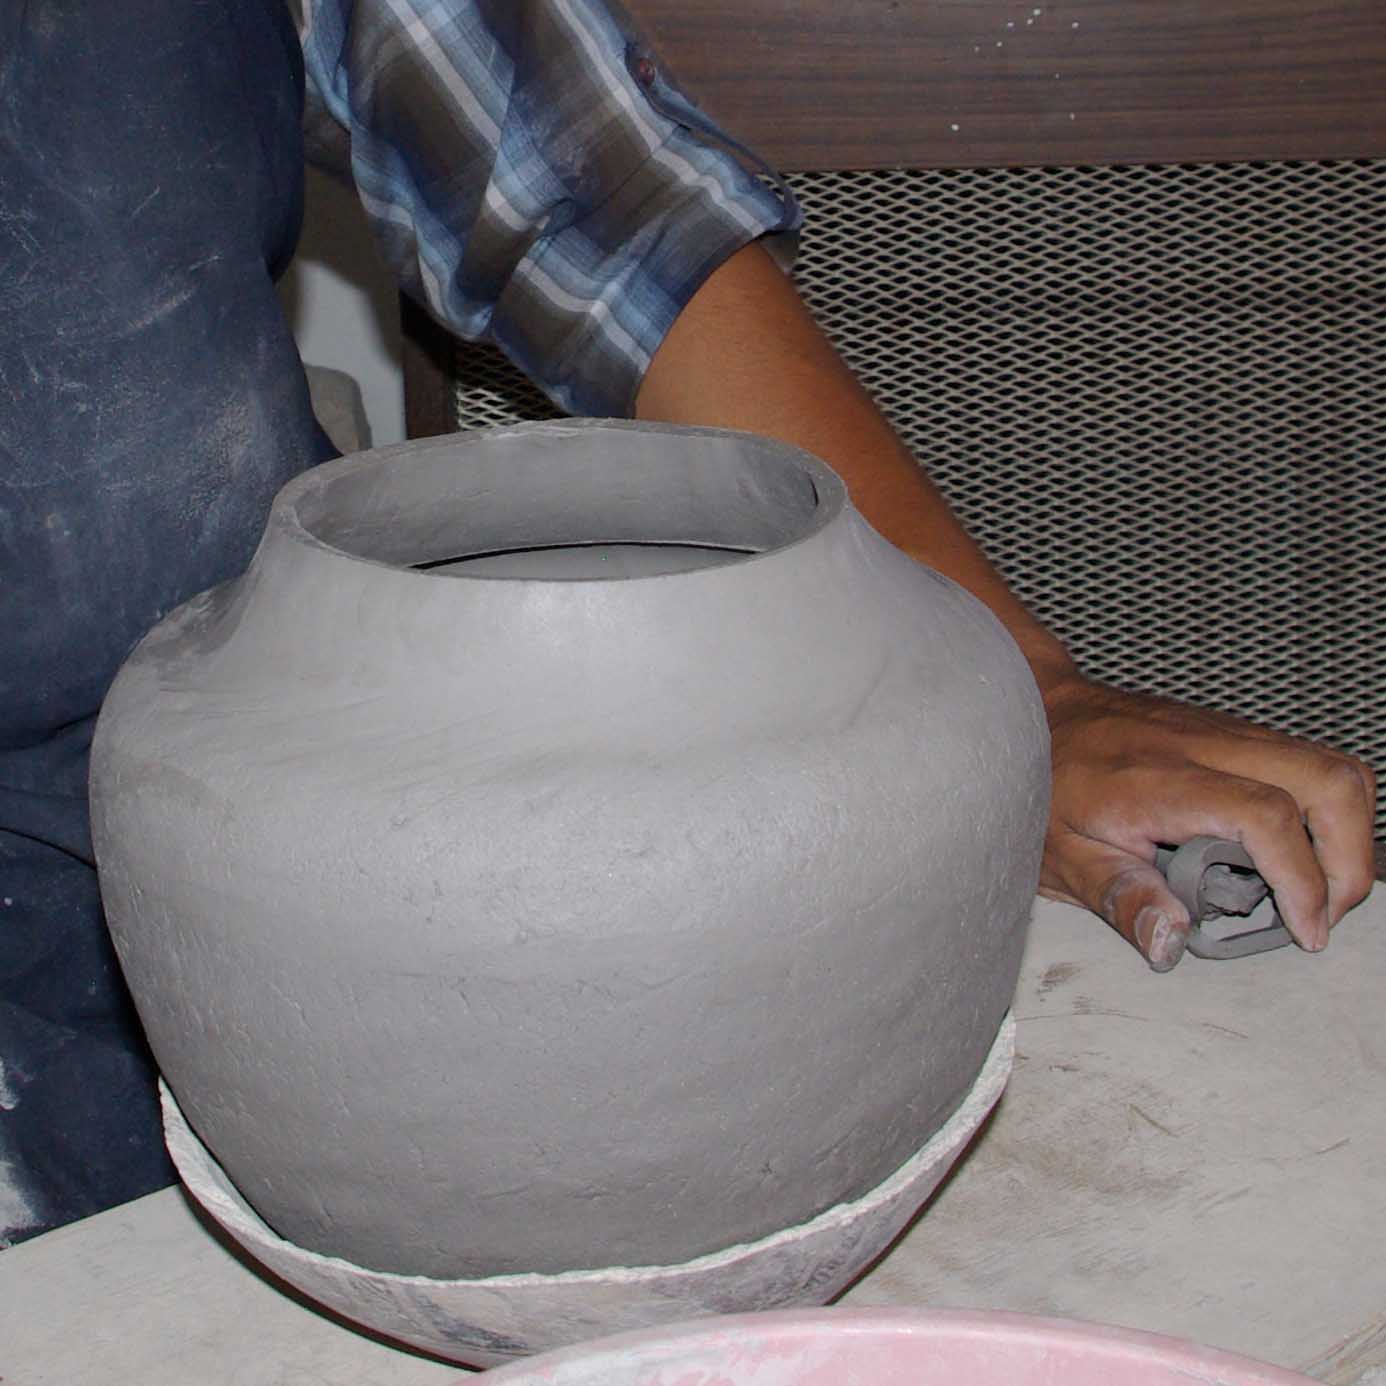
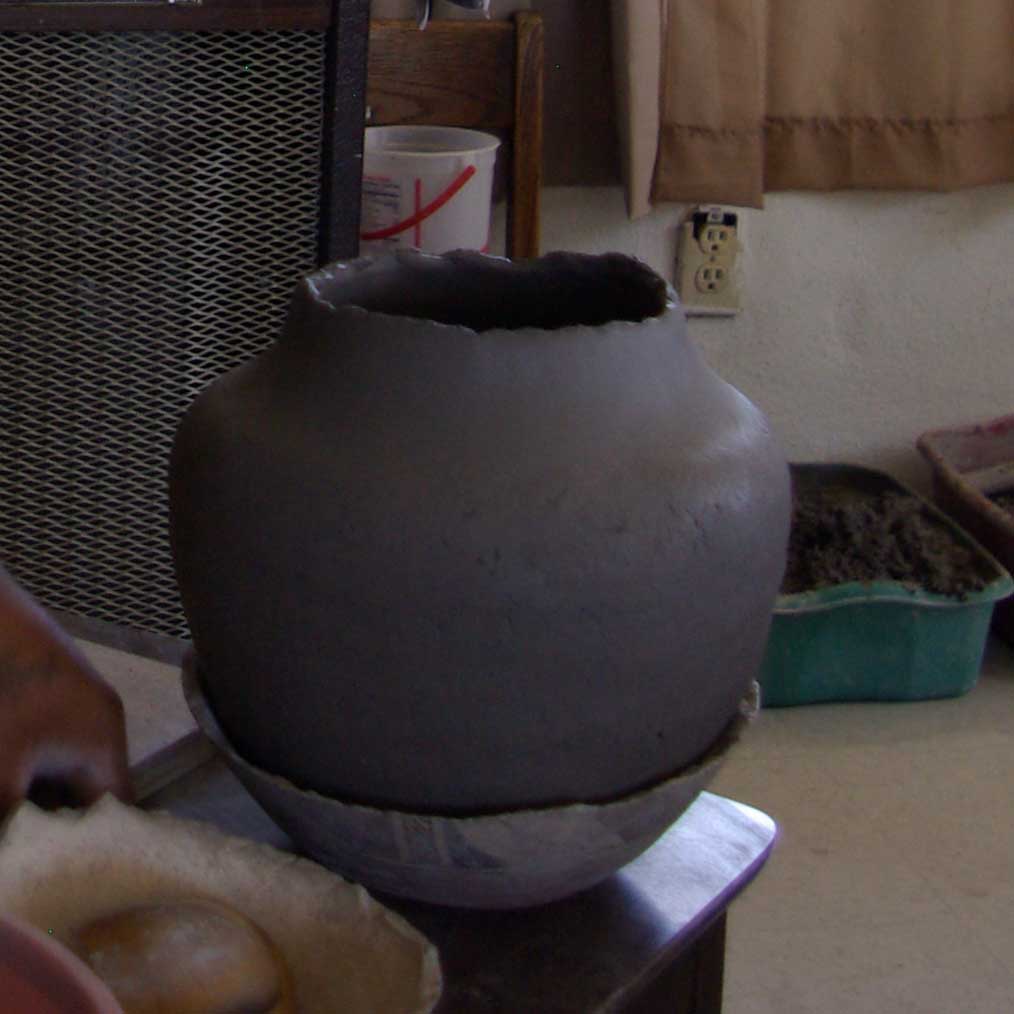
Trimmed pot


Drying process: The piece on the left is the one from above, the one in the middle is a completely dried pot
The white slip in rock form

The white slip soaking

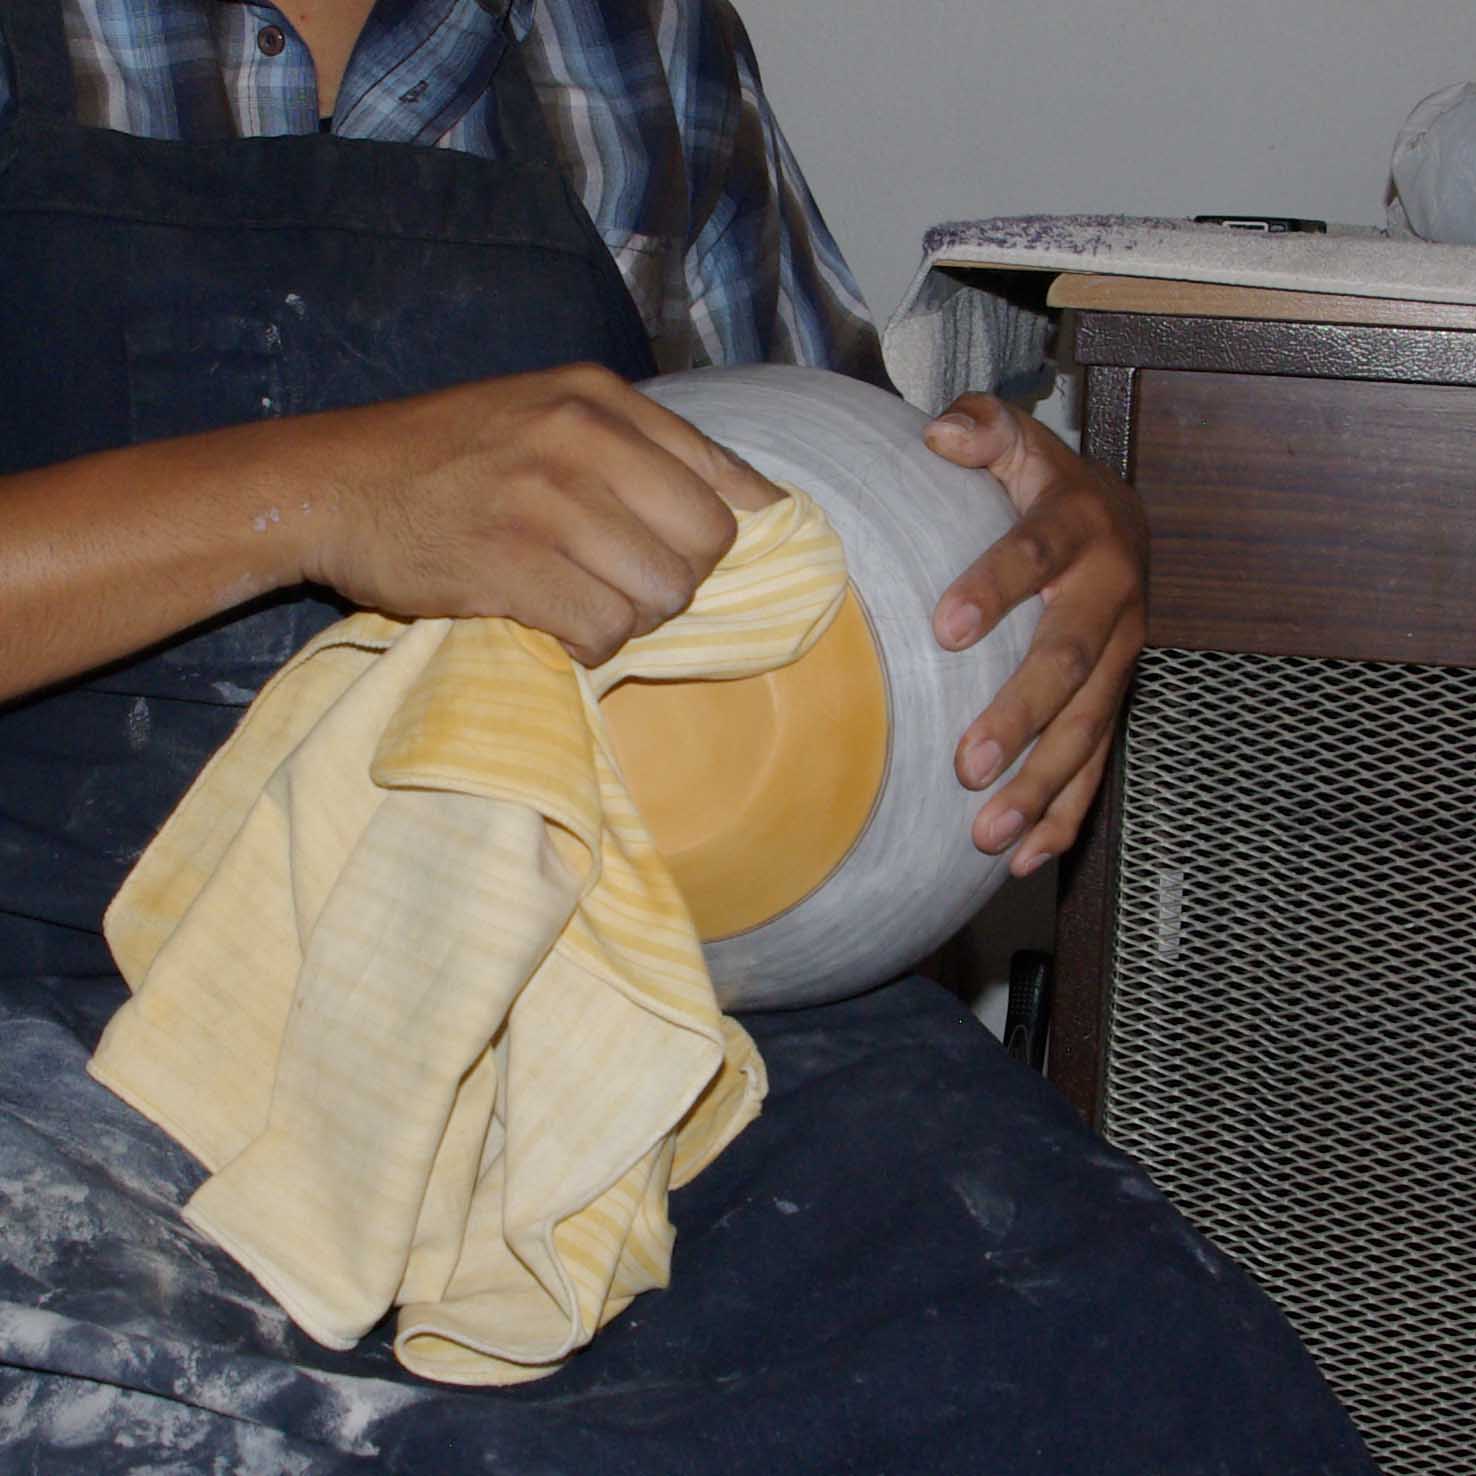
Applying White slip using a piece of cloth

Applying White slip using a piece of cloth
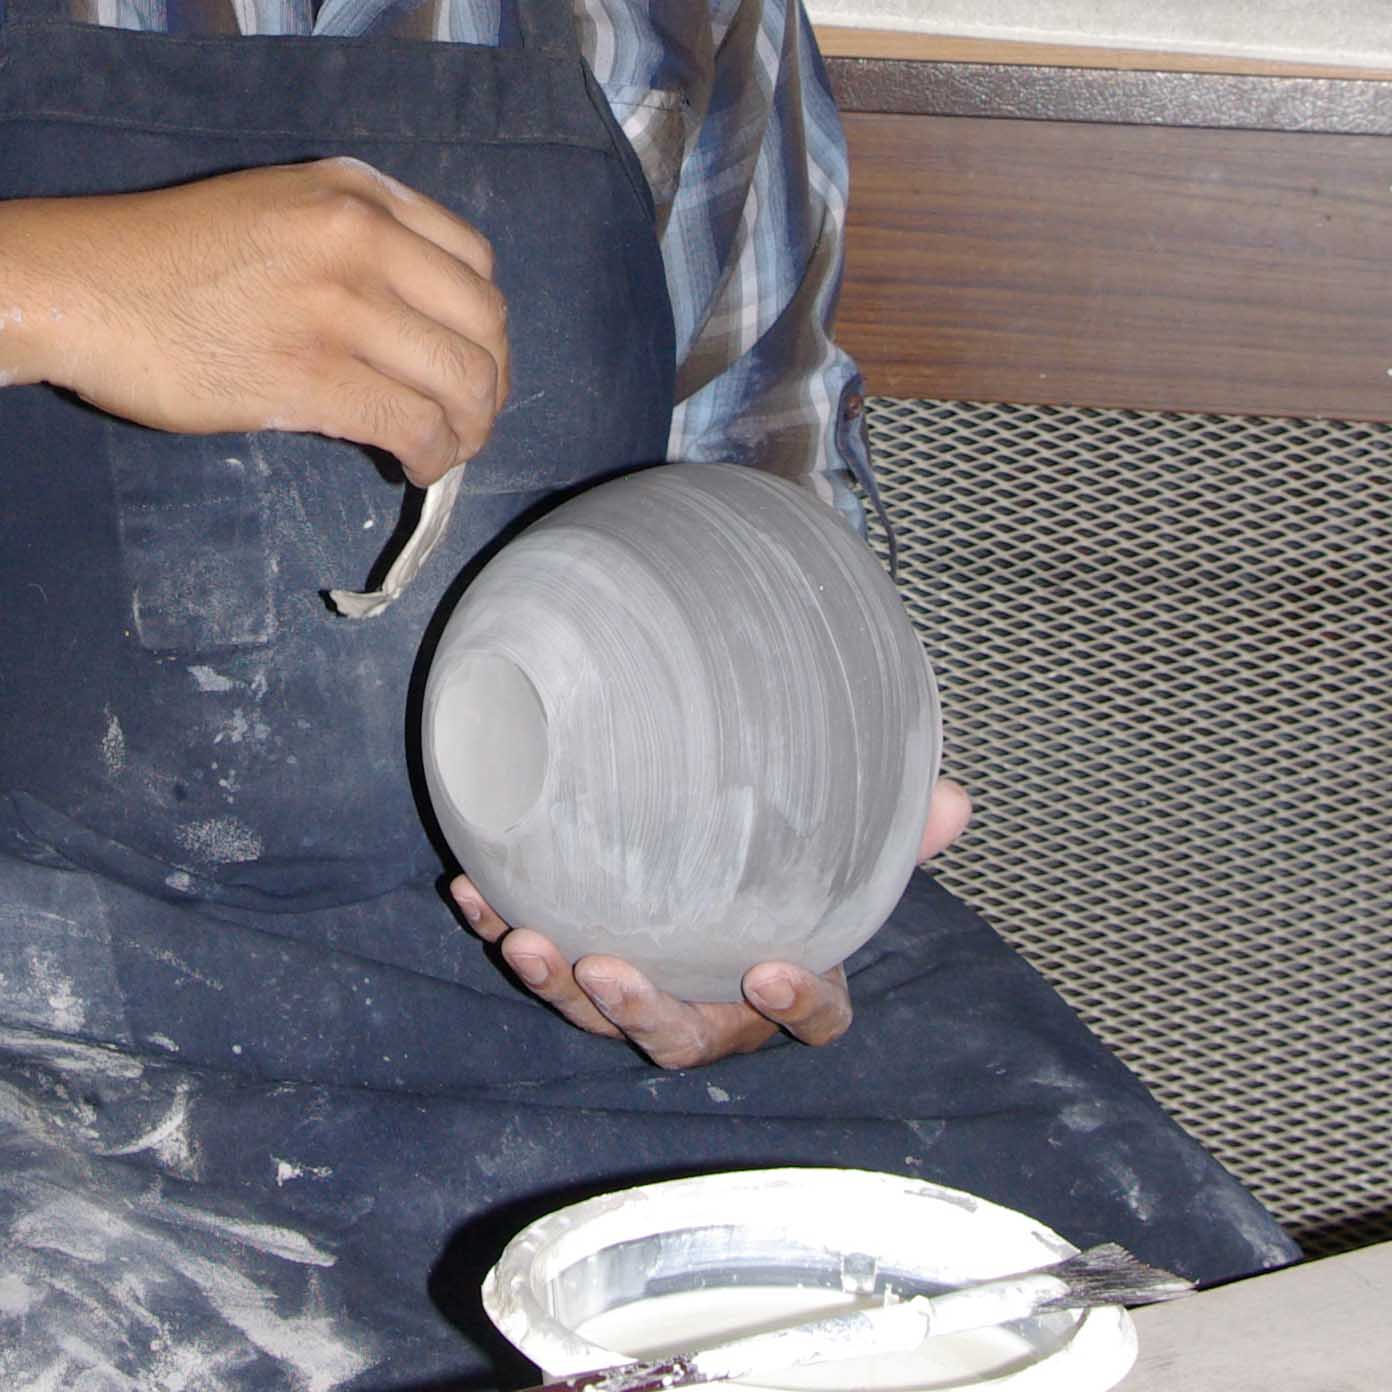
Applying White slip using a piece of cloth
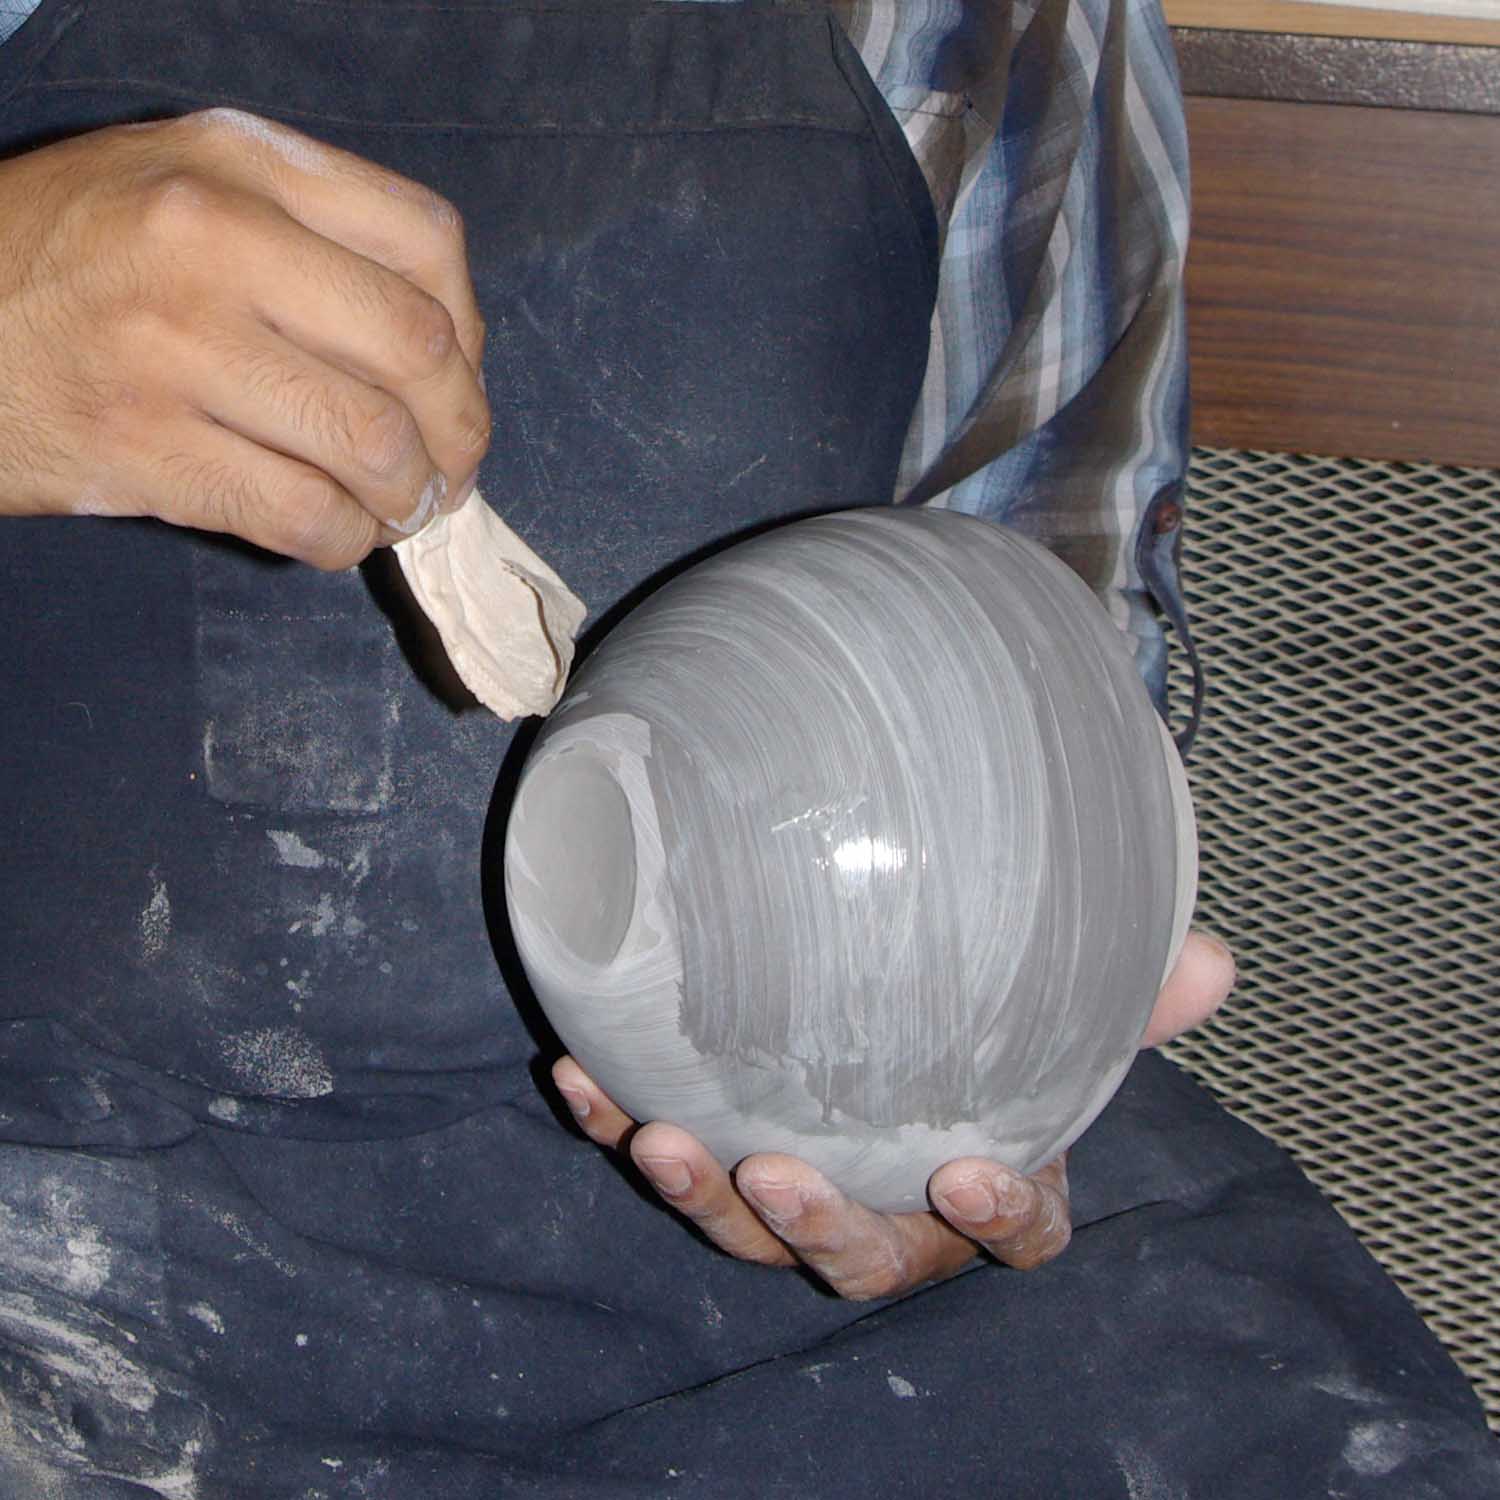
Applying White slip using a piece of cloth
Drying process: The piece on the right is after the white slip has dried

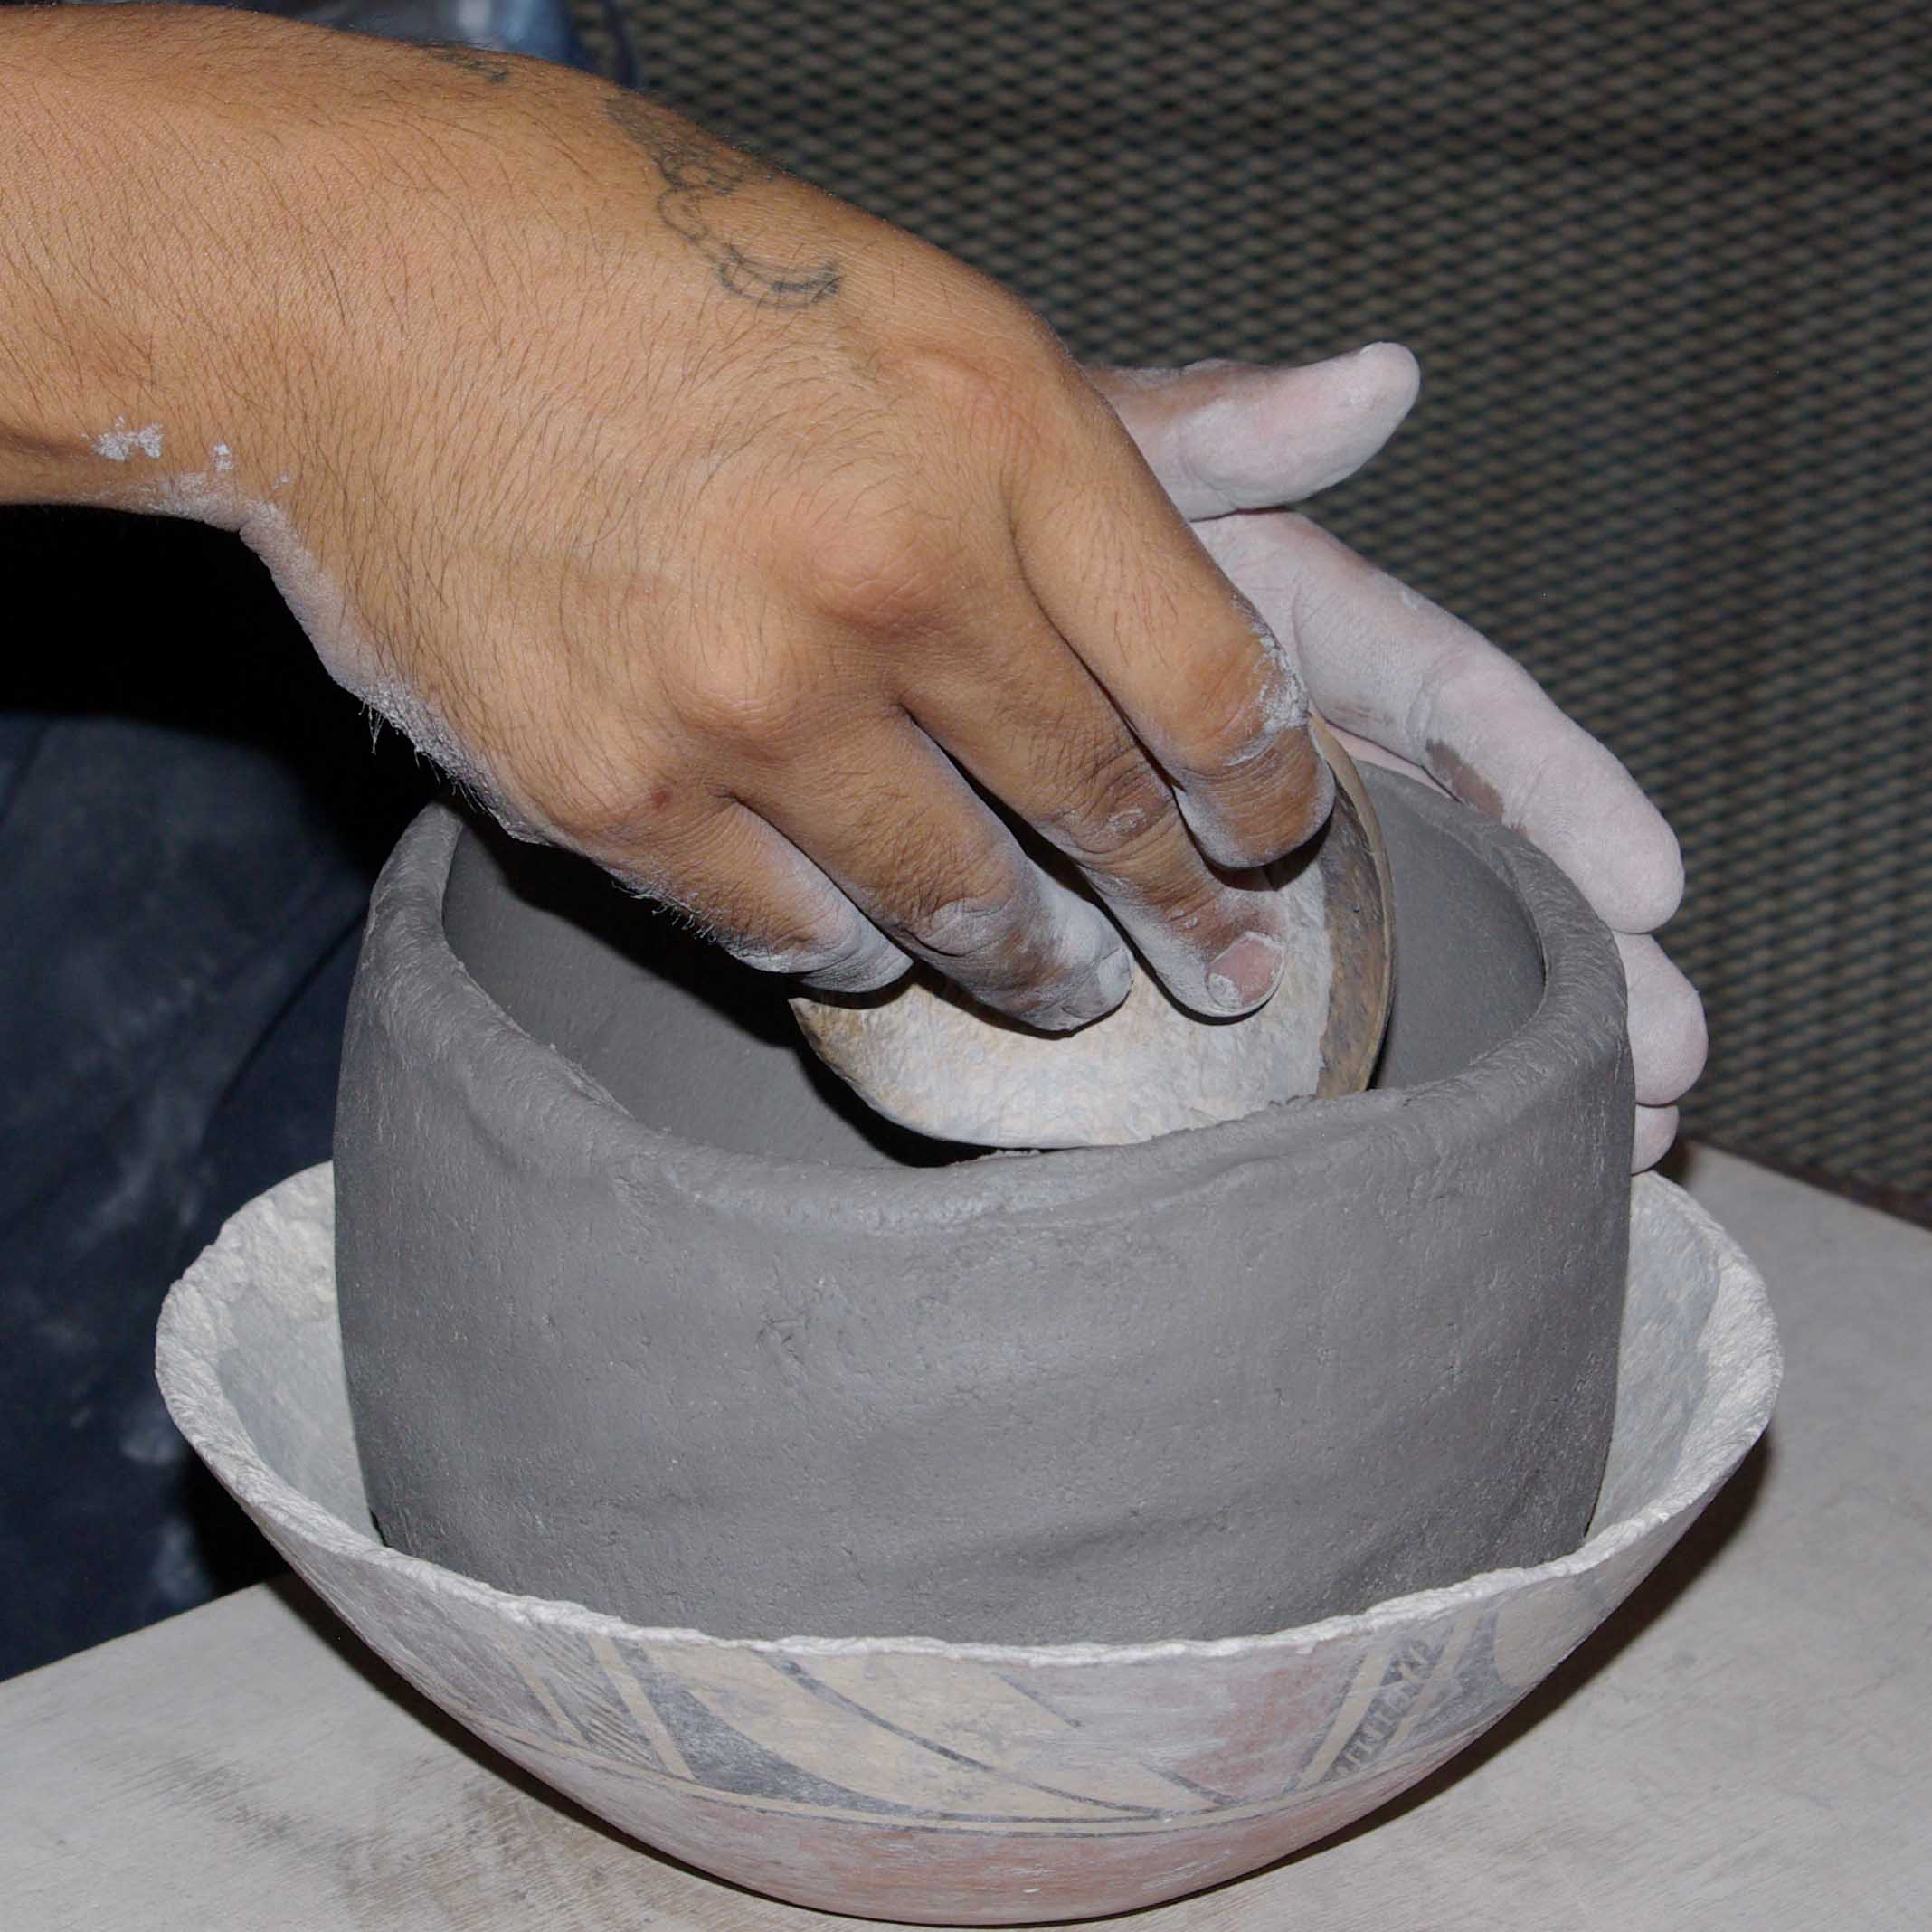
Polishing with round river stone
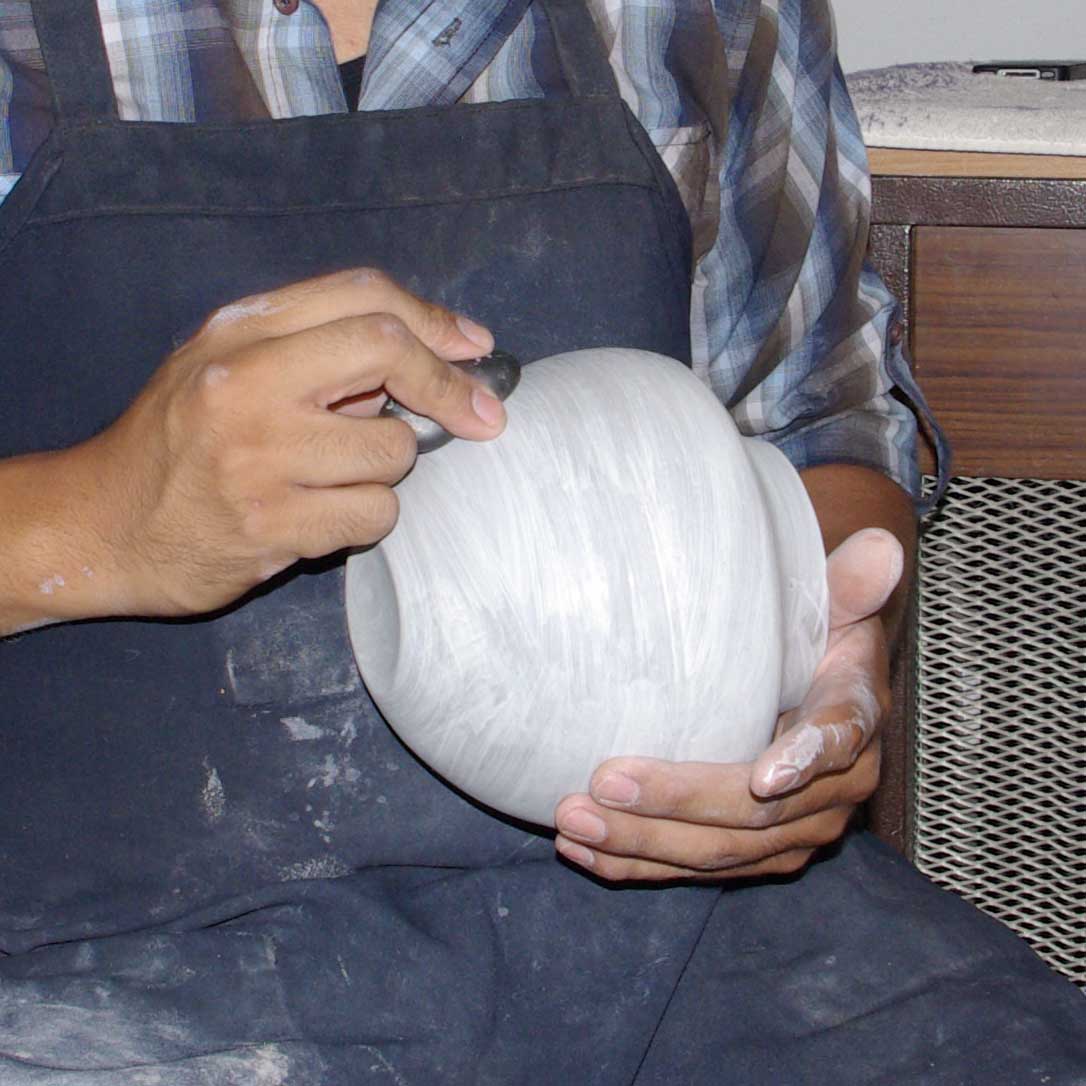
Polishing with round river stone
The brown paint in rock form
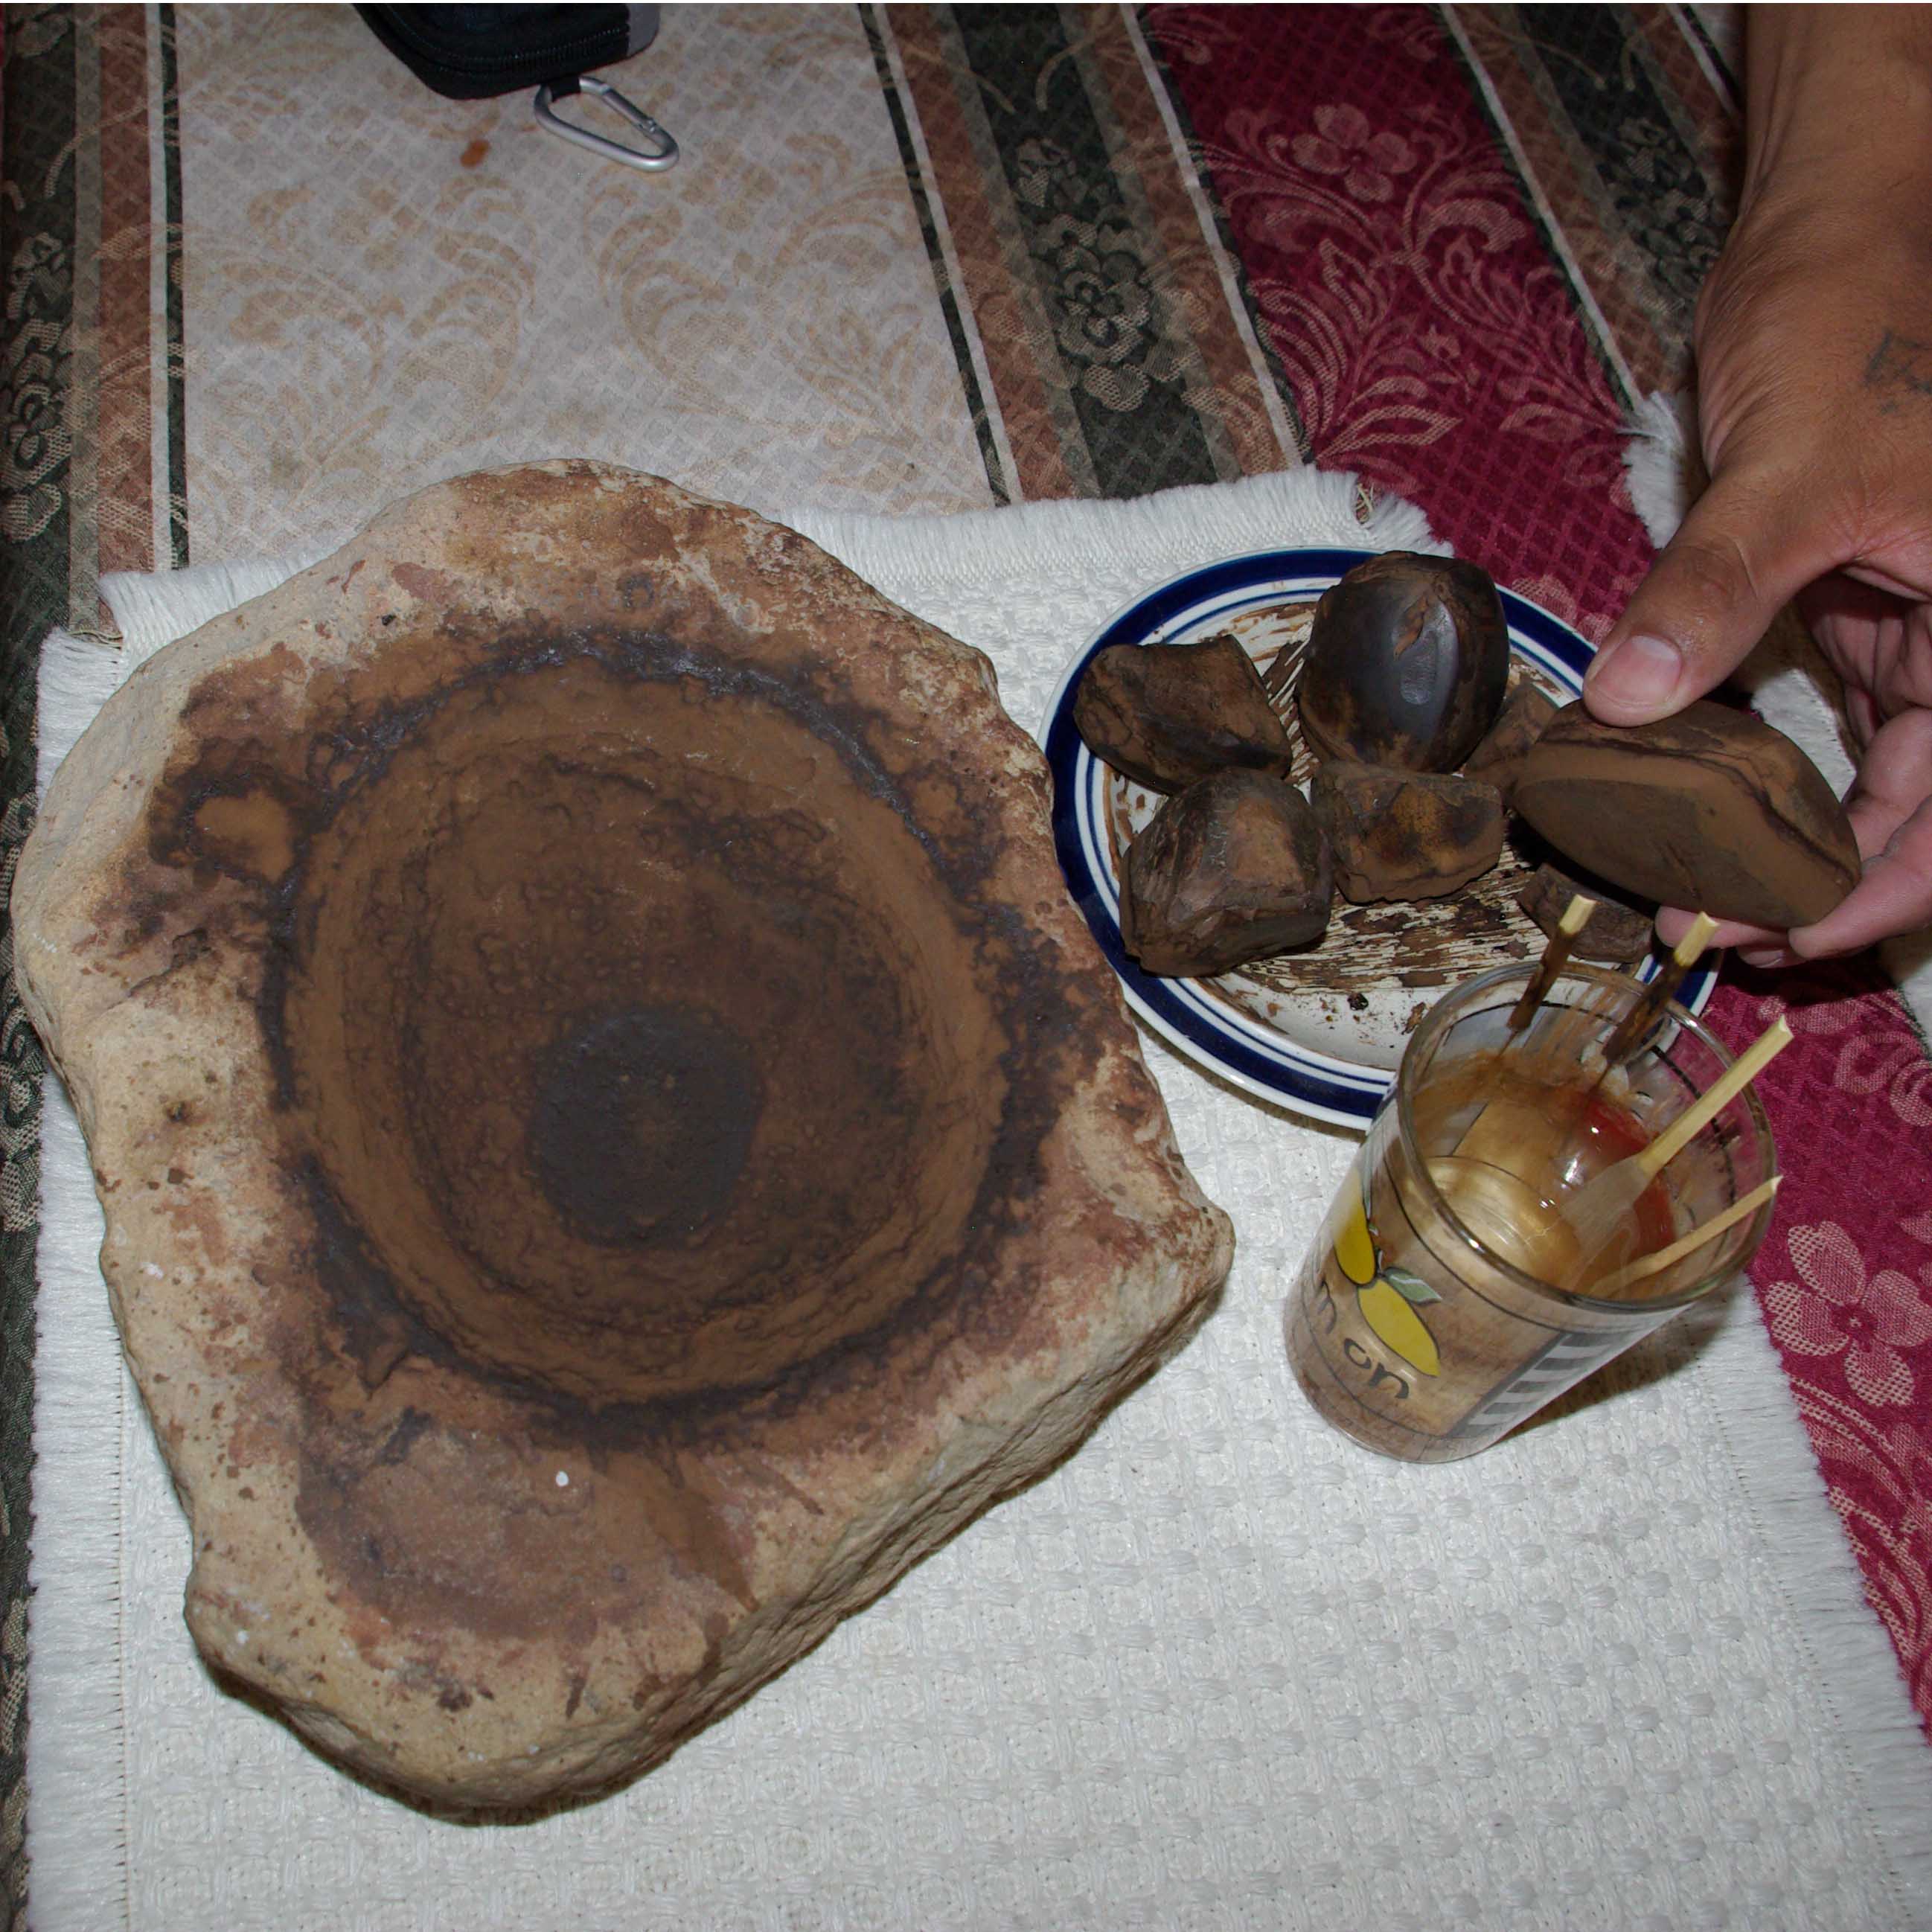
The brown paint stone handed down from Franklin's grandmother
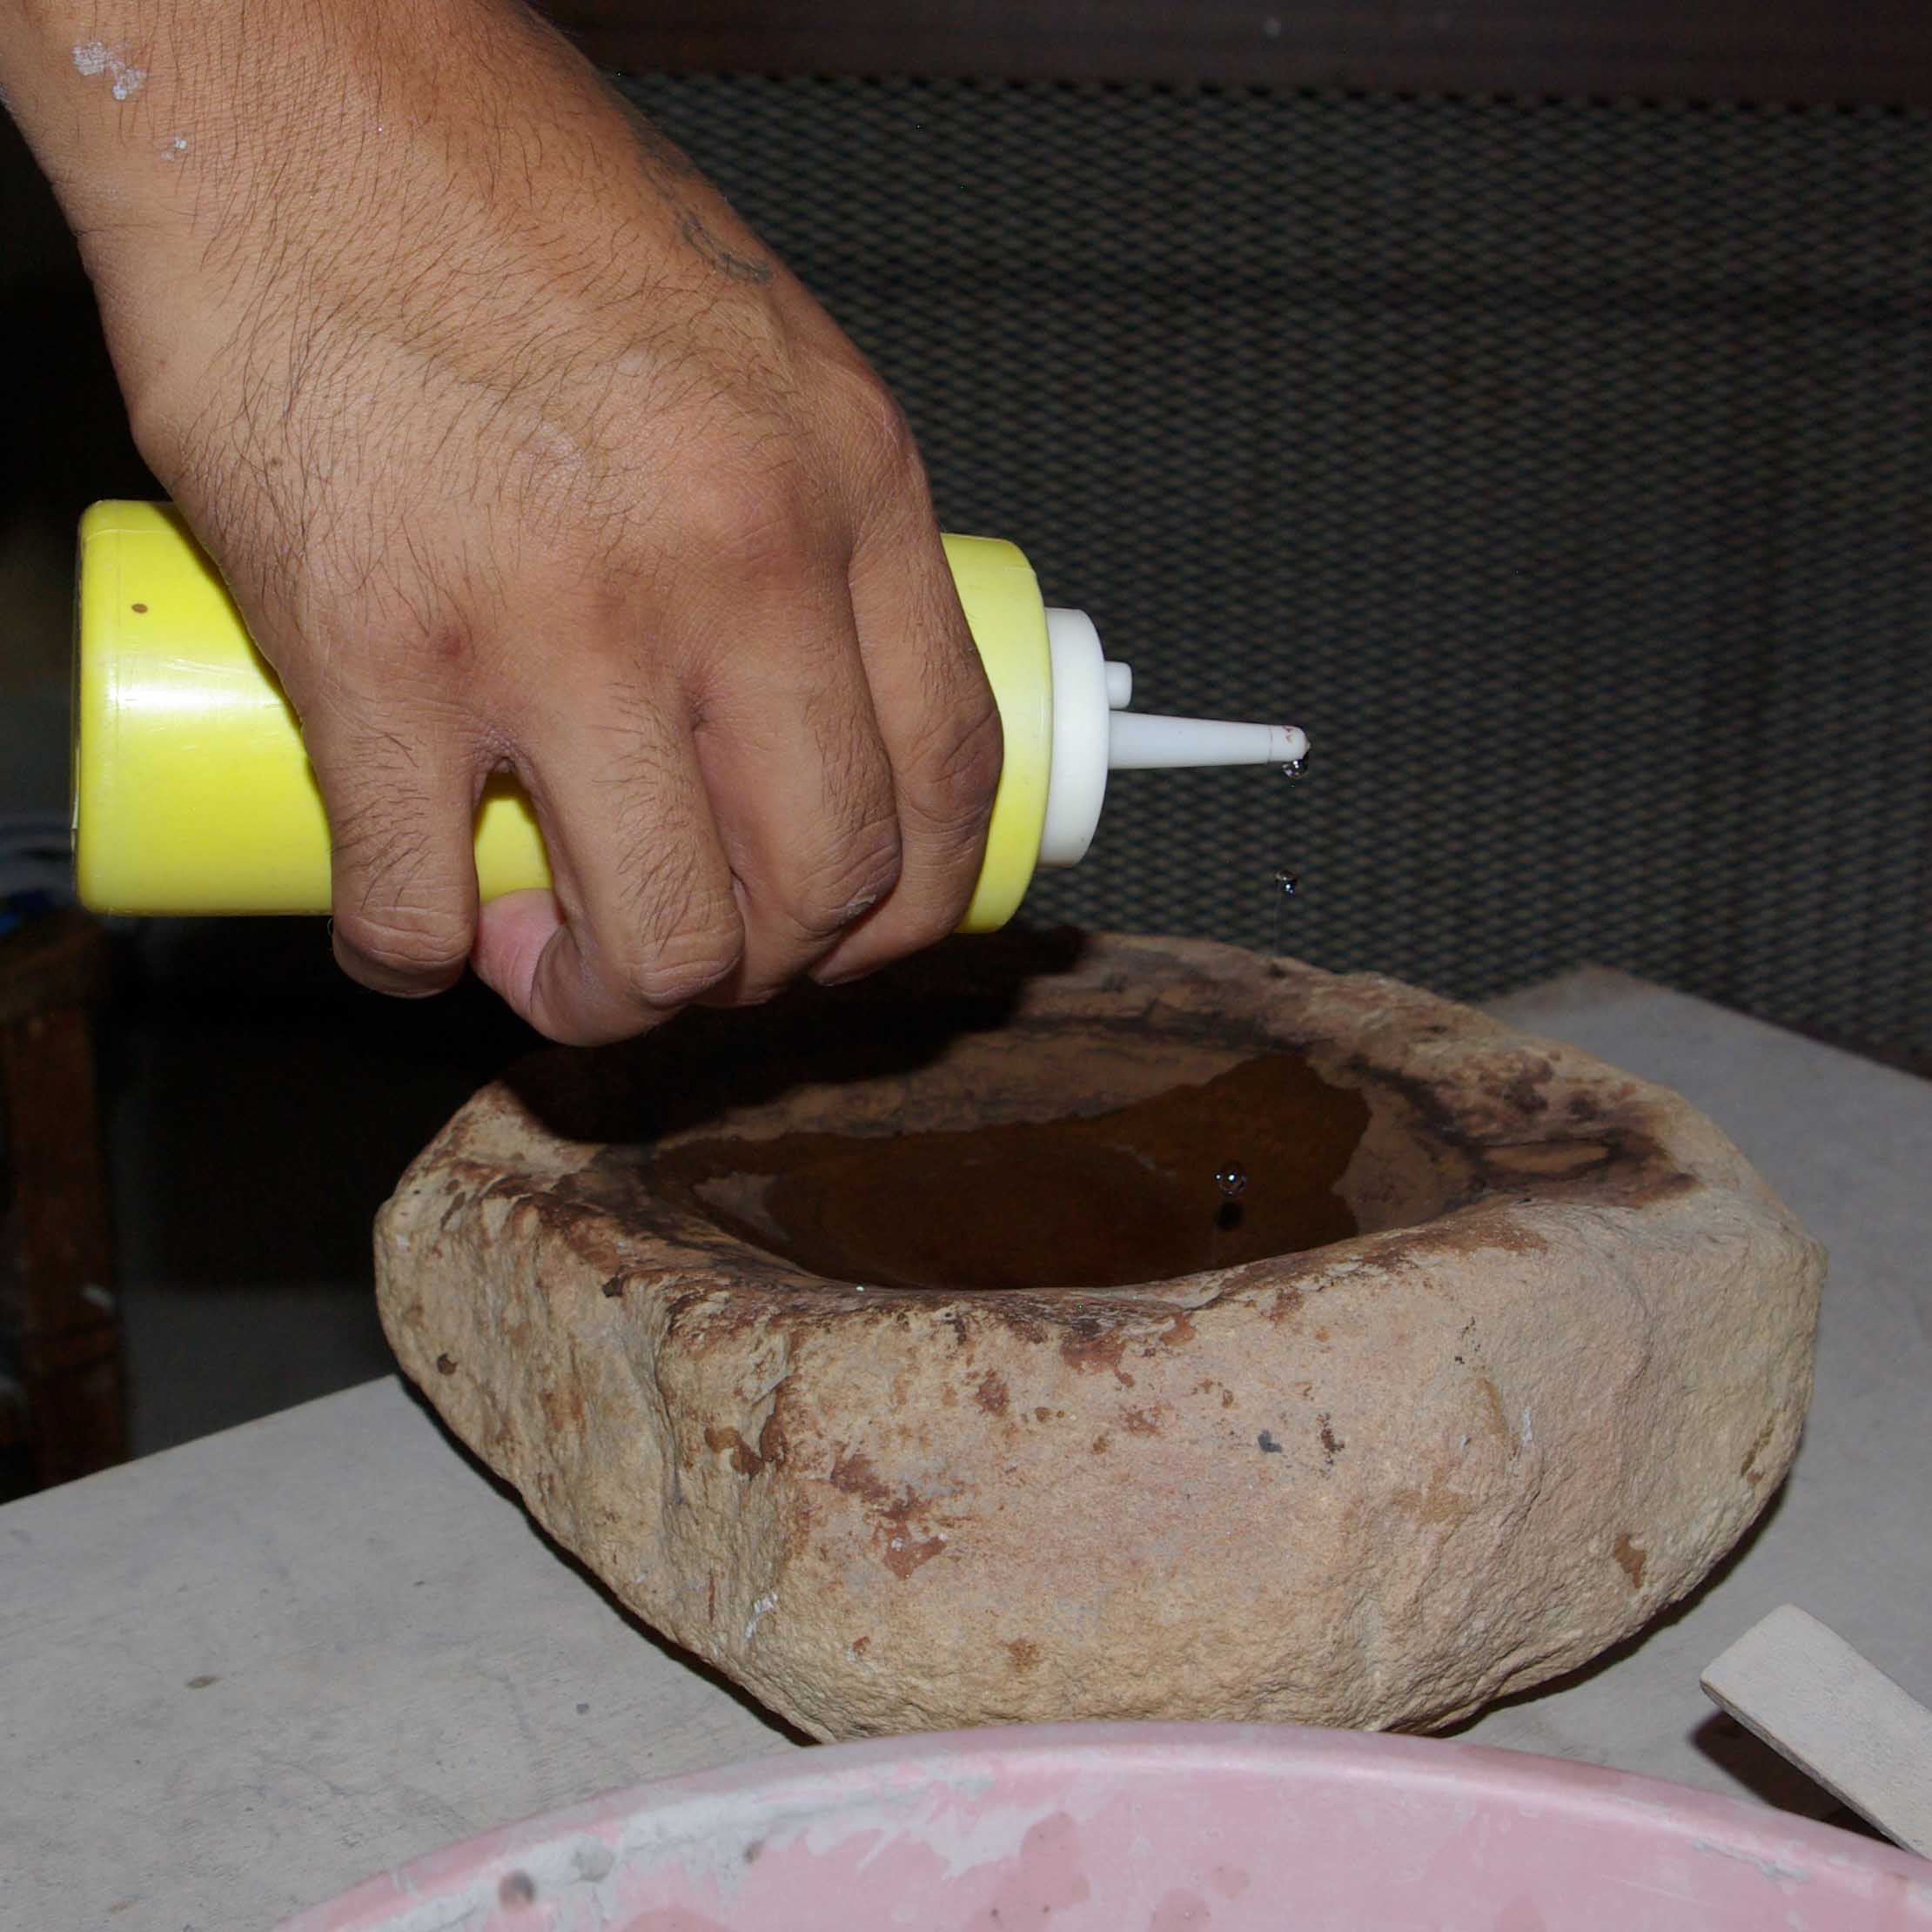
Water added to the brown paint stone
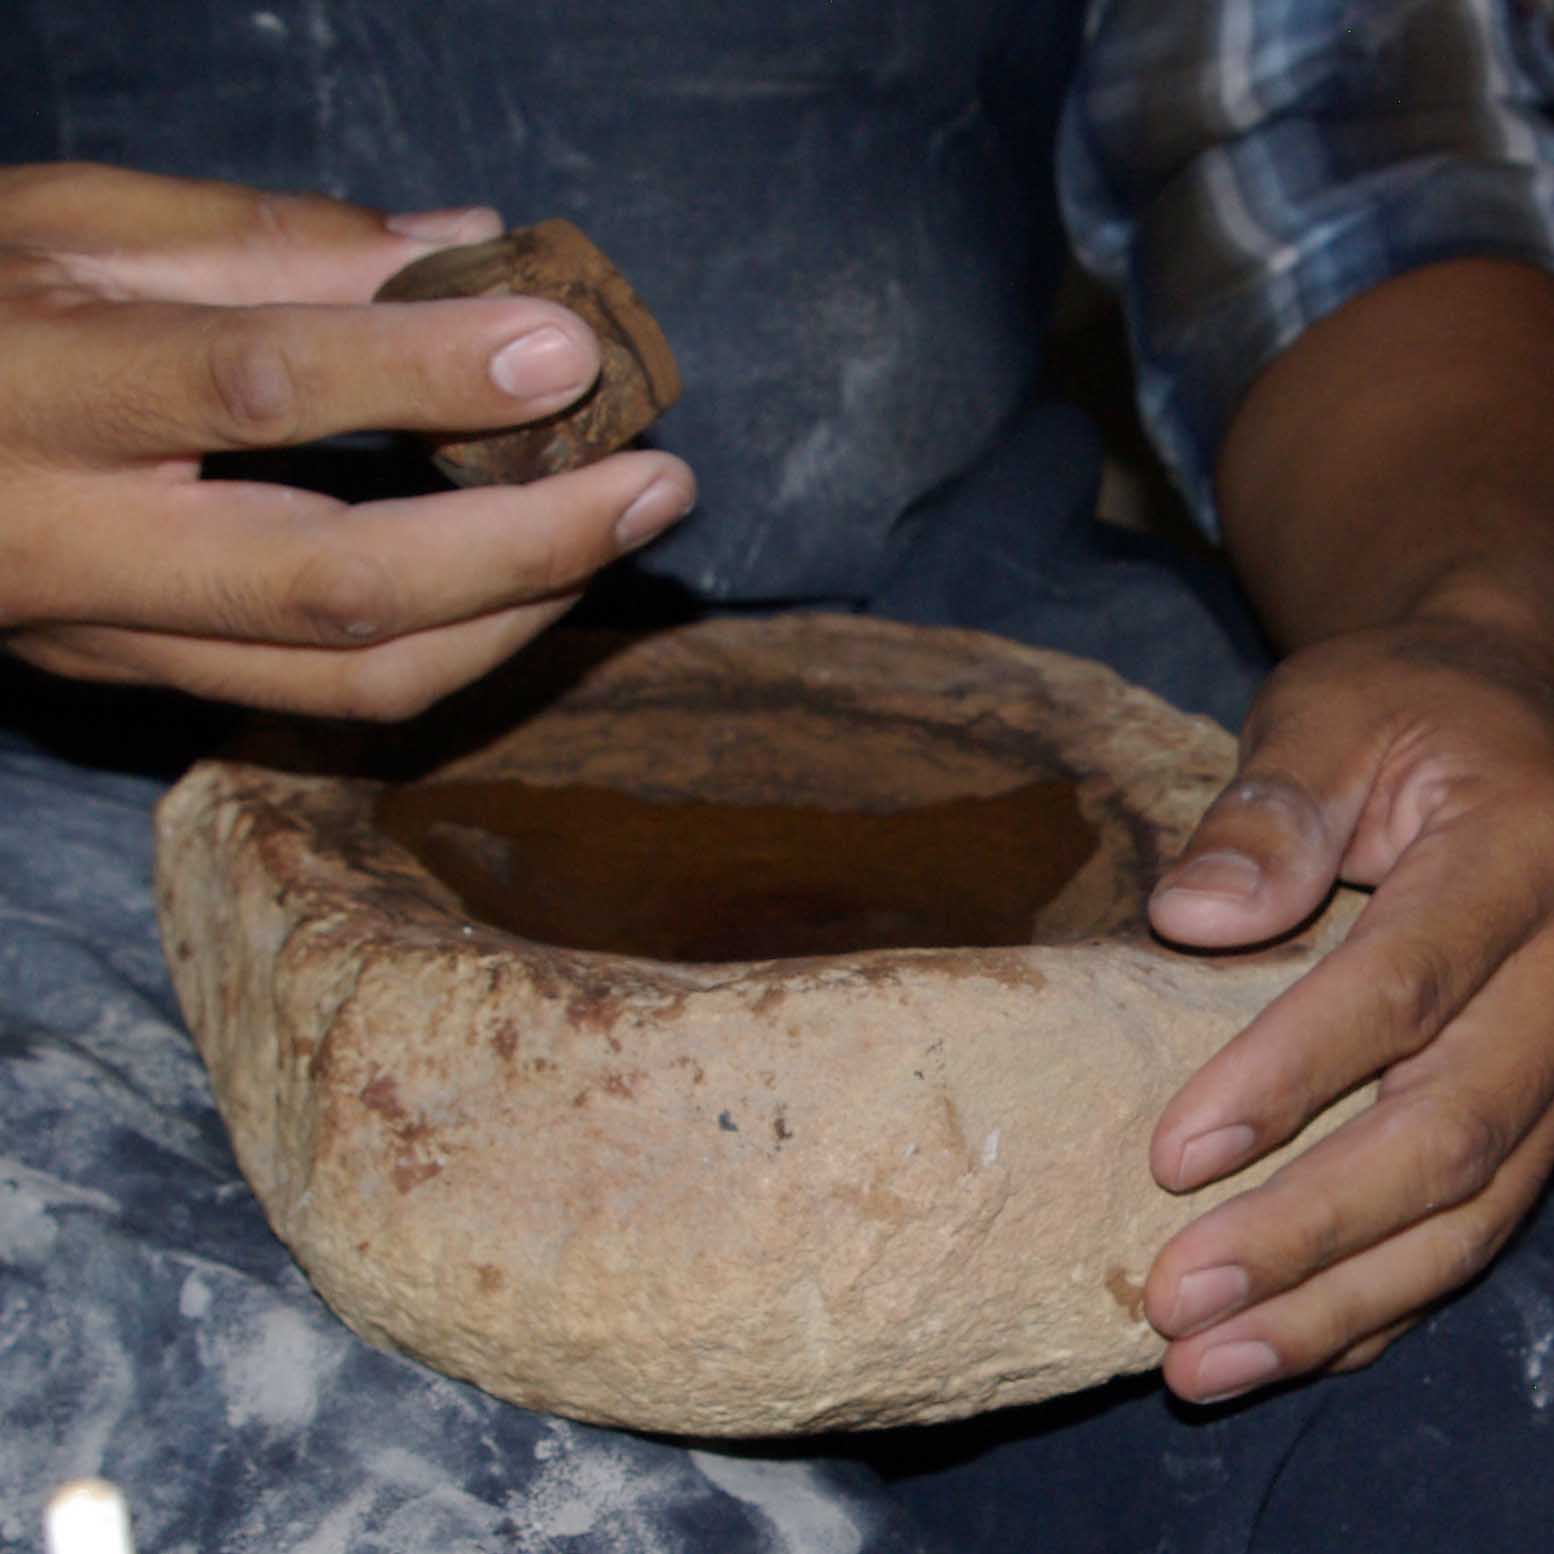
Grinding the brown paint rock in the brown paint stone with water until the right concentration is achieved
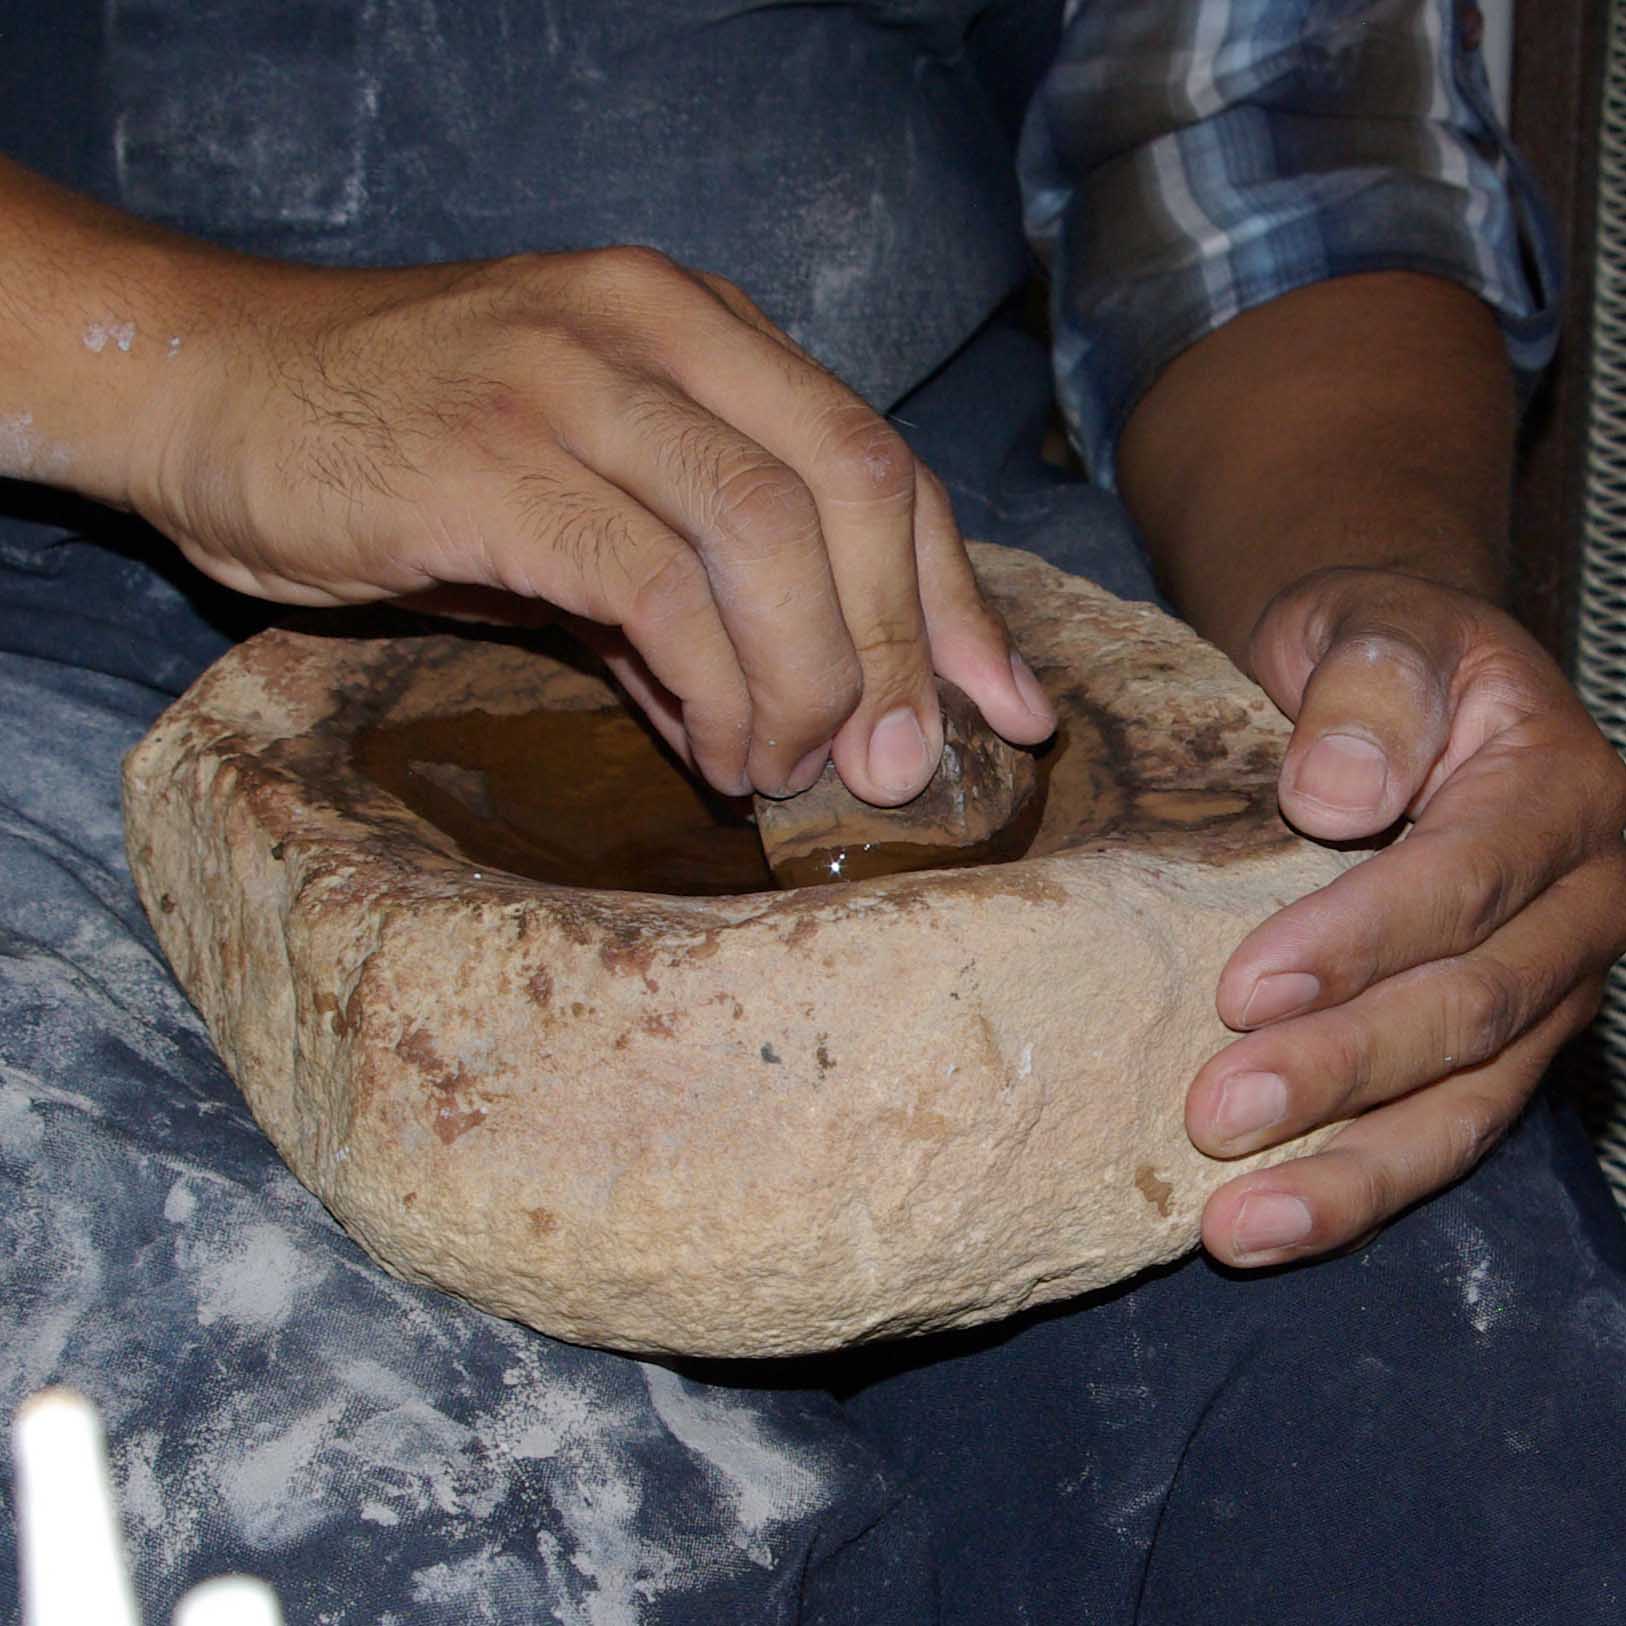
Grinding the brown paint rock in the brown paint stone with water until the right concentration is achieved
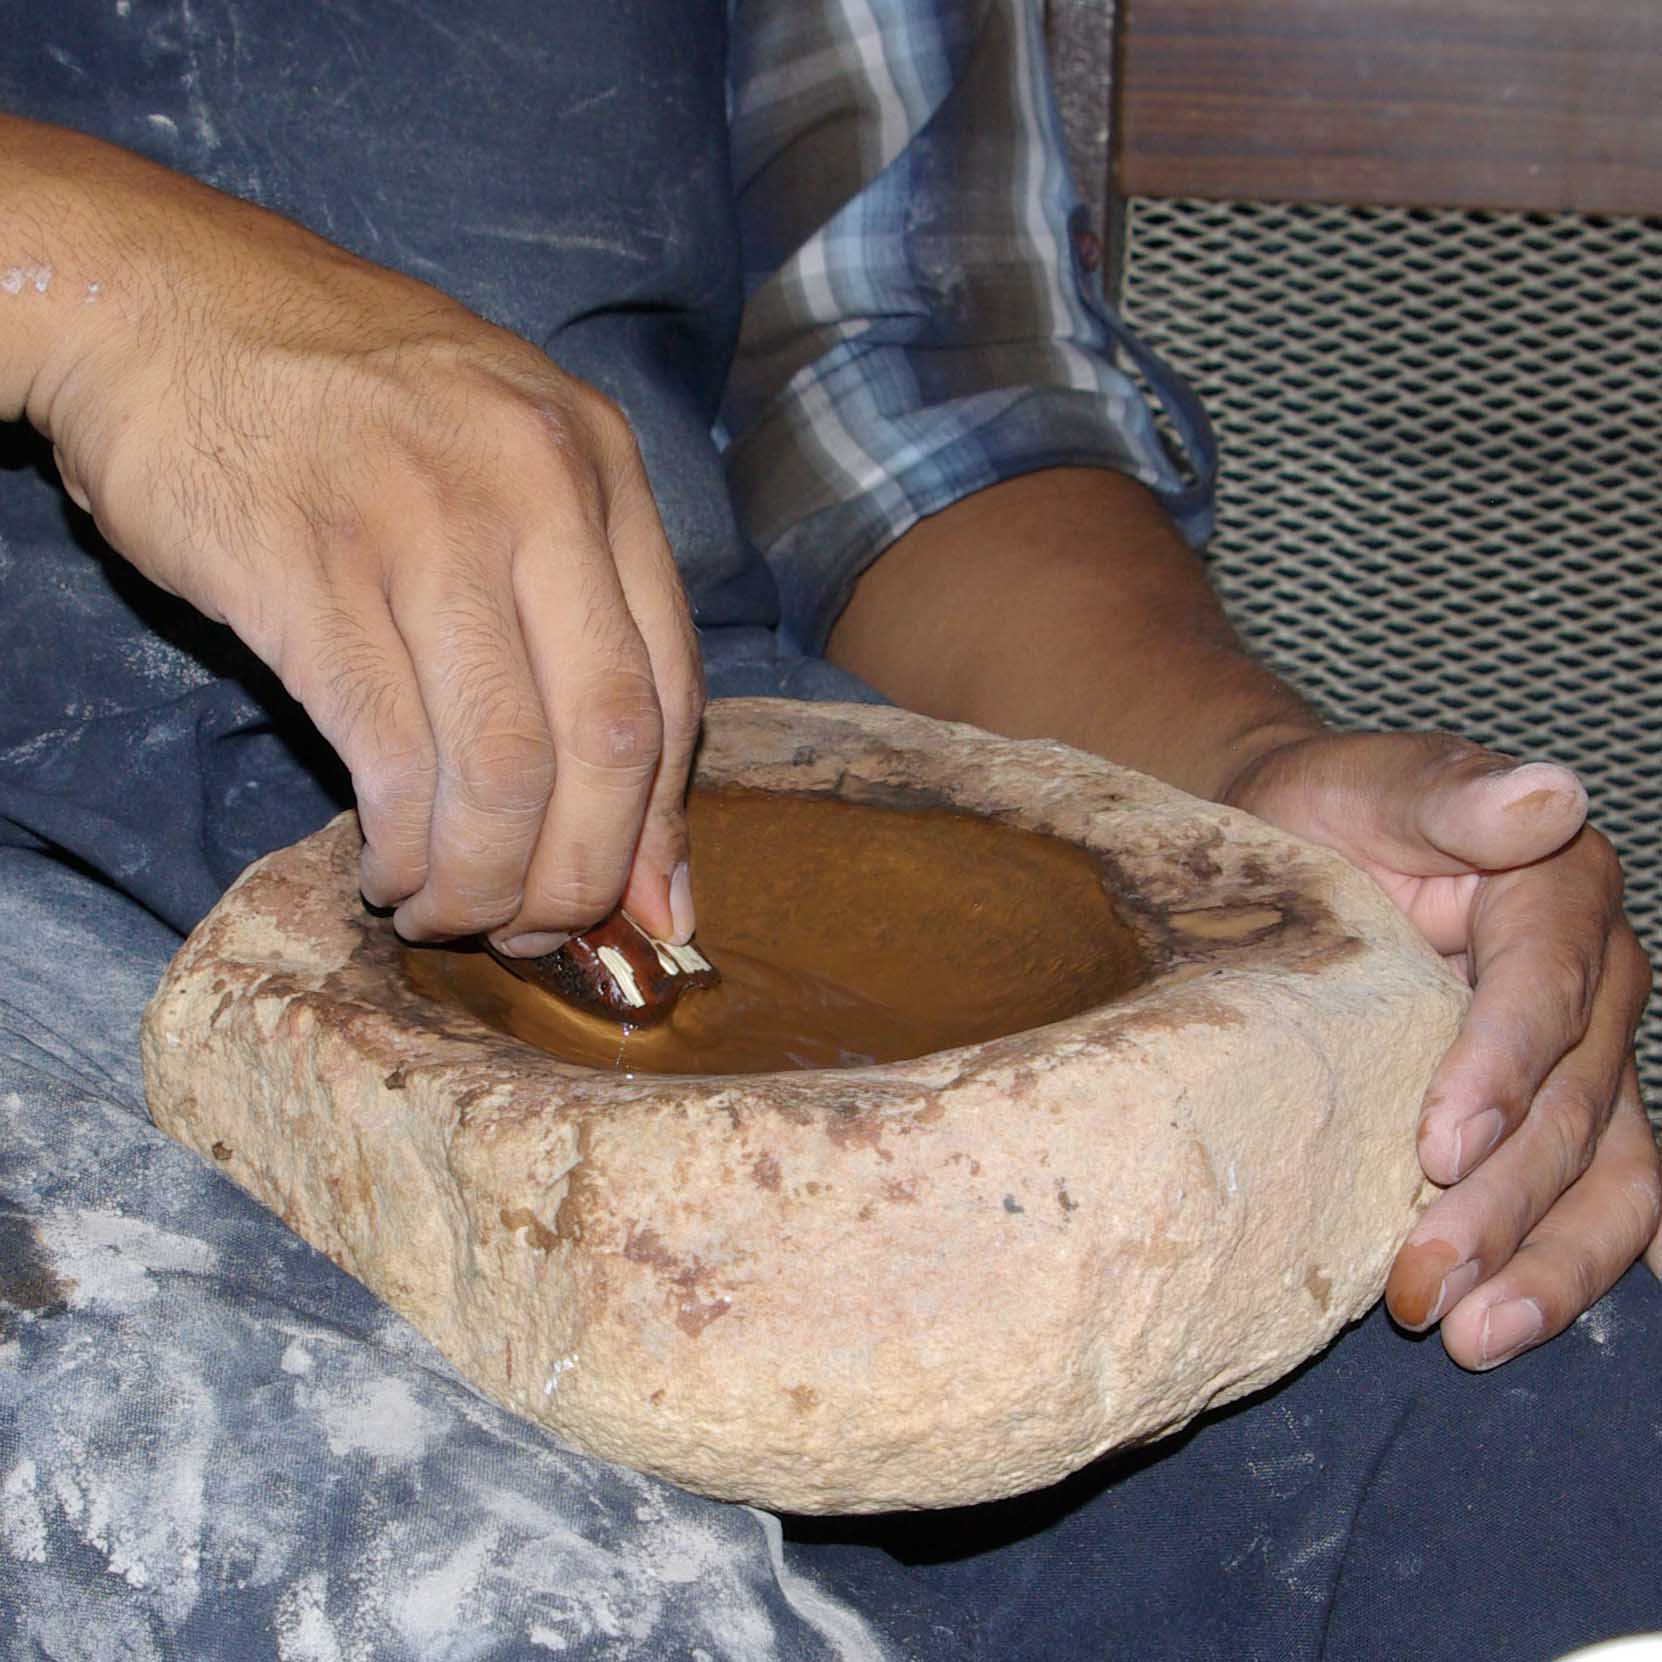
Grinding the processed bee weed into the ground brown paint rock and water until the correct amount has been added

Painting brown with a yucca brush

Painting brown with a yucca brush
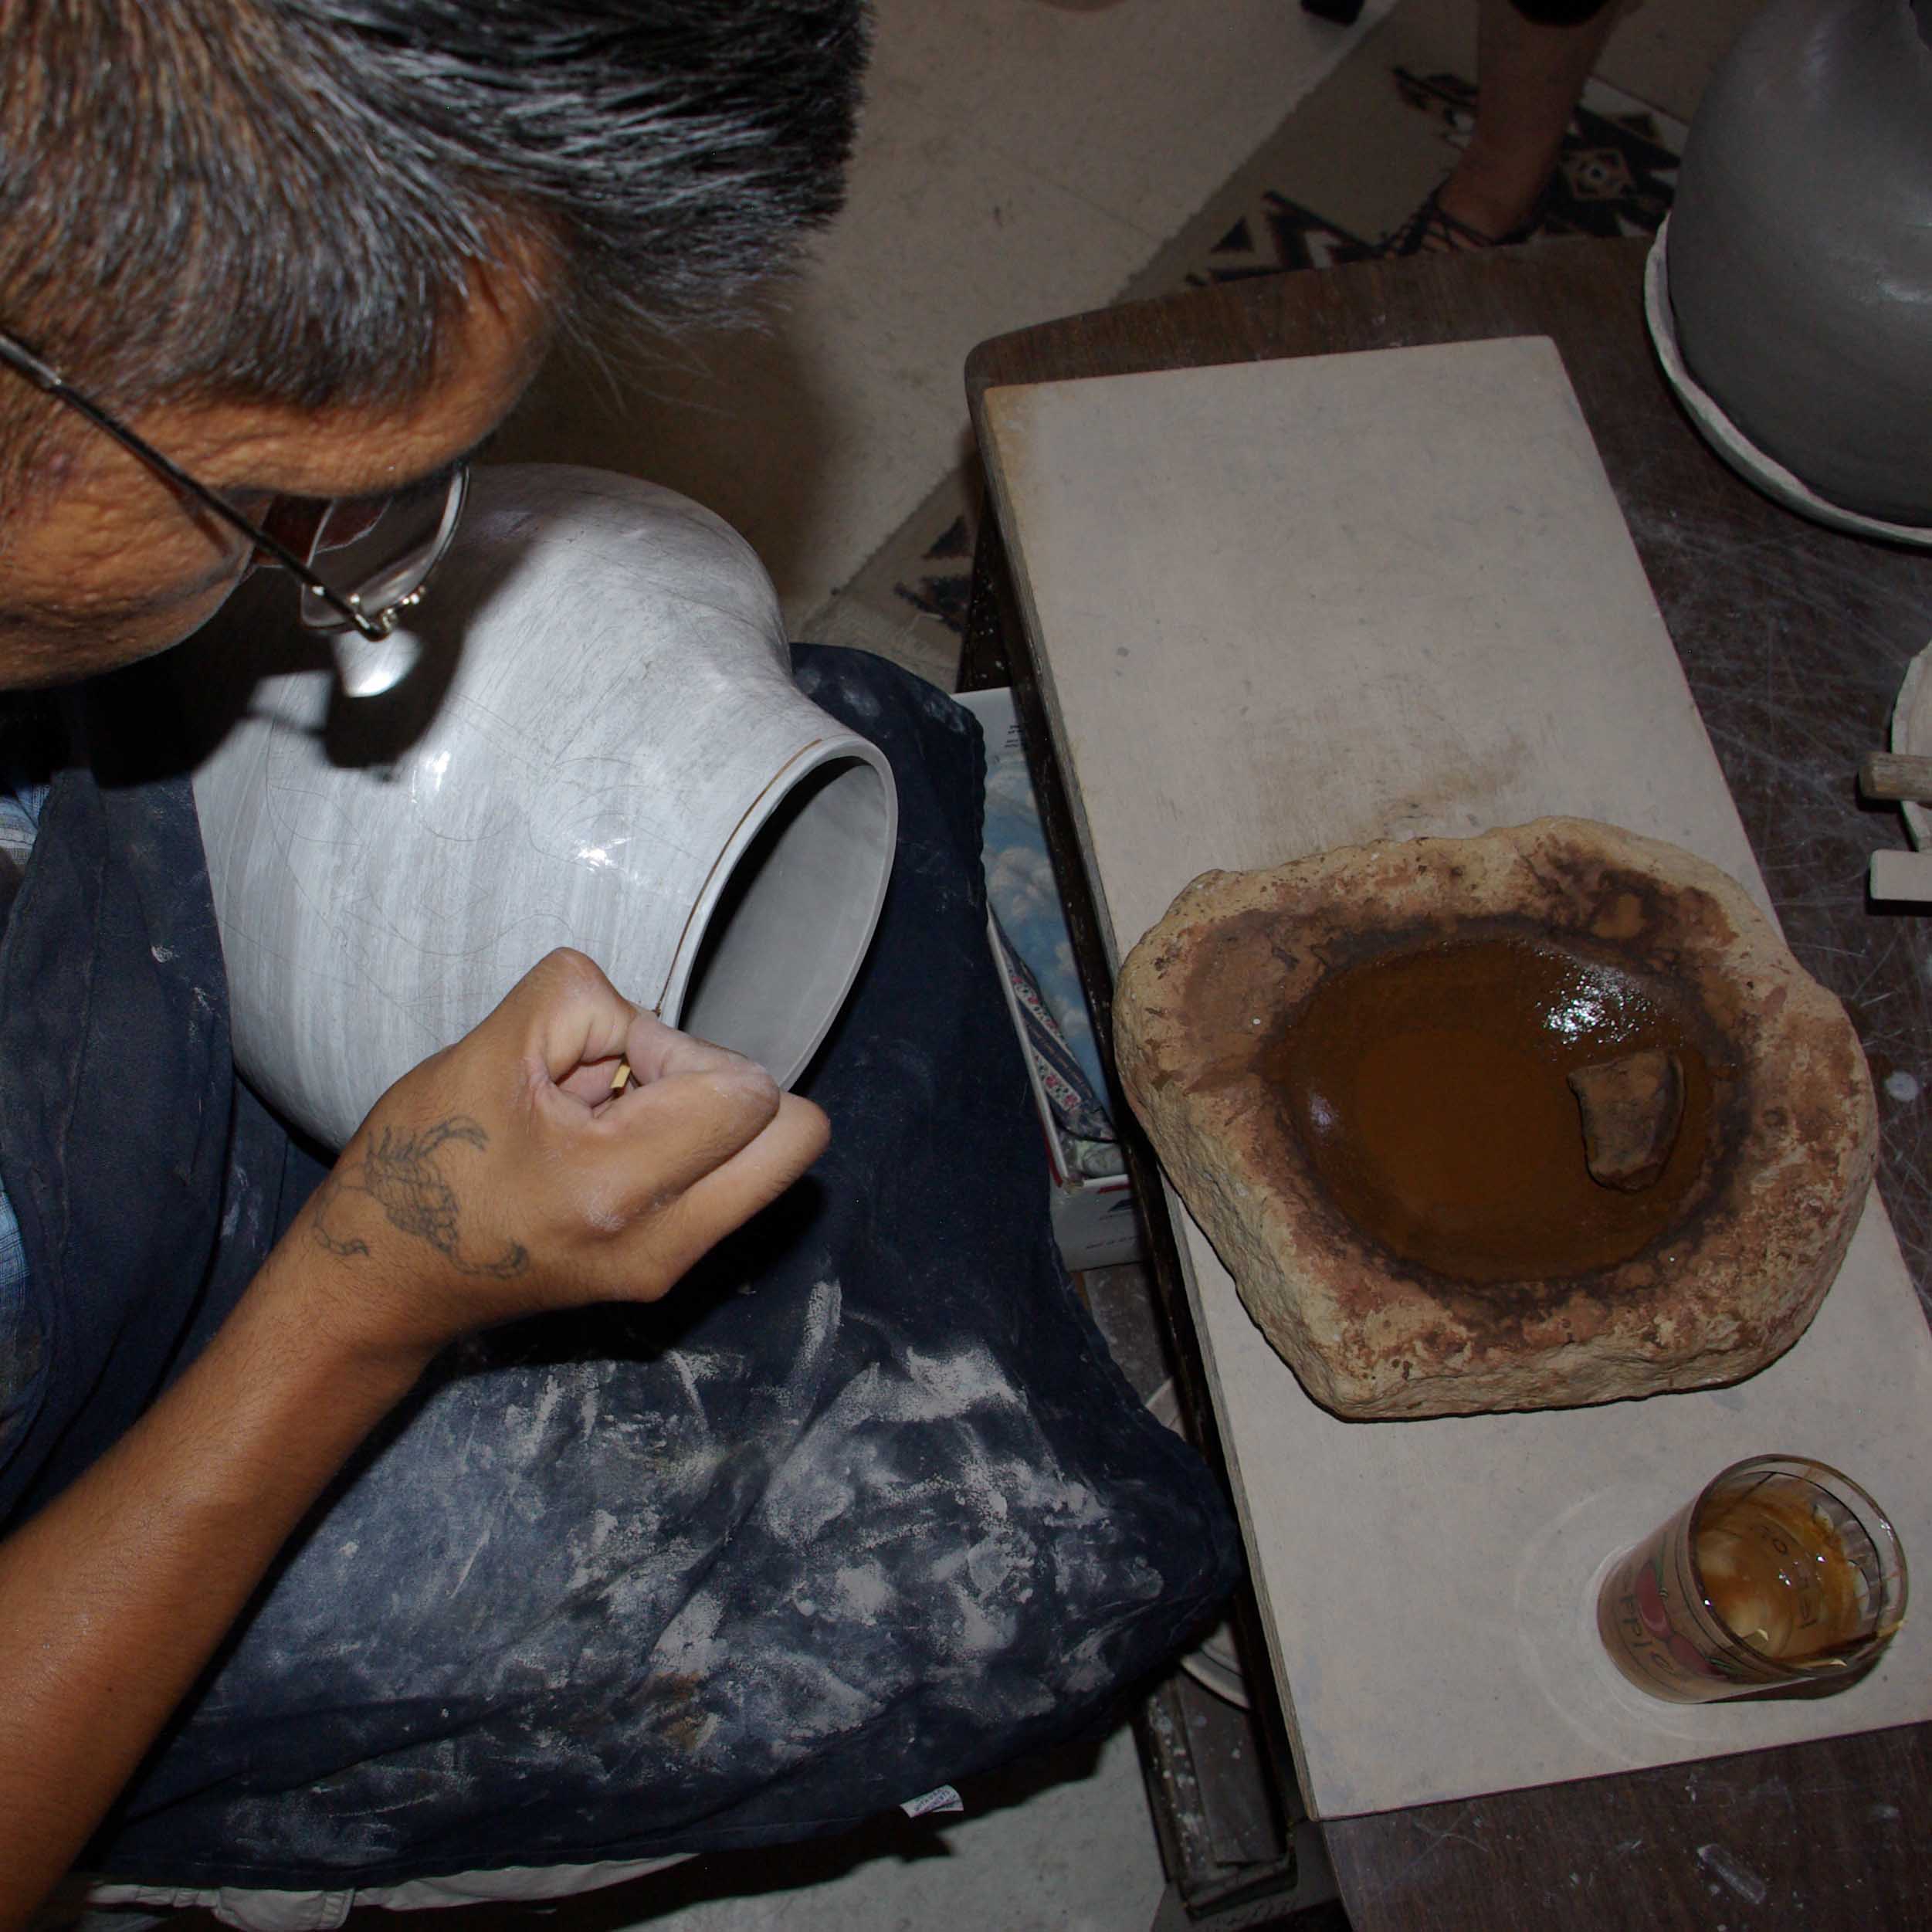
Painting brown with a yucca brush
Painting brown with a yucca brush
Painting brown with a yucca brush
Painting brown with a yucca brush
Orange slip in rock form
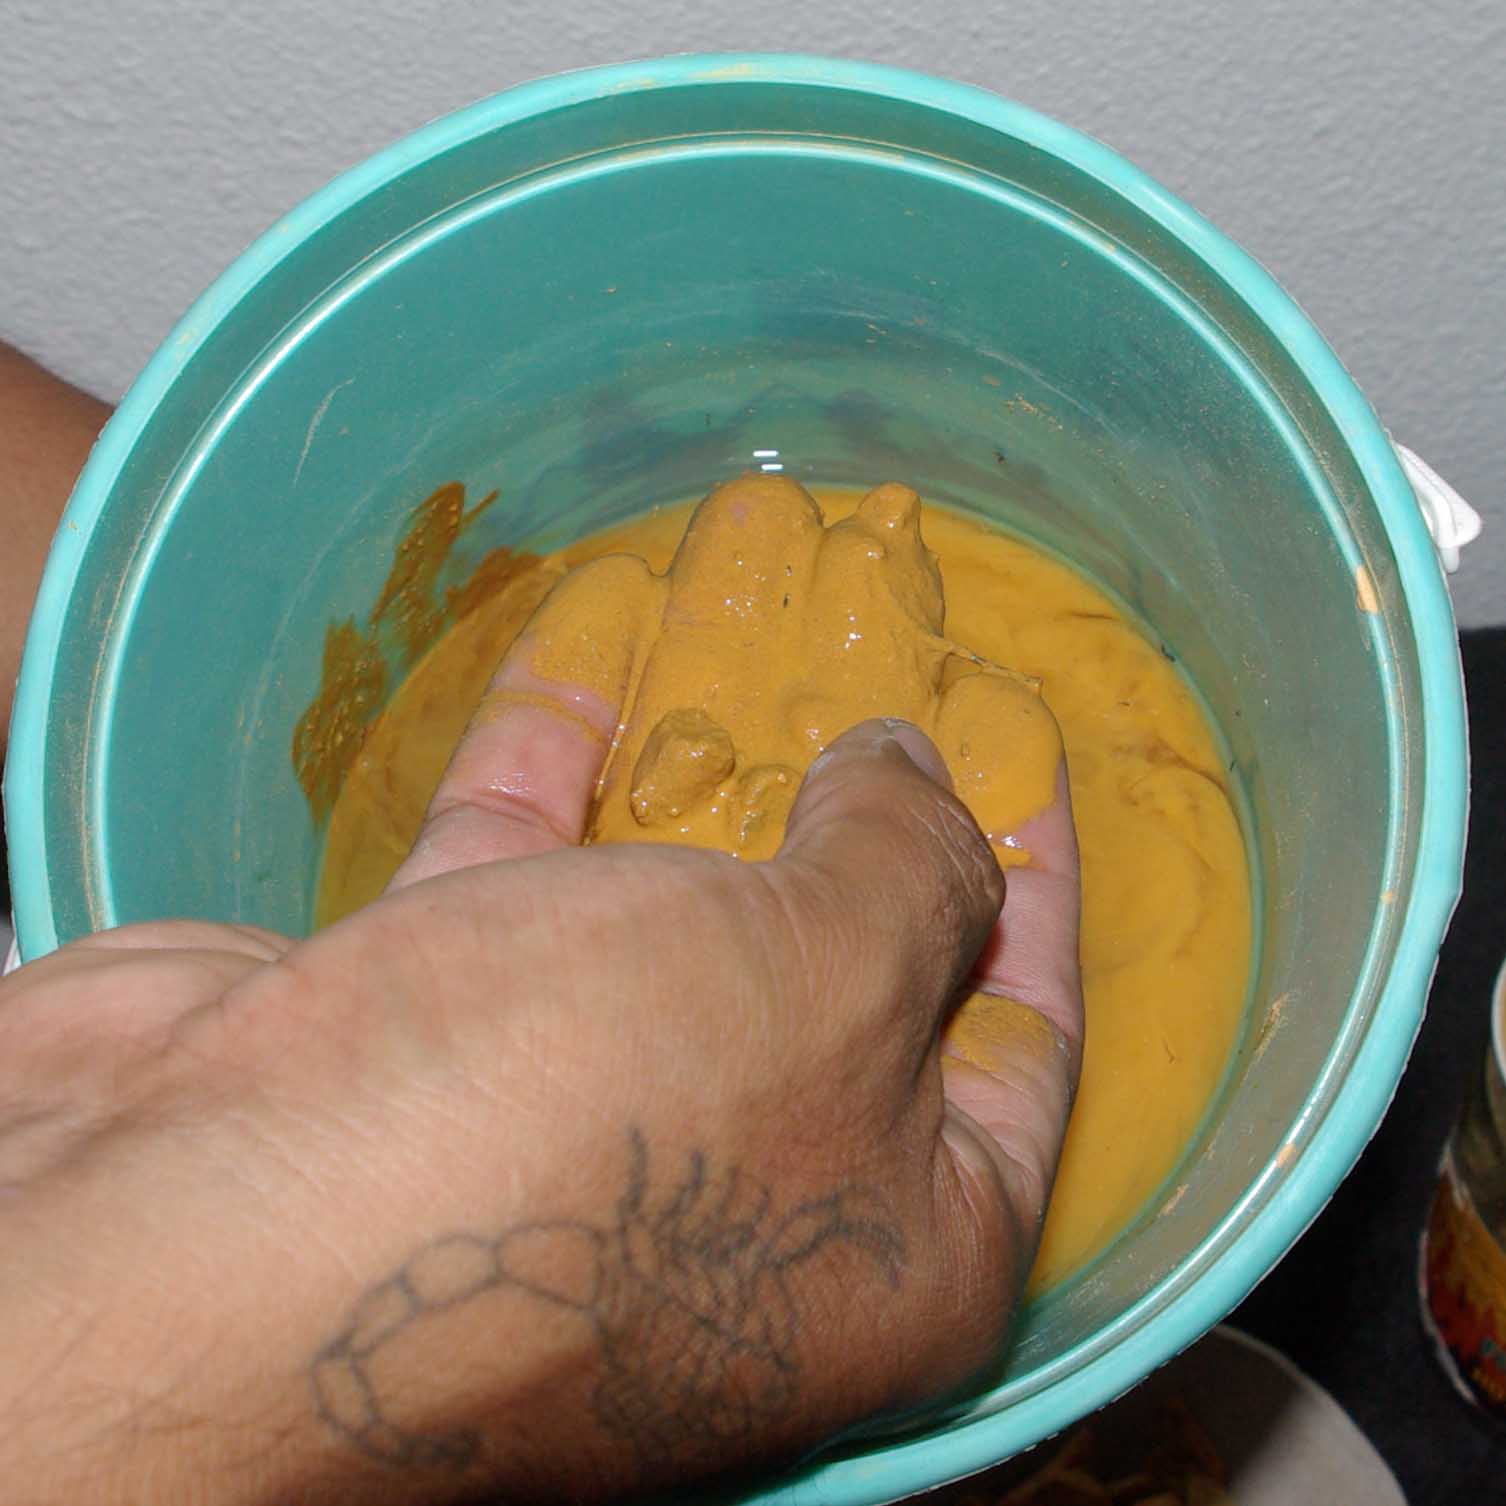
The orange slip soaking
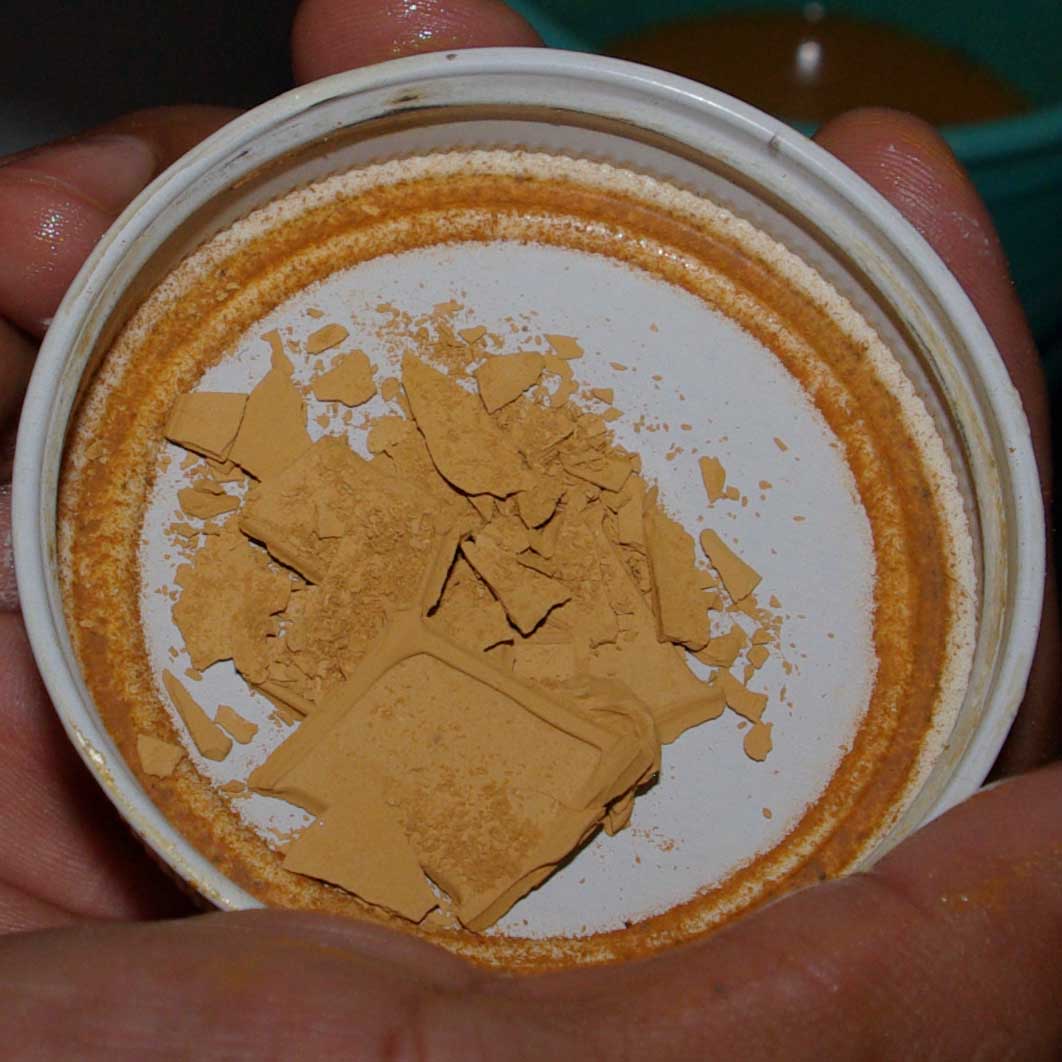
The orange slip dried
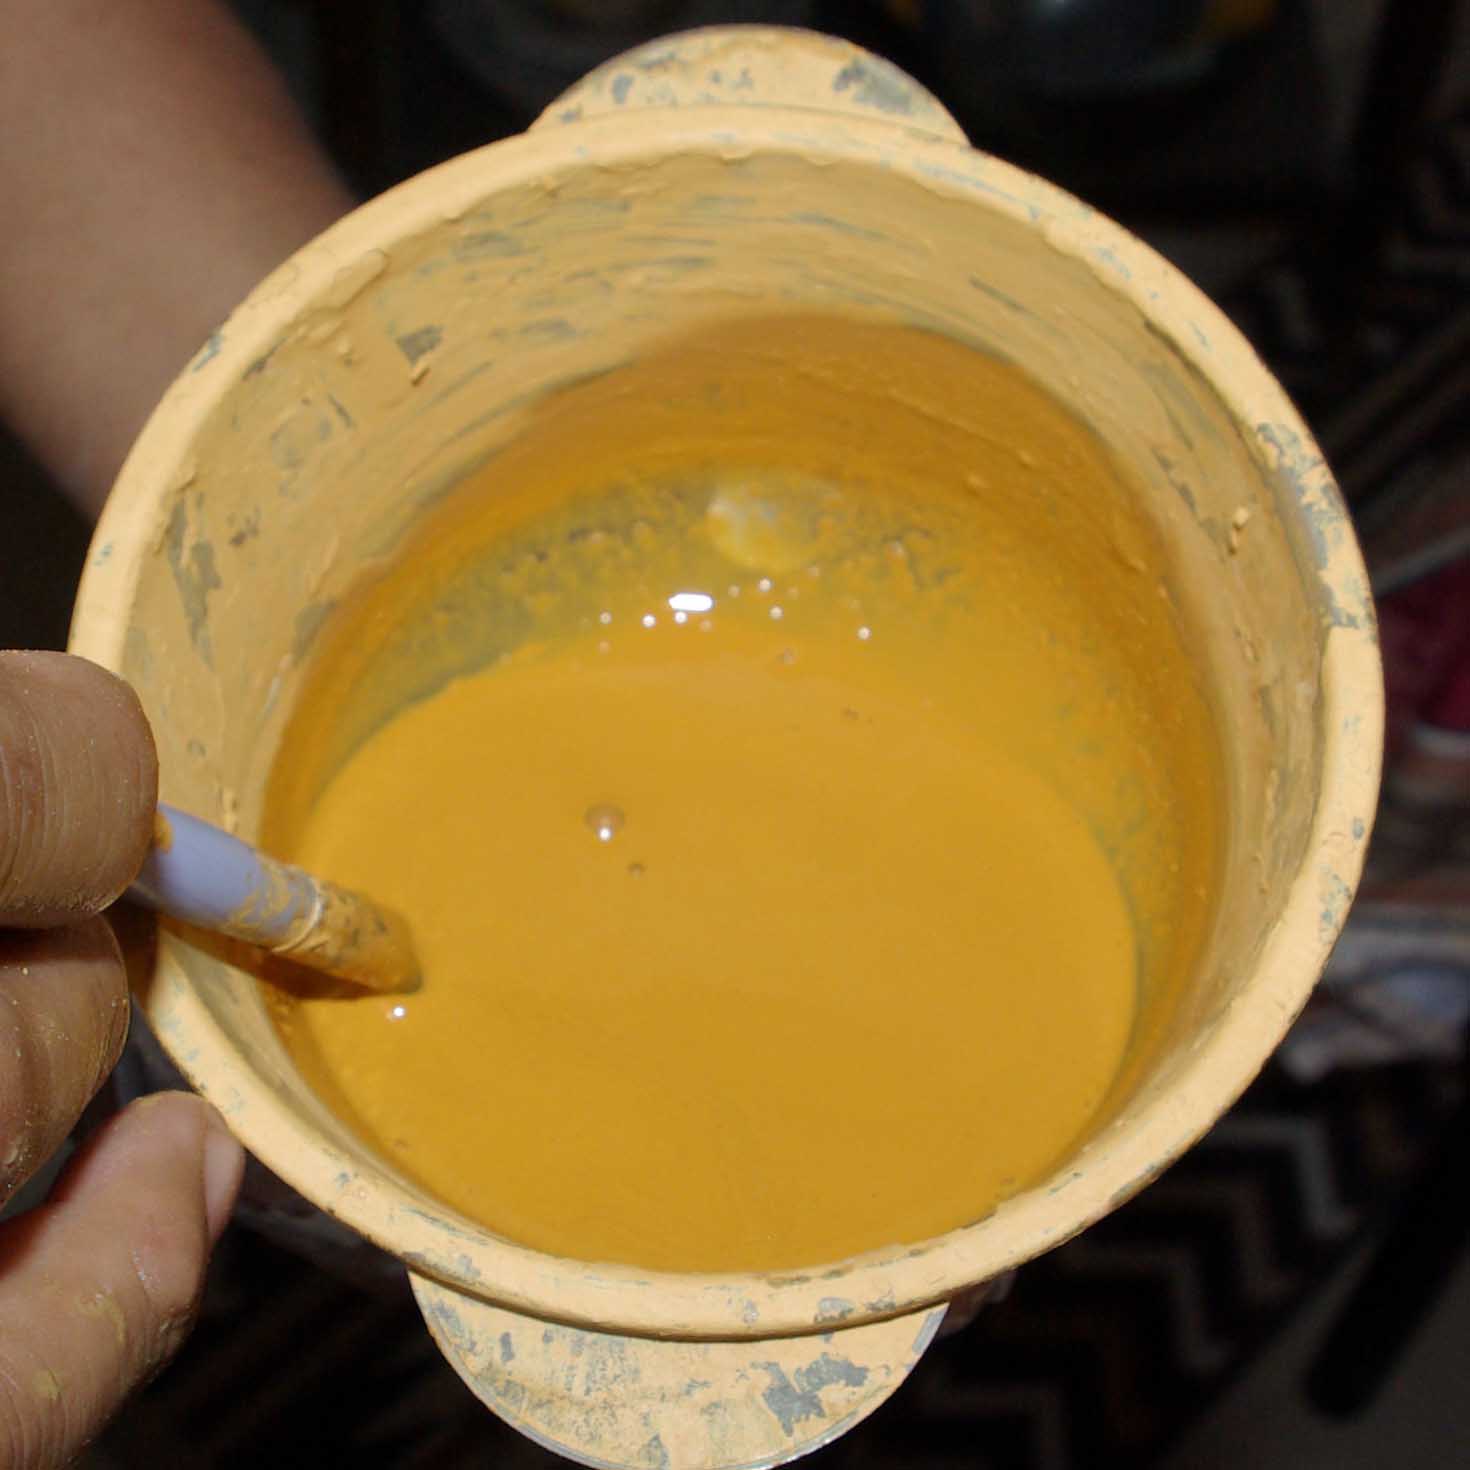
The orange slip reconstituted into paint

Painting yellow slip
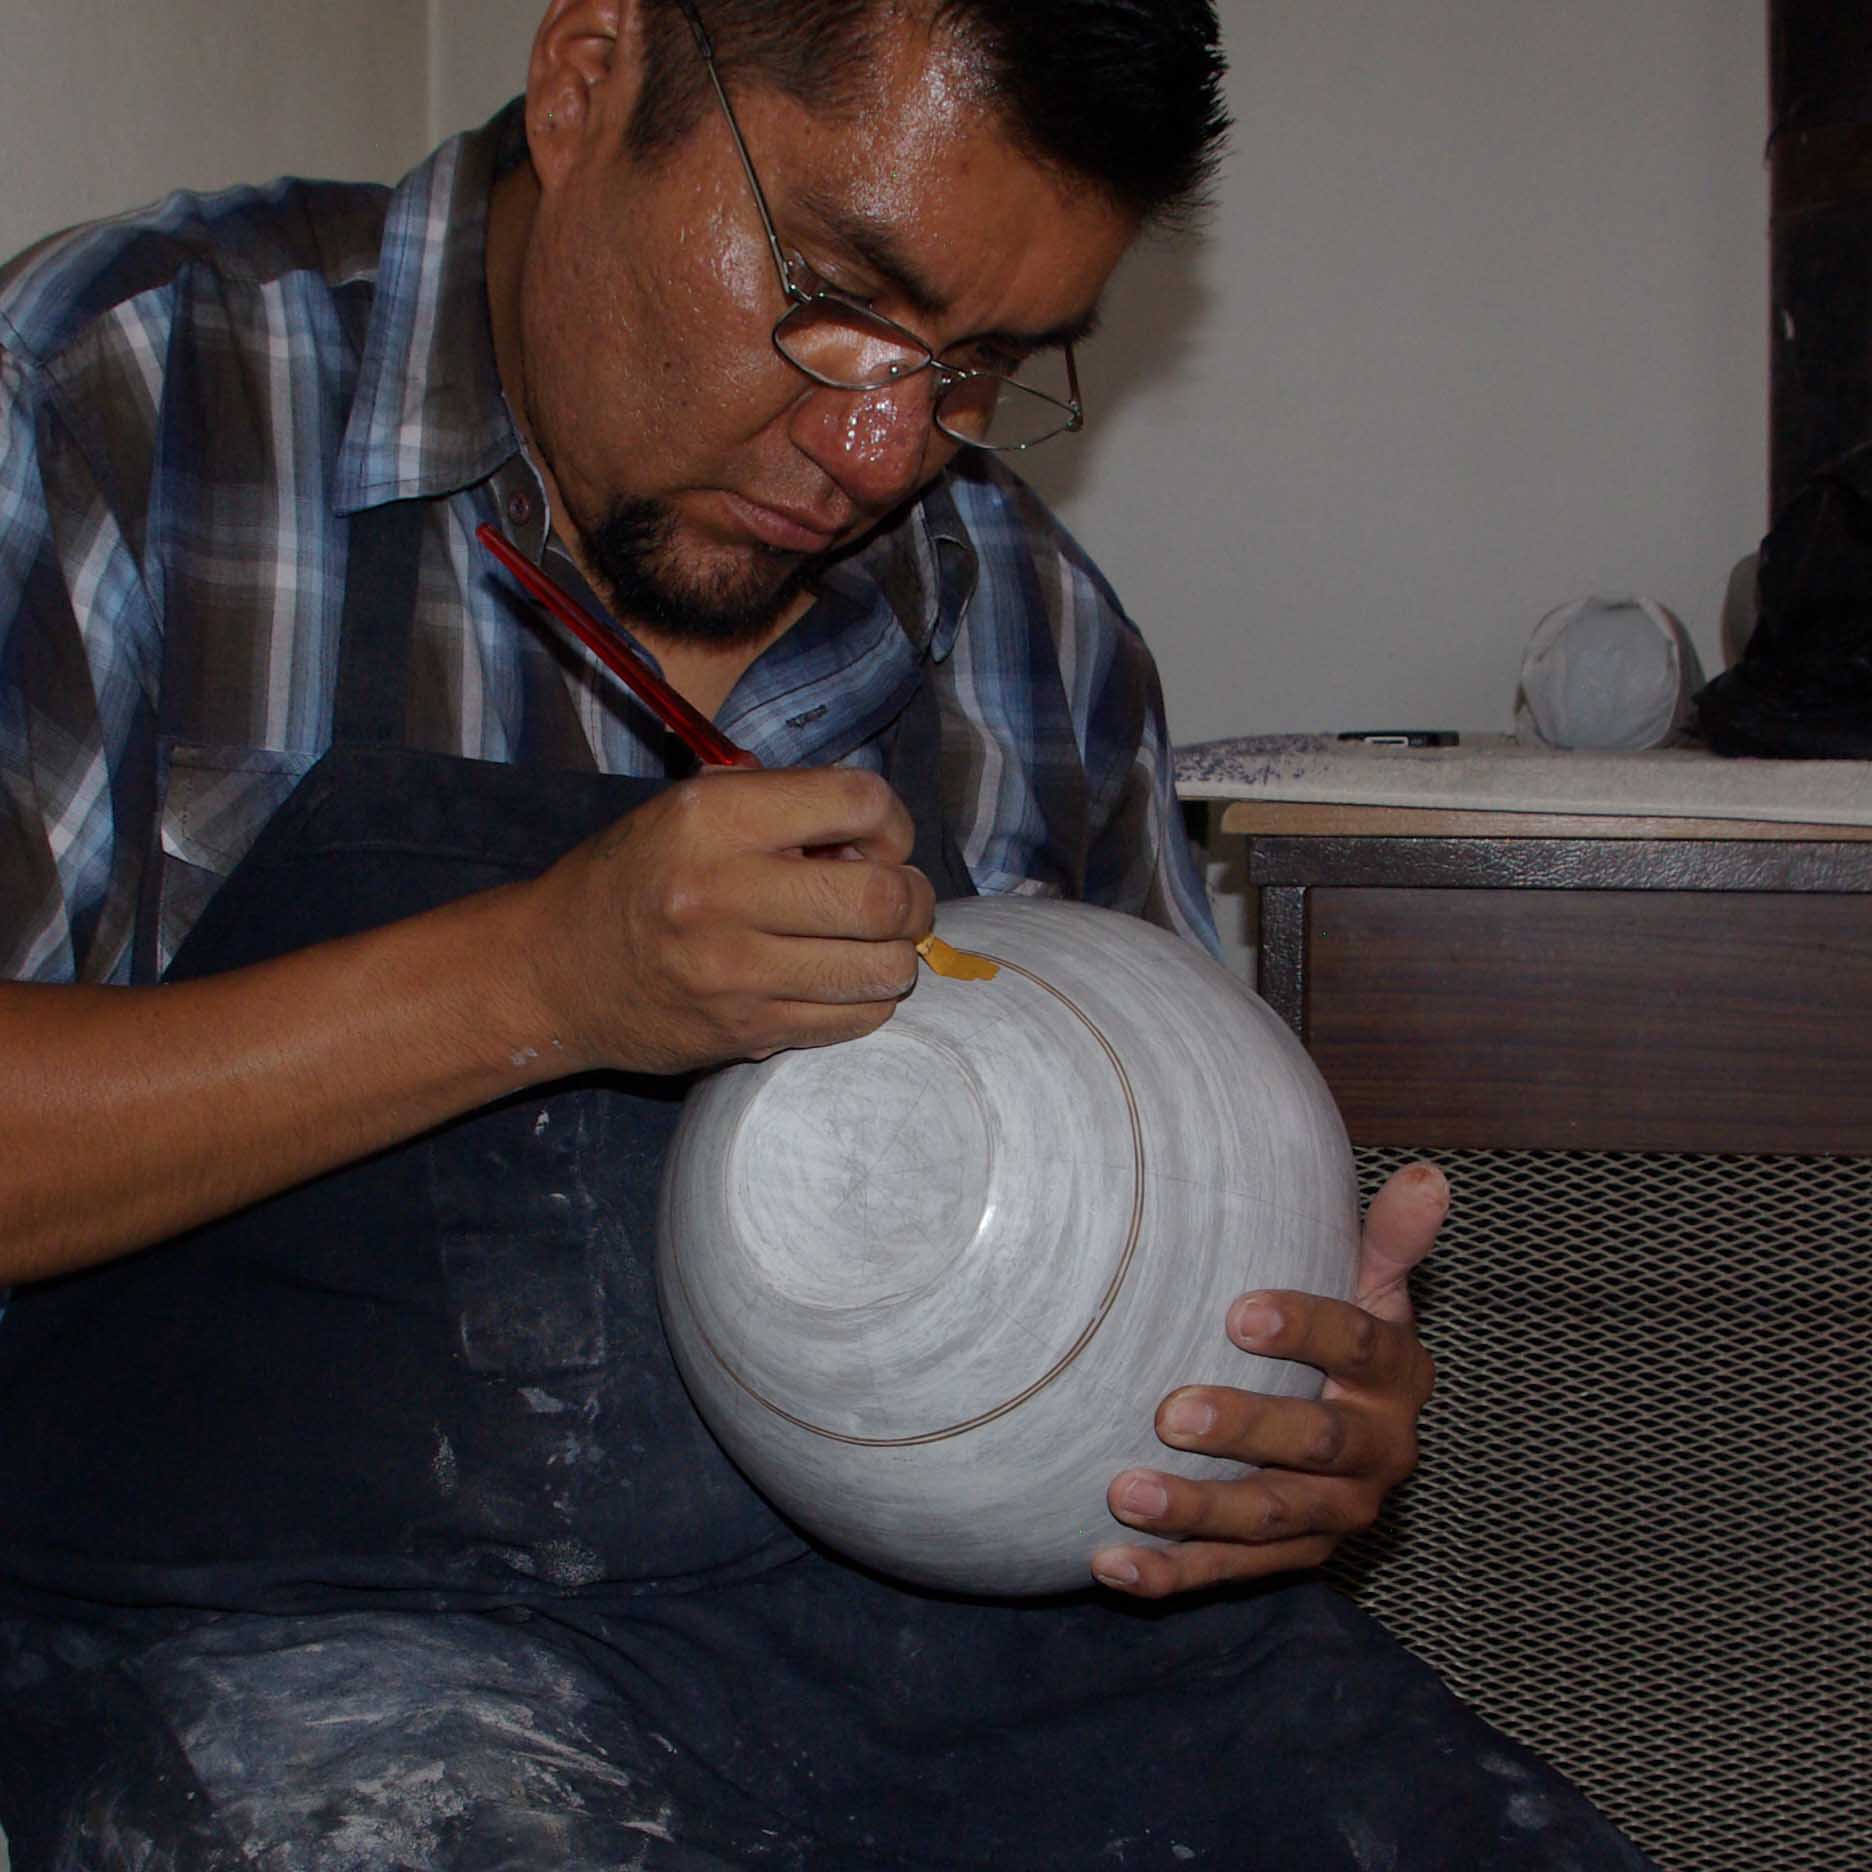
Painting yellow slip

Painting yellow slip
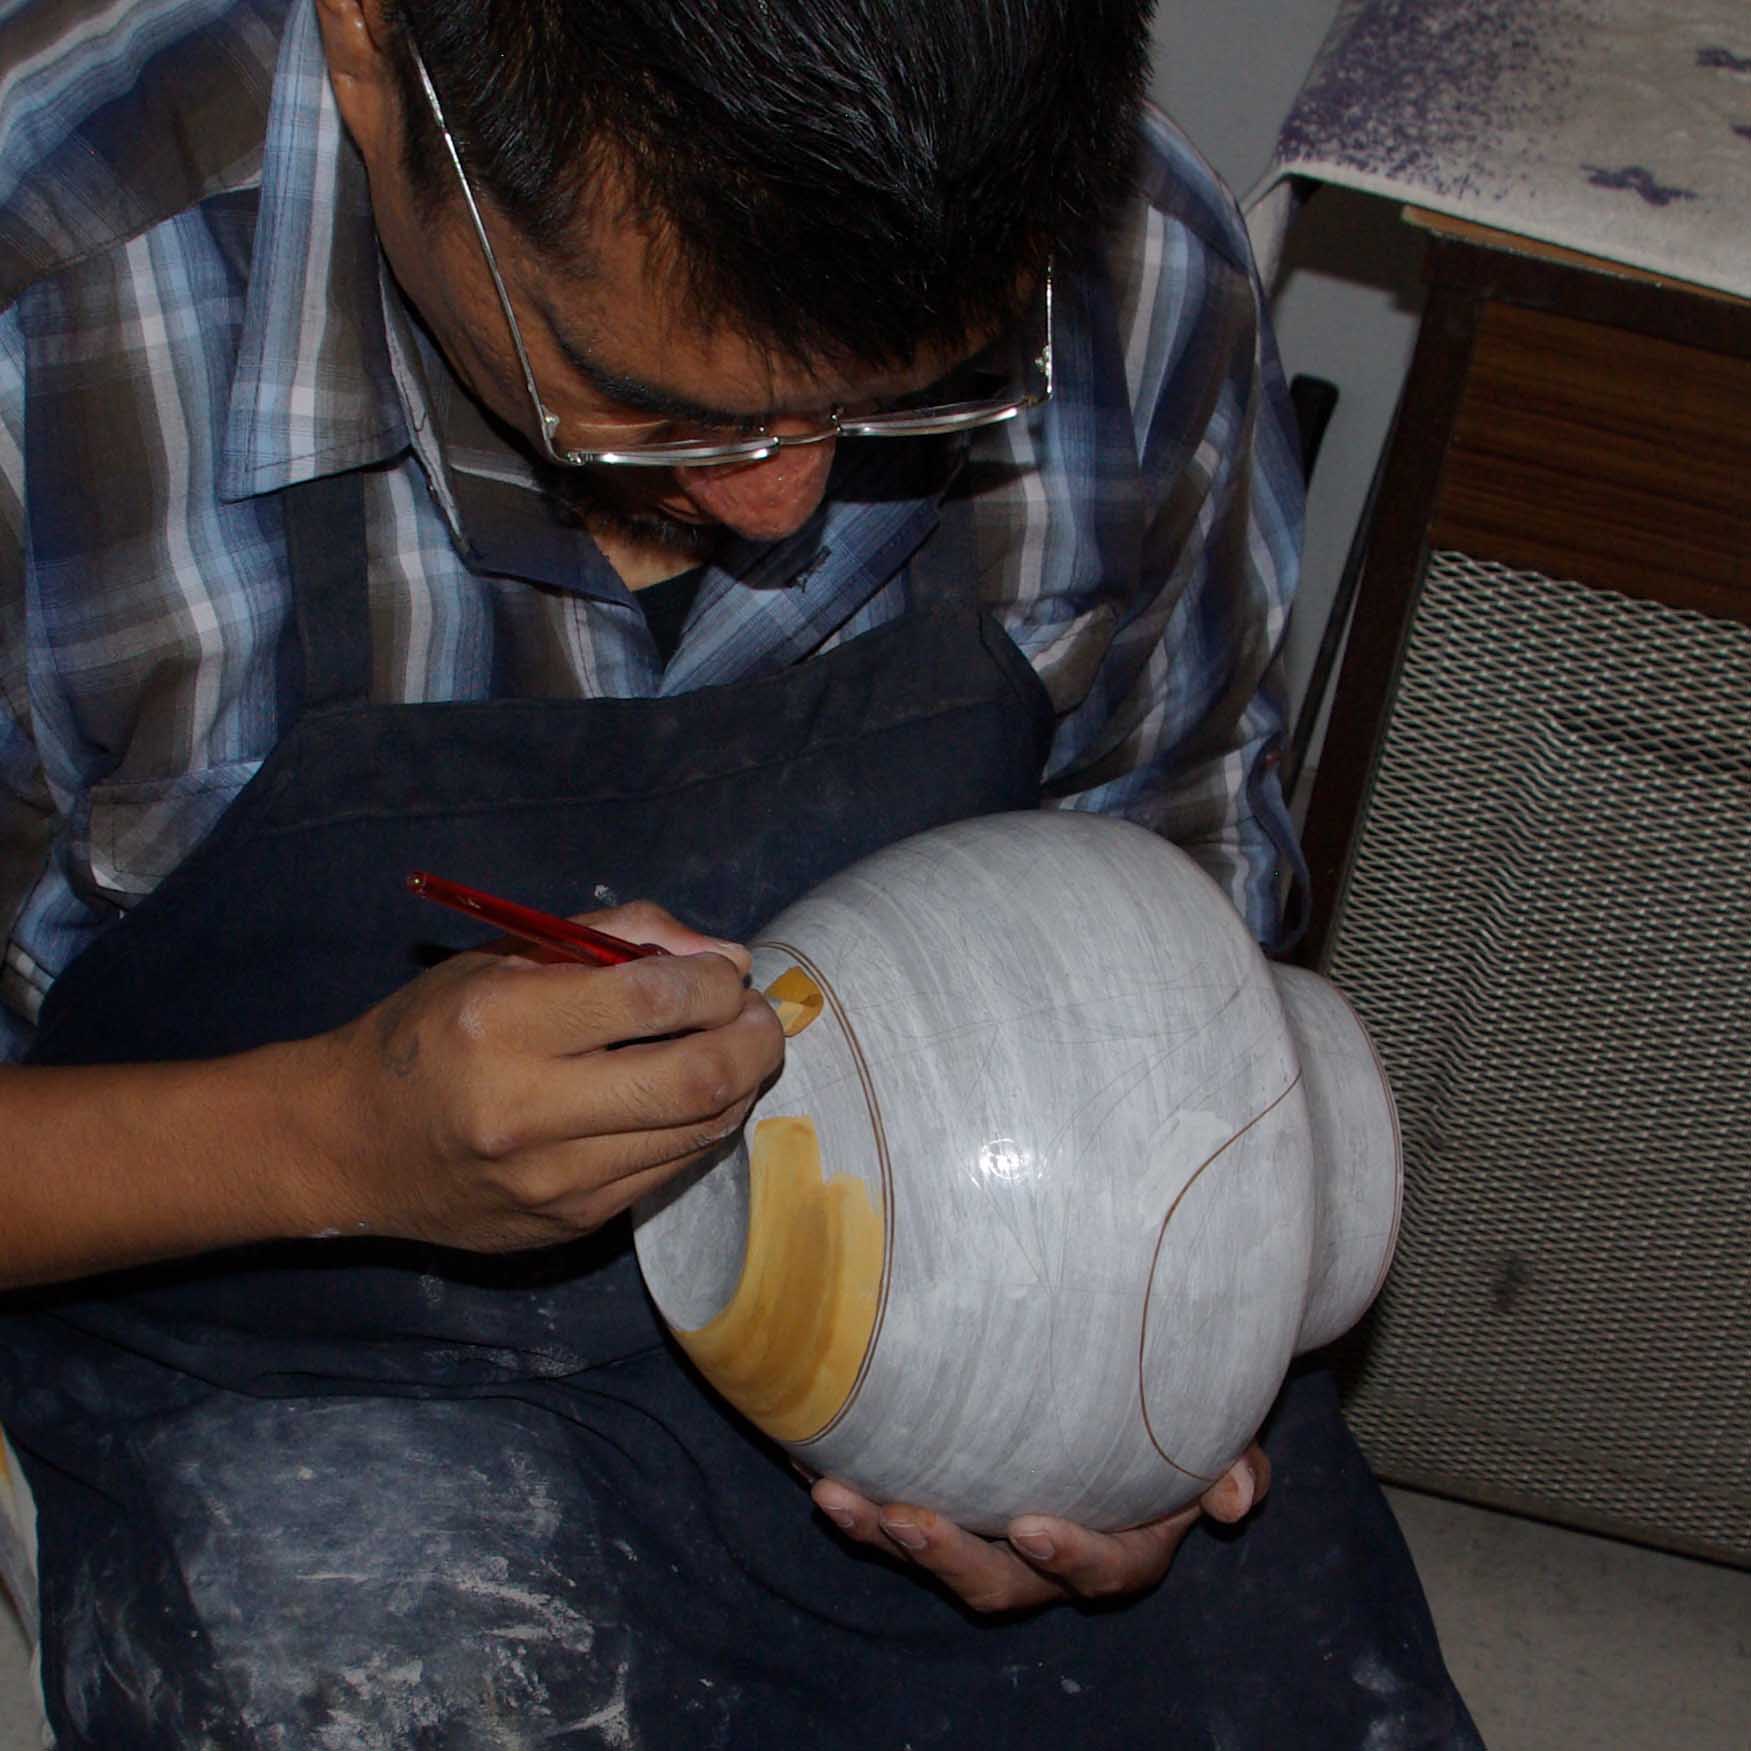
Painting yellow slip
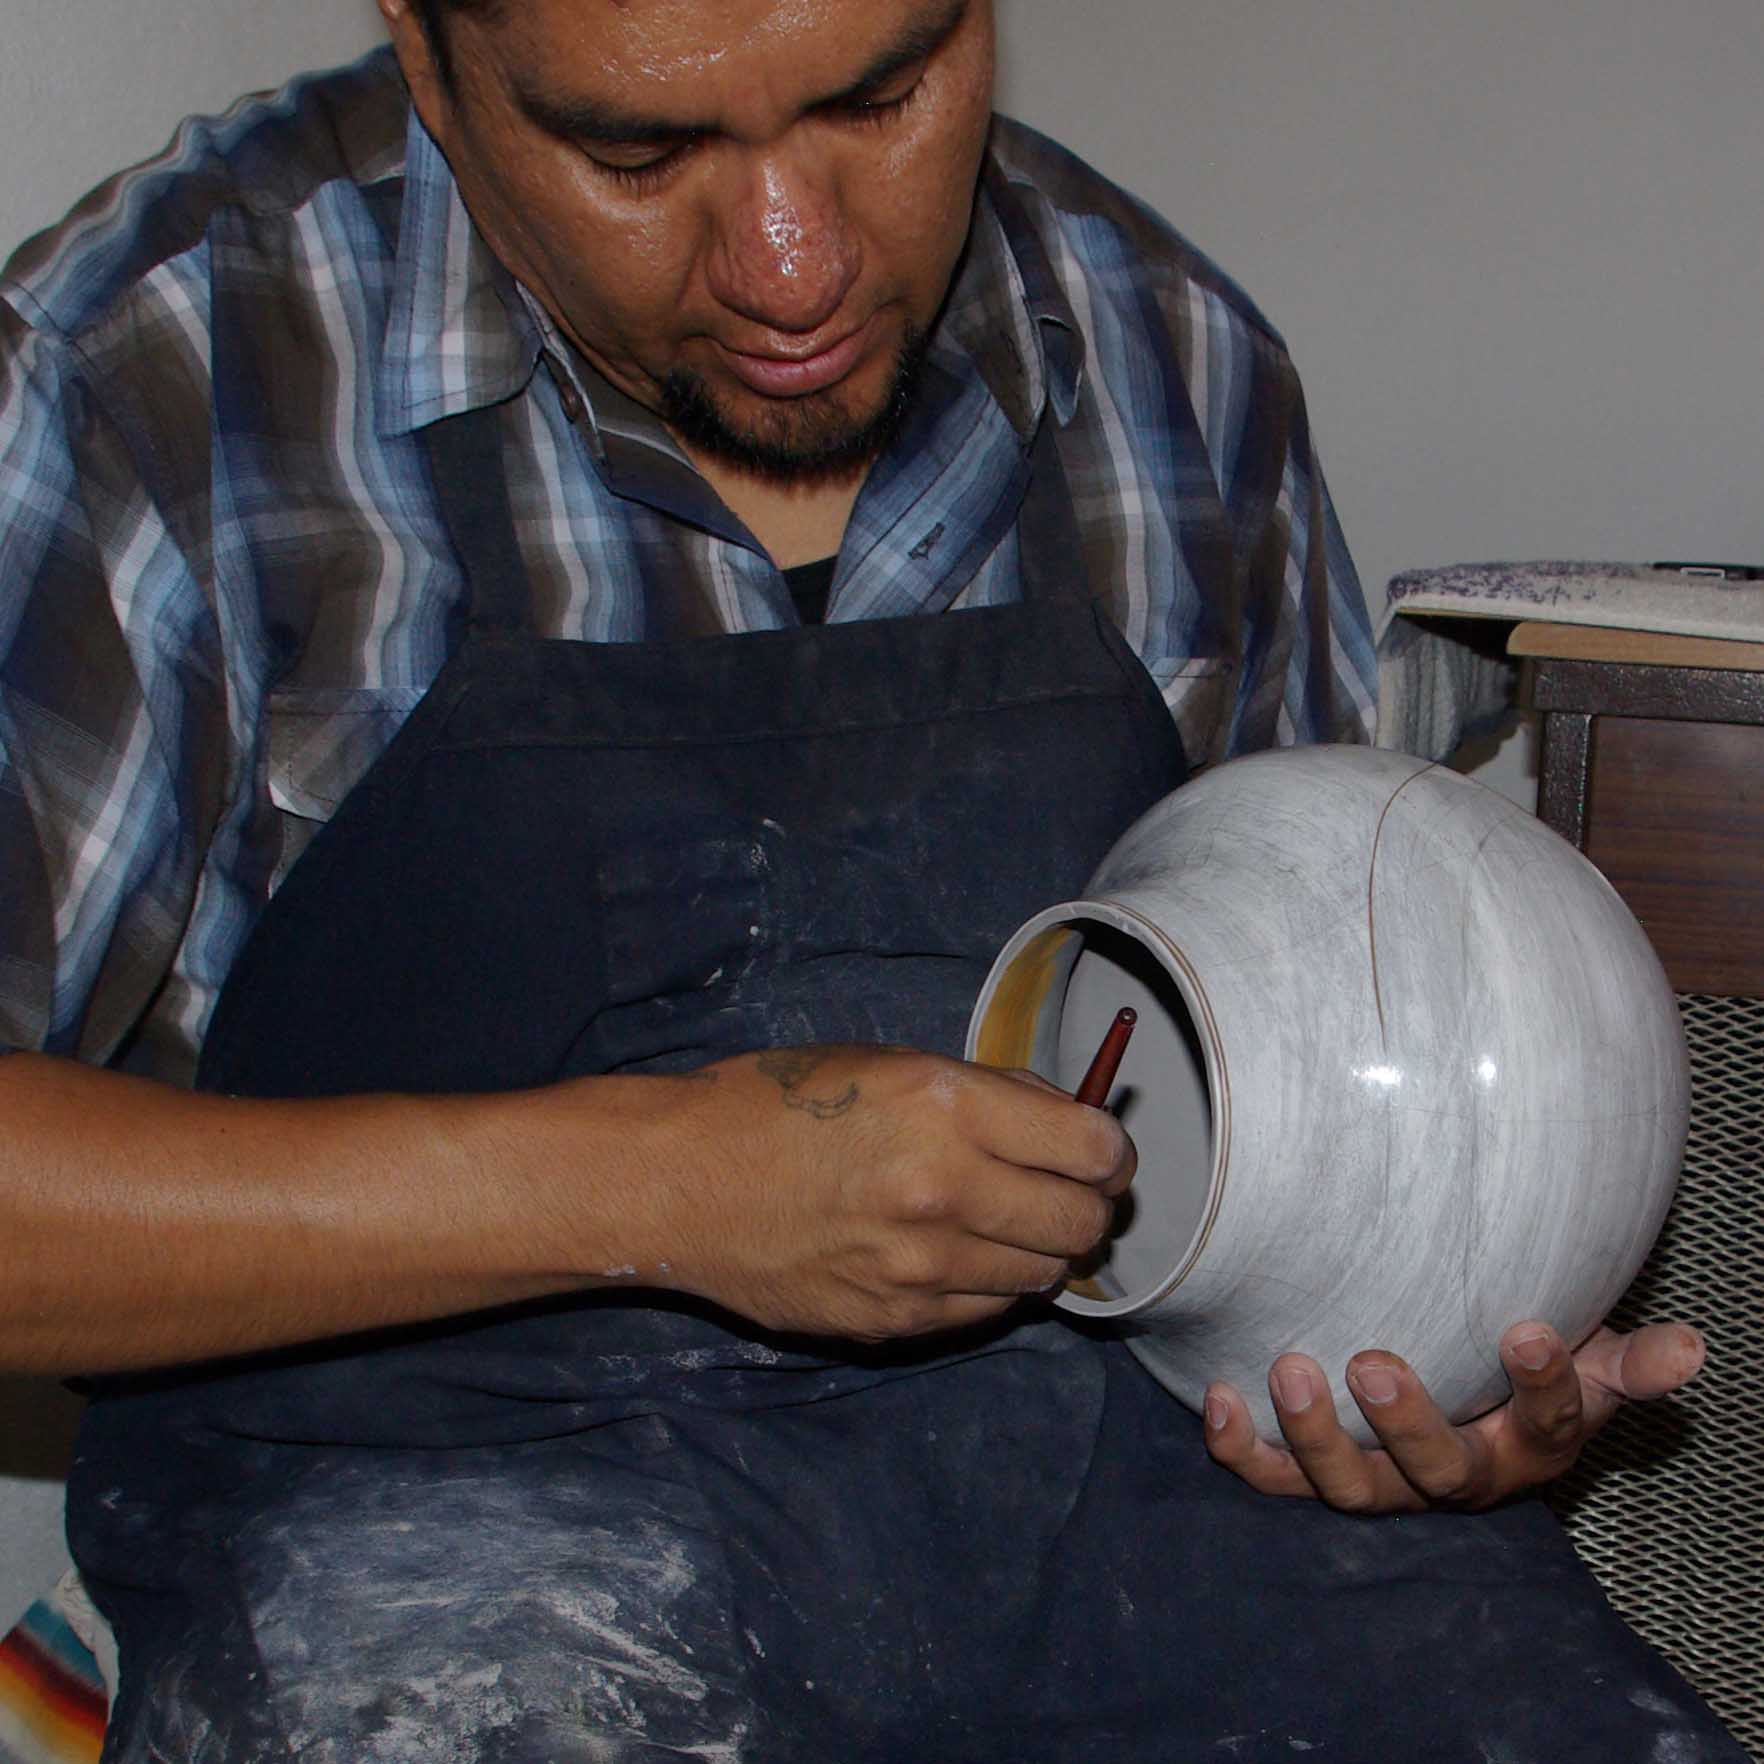
Painting yellow slip
Buffing the yellow paint

Copyright © 1998-2025 by
Andrea Fisher Fine Pottery
All Rights Reserved.